Furniture Makeover | IKEA Tarva Chest
A simple furniture makeover that has a great contrast in color? Yes, please. Between the white paint and dark stain, this piece gets a lot of compliments. So, if you’re looking for a smaller dresser that you could customize, look no further than the IKEA Tarva 3-drawer pine chest.
In short, it’s amazing how a piece of furniture can go from blah to fabulous with paint, stain, new knobs, and a little trim used as an accent. Perfection.
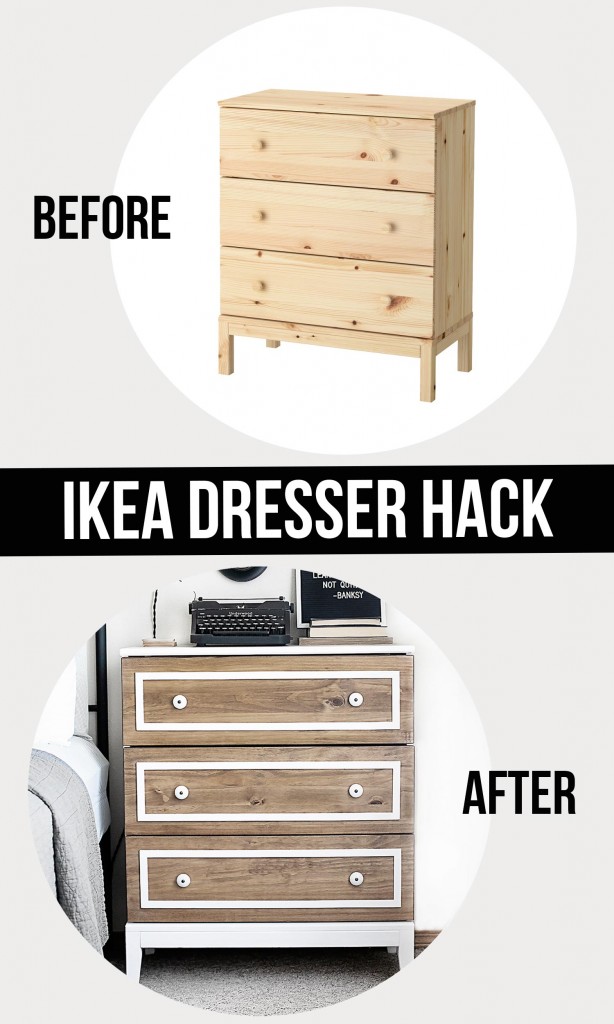
The truth is I don’t even remember when I bought this dresser. It was probably after we moved here to Rogersville (about 3 years ago). And if my memory serves me correctly, it was to use in our living room.
I’m sure Steve helped me to assemble this IKEA Tarva Chest (begrudgingly, of course). Haha.
Seriously, do any of your husbands enjoy assembling furniture?
Anywho, at the time, I had a vision of using white paint and stain for the furniture makeover. However, I really didn’t know how it was going to turn out. Fortunately, it turned out beautiful.
Other DIY Projects:
Concrete Industrial Inspired Serving Tray
DIY Drink Station
Rustic Wood Bench
DIY Storage Ottoman
Pallet Planter Box
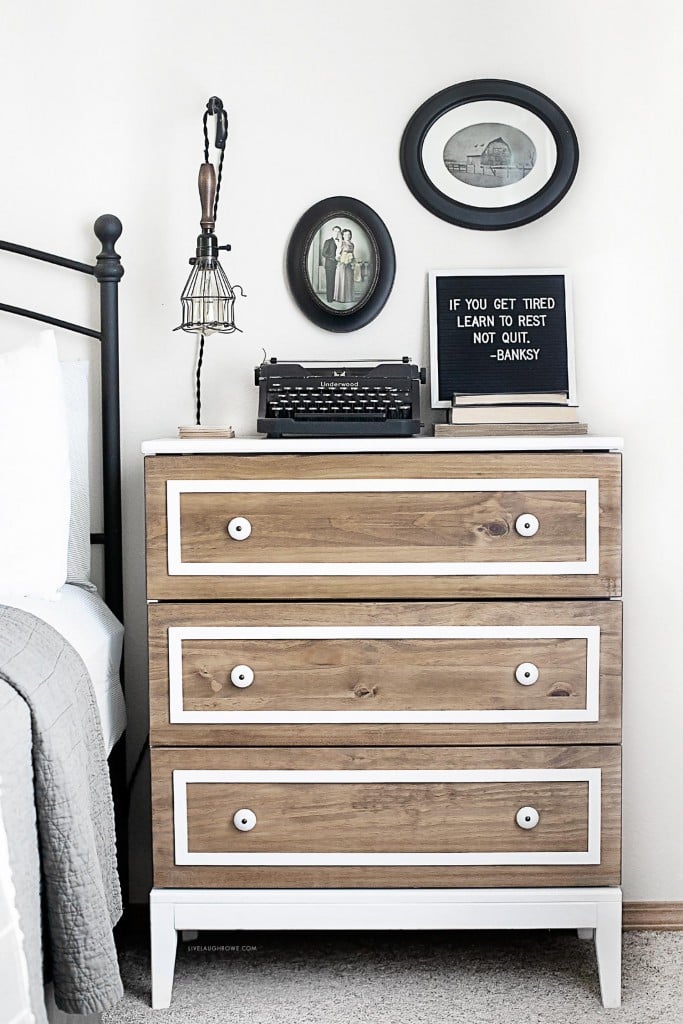
And shortly thereafter, I decided to get rid of it. Don’t ask me why, but I’ve been having a decor crisis since moving.
Nevertheless, my sister wanted it and had it for a few years. She’s getting ready to move and decided to sell it. I wanted to be sure to capture it on camera so that I could share it with you.
Unfortunately, I don’t have the step-by-step instructions, but you’ll get a good idea of what we did and, of course, you have the final outcome in pictures.
Supplies for Furniture Project:
- IKEA Tarva Chest
- White Chalk Paint (I used Annie Sloan)
- Minwax Provincial Stain (my all-time favorite stain)
- Staining Rags
- Paint Brush
- Knobs (mine were from Hobby Lobby)
- Chop Saw (for legs)
So to get this furniture makeover going I started with this unfinished IKEA Tarva Chest.
As you can see, we cut the legs at an angle before assembling using our chop saw. It certainly makes the legs look so much better. Don’t you agree?
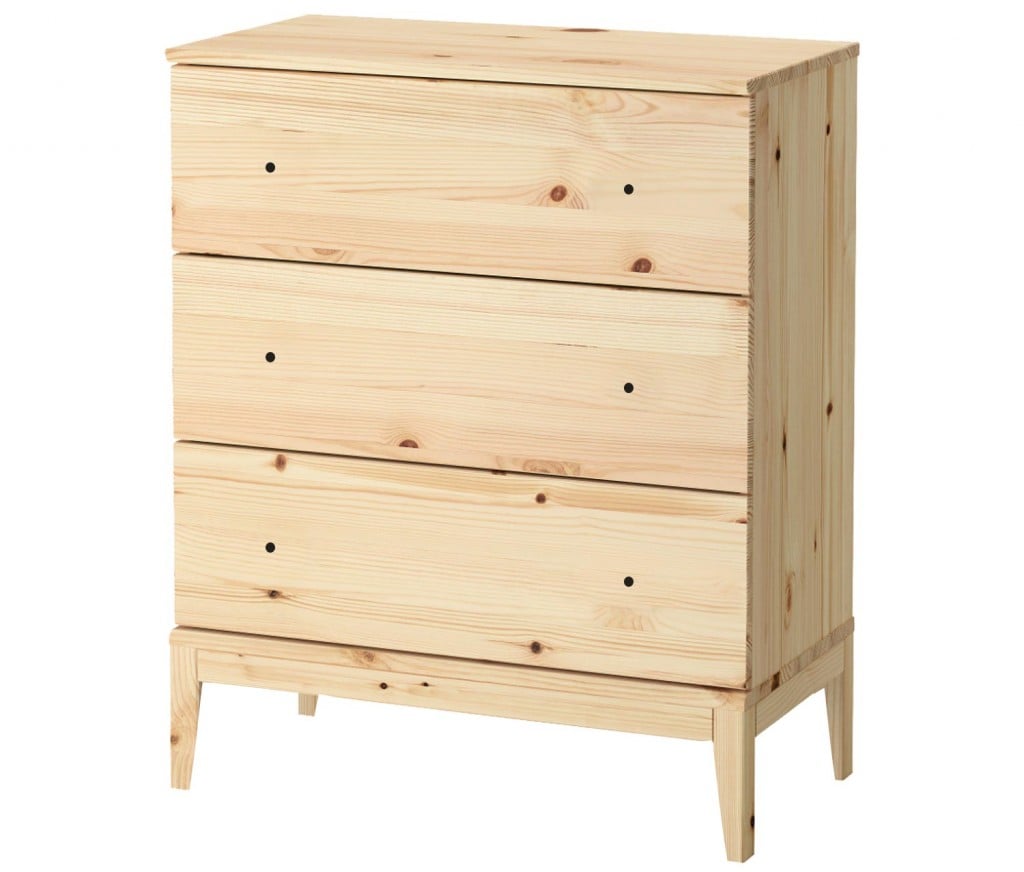
After that, I painted the top, sides, and bottom/legs with white chalk paint and stained the drawers.
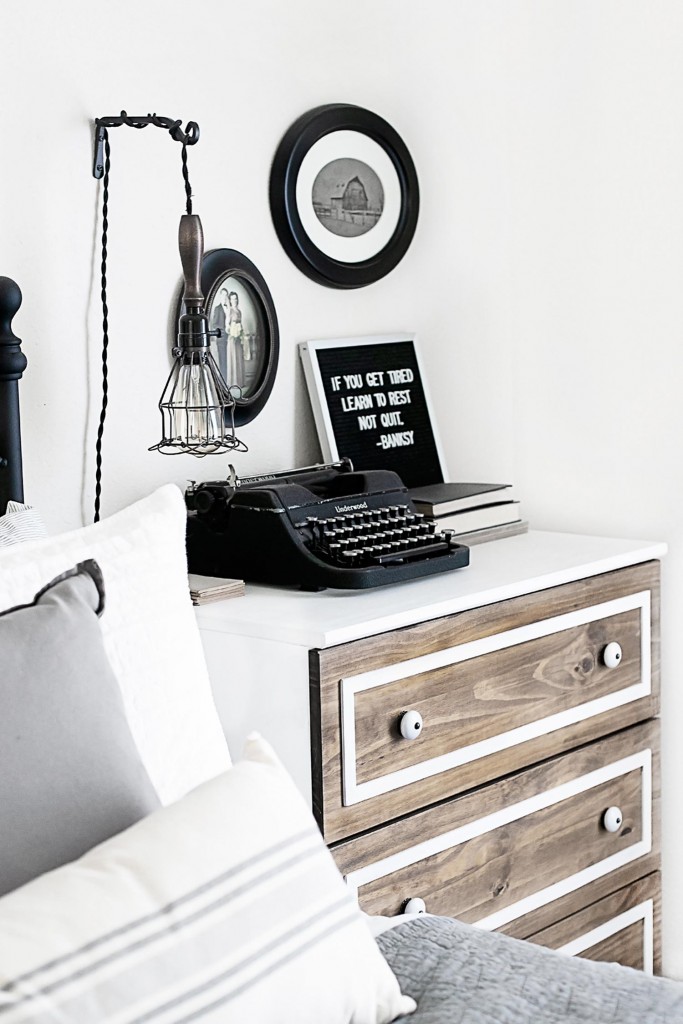
Honestly, after this, I felt like it needed an extra little some-something. Ya know what I mean?
That’s when Steve helped me rip a few thin strips of wood to frame out the drawer. Ours were about 3/8″ wide, but that would vary depending on the dresser you decide to add this little bit of charm to.
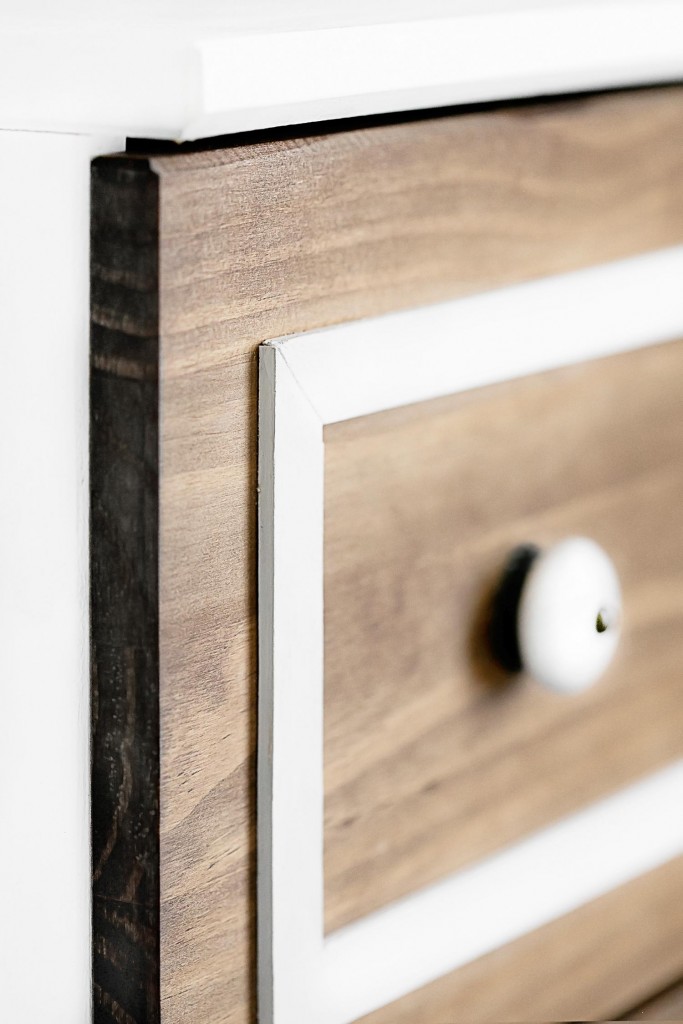
In short, I felt it added a little more interest. It was the perfect finale.
And last, but certainly not least, I added the knobs. Voila.
What do you think of this furniture makeover? I was extremely happy with how it turned out…. and now it’s been re-homed three times.


Rebecca Payne says
Great Job!