This was my first concrete DIY project from 2017. I didn’t love the process, but I loved the final result. It (kindly) reminded me of that old saying, “If at first you don’t succeed—try, try again.” And, well, three times is a charm (sigh).
If the project looks familiar, I’ve refurbished it — updating the text and image size.

It’s that time for another round of the Hand Crafted Society.
We’re a group of talented bloggers who meet monthly to create works using a shared medium or theme. Each participant showcases their varied perspectives and interpretations.
When you reach the end of the post, click on the image or blog name to view the full post.
I remember learning that concrete is finicky. You may find yourself a little frustrated, but give yourself some grace and post the quote above as a reminder that others have not always succeeded on their first attempt. Haha.
Versatility and Functionality
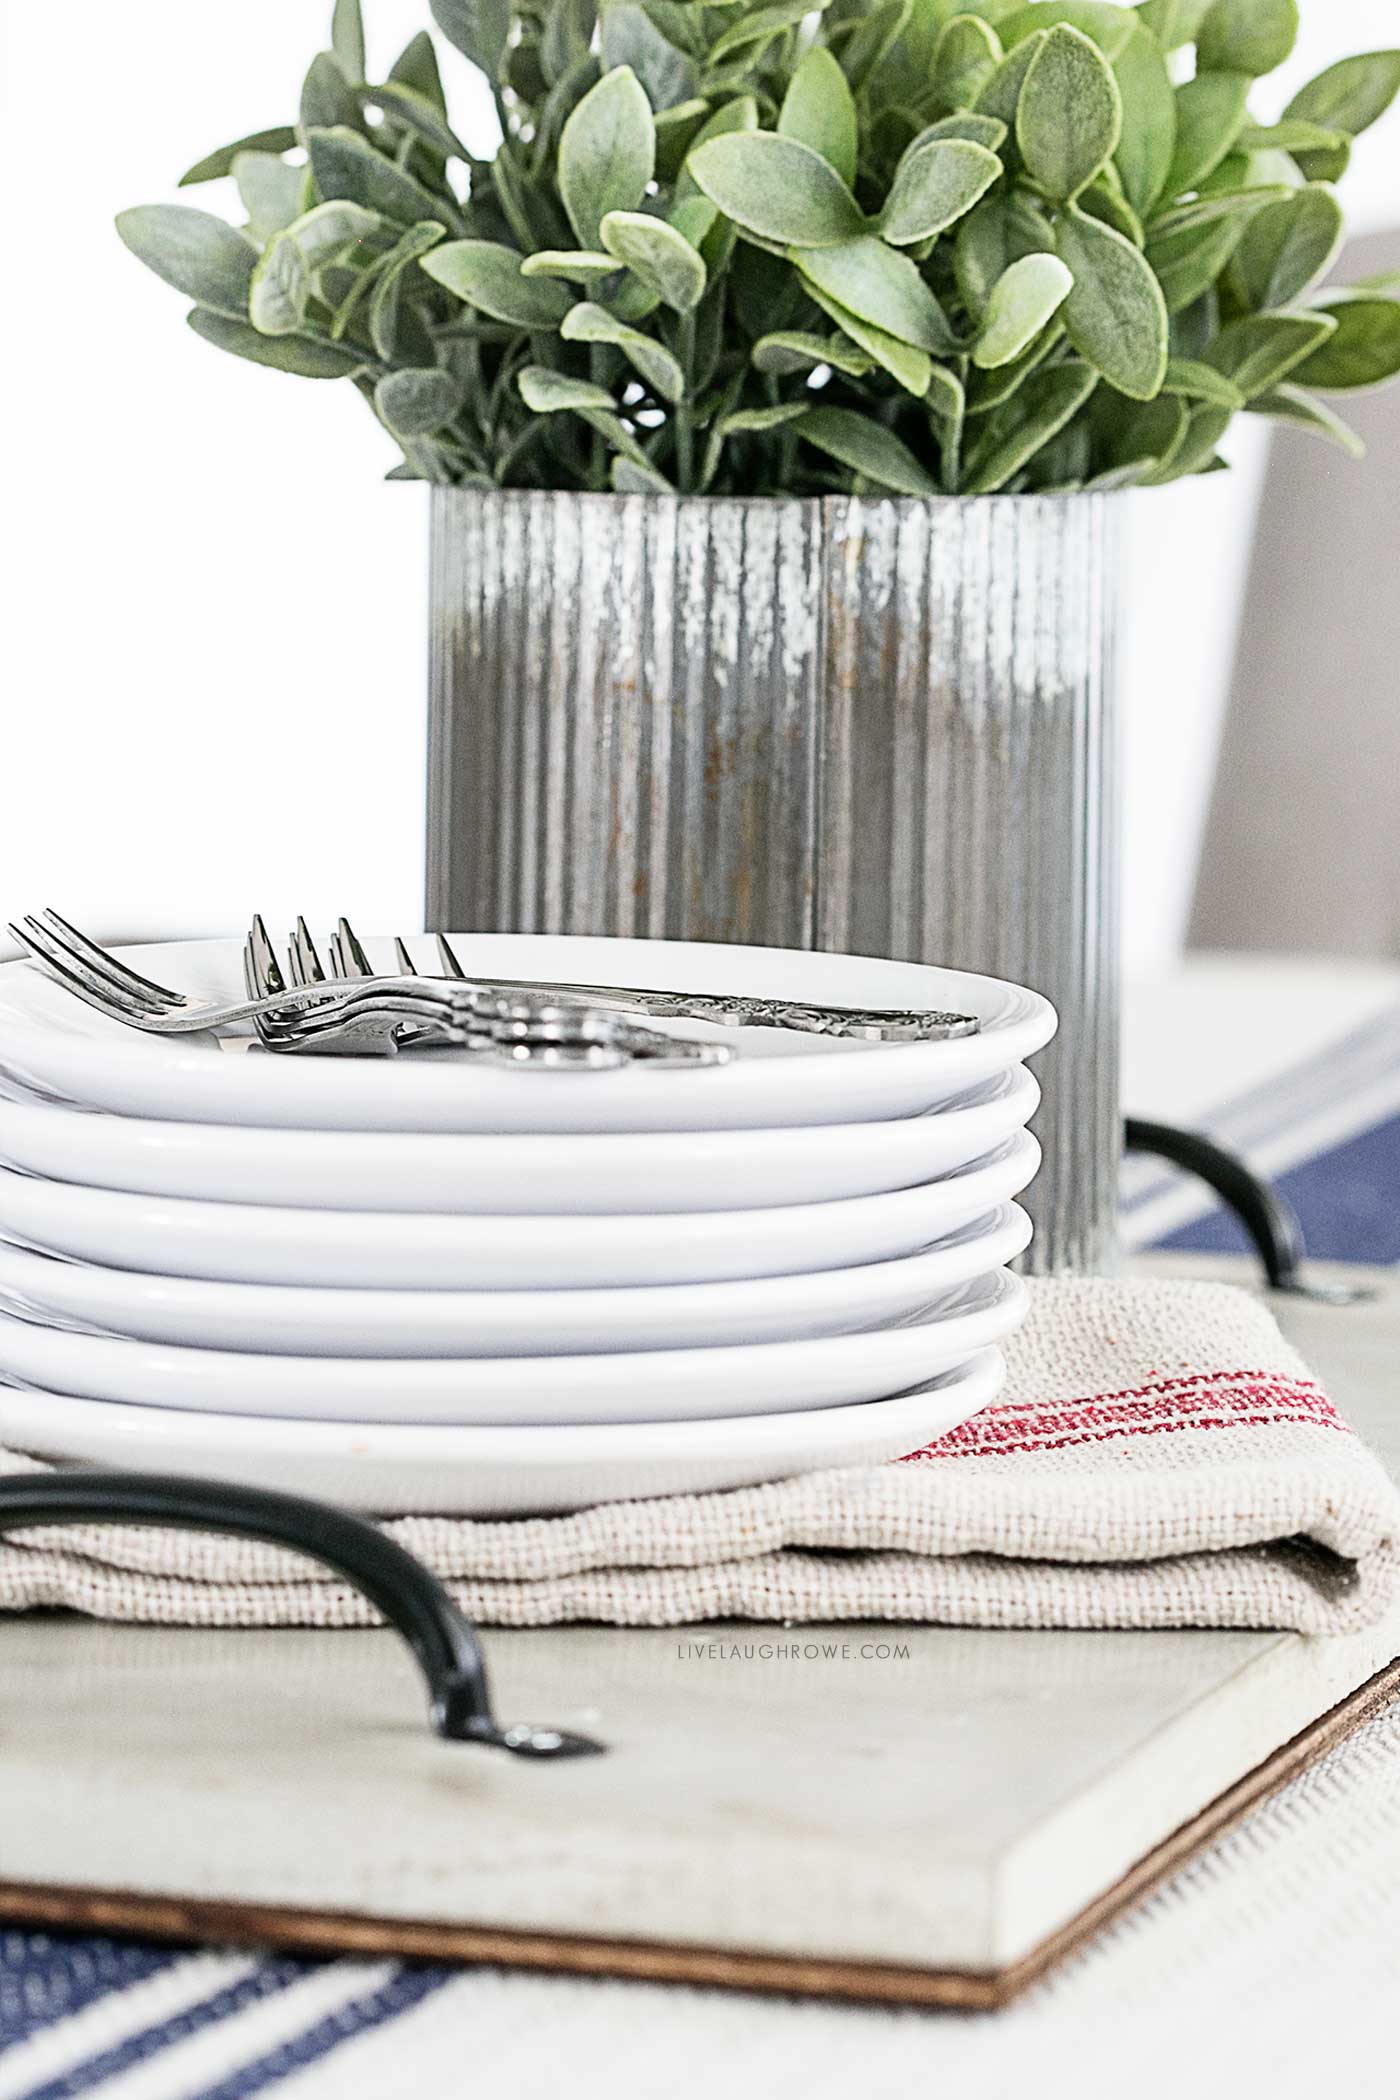
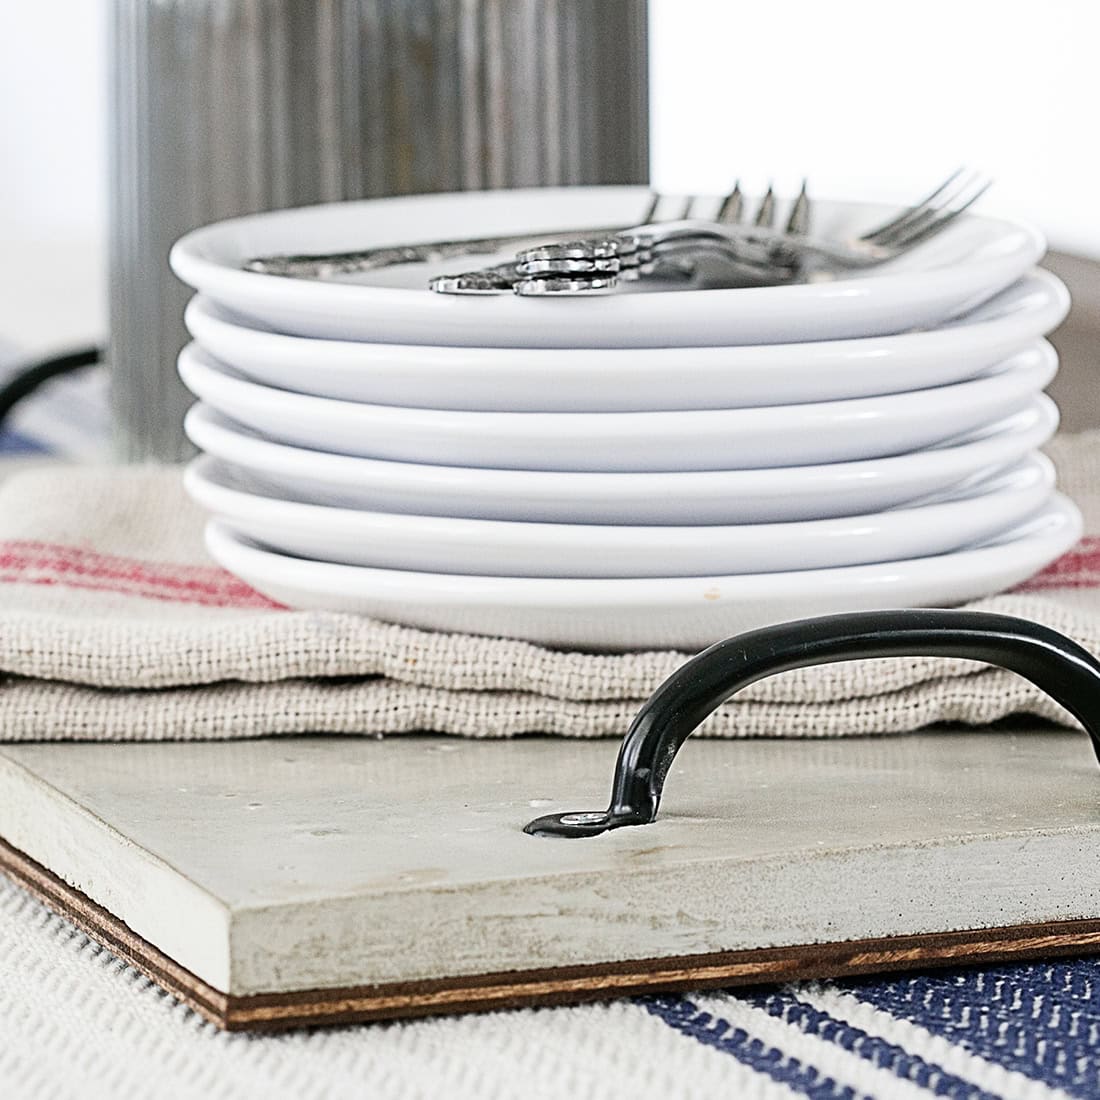
One of the most significant advantages of a concrete serving tray is its versatility. It can be used in various settings and for multiple purposes. In the kitchen, it serves as an elegant platform for presenting appetizers or drinks. In the living room, it can hold candles, vases, or books, adding a touch of sophistication to your coffee table.
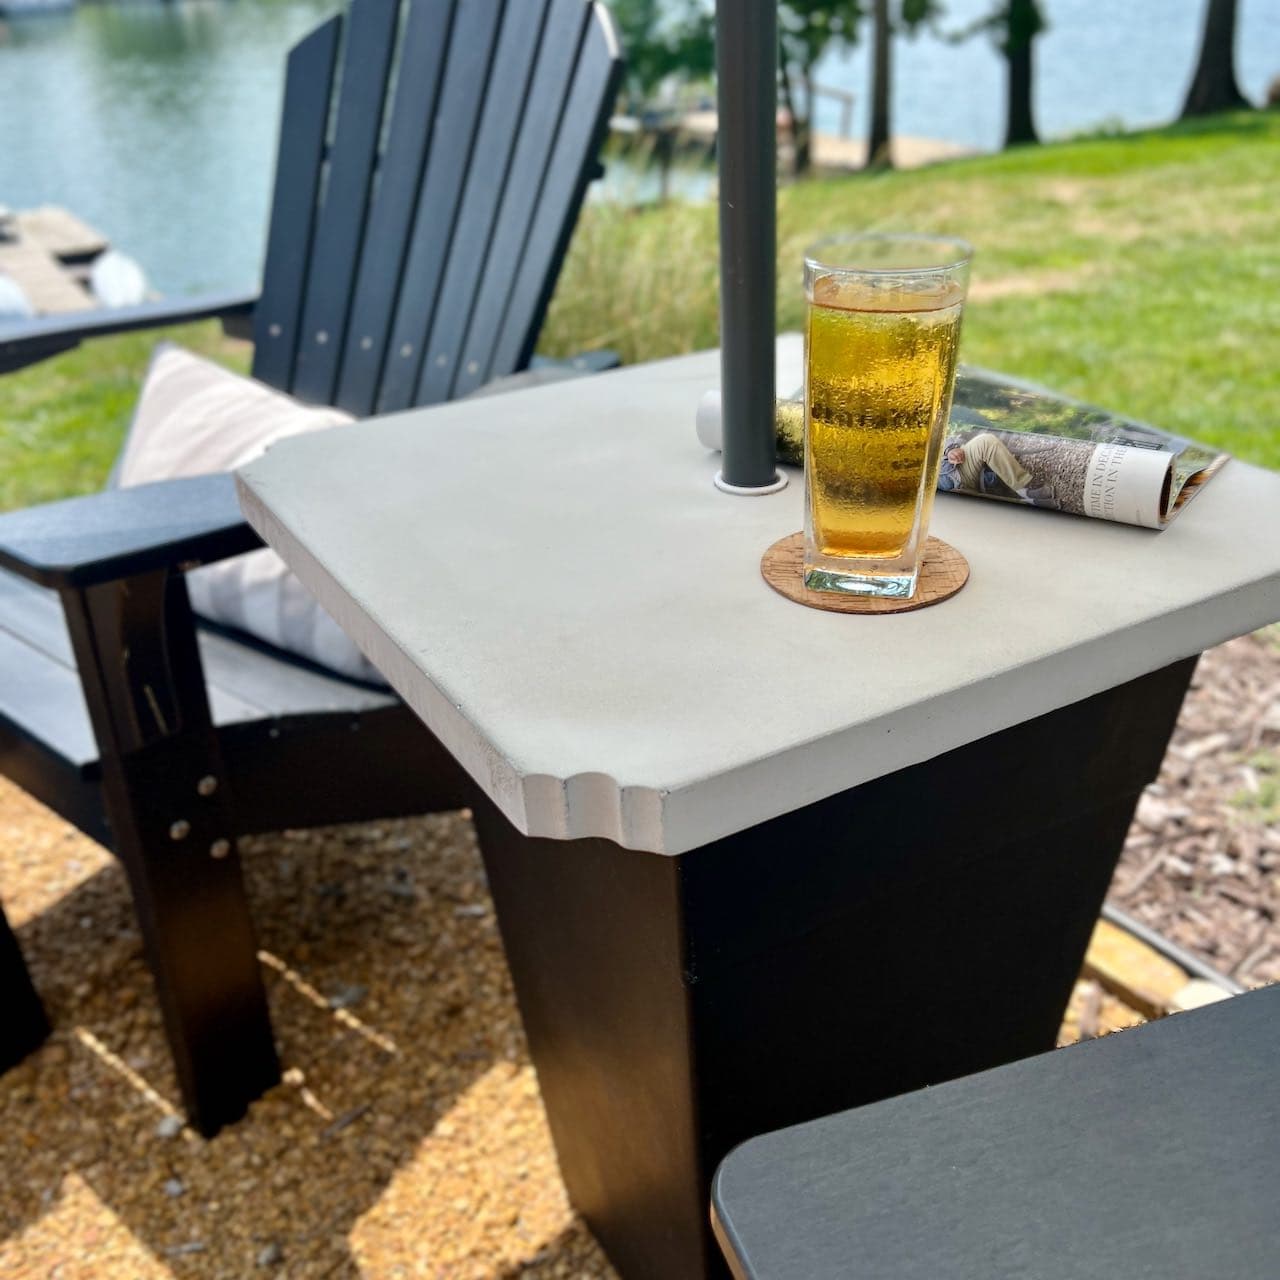
The concrete DIY tray is also sturdy for outdoor use, such as serving guests on a patio or balcony.
I have shared a thorough tutorial below of what I did and the lessons I learned. Regardless of my frustrations, I’m in love with my tray!
Supplies for Concrete DIY Serving Tray:
1″ x 3″ x 8′ Common Board
2′ x 2′ x 23/32″ Plywood, sanded
Rapid Set Cement (10 lb. or a 25 lb. box for trial and error)
(2) 4-7/8 in. Zinc-Plated Light Duty Door Pull, Zinc Plated Finish (I used black)
(2) #8-32 x 1/2 in. Flat-Head Phillips Screws and Screw Nuts
Vinyl Bumpers
Mixing Container
1-1/2″ screws (approximately 10-12)
Trowel with Wood Handle or Heavy Duty Stir Stick
Power Sander
Sanding Block
Ryobi One+ 18-Volt Lithium-Ion Drill and 1/8″ drill bit
18 -1/2″ x 10″ x 1/8″ of plywood (optional, used for base)
Cement Glue (optional, only necessary if you attach optional plywood)
Cut list:
(2) 11-1/2″ cuts from the common board for each end of the mold
(2) 18-1/2″ cuts from the common board for each side of the mold
(1) 20″ x 11-1/2″ from plywood for bottom of mold
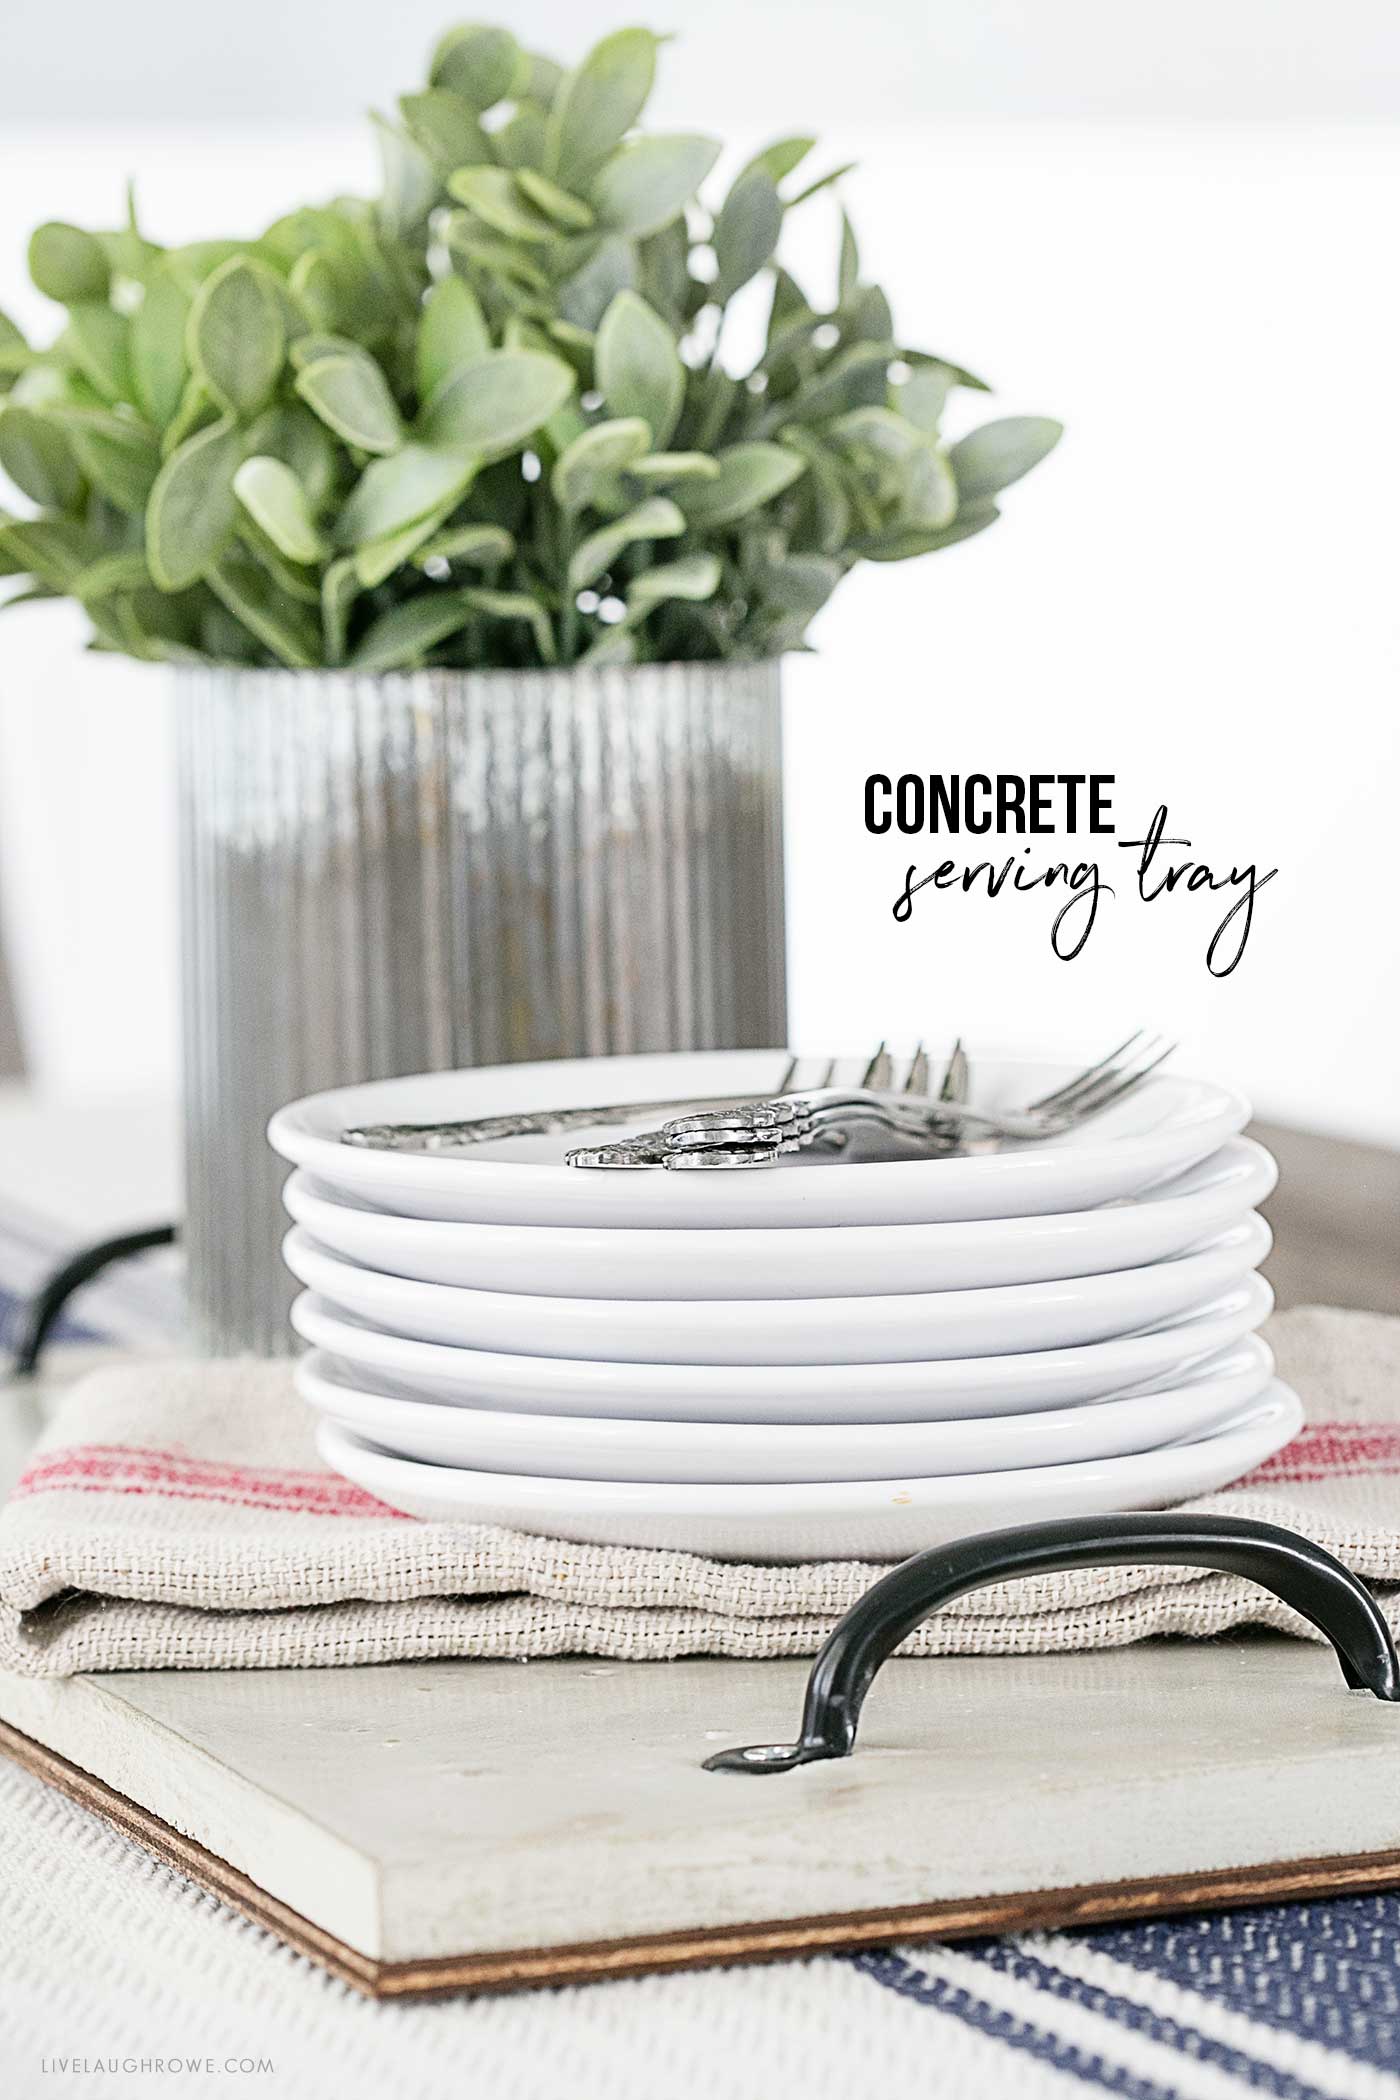
Size: 18-1/2″ x 9-1/2″
Cost: Approximately $30.00 (in 2017)
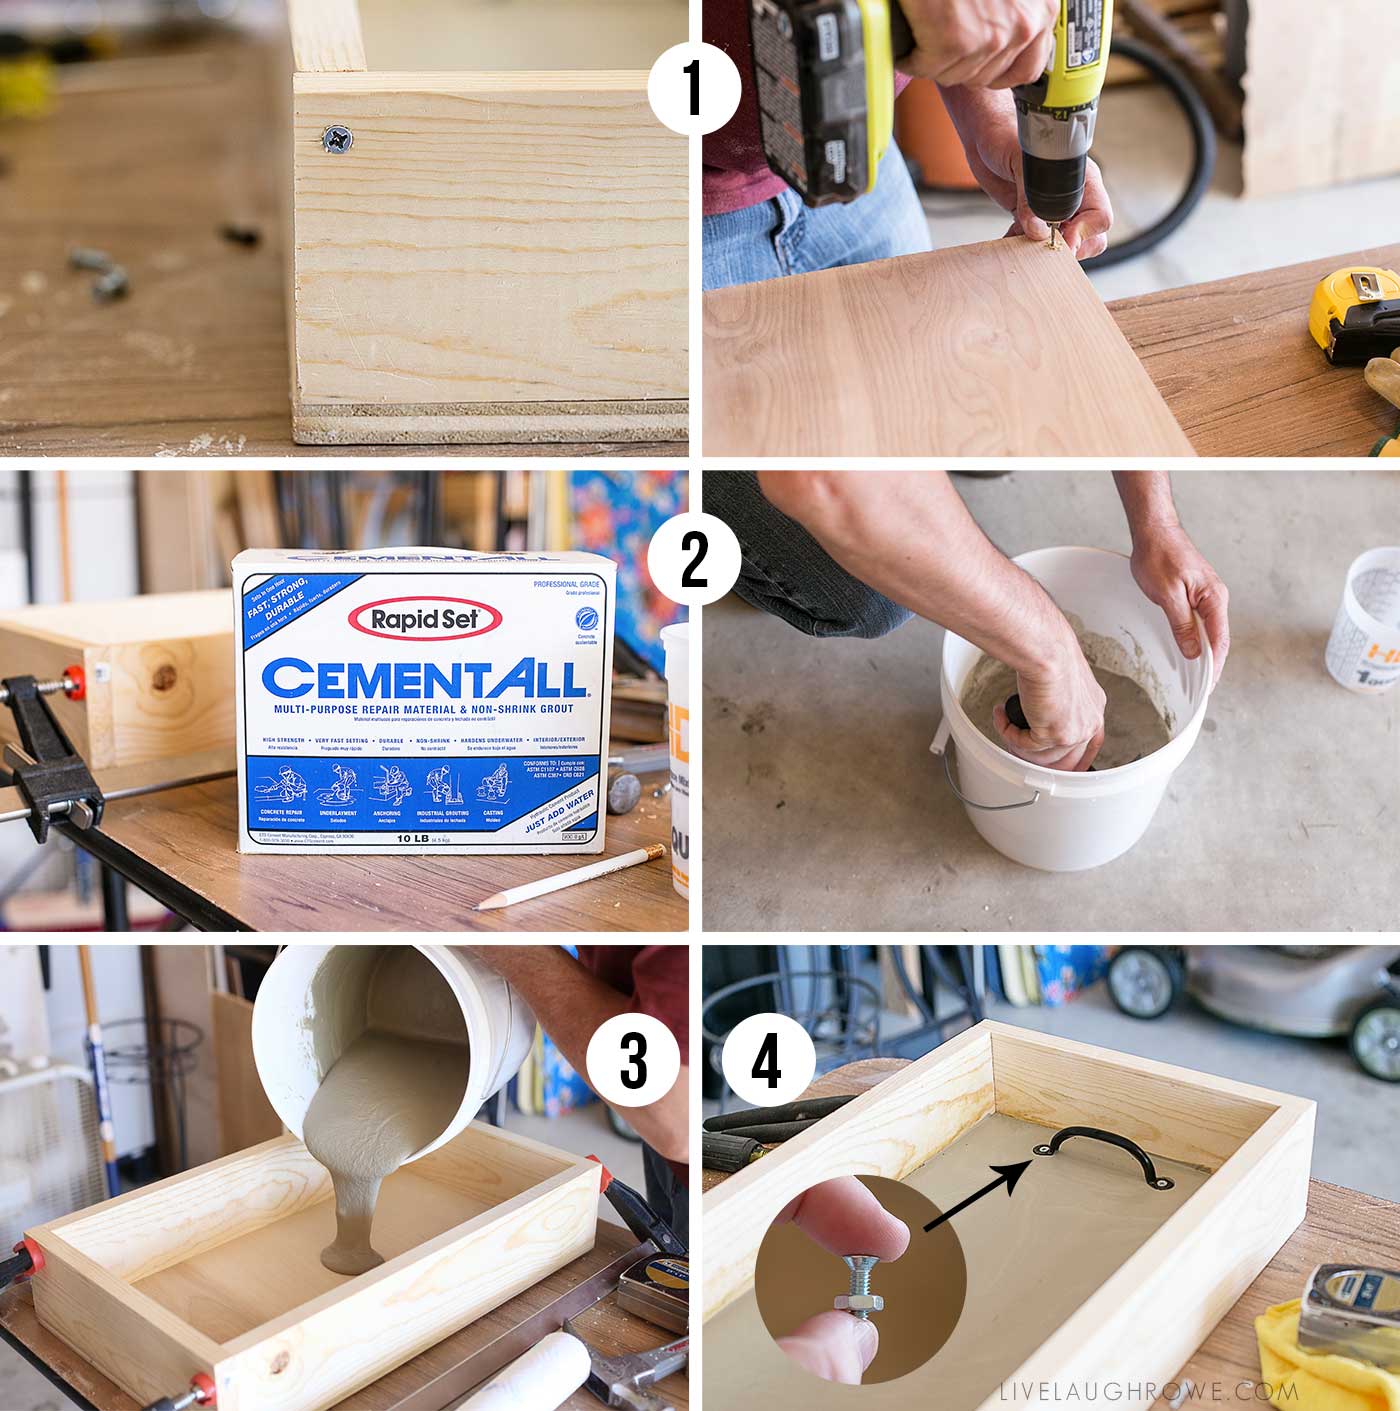
Step One: Build the Mold
Use a circular or table saw to make all the appropriate cuts from the common board and plywood. Smooth the edges with a sanding block.
Lay (2) 18-1/2 sections vertically on the table. Then, lay the (2) 11-1/2 sections horizontally at the top and bottom of each of the 18-1/2 sections to form a rectangular mold.
Pre-drill holes using the 1/8″ drill bit and secure the frame with screws. Place plywood on top of the frame and attach with screws.
TIP: Another option for assembling the mold is to use screws on the bottom and use a clamp on either side of the mold (pictured above in #3). We did it both ways since we had a couple of failures.
Step Two: Cement
Mix 80 oz. of cement with 20 oz. of water in a mixing pail and stir well. The cement should have the consistency of cake batter.
Pour cement into the mold and distribute evenly using a trowel or shaking the mold. This filled my tray approximately 3/4″ inch. Adding a little extra water seemed to help the cement settle and level in the mold much nicer.
Allow to set for 2-3 hours. After an hour, we removed the mold on one tray, but a handle fell off. I let the tray sit longer after that experience, so I wanted to give you a heads-up.
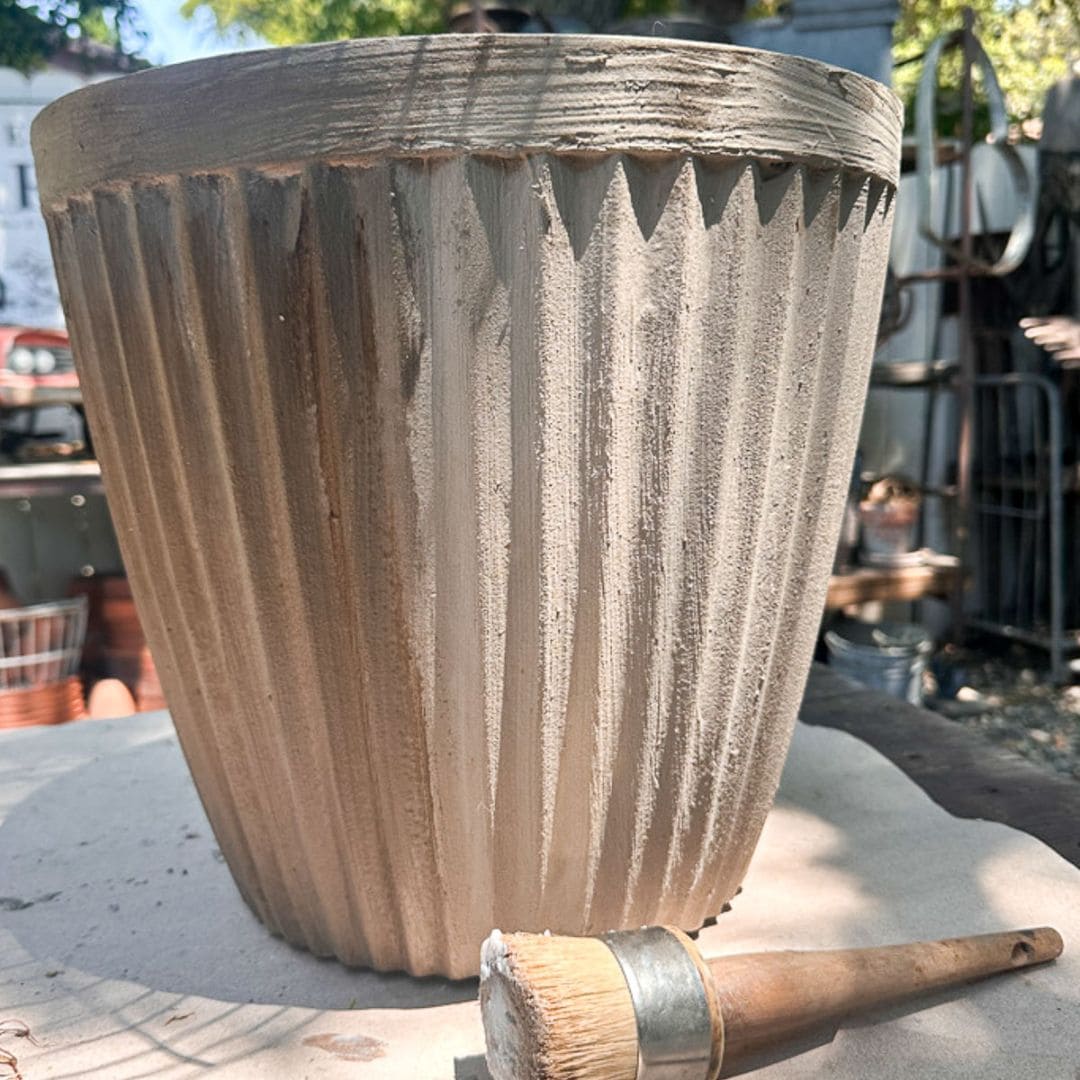
TIP: Generously apply cooking spray to the bottom and sides of the mold for easier removal of the mold after the cement has been set.
Step Three: Prepare Handles
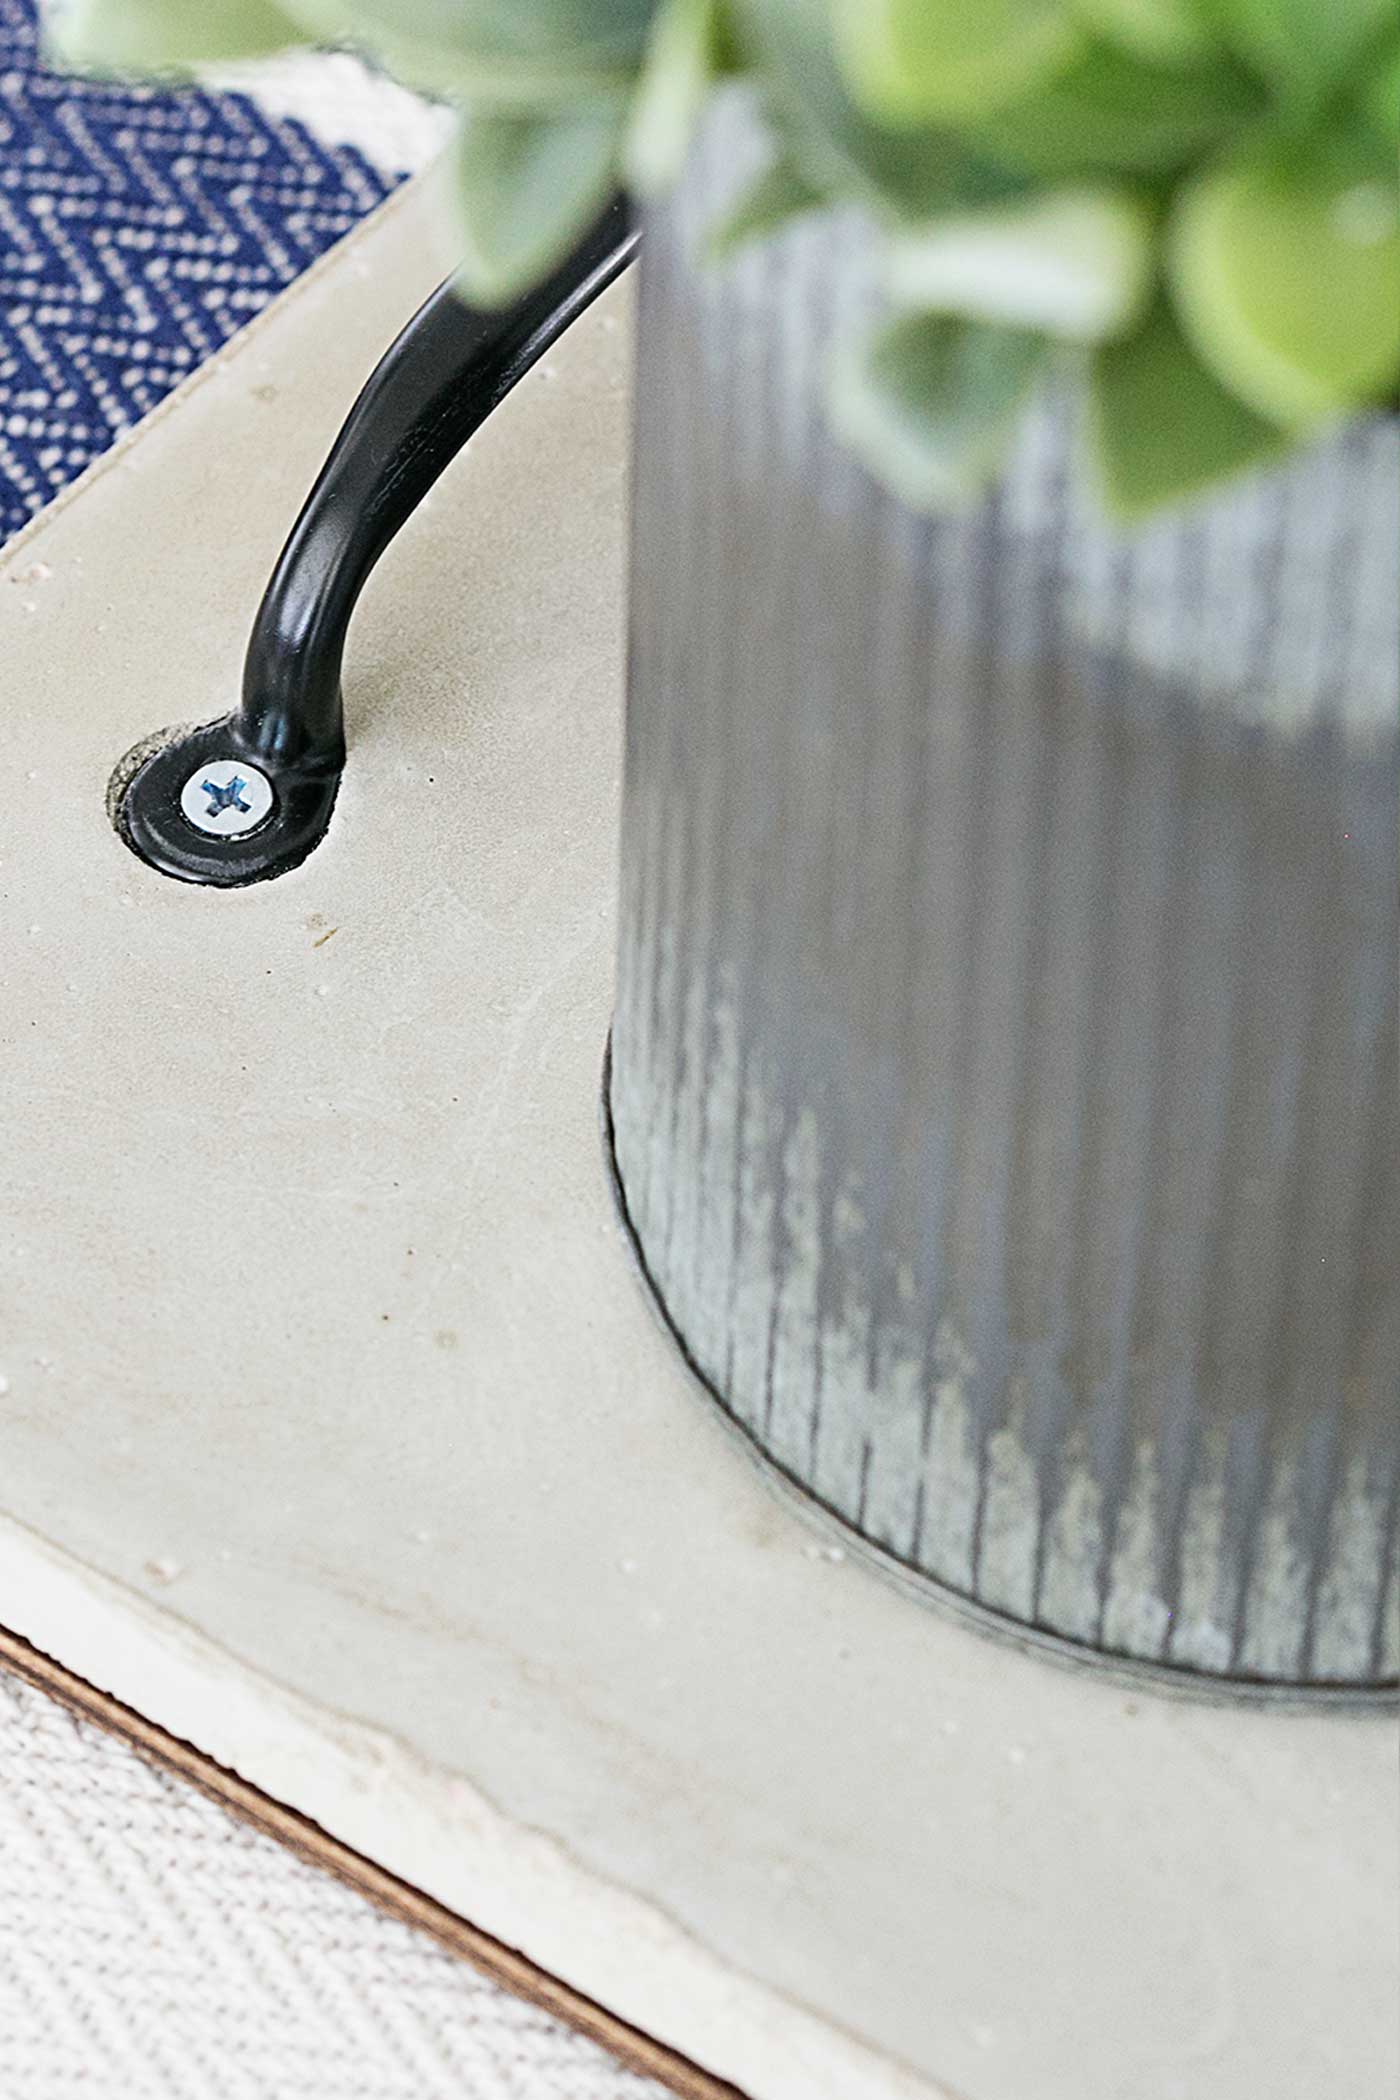
Prepare pull handles for insertion into cement. Place the screw into the top of each handle and attach a nut to the bottom.
Ten to 15 minutes after the cement is poured, insert it approximately 1″ from the side into the cement, and be sure it’s centered. Push from the top of the handle.
Step Four: Remove Mold
Once the cement has set, remove screws from the plywood to remove the mold from around the tray. Start with the side pieces first, then remove the screws from the bottom pieces. If possible, have someone hold the tray by the handles and tap around the tray until the plywood releases.
Step Five: Sand the Tray and Attach Bumpers
Use the power sander to smooth this concrete DIY project’s sides, corners, and top.

NOTE: Did you notice the top of the tray has a glossy look? That’s from using the power sander on it. It made it super smooth and shiny. LOVE!
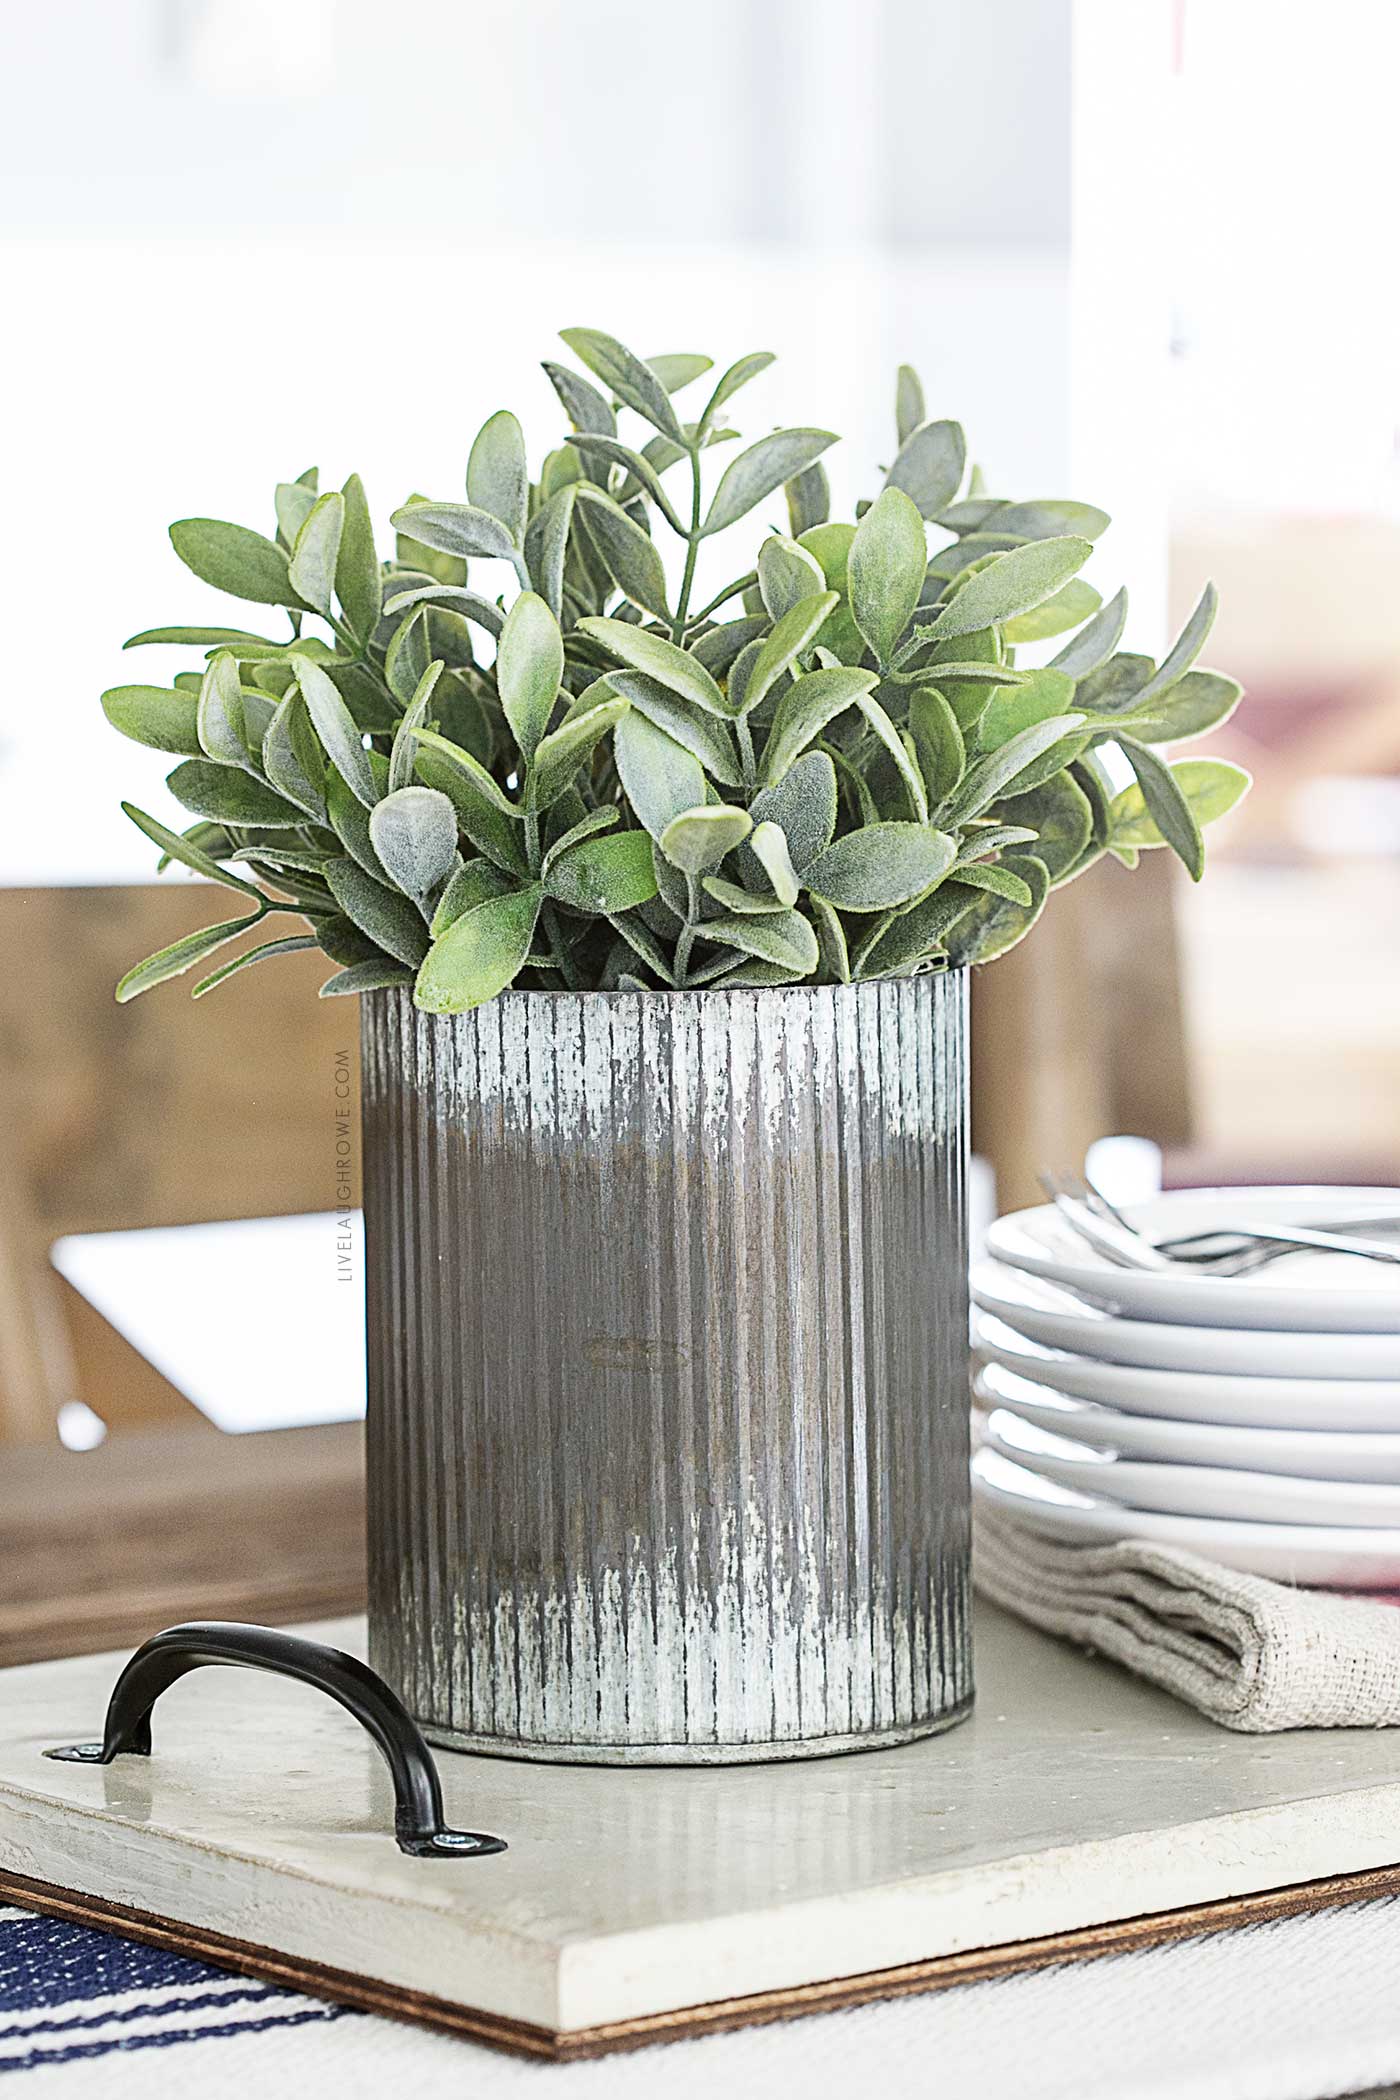
You’re technically done! Woo-hoo. As you can see, I chose to use the 18 -1/2″ x 10″ x 1/8″ piece of plywood that I mentioned was optional (above) as a base. I stained it with Minwax Early American stain. Attach the plywood to the cement with cement adhesive (or use it as an accessory). Either way, I love this addition! It adds a little extra flair.
As you can see, there are plenty of imperfections, but they are beautiful imperfections (in my humble opinion). I think the black and gray feels very industrial. What do you think?
Be sure to check out some of my other DIY projects, too.
Additional Projects from the Handcrafted Society:


Pssst. Are you enjoying the content? Buying me a coffee or two occasionally is a fabulous way to support all my hard work and the content I provide. Thank you!

*This post was originally published on June 12, 2017, in collaboration with Home Depot.


Melissa says
So cute, but it seems like a lot of work to me! Can you just make one for me to purchase? Lol!
Kelly Rowe says
Thanks, Melissa! It’s really not a lot of work… but you have to be prepared for hiccups. I’m not sure I’ll ever make another concrete tray after this one. Haha! -xo
Diana / Dreams Factory says
It looks amazing, Kelly!
Definitely pinning this for future inspiration, you can never have too many pretty trays! 🙂
Kelly Rowe says
Thanks a million, Diana! And I agree, one can never have too many trays 😉
Ashley Broviak says
Love it! Beautiful job as always!!!
Kelly Rowe says
Thanks, Ashley! This project was exhausting… concrete is not my friend (haha)! Hugs.
Amanda Hernandez says
Can you make more than one with the one wood base?
Kelly Rowe says
Hi Amanda. Do you mean, can you use the mold to make more than one? If so, yes — you would just have to reassemble the mold to pour another try. I hope that helps. Cheers!
Donna says
Kelly, This is such a fun idea! I adore trays and have not seen one made out of concrete! You are so creative and I love how the top of the tray looks so shiny after you sanded it. Pinning now!
Anna says
Hi Kelly – I love how your tray turned out. Yes, the ultra smooth finish on the top is beautiful and classy. I had no idea a power sander could make that type of finish on concrete. Thanks for the great tutorial!
Missy says
This is so beautiful! I love the handles and how you were able to get a glossy finish. Great project!
Michelle | Thistle Key Lane says
Kelly, the finish on your tray is so pretty, and I am loving the industrial vibe it has too. The handles are just perfect!
Kim says
Kelly, I love how this tray turned out! It looks fantastic, and I love the glossy surface of the top of the tray. Beautiful job!
Linda Ruth says
Hi Kelly,
I love the tray good job I just might try it !
Kelly Rowe says
Hi Linda! Yay! Be sure to let me know how it goes.