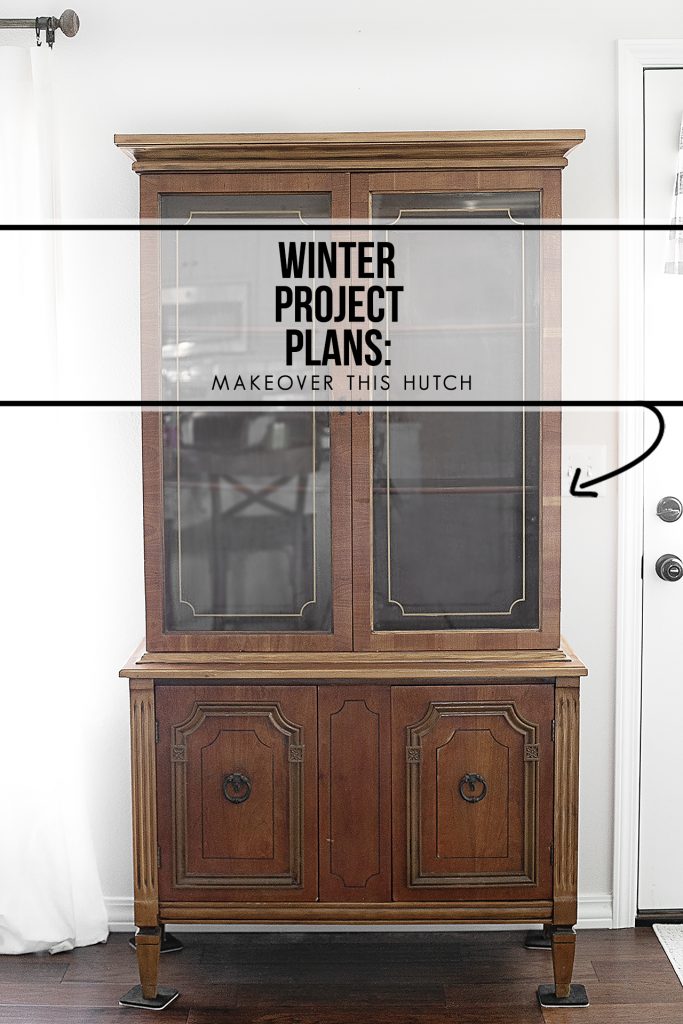
Recently I decided that I wanted a little more storage in our dining area. So, I committed to finding a hutch and making it my winter project.
Yes, a new hutch would be ideal, but I didn’t want to spend anywhere from $500 to $2500 on a quality hutch either. So I jumped on Facebook Marketplace and spent a lot of time searching and corresponding with sellers.
Hutches were listed and sold very quickly. Maybe everyone else was looking for a winter project too (haha). Nevertheless, with a little patience and due diligence, I finally found a hutch.
I’m so excited to show you the hutch I purchased. Obviously, I’ll be sharing some of the changes it’s gotten so far too.
And maybe, just maybe, I’ll show you a picture of its current state.
Eeeeks. No peeking (or scrolling….).
Also, if you stick around long enough — I’m looking for some opinions on color. Mmmkay?
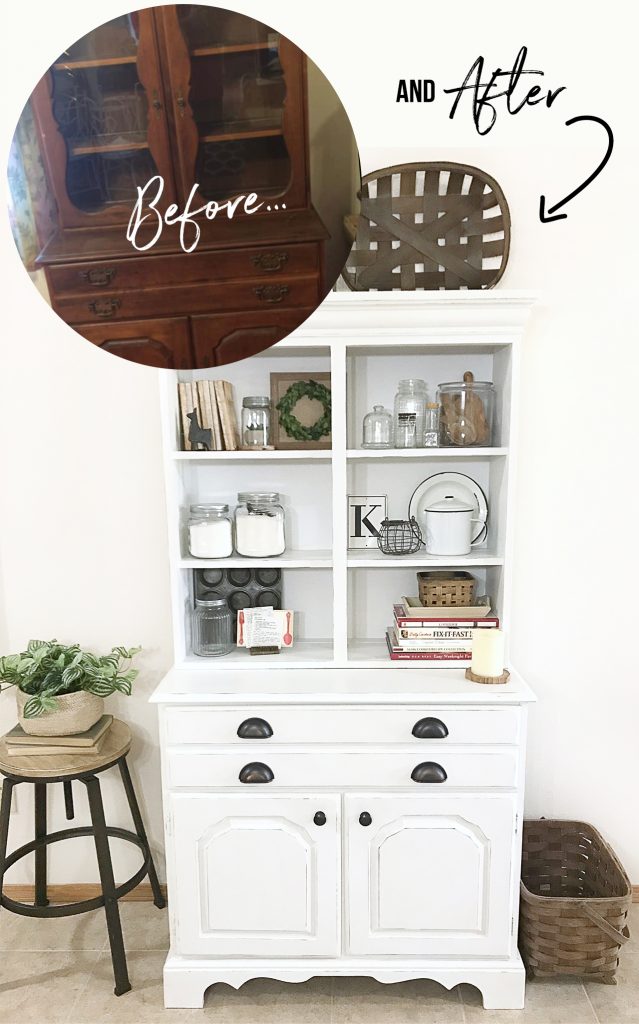
First and foremost, I wanted to share that my sister is who inspired me. Last year she bought a hutch and gave it a makeover. I asked her for these pictures so I could share them with you.
The Hutch
And here is the star of the show…
Drum roll, please.
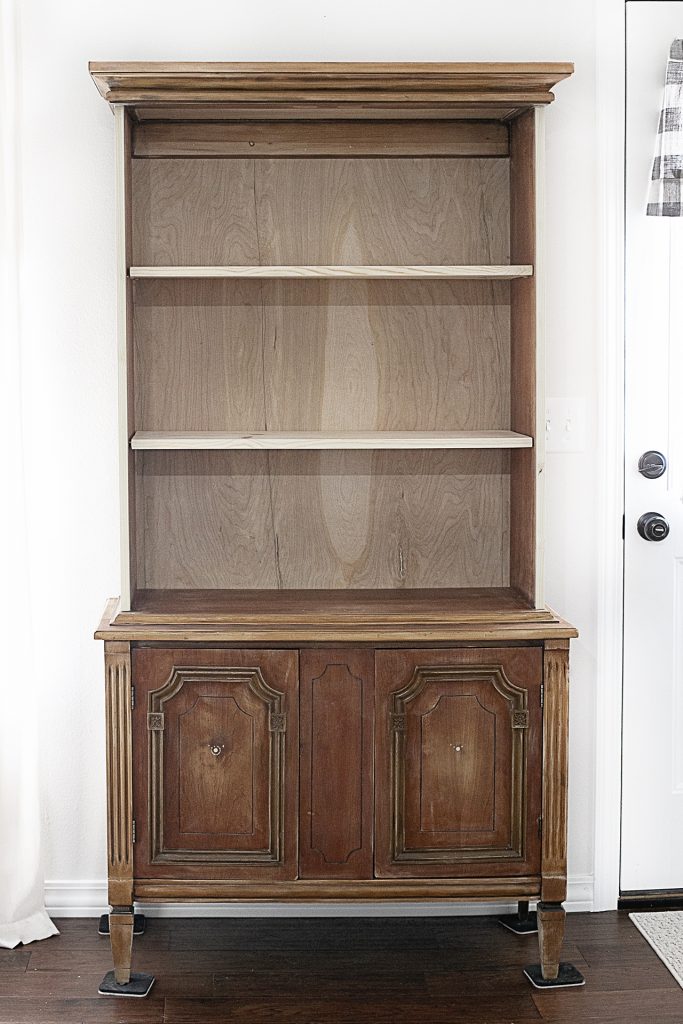
The vintage hutch I purchased for $95 on Facebook Marketplace.
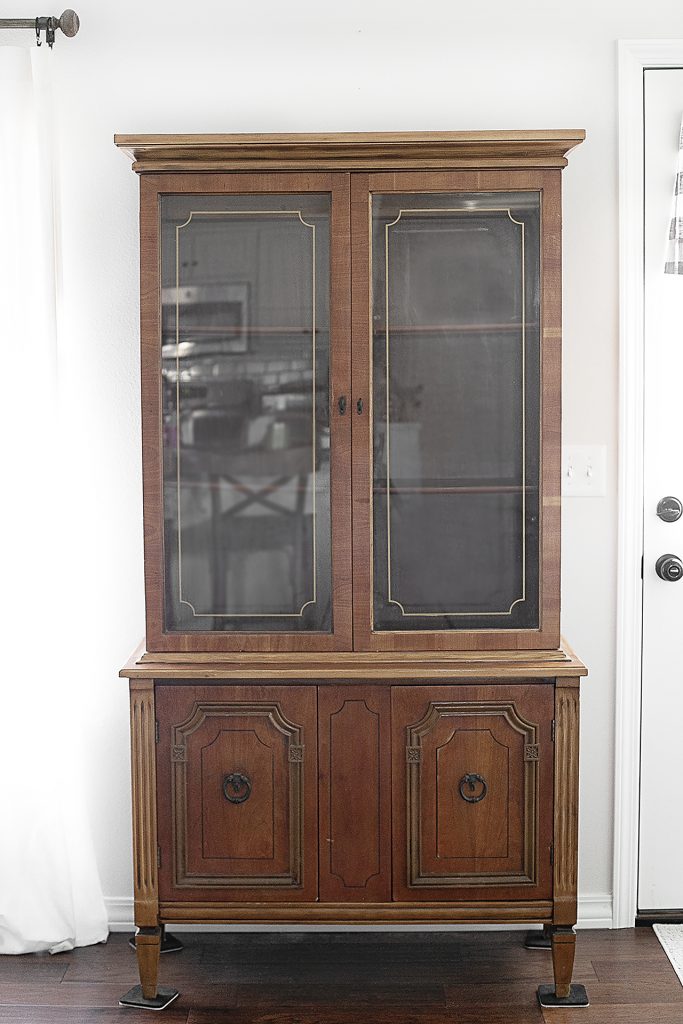
At first glance, it’s certainly not a show stopper. Right? However, if you look at it with a little possibility and vision — a star could be born. And it will make a great winter project.
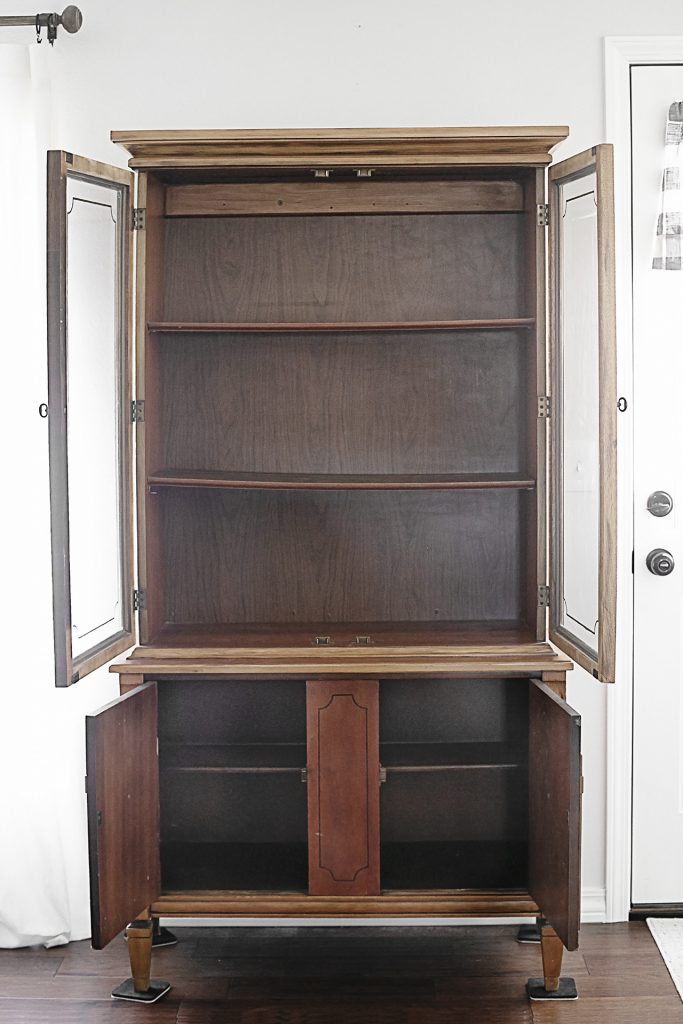
Secondly, let’s take a look at the inside.
Other makeovers to check out:
Mantel Makeover
Thrifted Side Table Makeover
Mirror Makeover
Chair Makeover
Can you see why I called it a winter project? I’ll be doing work on it here and there. And will have the mister help me on a few things when he can. Quite a few pieces need repairs and/or replacements.
Winter Project: Changes and Repairs
Here’s what we did…
1. I removed the glass doors and they won’t be replaced. Therefore the hinge spots (a bit inset) on the hutch framing will need to be built out.
2. We removed the back paneling replace it. It was sadly cheap and flimsy.
3. I had planned to replace the shelves before buying the hutch. The original shelves are/were warped.
On a side note, I thought about not bringing the shelves home, but I wanted a before picture. Thankfully, the shelves weren’t attached to the sidewalls, making replacement much easier.
In fact, I probably wouldn’t have bought the hutch if the shelves were attached.
4. I removed the handles on the bottom doors.
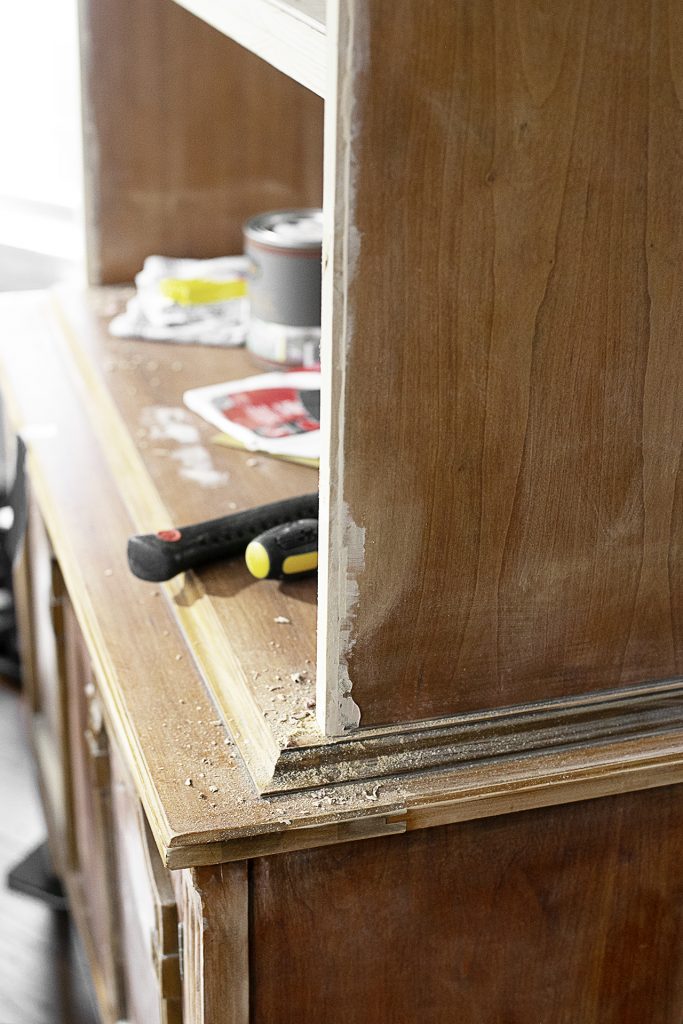
5. You can’t see this in the picture, but there was water damage to the top of the hutch. If it only affected the top exterior, I’m not sure I would have been concerned. However, it warped the top of the interior hutch area too.
Without having to destroy the entire top of the hutch, we simply added birch plywood to the interior and used common wood to add support to the top. With the use of glue wood and nail brads, it obviously looks as good as new.
6. Added support to the shelf in the bottom cabinet area.
7. And finally, I’ll be buying some new knobs… and relocate them.
We’ve started the work and we’ve definitely done our fair share of wood puttying, sanding, and more.
Without a doubt, this winter project has already come a long way. What do you think?
Indecisiveness
So, I thought about adding a pop of color. After going to the store, I was leaning towards a blue-green color and brass knobs. Doesn’t that sound magnificent?
On the other hand, I have very neutral home decor. Therefore, I was having a great deal of anxiety at the thought of adding a pop of color. The struggle is real, friends (insert facepalm).
Subsequently, I’m now deciding between the following three options for the finishing touch on this winter project.
(PLEASE NOTE: The photos below are only being provided as a visual. These are not the colors or stains that I have chosen per se).
One: Light gray hutch with a white interior (shelves and backing).
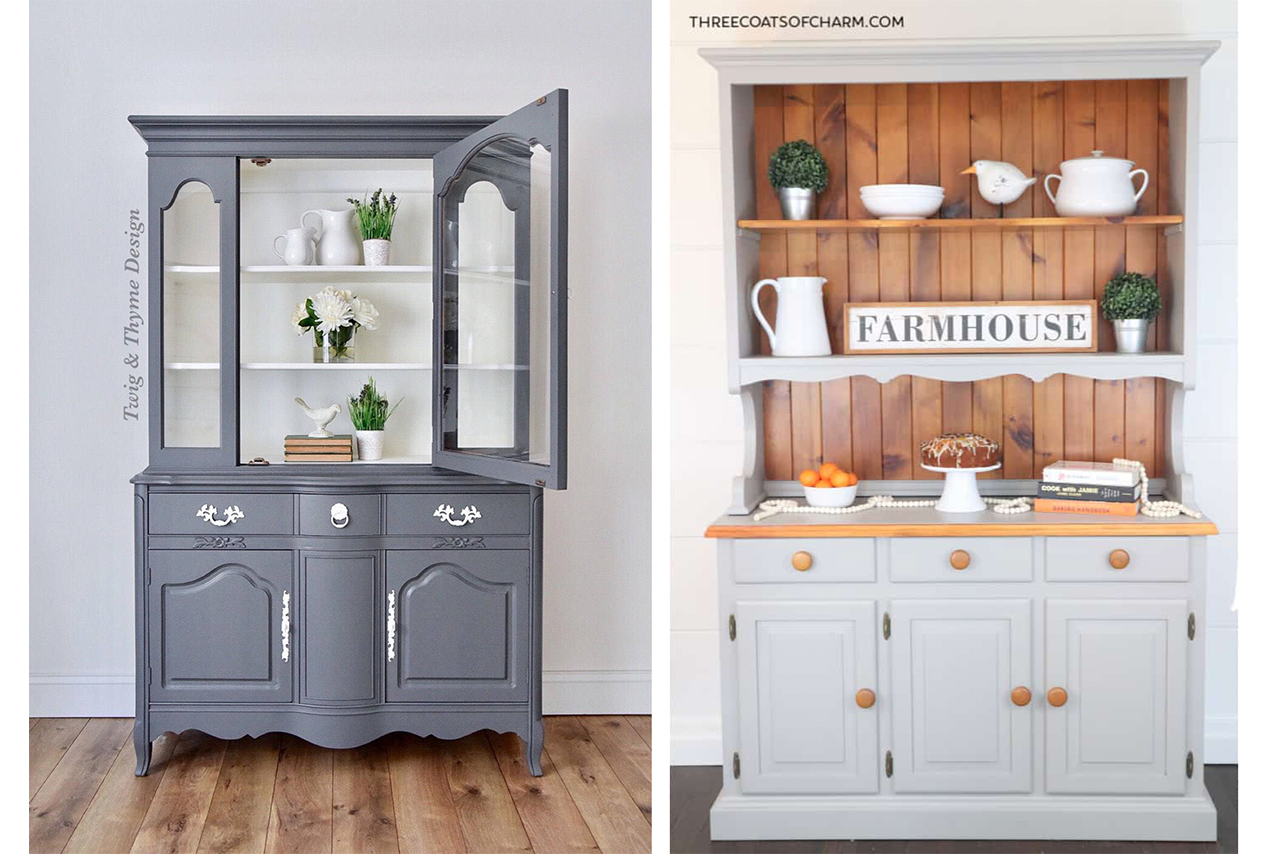 Two: Light gray hutch with a light-colored stain interior (shelves and backing).
Three: Solid light gray.
I’d love to hear your thoughts in the comments… I’m leaning towards option two. In short, I’m in love with the idea of the two-tone of the light gray paint and stain. However, I’m keeping my options open.
Winter Project: Sneak Peek
So, here is the current status of my winter project…. excuse the dirty floor, we keep tweaking small things and I was apparently too tired to notice or too lazy to clean it. Hee hee.
Next up…. paint or paint and stain. Stay tuned.


Rebecca Payne says
I love the white color and the pull handles.
Kelly Rowe says
Hi Rebecca. Yes, that was my sisters’ hutch. Didn’t it turn out beautifully? I already have a large white piece in my dining area, so I’m trying to avoid another white piece. Stay tuned. Cheers!
Joseph says
hi this is not vintage its turn of the century bottom pioece only top shelf part was added never paint White wood grain will absorb the paint and refinishing later will be impossible go with a woos stain light dark ?? paint the original knobs ant color I would not replace them are they brass ?? I have my moms hutch and side boy 1935b Birdseye maple the glass door keeps my dinnerware free of dust
Karen Carey says
Hi,
I love the light gray with whit interior.
I also wanted to let you know that I love your blog and have found a lot of inspiration. I am currently working on the tic tac Valentine’s Day project. Thank you for the wonderful projects.
Kelly Rowe says
Hi Karen. Thanks so much for sharing your preference on the hutch with me — and for your kind words. I’m so happy to hear that you’re finding inspiration. I truly appreciate hearing that. Have a blessed week. Hugs and Blessings.
Stephanie says
I like the grey and stain option. Looking forward to seeing it completed.
Kelly Rowe says
Hi Stephanie. Thanks so much for sharing your preference. I hope to finalize my decision sooner than later. Hugs and Blessings!
Dayna Hemmelgarn says
I love the dark grey, and I think wall paper in a grey and white pattern would be very pretty! I know whatever you choose it will kook beautiful!