Have you tried your hand at punch needle art? Within this art exists a medium that effortlessly blends simplicity with boundless creativity. In short, it’s amazing.
So, today, I thought we’d explore the world of punch needle art, delving into its techniques, tools, and the step-by-step process of creating your masterpiece. However, this post is more inspirational than an in-depth tutorial.
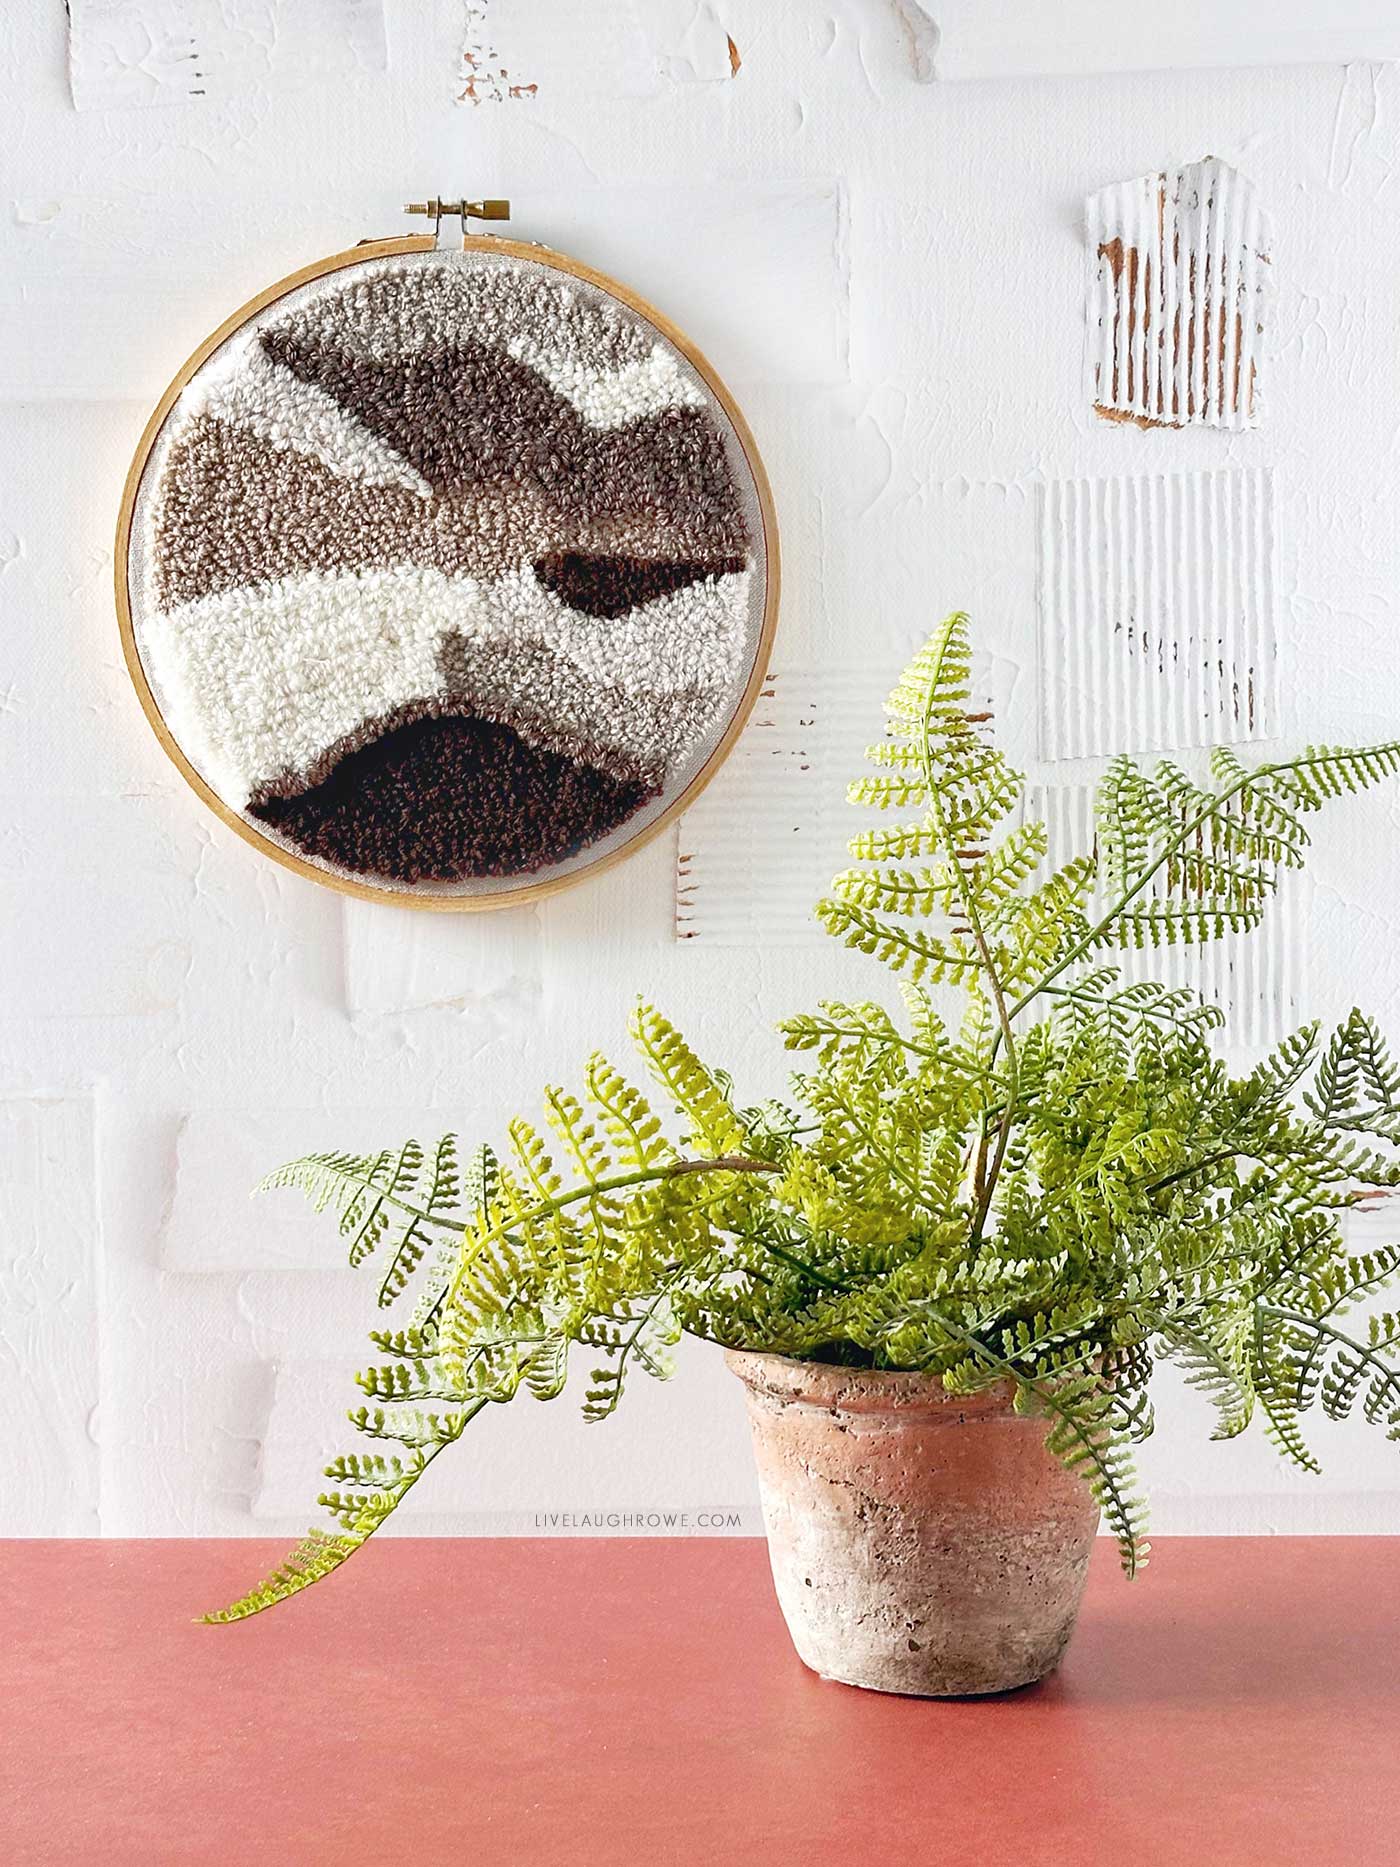
I’m fascinated with needle punching and find the texture beautiful. I learned how to do this in 2019 when I had my hysterectomy. I was on bed rest for a couple of weeks, and this helped to keep me busy.
It’s that time for another round of the Hand Crafted Society.
We’re a group of talented bloggers who meet monthly to create works using a shared medium or theme. Each participant showcases their varied perspectives and interpretations.
When you reach the end of the post, click on the image or blog name to view the full post.
Understanding Punch Needle Art:
Punch needle art, also known as punch needle embroidery or needle punching, involves using a specialized tool called a punch needle to repeatedly puncture a fabric surface, creating loops of yarn or thread. Unlike traditional embroidery, which uses a needle to stitch through the fabric, needle punching creates a textured surface with loops of varying heights, resulting in a plush, rug-like appearance.
The History of Needle Punching:
The origins of punch needle art are traced back thousands of years, with evidence of similar techniques found in cultures worldwide. Historically, punch needle embroidery was used to create rugs, mats, and other textile goods, with artisans employing simple tools made from natural materials such as wood, bone, or metal.
In recent years, punch needle art has experienced a bit of revival in popularity thanks to its accessibility and versatility. Contemporary artists have embraced punch needle techniques, pushing the boundaries of the medium and creating stunning works of art that blur the lines between traditional and modern techniques.
The Versatility of Punch Needle Art:
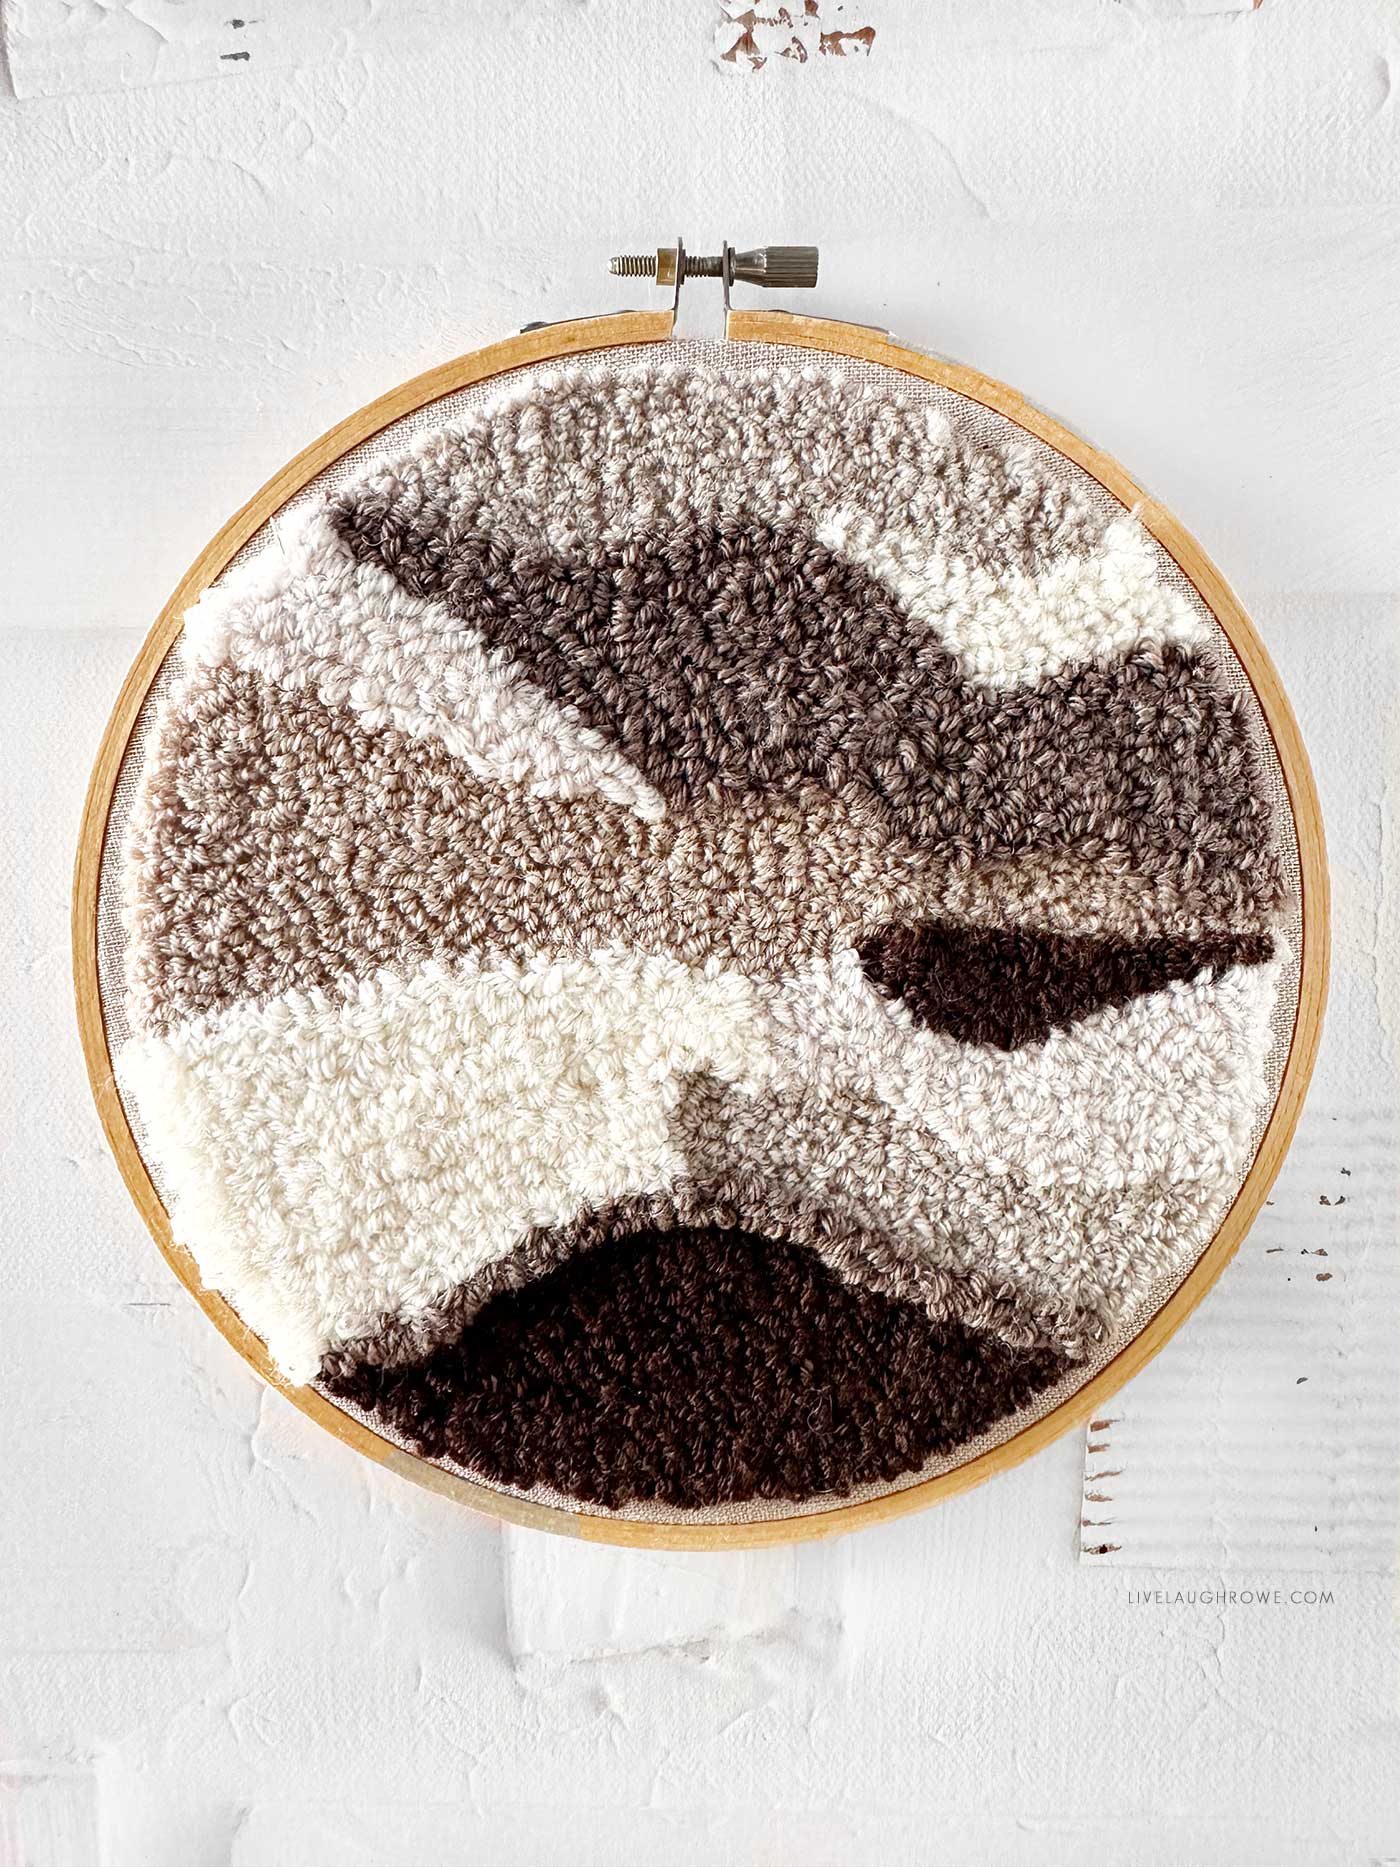
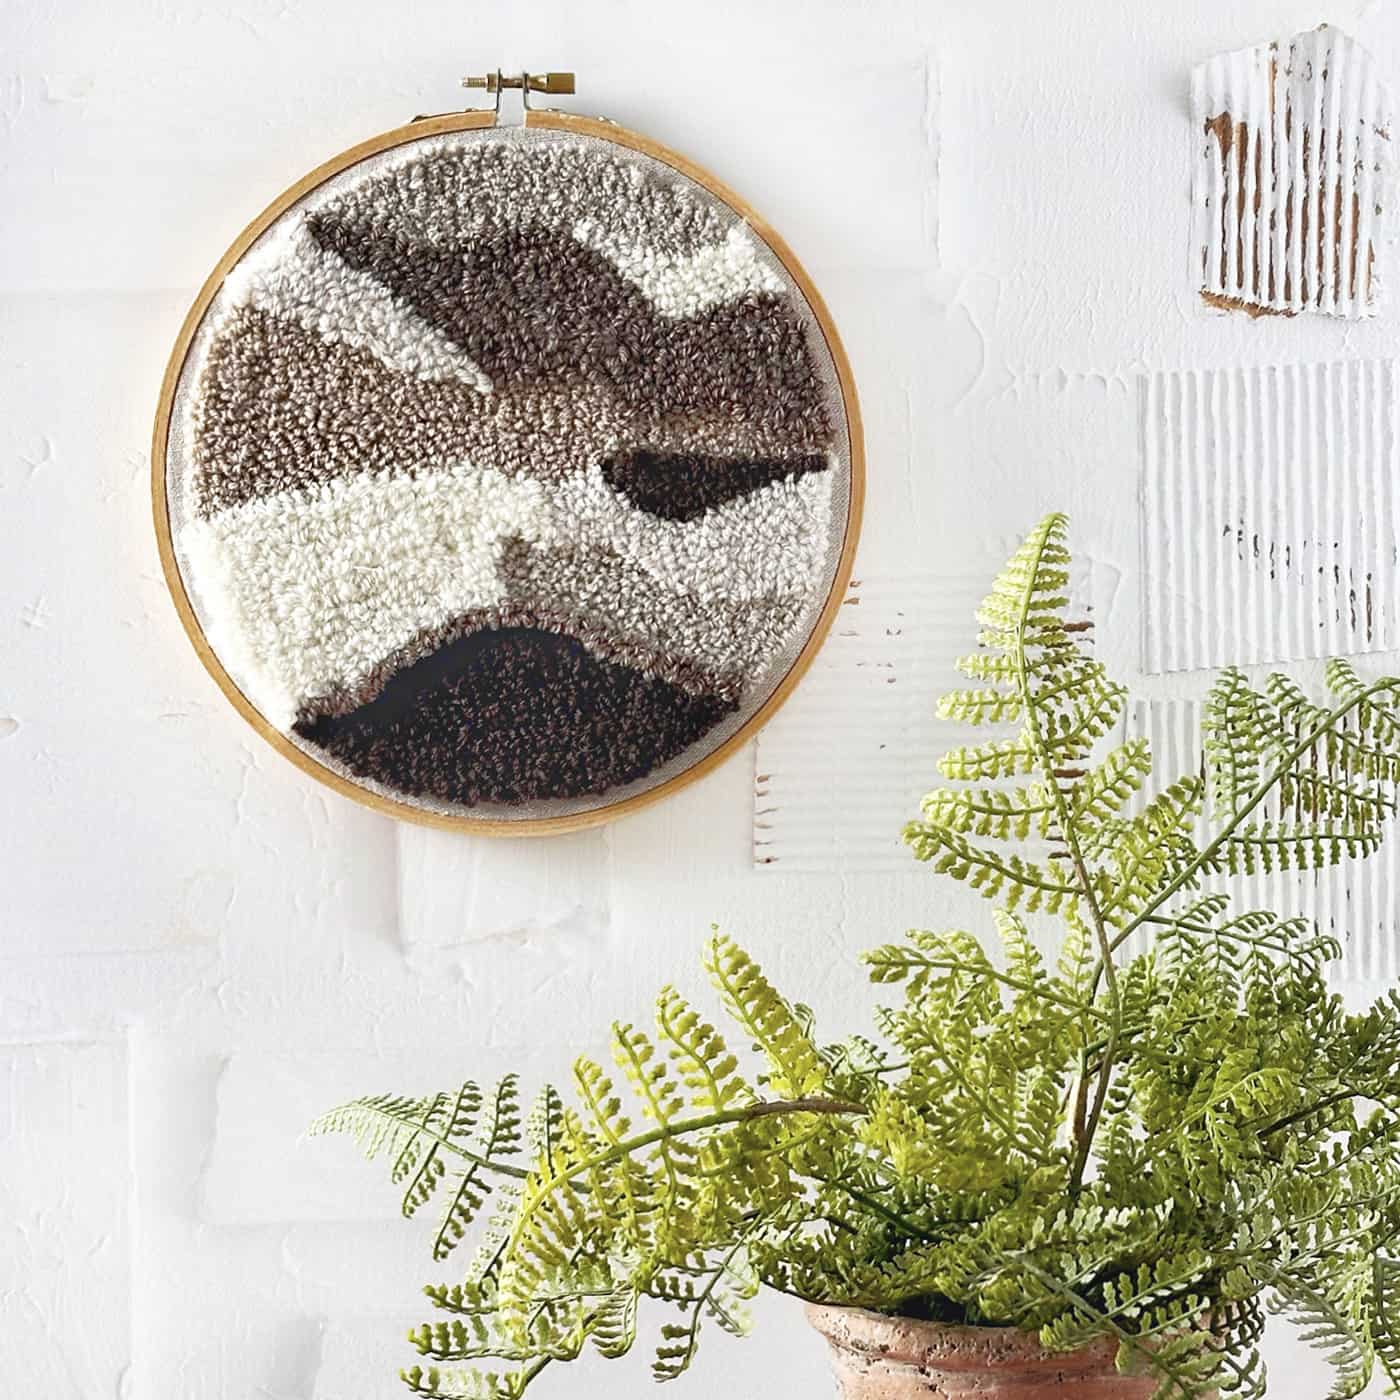
One of my favorite aspects of needle punching is its versatility. Whether you’re a seasoned artist or a novice crafter, punch needle art offers endless possibilities for creative expression. From bold geometric patterns to whimsical illustrations and abstract designs, the only limit is your imagination. Isn’t that great?
I like punching the art as I go. You can buy patterns and others for free, but I find it a way to express myself without rules.
Needle Punching Techniques and Tools:
Before diving into your first punch needle project, it’s essential to familiarize yourself with the techniques and tools involved. Here’s a brief overview of what you would need to get started:
Punch Needle Tool: The punch needle tool is the key to punch needle art. It typically consists of a handle with a hollow shaft and a needle-like attachment that allows yarn or thread to pass through. Punch needles come in various sizes to accommodate different yarn weights and textures.
Fabric: Choose a sturdy fabric such as monk’s cloth, linen, or burlap as your backing material. Using tightly woven fabrics will support the weight of the yarn and prevent distortion.
I love linen, so it tends to be my fabric of choice.
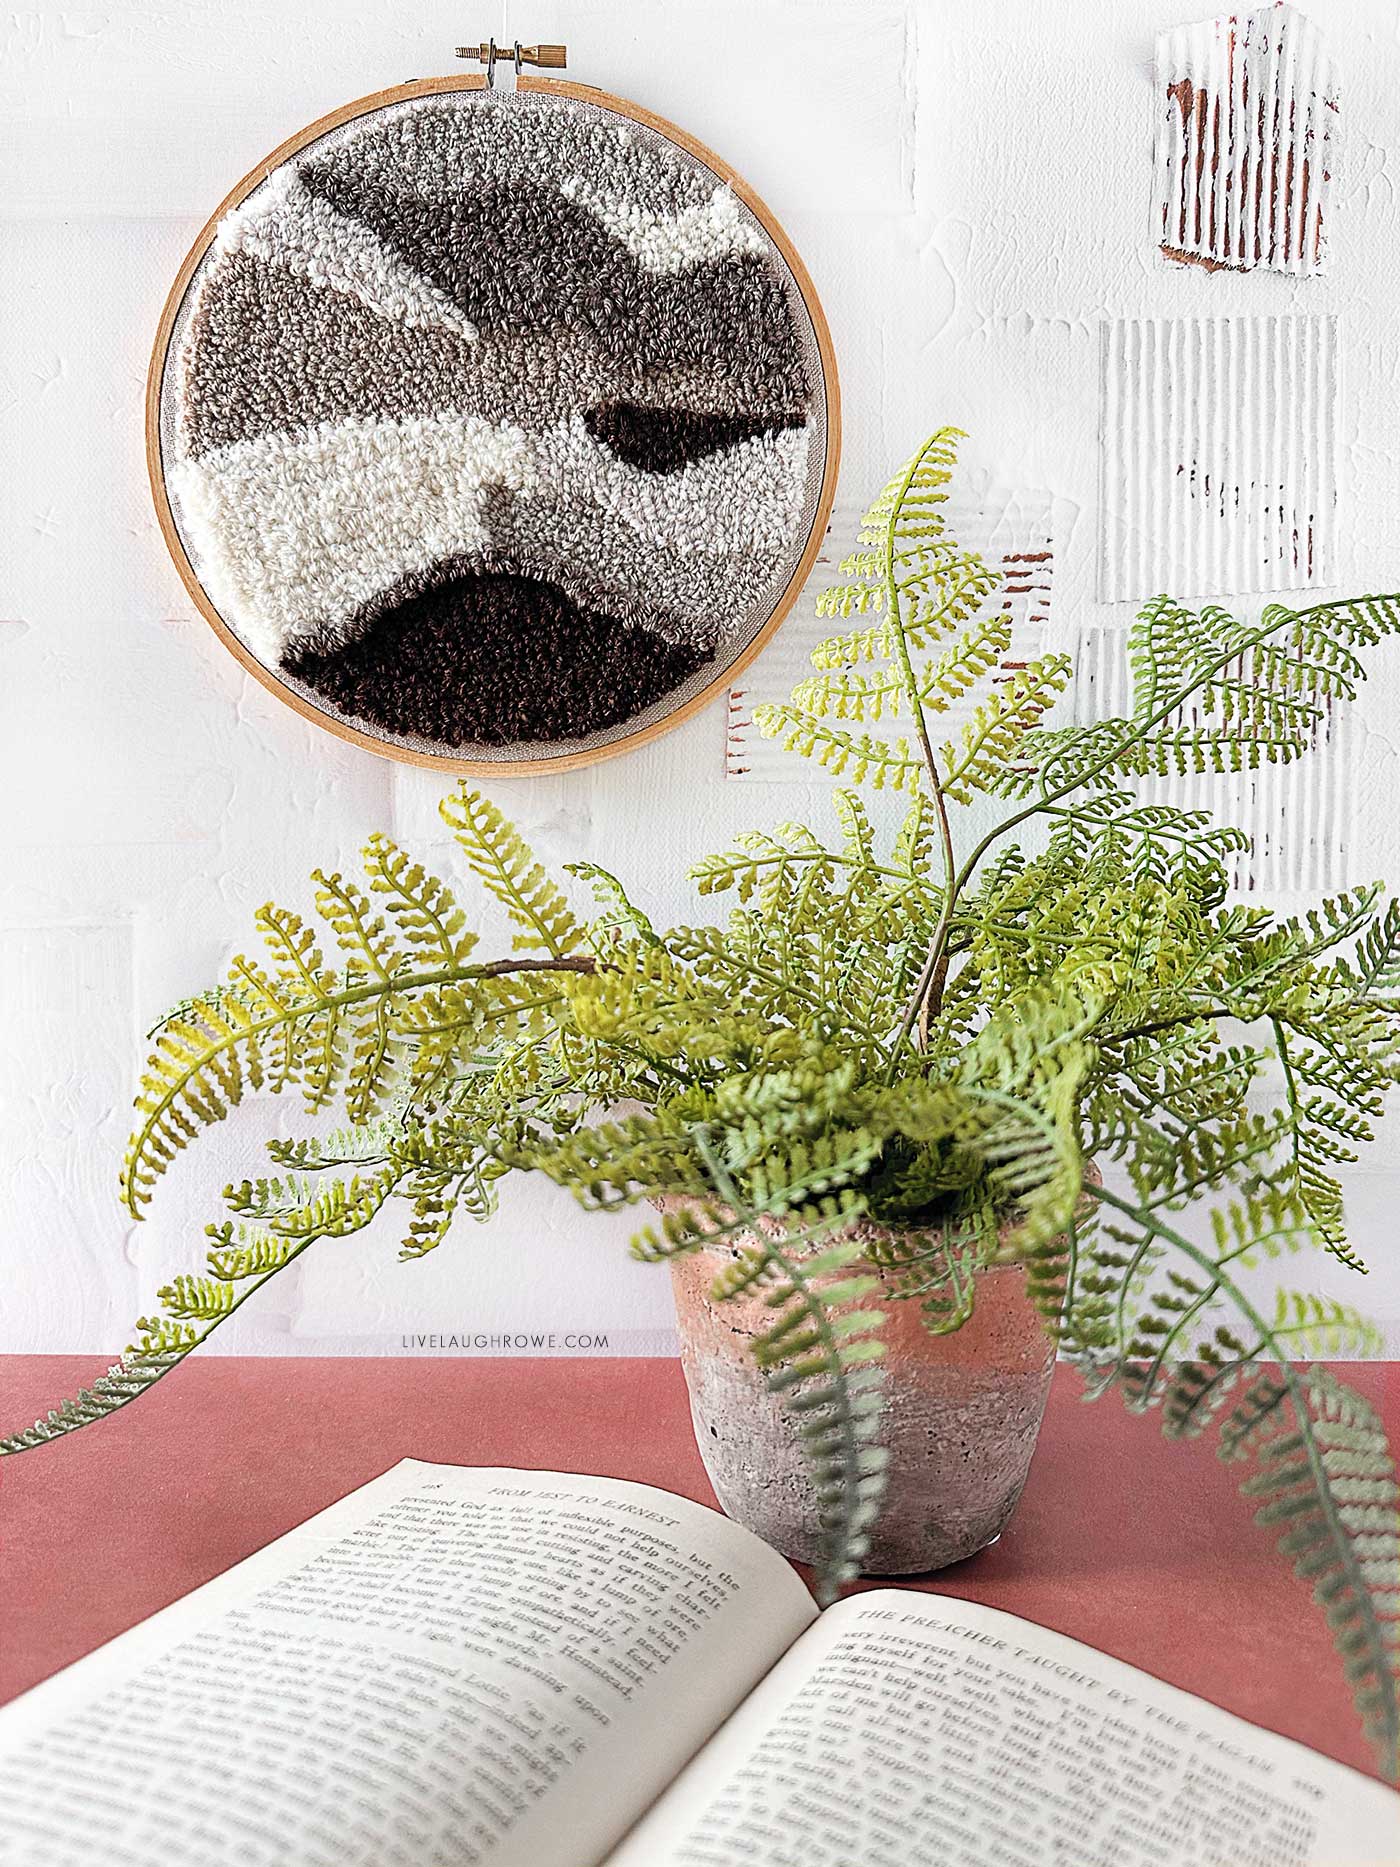
Yarn or Thread: Select yarn or thread in the desired colors and textures for your project. Experiment with different types of yarn, including wool, cotton, and acrylic, to achieve various effects.
Each type of yarn or thread will produce different outcomes. I prefer yarns with a more plush texture.
Hoop or Frame: Use a hoop or frame to stretch and stabilize your fabric while you work. Securing the fabric will help maintain even tension and prevent puckering or distortion.
Step-by-Step Guide to Punch Needle Art:
Step 1: Prepare Your Materials.
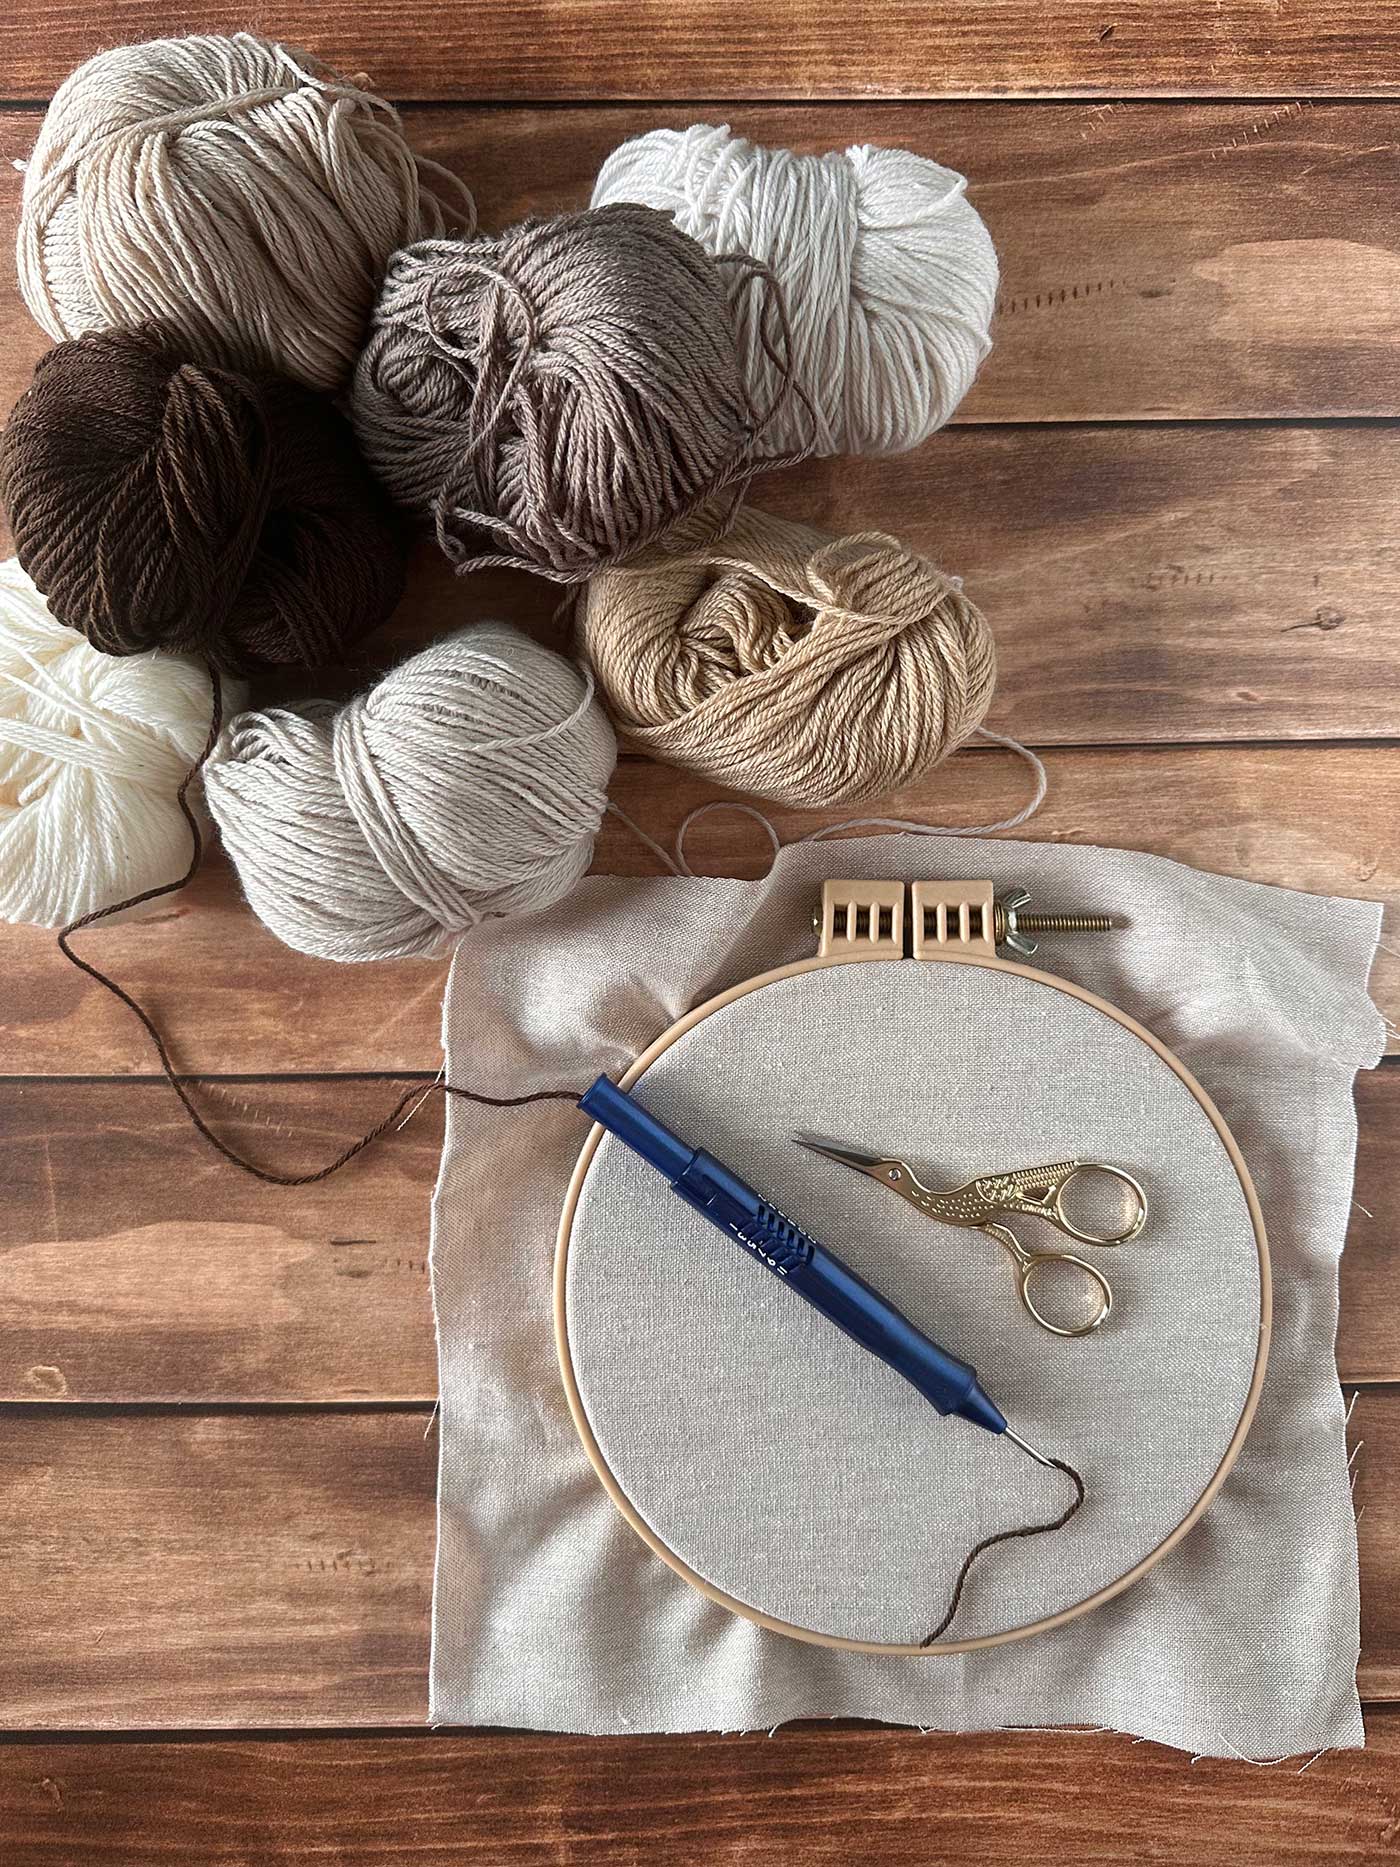
Gather your punch needle tool, fabric, yarn or thread, and hoop or frame. Unless you’re going to create something more abstract, choose a design for your project and transfer it onto the fabric using a fabric marker or tracing paper.
Step 2: Thread the Punch Needle.
Secondly, thread your punch needle tool with the desired yarn or thread, leaving a tail of yarn hanging from the back of the needle.
*I highly recommend this punch needle. It comes with thorough instructions for threading and punching.
Step 3: Start Punching.
Hold the punch needle tool perpendicular to the fabric and press down firmly to puncture the fabric with the needle. Continue punching the needle through the fabric.
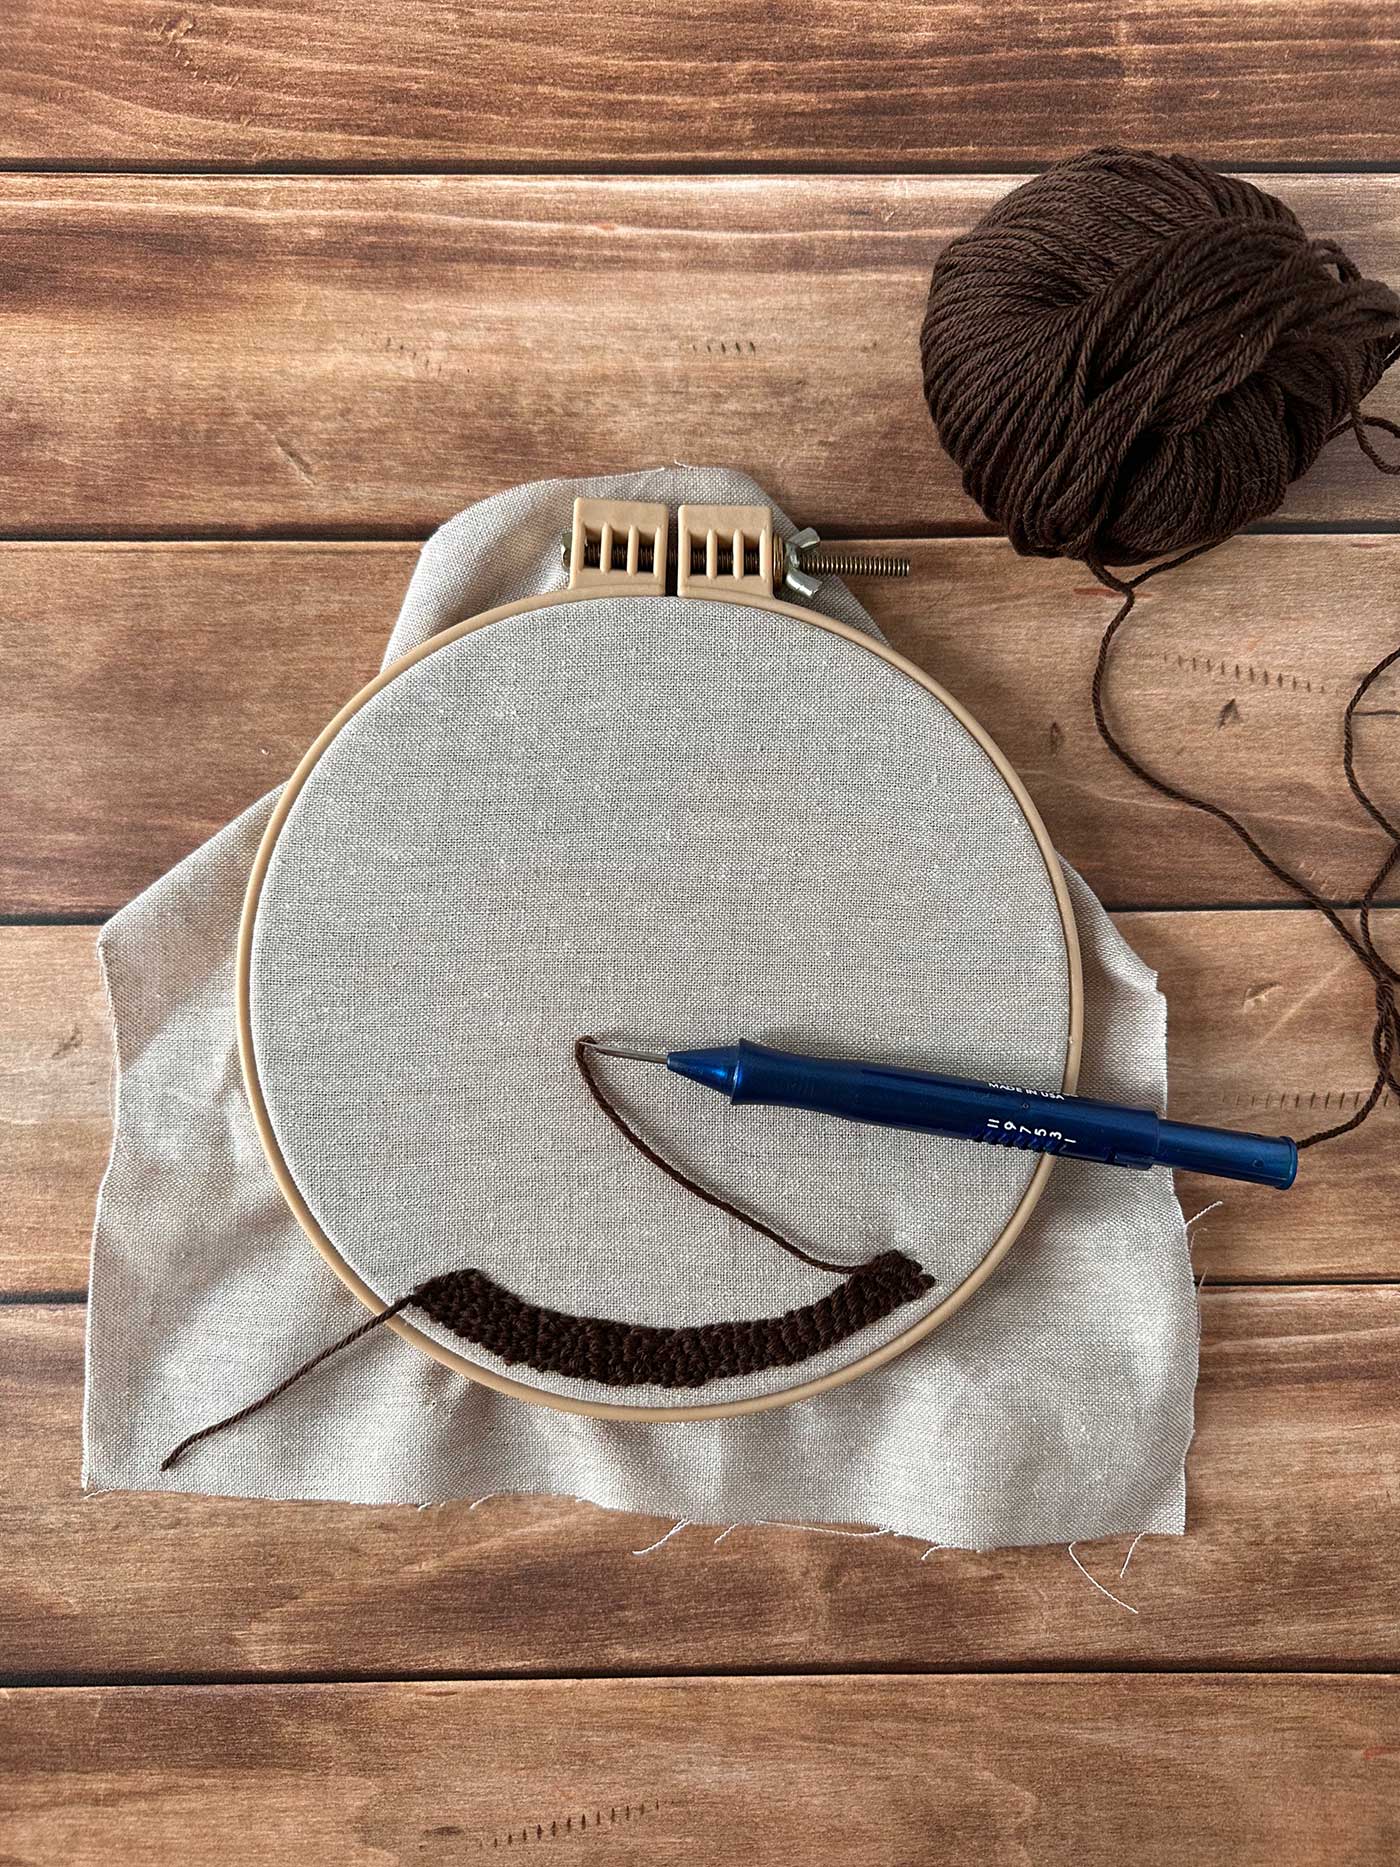
Here is a video to show you what the process looks like. Let me also mention that I am not a professional, so perfection will not be seen here (wink-wink).
Step 4: Create Loops.
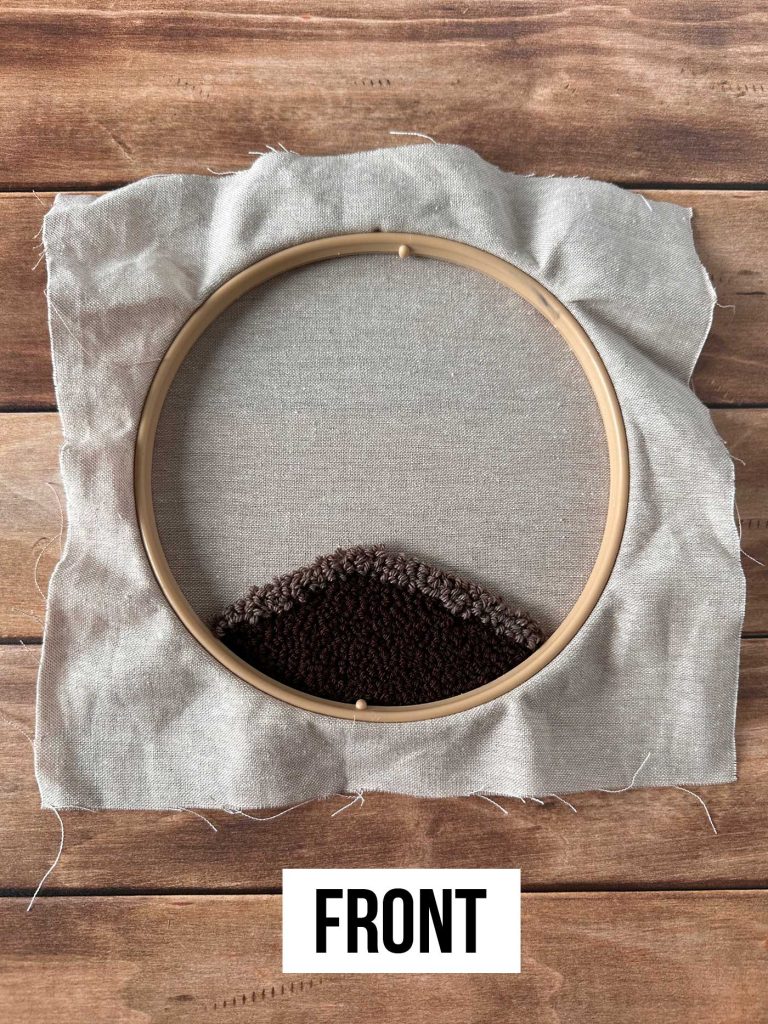
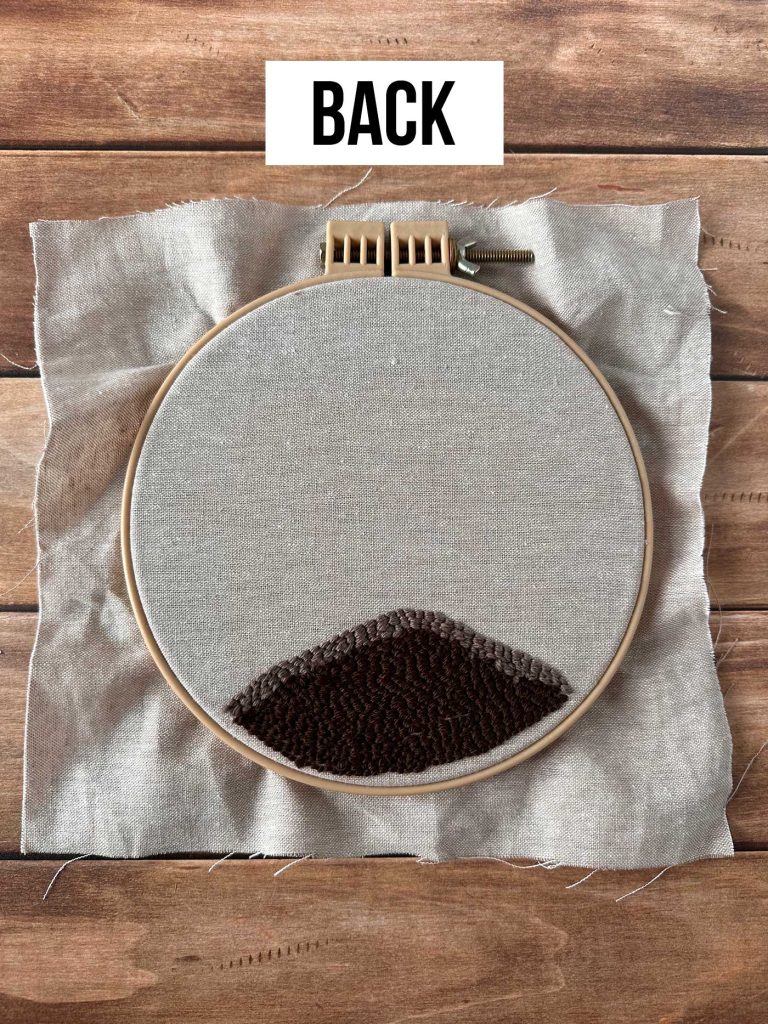
Punch the needle through the fabric. Loops of yarn will be pushed to the front side, creating a textured surface. Obviously, it is recommended to experiment with different stitch lengths and densities to achieve the desired effect.
Step 5: Create your Masterpiece.
Continue punching the needle through the fabric, creating your masterpiece with loops of yarn. Work methodically, moving from one section to another, and maintain consistent tension on the fabric. Practice makes perfect.
Step 6: Secure Loose Ends.
Once your design is complete, trim any loose yarn ends on the back side of the fabric and secure them with a knot or a dab of fabric glue to prevent unraveling. I wouldn’t say this is necessary, but it’s a great safety precaution to protect your work.
Step 7: Finishing Touches.
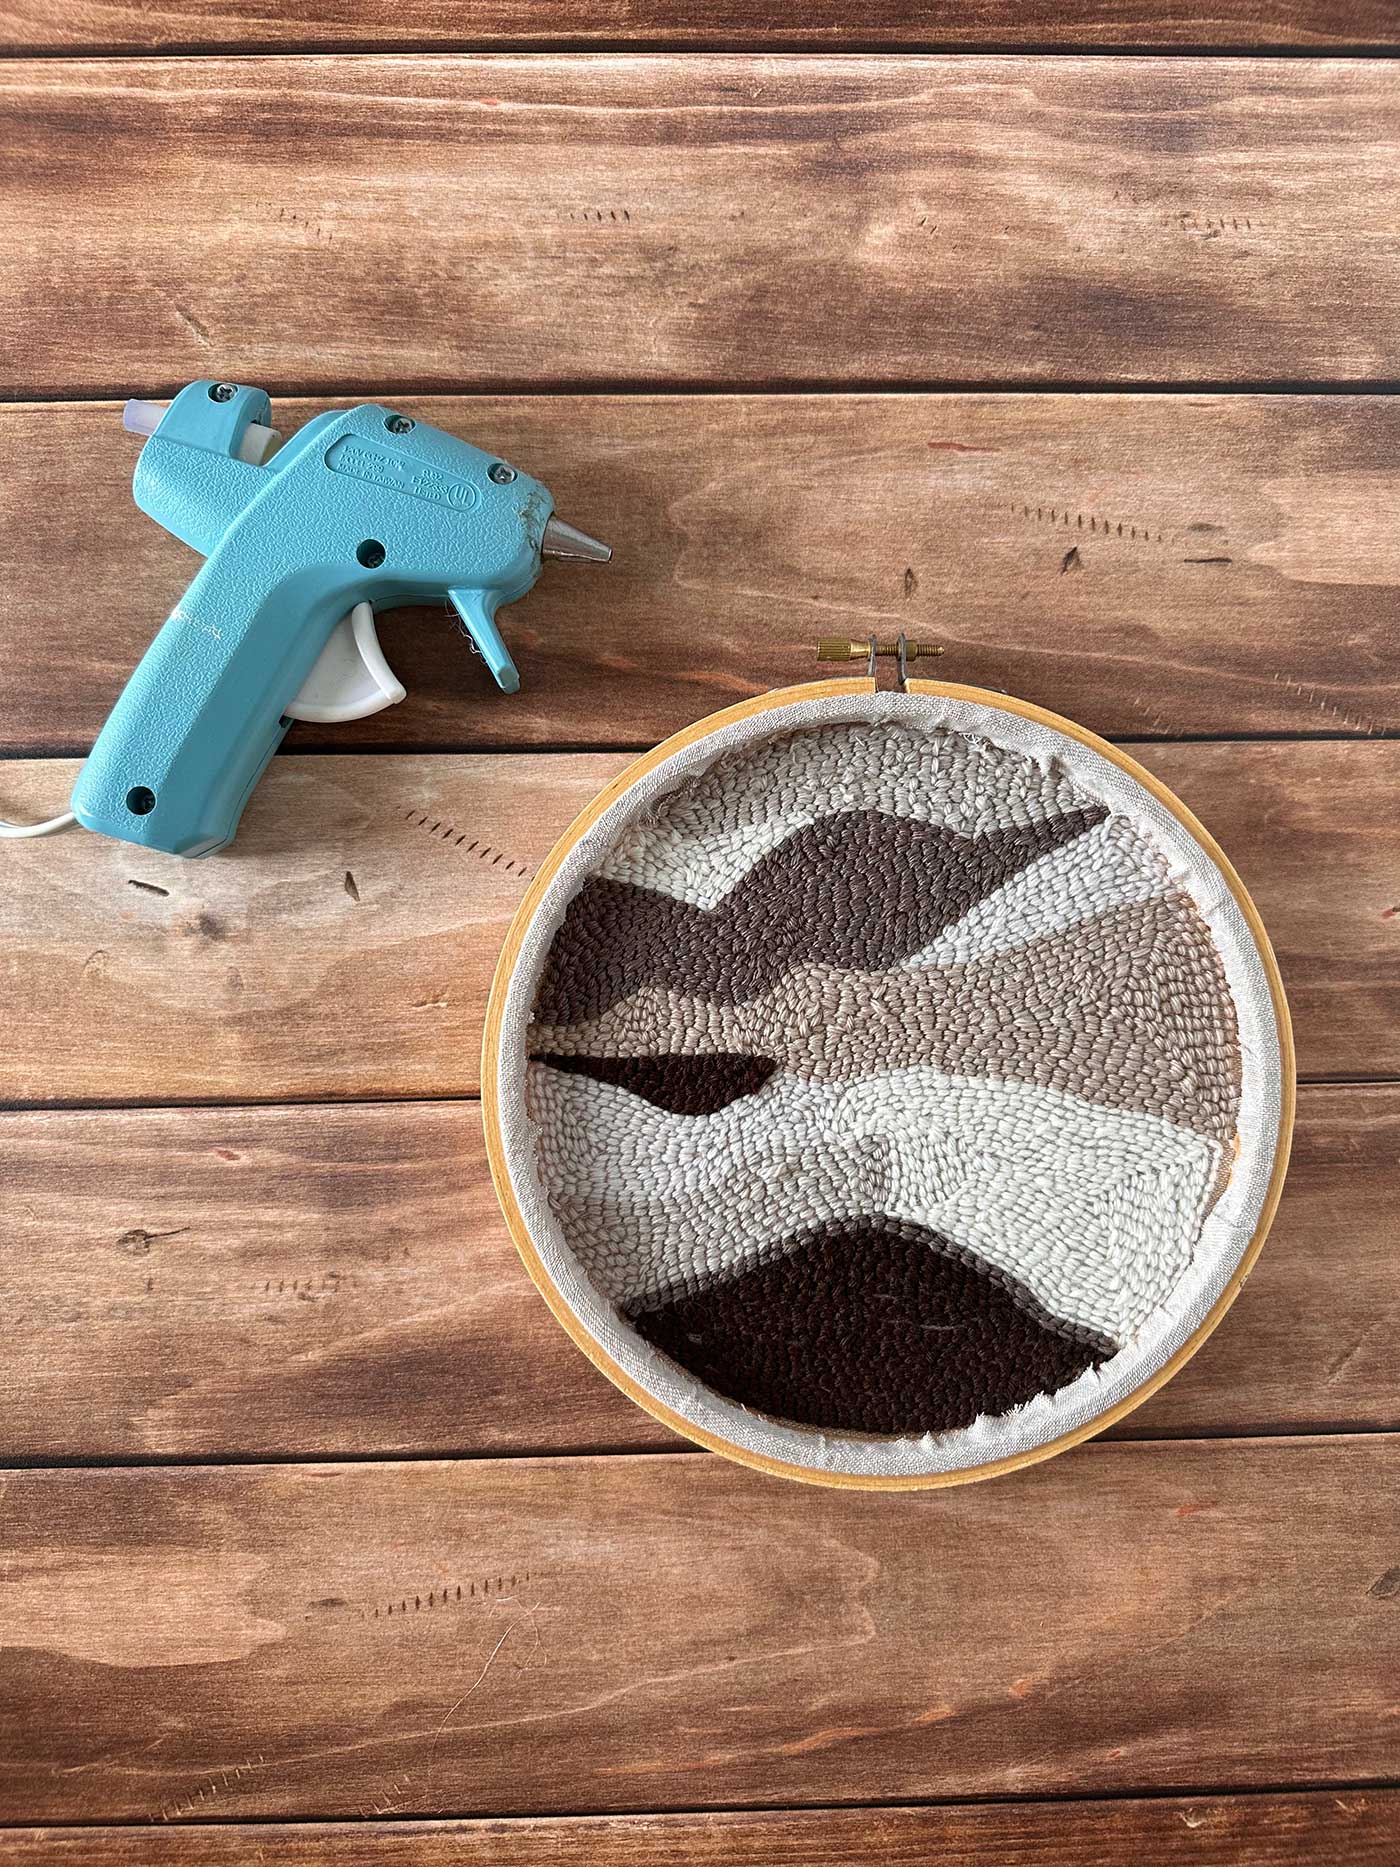
Lastly, admire your handiwork and remove the fabric from the hoop or frame. Glue the fabric to the hoop or have it framed.
Other Yarn Projects:
Crochet Heart Gift Tags
DIY Yarn Tapestry
Yarn Wrapped Star Ornaments
Pom Pom Garland
Punch needle art offers a delightful combination of simplicity, versatility, and creativity, making it an ideal medium for artists and crafters. Whether drawn to its tactile textures, vibrant colors, or endless design possibilities, punch needle art invites you to explore your creativity and unleash your imagination.
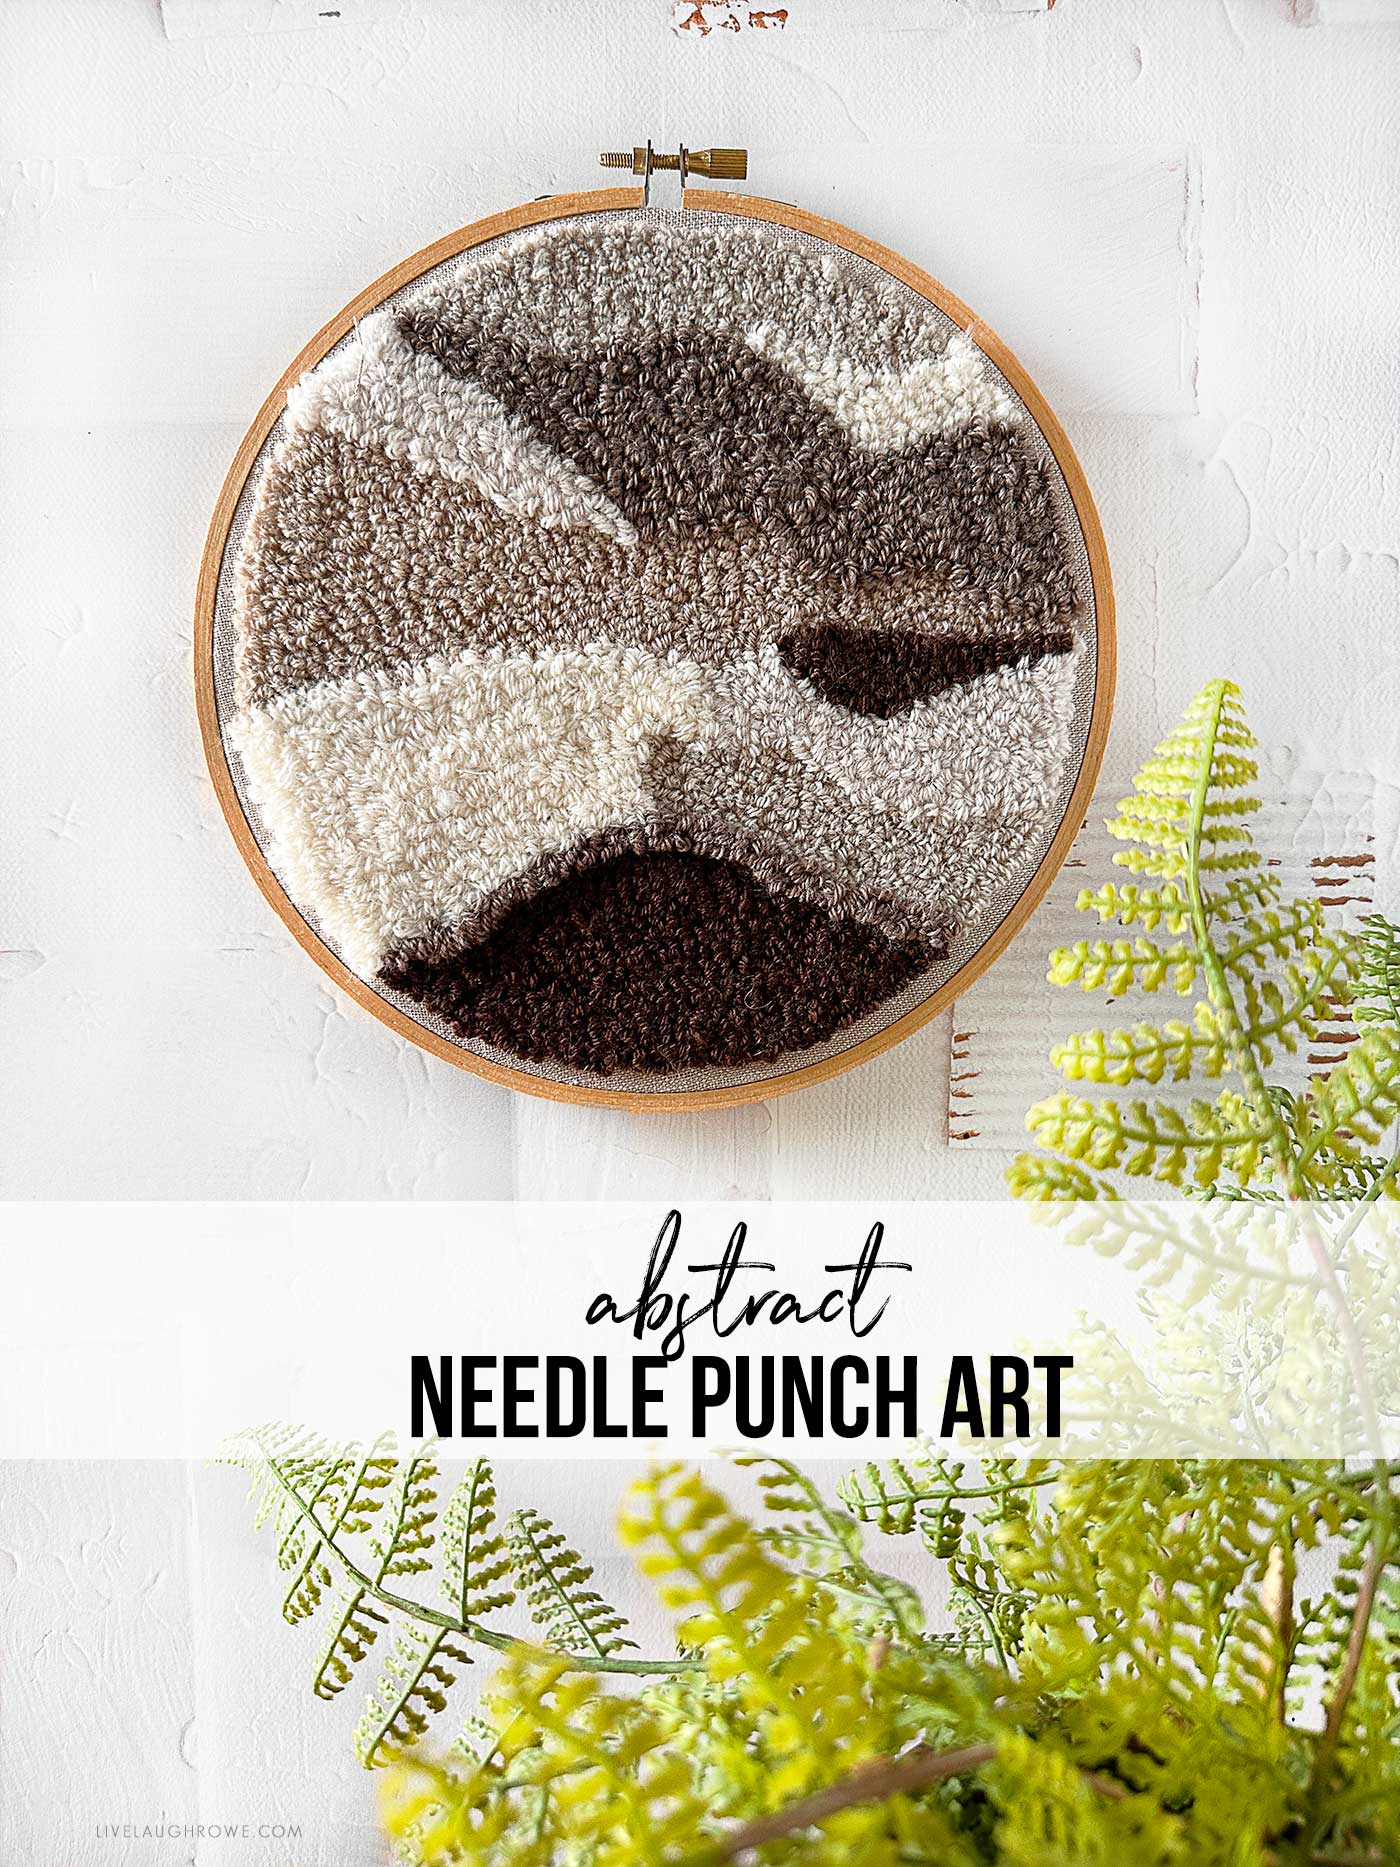
So pick up your punch needle tool, gather your materials, and embark on a journey of artistic discovery as you delve into the captivating world of punch needle art.
Additional Projects from the Handcrafted Society:
Pssst. Are you enjoying the content? Buying me a coffee or two occasionally is a fabulous way to support all my hard work and the content I provide. Thank you!


Diane says
I played around with punch needle way back in college. I’m tickled that it’s experiencing a revival, and had thought about getting another punch needle. Your design is gorgeous! And now I’m convinced it needs to come back into my life.
CoCo says
What a cool project idea, Kelly! I love that this can be used as wall art or given as a gift too. Learnng how to do this is on my bucket list so I’m really excited to try it now. Hugs, CoCo
Michelle | Thistle Key Lane says
Ok I have been looking a punch needle kits for a while, wanting to try something new. I love your idea of just creating a design, and I can use the colors that work with my home. Brilliant Kelly! Thank you for the inspiration!
Missy says
This is so cool! I have done embroidery but never needle punch! You have inspired me to try it! Your project is beautiful…love the freeform pattern! Amazing! Pinned!
Tammy says
Kelly, love this punch needle art. It is something that I have never tried. Your artwork turned out beautiful.
Donna says
Kelly, I am so intrigued by your needle punch art! I am not familiar with this tool but it looks so fun to use! Thanks for teaching me something new! I can’t wait to look into this creative idea! Pinning now!