A few weeks ago I was volunteering at the Vintage Peddler Fall Shop Hop in Springfield, MO. Another vendor I had met earlier that week, Becca, happened to show up with these adorable little pumpkins for her booth. They smelled amazing and were so stinking cute!
 Little Pumpkins — great for favors, gifts, and decor!

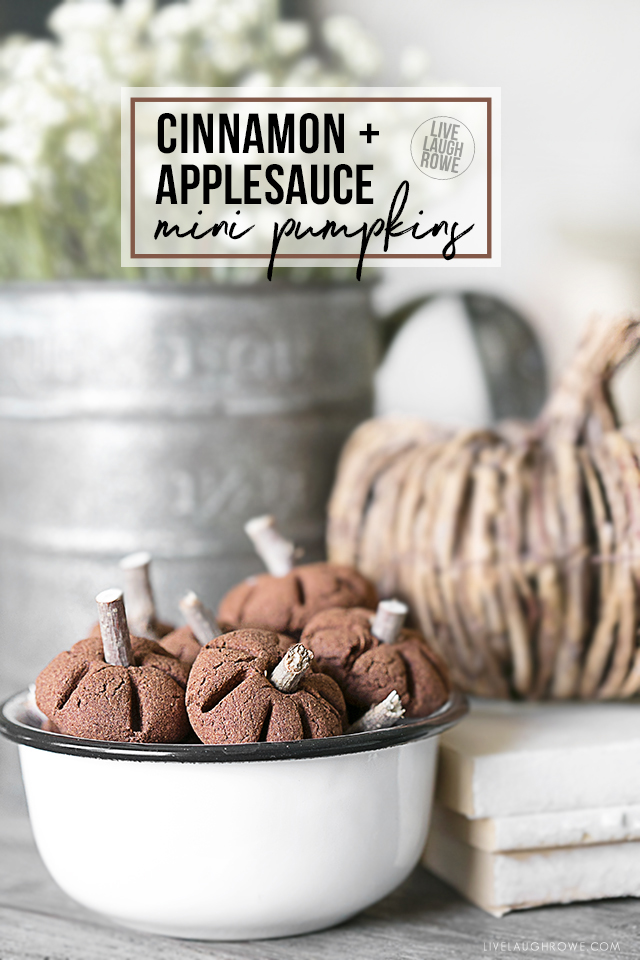
After oohing and awing over her genius little pumpkins, I asked if I could share the idea here on the blog… with all of YOU! So, today I’m sharing my very first batch of these sweet little cinnamon pumpkins.
They’re easy to make, add a delicious fragrance to any room — and would make perfect little favors for your fall and/or Thanksgiving entertaining. You could even sell them in an upcoming craft fair! Oh, the possibilities.
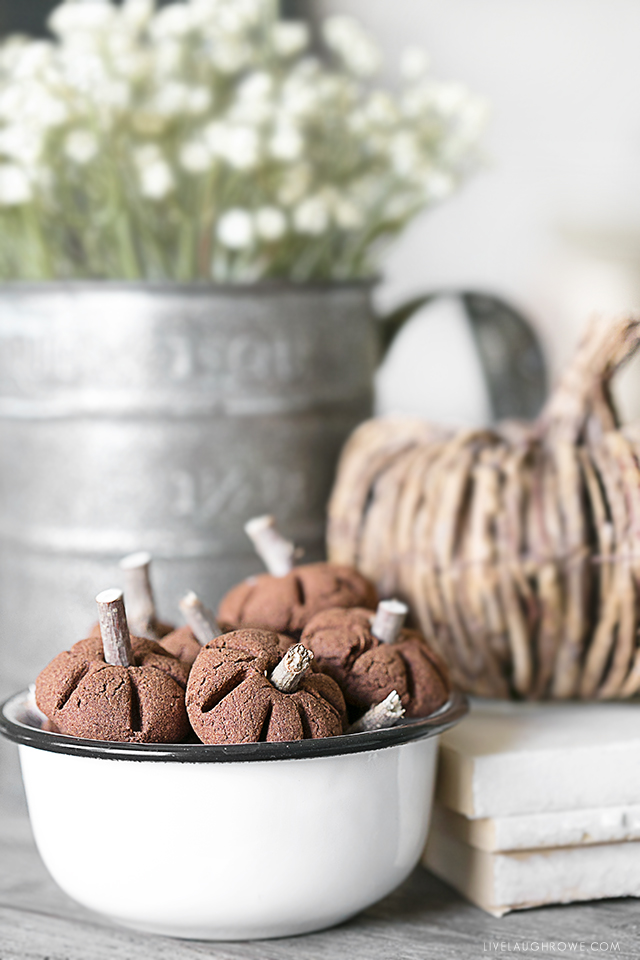
One question I continue to ask myself is, “how the heck didn’t I think of this?” Ha Ha. It’s genius and I just can’t get over how cute these little pumpkins are. And did I mention they smell amaze-balls?!?!
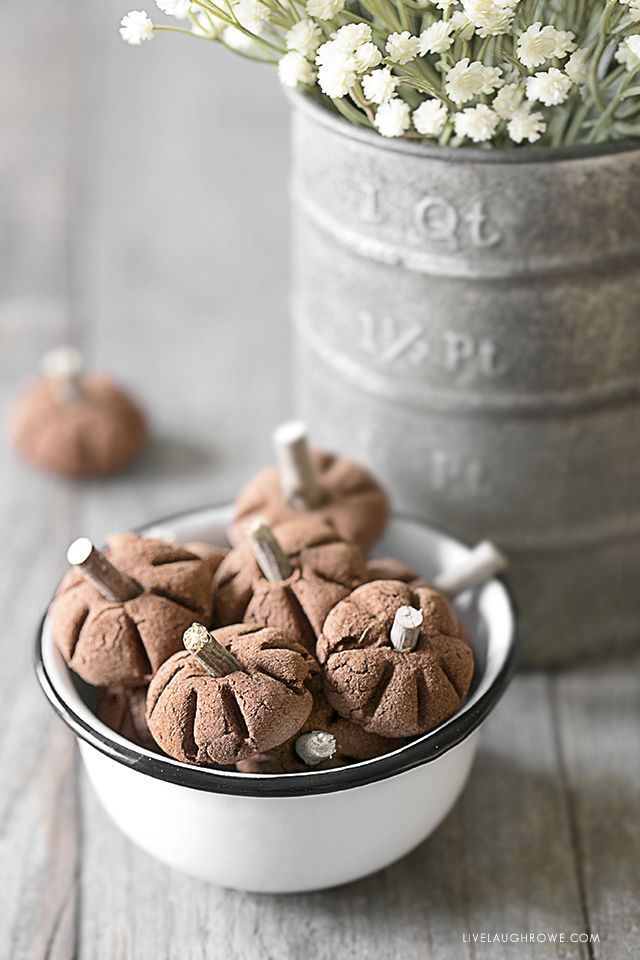
Supplies:
1 cup ground cinnamon
3/4 cup applesauce (I used unsweetened)
2 tablespoons Elmer’s Glue (clear or white)
Wood Sticks for stems (broken into smaller pieces)
Knife
Parchment Paper
Instructions for making Little Pumpkins:
1. Turn oven on and set at 200 degrees.
2. Mix the cinnamon, applesauce, and glue together in a medium-sized bowl. Place a piece of parchment paper onto a baking sheet.
3. Measure out approximately 1 tablespoon of the cinnamon applesauce mixture and form into a small ball, flattening a bit. Note: It will flatten a bit more when creating the grooves in step #5 below.
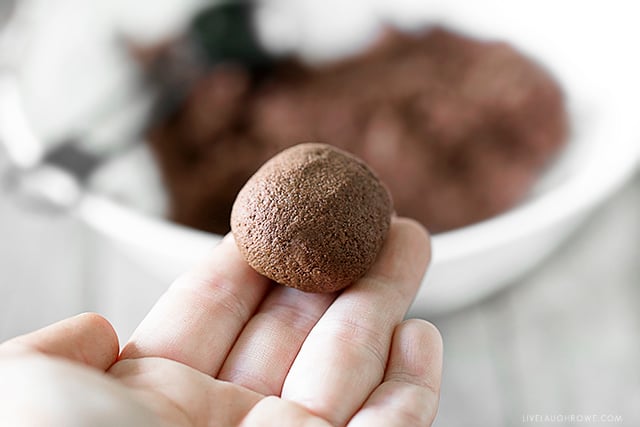
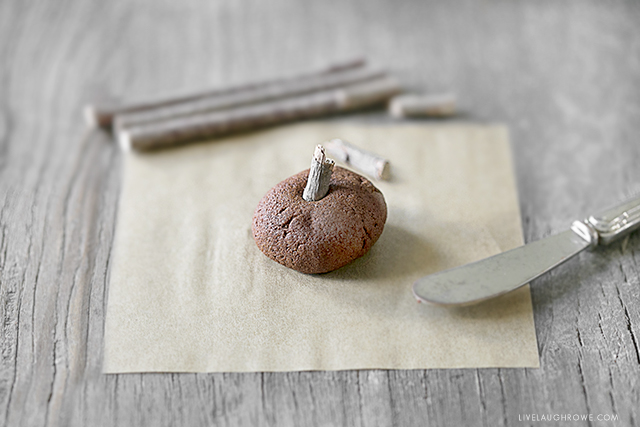
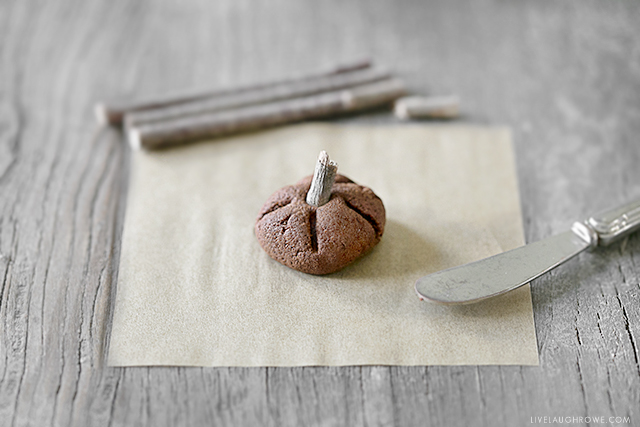
7. Place in the oven and bake for 2-3 hours. Rotate the pan every 30 minutes. Remove from the oven and place it on a cooling rack to cool and allow it to further dry for approximately 24 hours. WARNING: Your kitchen will smell AMAZING.
And that’s it! You’re done. Fill a bowl with them, use them as favors, place on your desk, and co-workers desks for some festive decor. Not only are they darling, but they smell pretty awesome too. You can’t beat that!
Looking for some more Fall inspiration?
Fall Tablescape and Printable Bookmark
Rustic Fall Decor | DIY String Art
Mini Cornucopia Favors
Neutral Fall Wreath
DIY Fall Decor with Hanging Mason Jars

Facebook | Instagram | Pinterest | Twitter | Google+
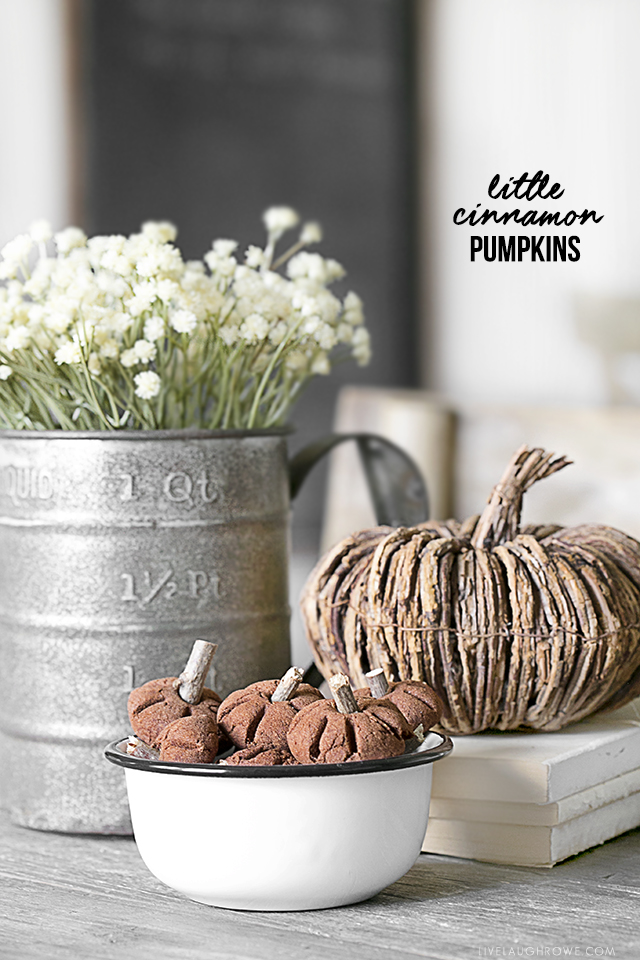 Little Pumpkins — great for favors, gifts, and decor!


Diana / Dreams Factory says
Awww, the cutest things ever! I will definitely give this project a try! ♥
Lisa Kissner Cooper says
So cute! I believe when I make them I might use a piece of a cinnamon stick for the stem!
jennifer moreland says
I am doing this for sure. Where did you get the metal container with the measuring increments?
Kelly Rowe says
Hi Jennifer. Yay! So glad you like them. I bought this measuring pitcher from Decor Steals; however, Micheals is selling one that is almost identical and it’s much cheaper.
jennifer moreland says
Thanks!
Danijela says
These are so cute!