Welcome Katie back again today as she shares this super simple (and did I mention clever) Gardeners Gift Idea!
I hope you all enjoyed the Avocado Cucumber and Oats Soap Recipe I shared last month. So, going along with a garden theme, today I’m sharing how to make your own Stamped Seed Packet Bags. These are an easy gift idea or spring favor for your family and friends. I hope the weather is warming up where you are and you get a chance to plant some seeds outside.
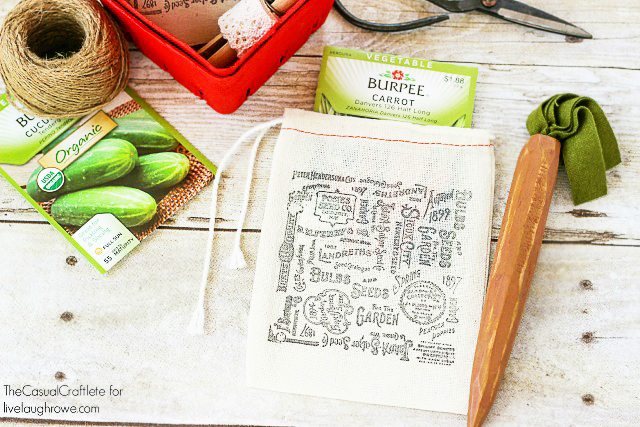
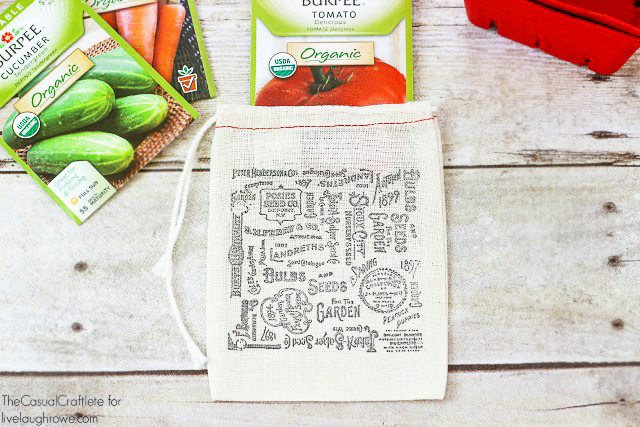
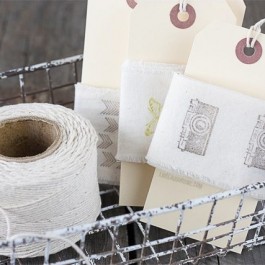
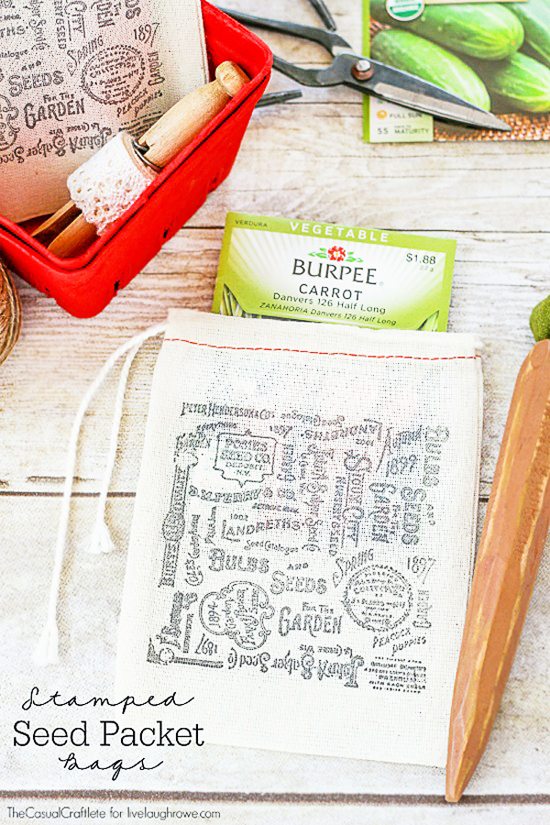 These darling muslin bags are such a great blank canvas for a DIY stamped project. If you have been following me for awhile, you know I love stamped bags. For these stamped seed packet bags I used just one large rubber stamp, but the possibilities are endless. As you can see, this large stamp is designed specifically for gardening and seeds. I just love the vintage look of this stamped bag!
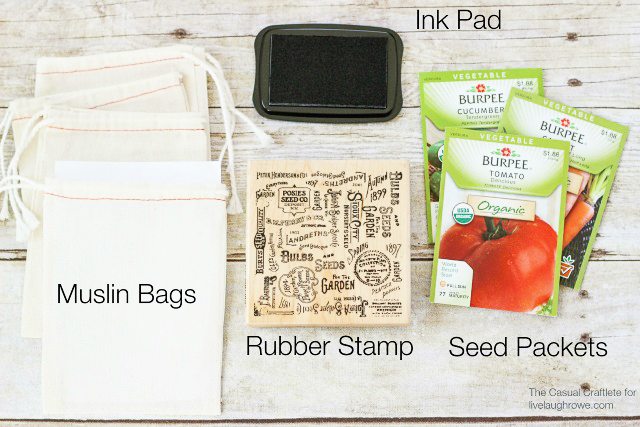
- Small muslin bags
- Rubber stamp
- Ink Pad
- Seed Packets
- Piece of paper
Let’s get to making! First, I started by placing a piece of paper inside the muslin bags. This will just protect the other side of the bag if the ink from the stamp bleeds through.
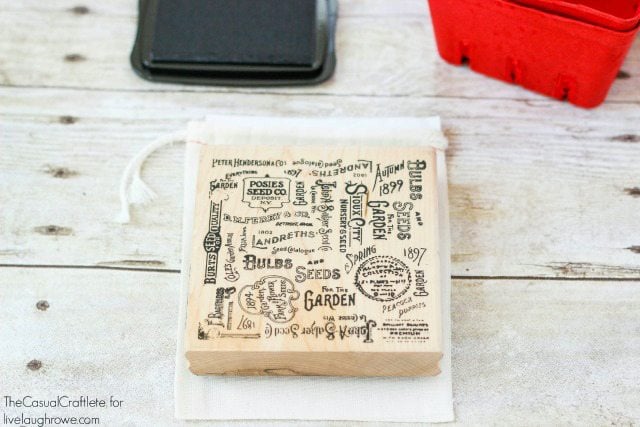
Carefully place the stamp on the muslin bag and press down making sure not to smudge the ink.
Just remove the piece of paper and let the ink dry. I use baby wipes to clean my rubber stamps. They really get all of the ink off and are easily disposable. My mother-in-law shared that tip with me. Another tip when it comes to stamping is to store your ink pads upside down. This will increase the life of the ink.
Looking for more inspiration? Check
out these easy and fun projects…
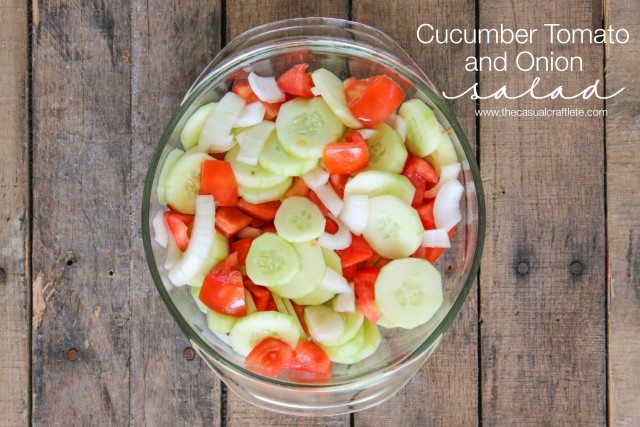
Cucumber Tomato and Onion Salad
You can also find me hanging out here:
Facebook | Pinterest | Twitter | Google + | Instagram



Carla says
What a cute idea, where can I find that particular stamp???
Thanks!
Lynne says
I would also love to know where I could find this particular stamp. Very cute idea!
thecasualcraftlete says
Hi Carla! I am so glad you like my bags. I bought the stamp from 123Stich.com. It is made by Stampendous. Here is the link (NOT affiliated): http://www.123stitch.com/item/Stampendous-Seed-Background-Wood-Mounted-Rubber-Stamp/SSW-W088
Juliana @ Te Amo Too says
I absolutely love the way these turned out! So cool!
thecasualcraftlete says
Thank you SO much, Juliana! I love the vintage look of the seed stamp. I’m thrilled you stopped by!
thecasualcraftlete says
Thanks for having me, Kelly! I hope you and your readers like my Stamped Seed Packet Bags. xo
Wendy says
LOVE this project. Mostly because I am a stamper. When I come to your site the posts are very narrow and it’s almost like its not loading right? Is this just me?
Wendy
TwoPlusCute says
They are handy and classy. Very nice gift for gardeners.
Carmia @ Clementine Creative says
Such a cute project! This will make a great gift for my mom. Thanks for the inspiration!
Pattie @ Olla-Podrida says
What a darling idea! I have been rubber stamping for more than a decade, but do not have this cute stamp and think I’m going to be needing it very soon. What a cute idea this would be for Mother’s Day. Great post. Thanks!