
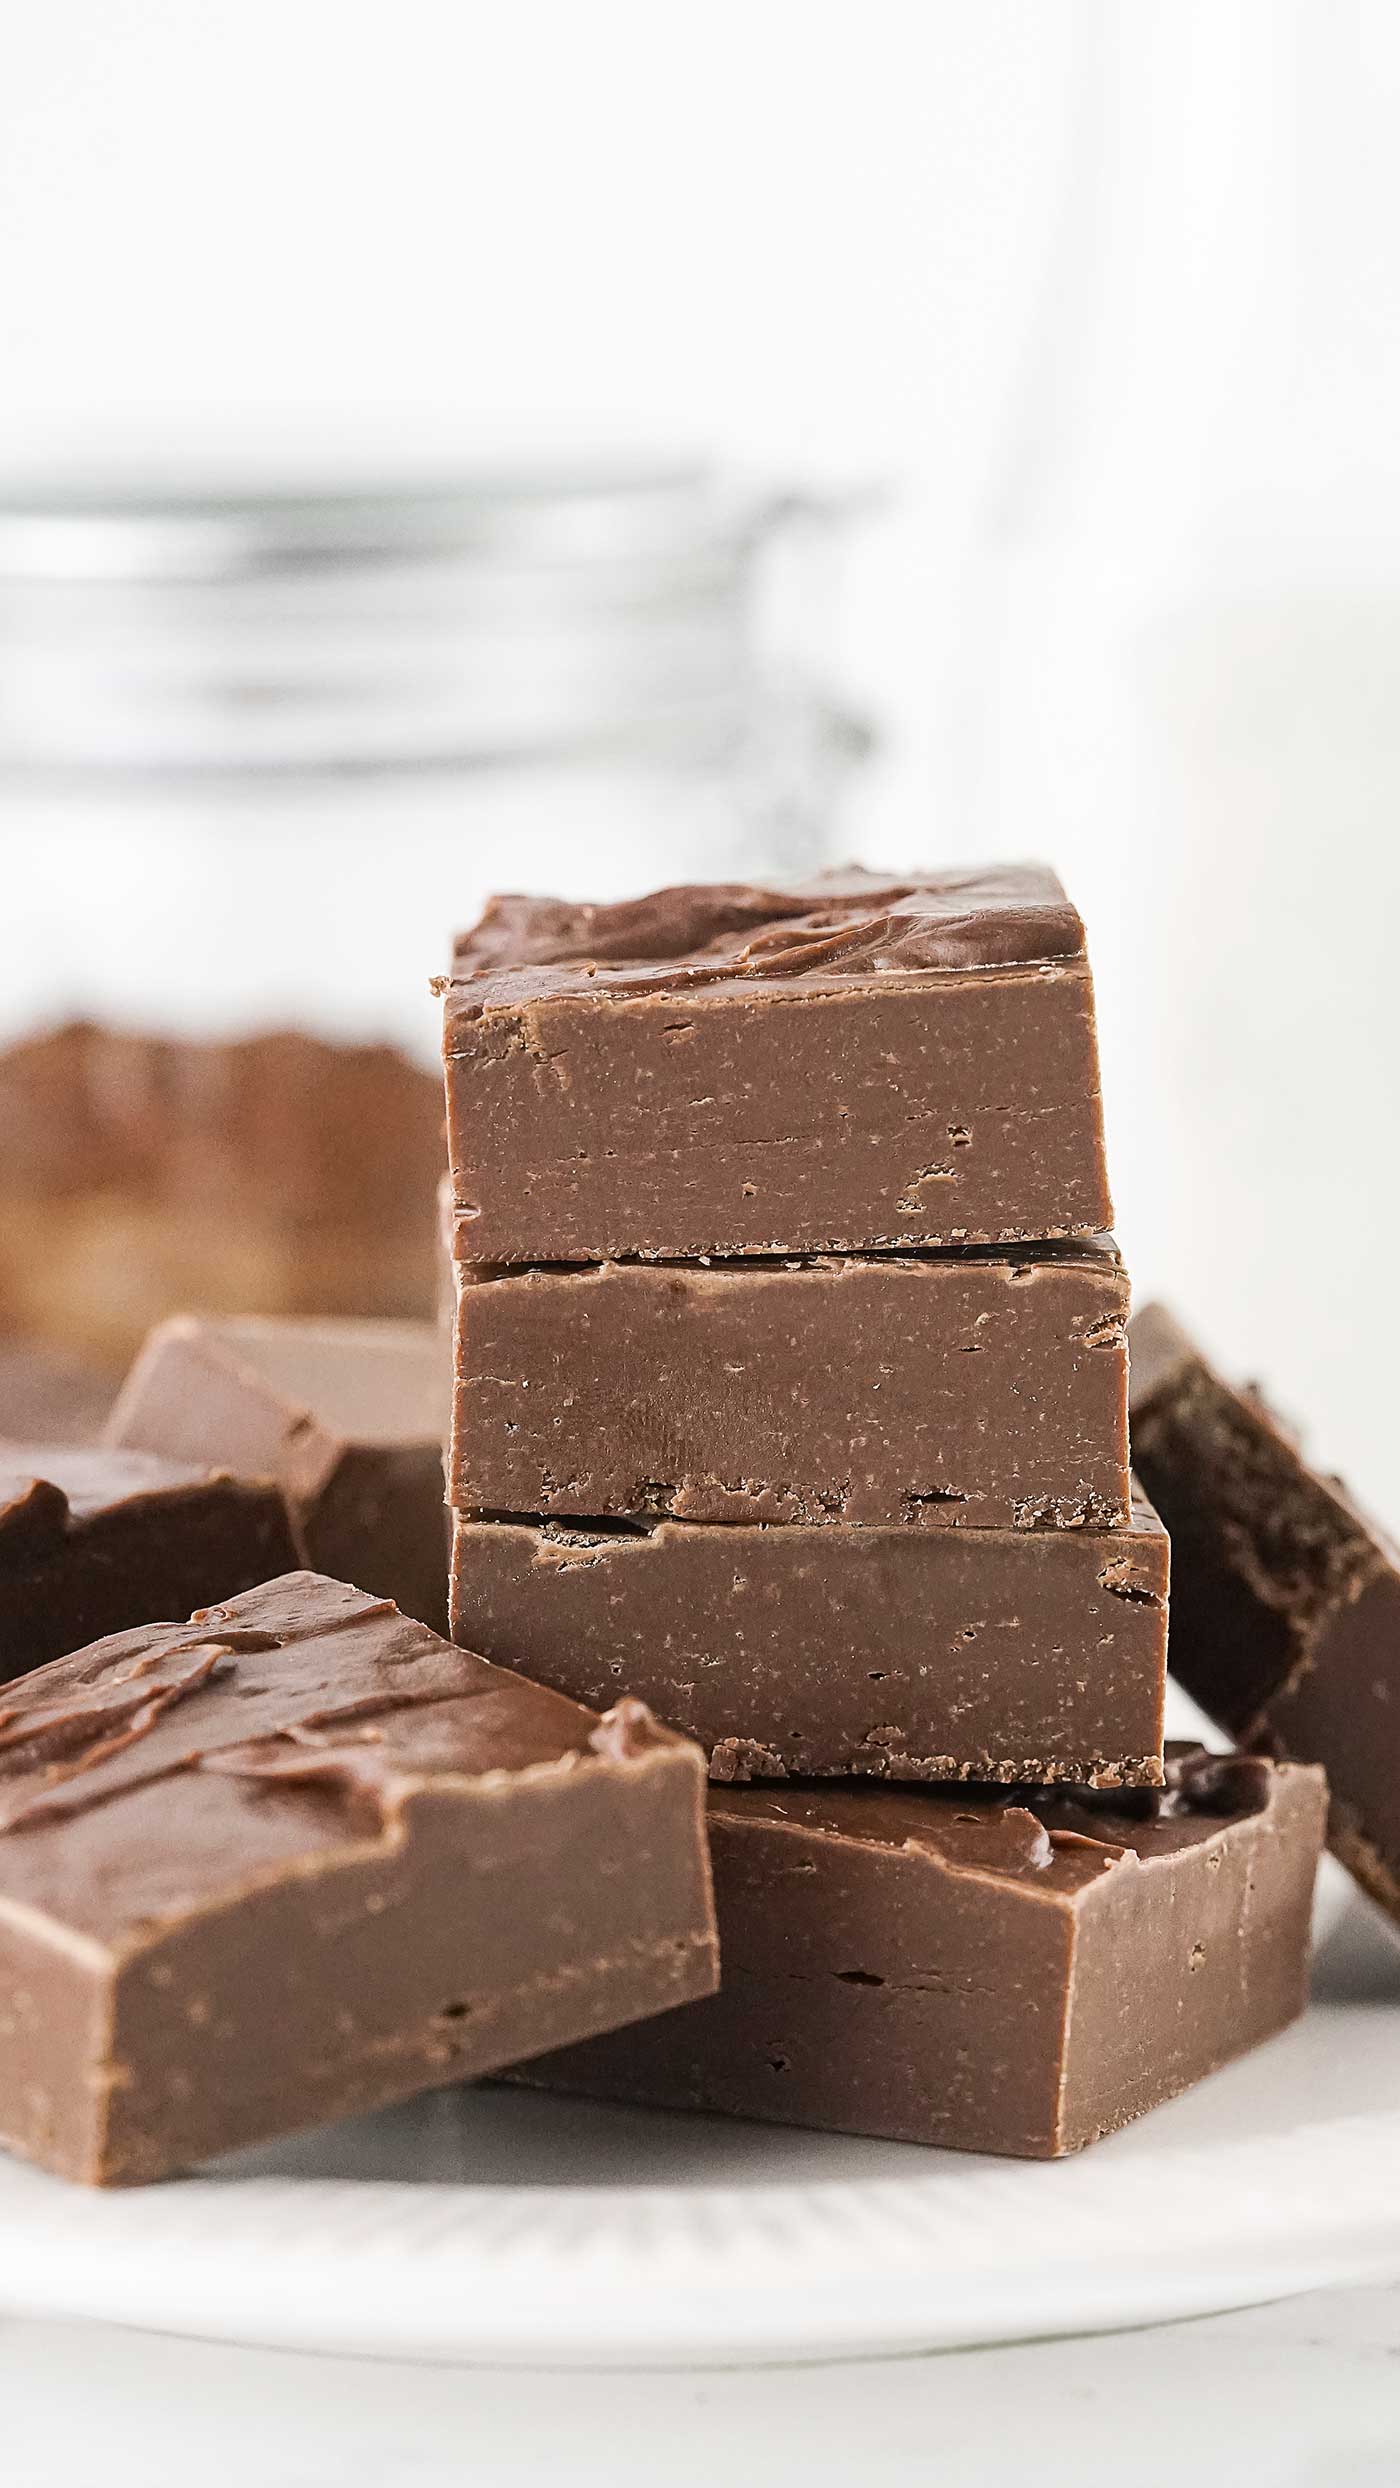
Homemade treats are undeniably satisfying, especially when they’re incredibly easy to make. If you’re a chocolate lover like me, you’re in for a delightful surprise. Today, I’m sharing a two-ingredient chocolate fudge recipe that’s incredibly simple and delicious.
So all you need are semi-sweet chocolate chips and sweetened condensed milk, and in no time, you’ll have a batch of rich, creamy fudge that will melt in your mouth. It’s very similar to Eagle Brand Fudge (less a couple of ingredients).
Before we dive into the details of this recipe, let’s take a moment to appreciate the beauty of two ingredient recipes. Simplicity often yields the most fantastic results.
And with the holidays knocking on our door, if you’re feeling unprepared or need something quick to whip up — this fudge has you covered (along with the Peanut Butter Fudge Recipe I shared last week).
It’s amazing how semi-sweet chocolate chips and sweetened condensed milk can transform into a decadent fudge that will satisfy your sweet tooth. Yes, and amen! Let’s do this.
Easy Chocolate Fudge Recipe
Ingredients:
Semi-Sweet Chocolate Chips: You can use any brand of semi-sweet chocolate chips you prefer. The semi-sweet variety strikes the perfect balance between bitterness and sweetness.
Sweetened Condensed Milk: Sweetened condensed milk is a thick, sweet, and creamy milk-based product that adds the perfect sweetness and creaminess to this fudge recipe.
Equipment:
Besides the ingredients, you’ll also need the following kitchen equipment:
How to make the Chocolate Fudge:
Now that you have everything ready let’s walk through the simple steps to create this delightful chocolate fudge:
Step 1: Prepare Your Pan
Start by lining your 8×8-inch square baking pan with parchment paper, leaving an overhang on two opposite sides. This overhang will act as a handle to easily lift the fudge out of the pan once it’s set.
Step 2: Combine Chocolate Chips and Condensed Milk

Place the semi-sweet chocolate chips and the entire can of sweetened condensed milk in a microwave-safe bowl. Stir them together to ensure that the chocolate chips are evenly coated with the condensed milk.
Step 3: Microwave in Intervals.
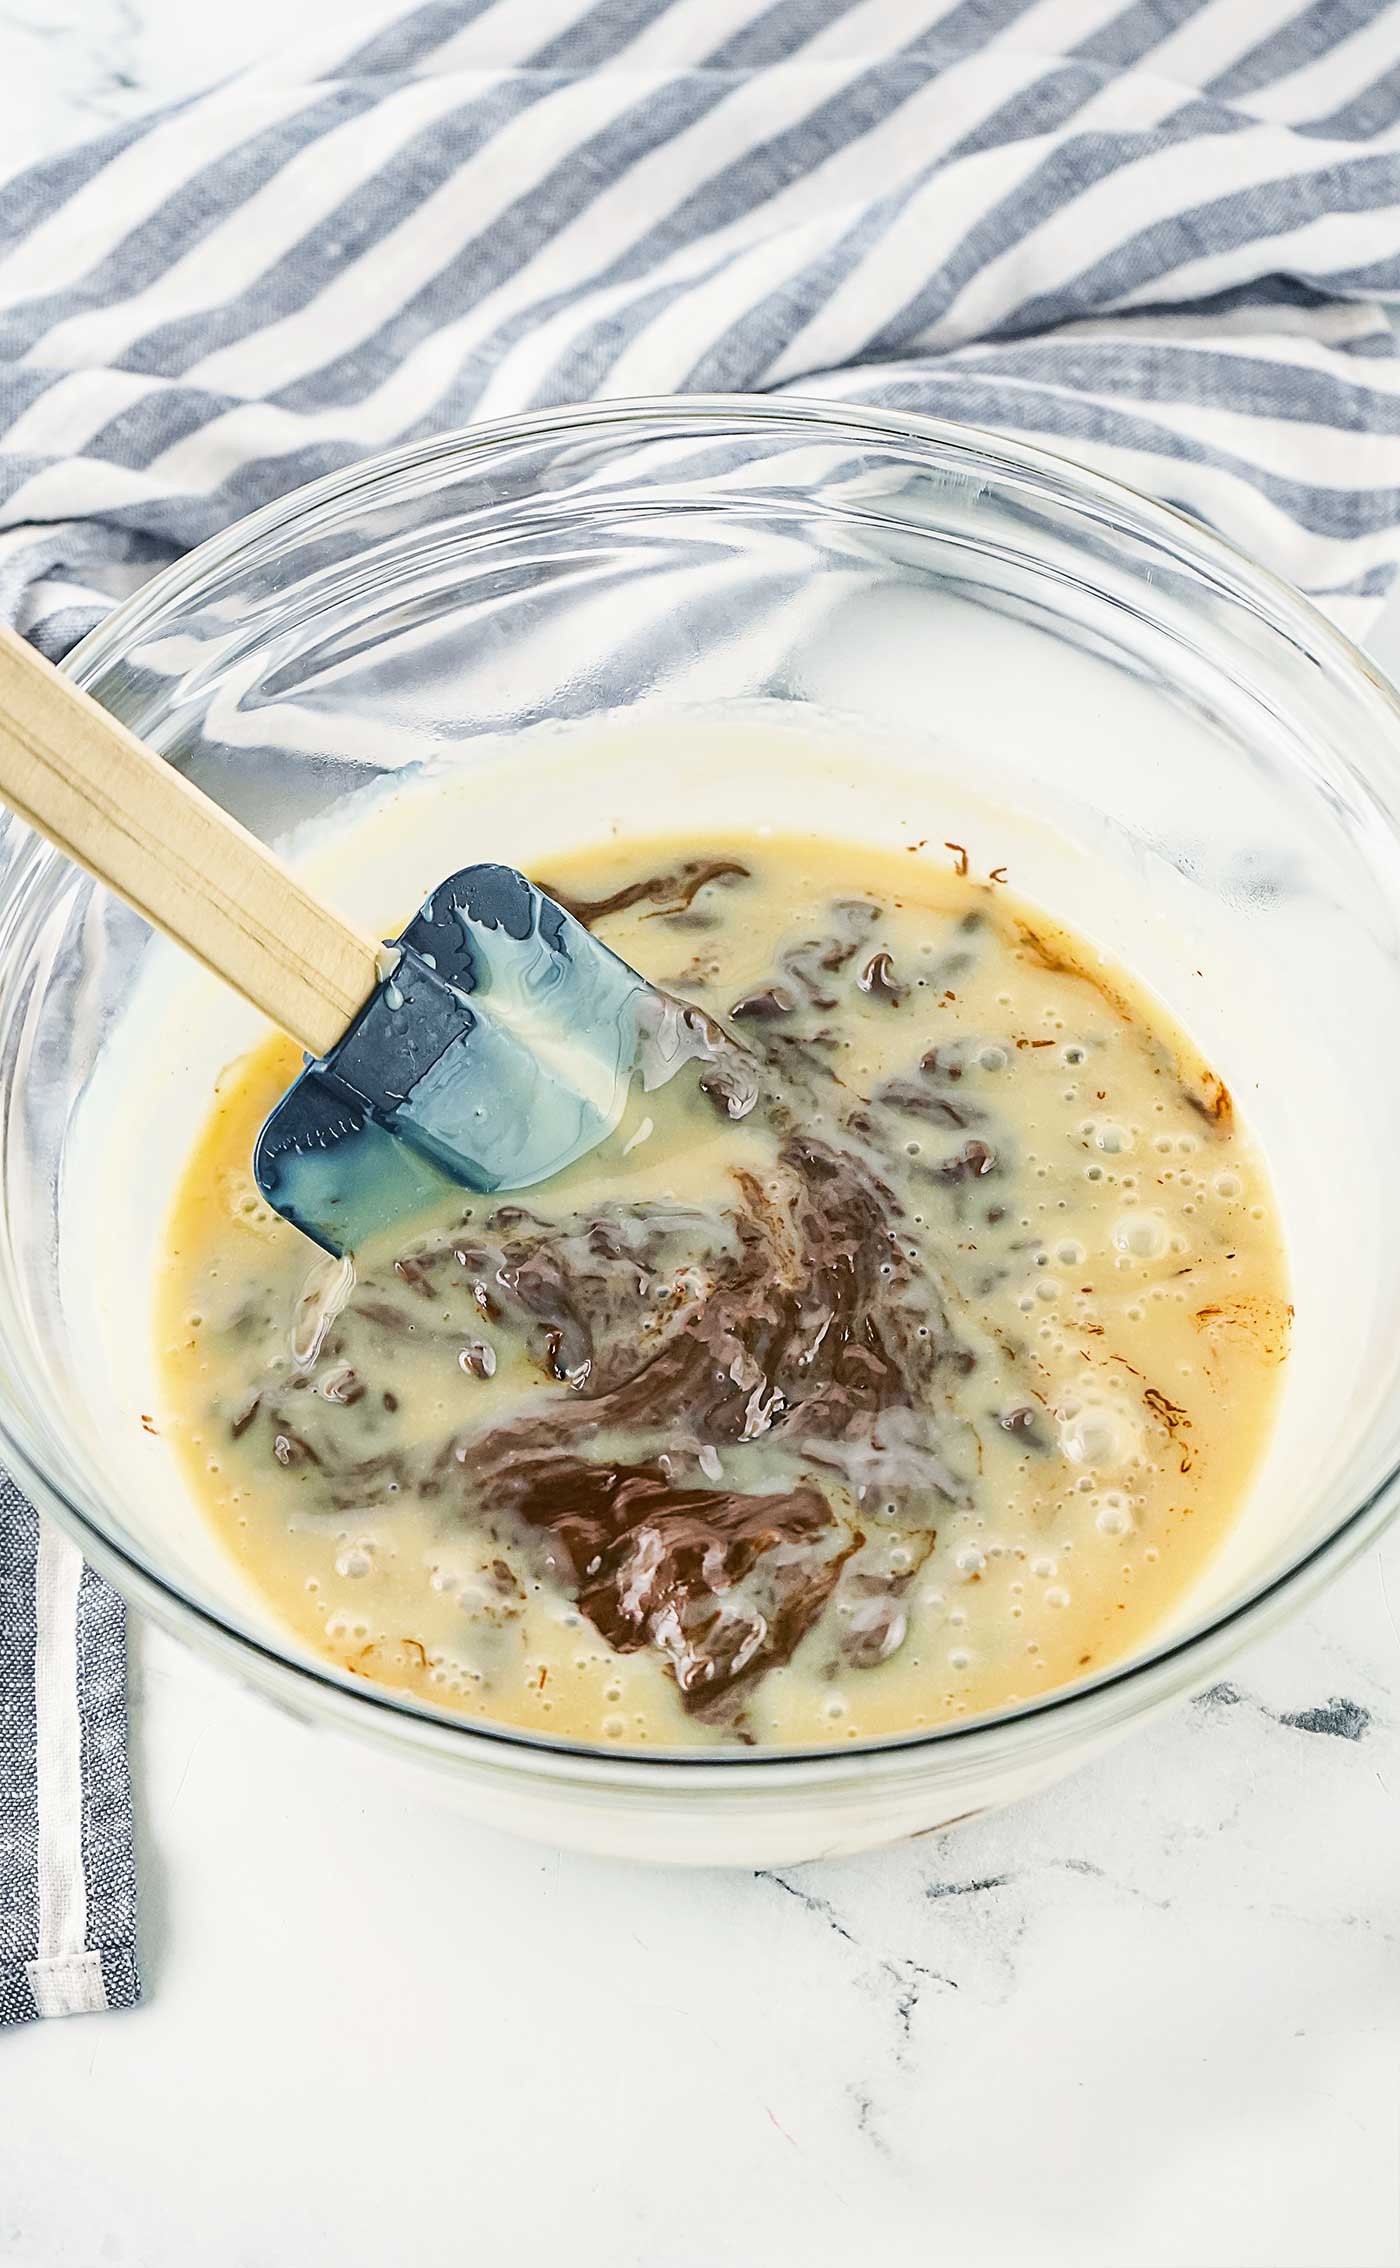
Now, microwave the mixture in short intervals to melt the chocolate and achieve a smooth, fudgy consistency. Start by microwaving for 30 seconds at a time on medium power (50% power).
After each interval, stir the mixture thoroughly with a spoon or spatula. Repeat this process until the chocolate is completely melted and combined with the condensed milk. Be careful not to overheat; slow and steady heating is the key to avoiding scorching.
Step 4: Transfer the Chocolate Fudge to the Pan.
Once the mixture is smooth and well combined, quickly transfer it to the prepared baking pan. Use your spatula to spread it evenly in the pan, making sure it reaches all the corners.
Step 5: Allow to Cool and Set.
Place the pan in the refrigerator and let it chill for at least 2-3 hours or until the fudge is firm to the touch. However, overnight cooling produces the best results for flavor and texture.
Step 6: Cut into Squares.
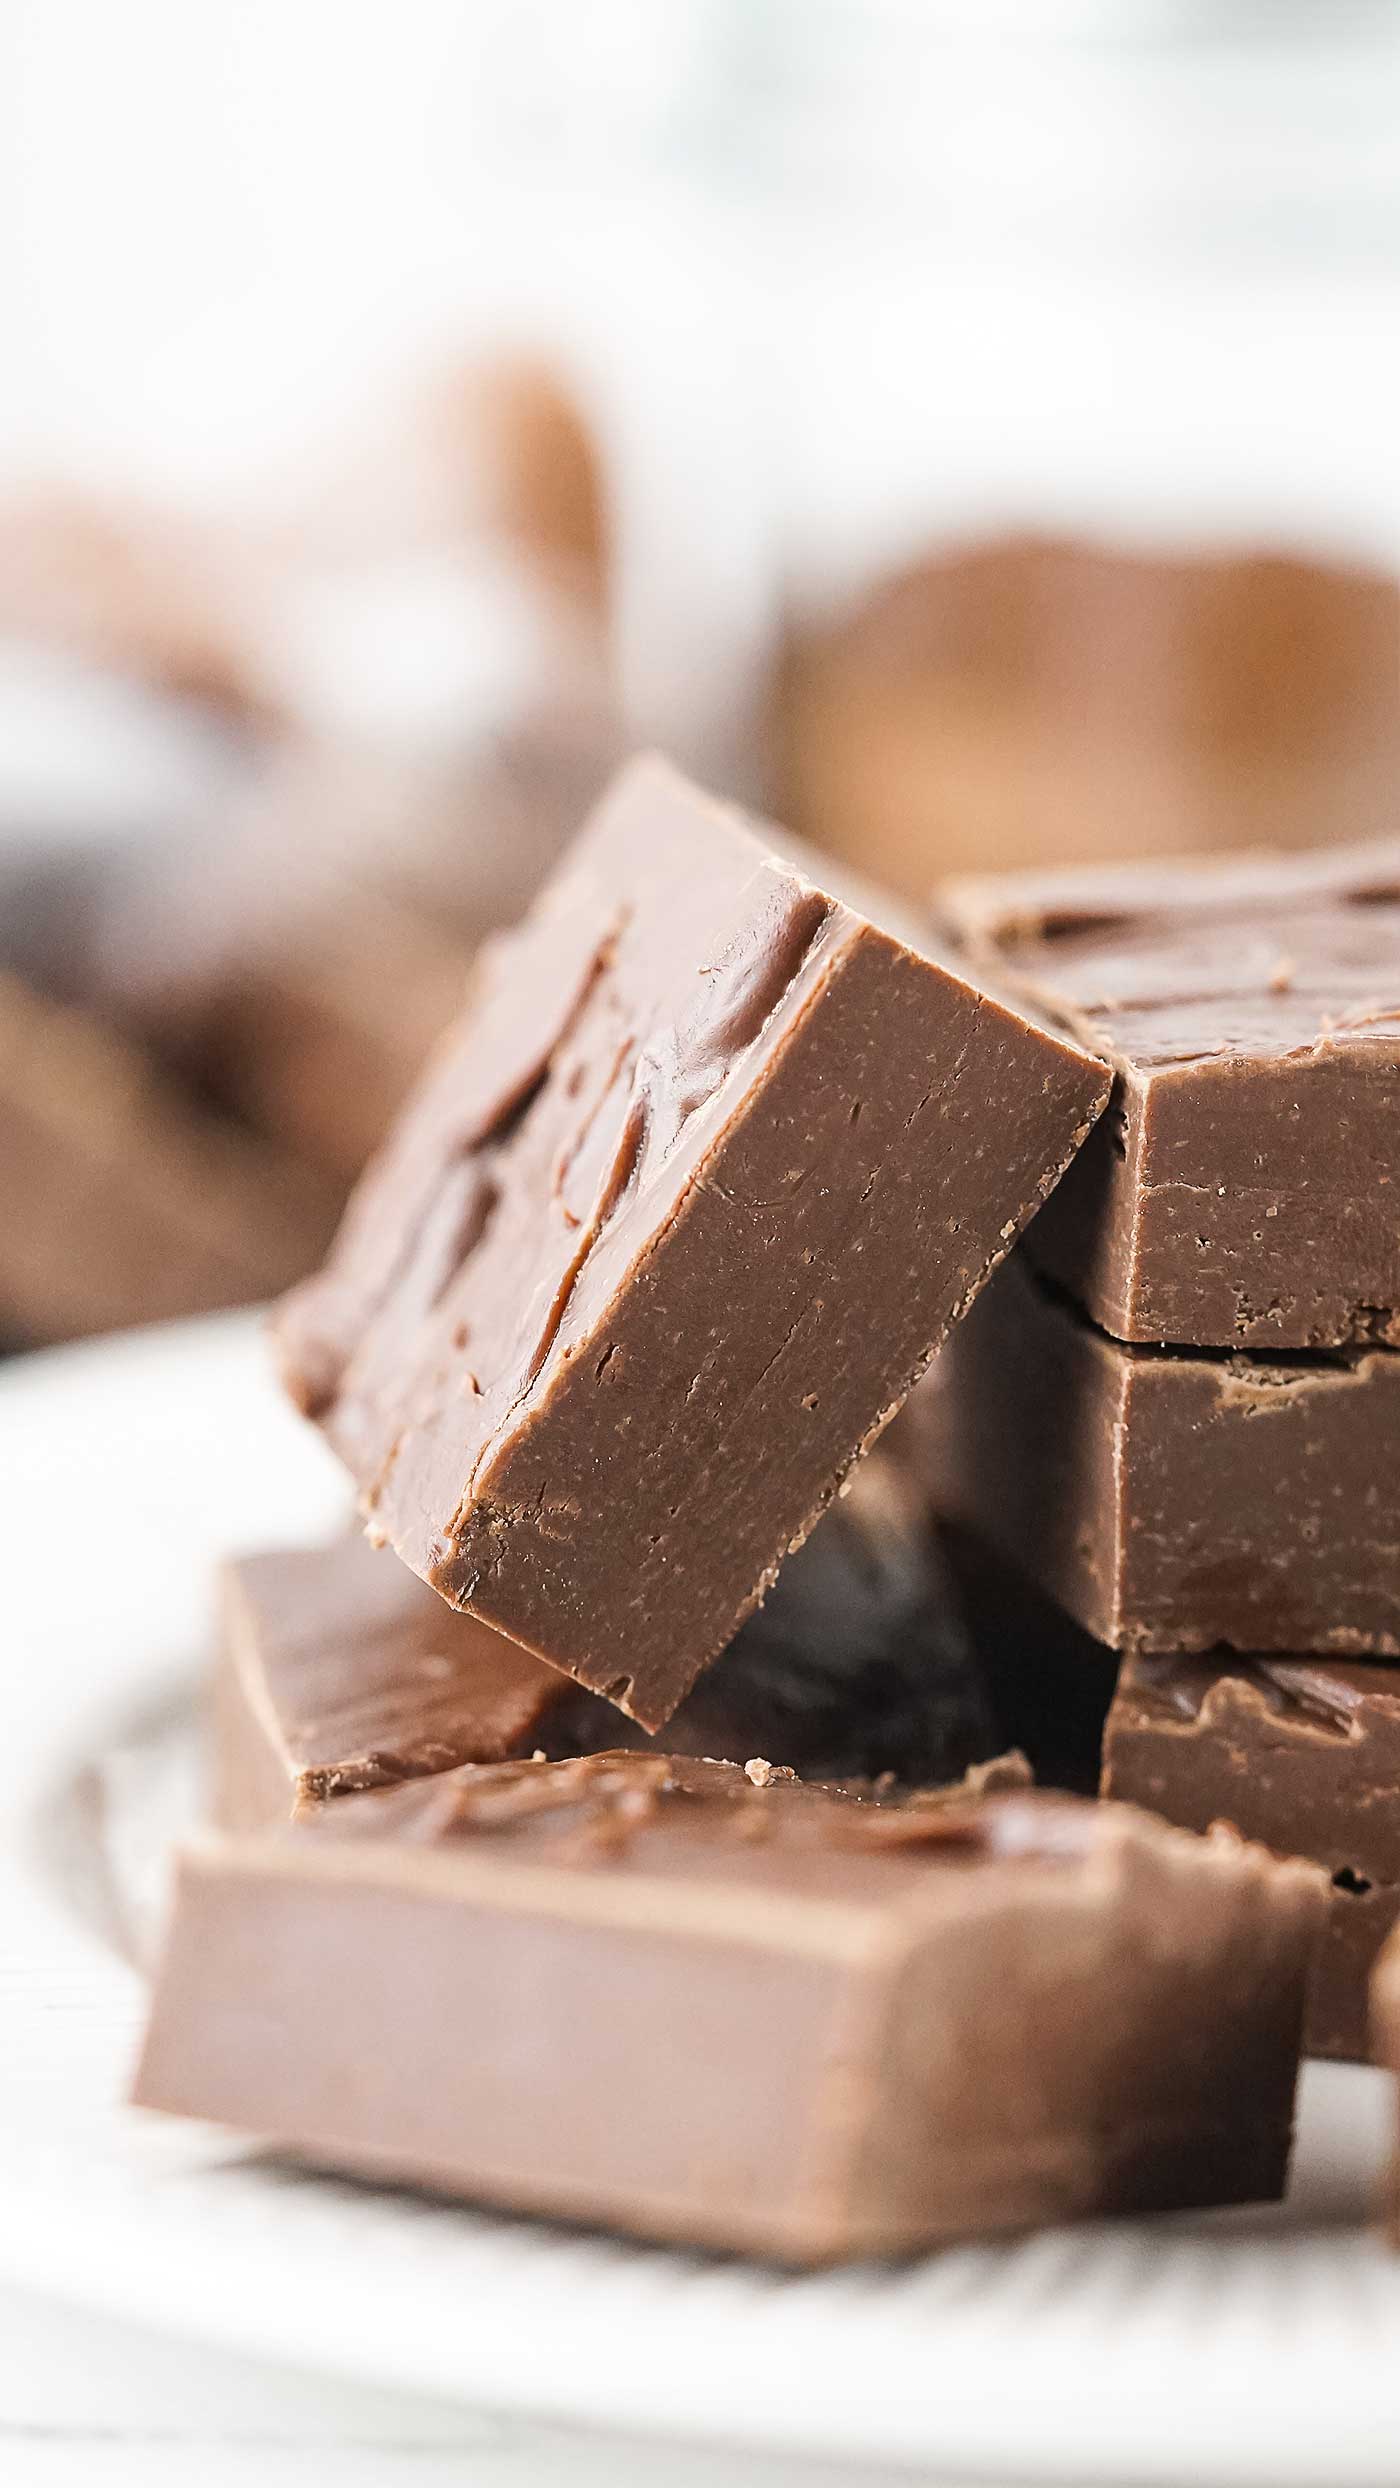
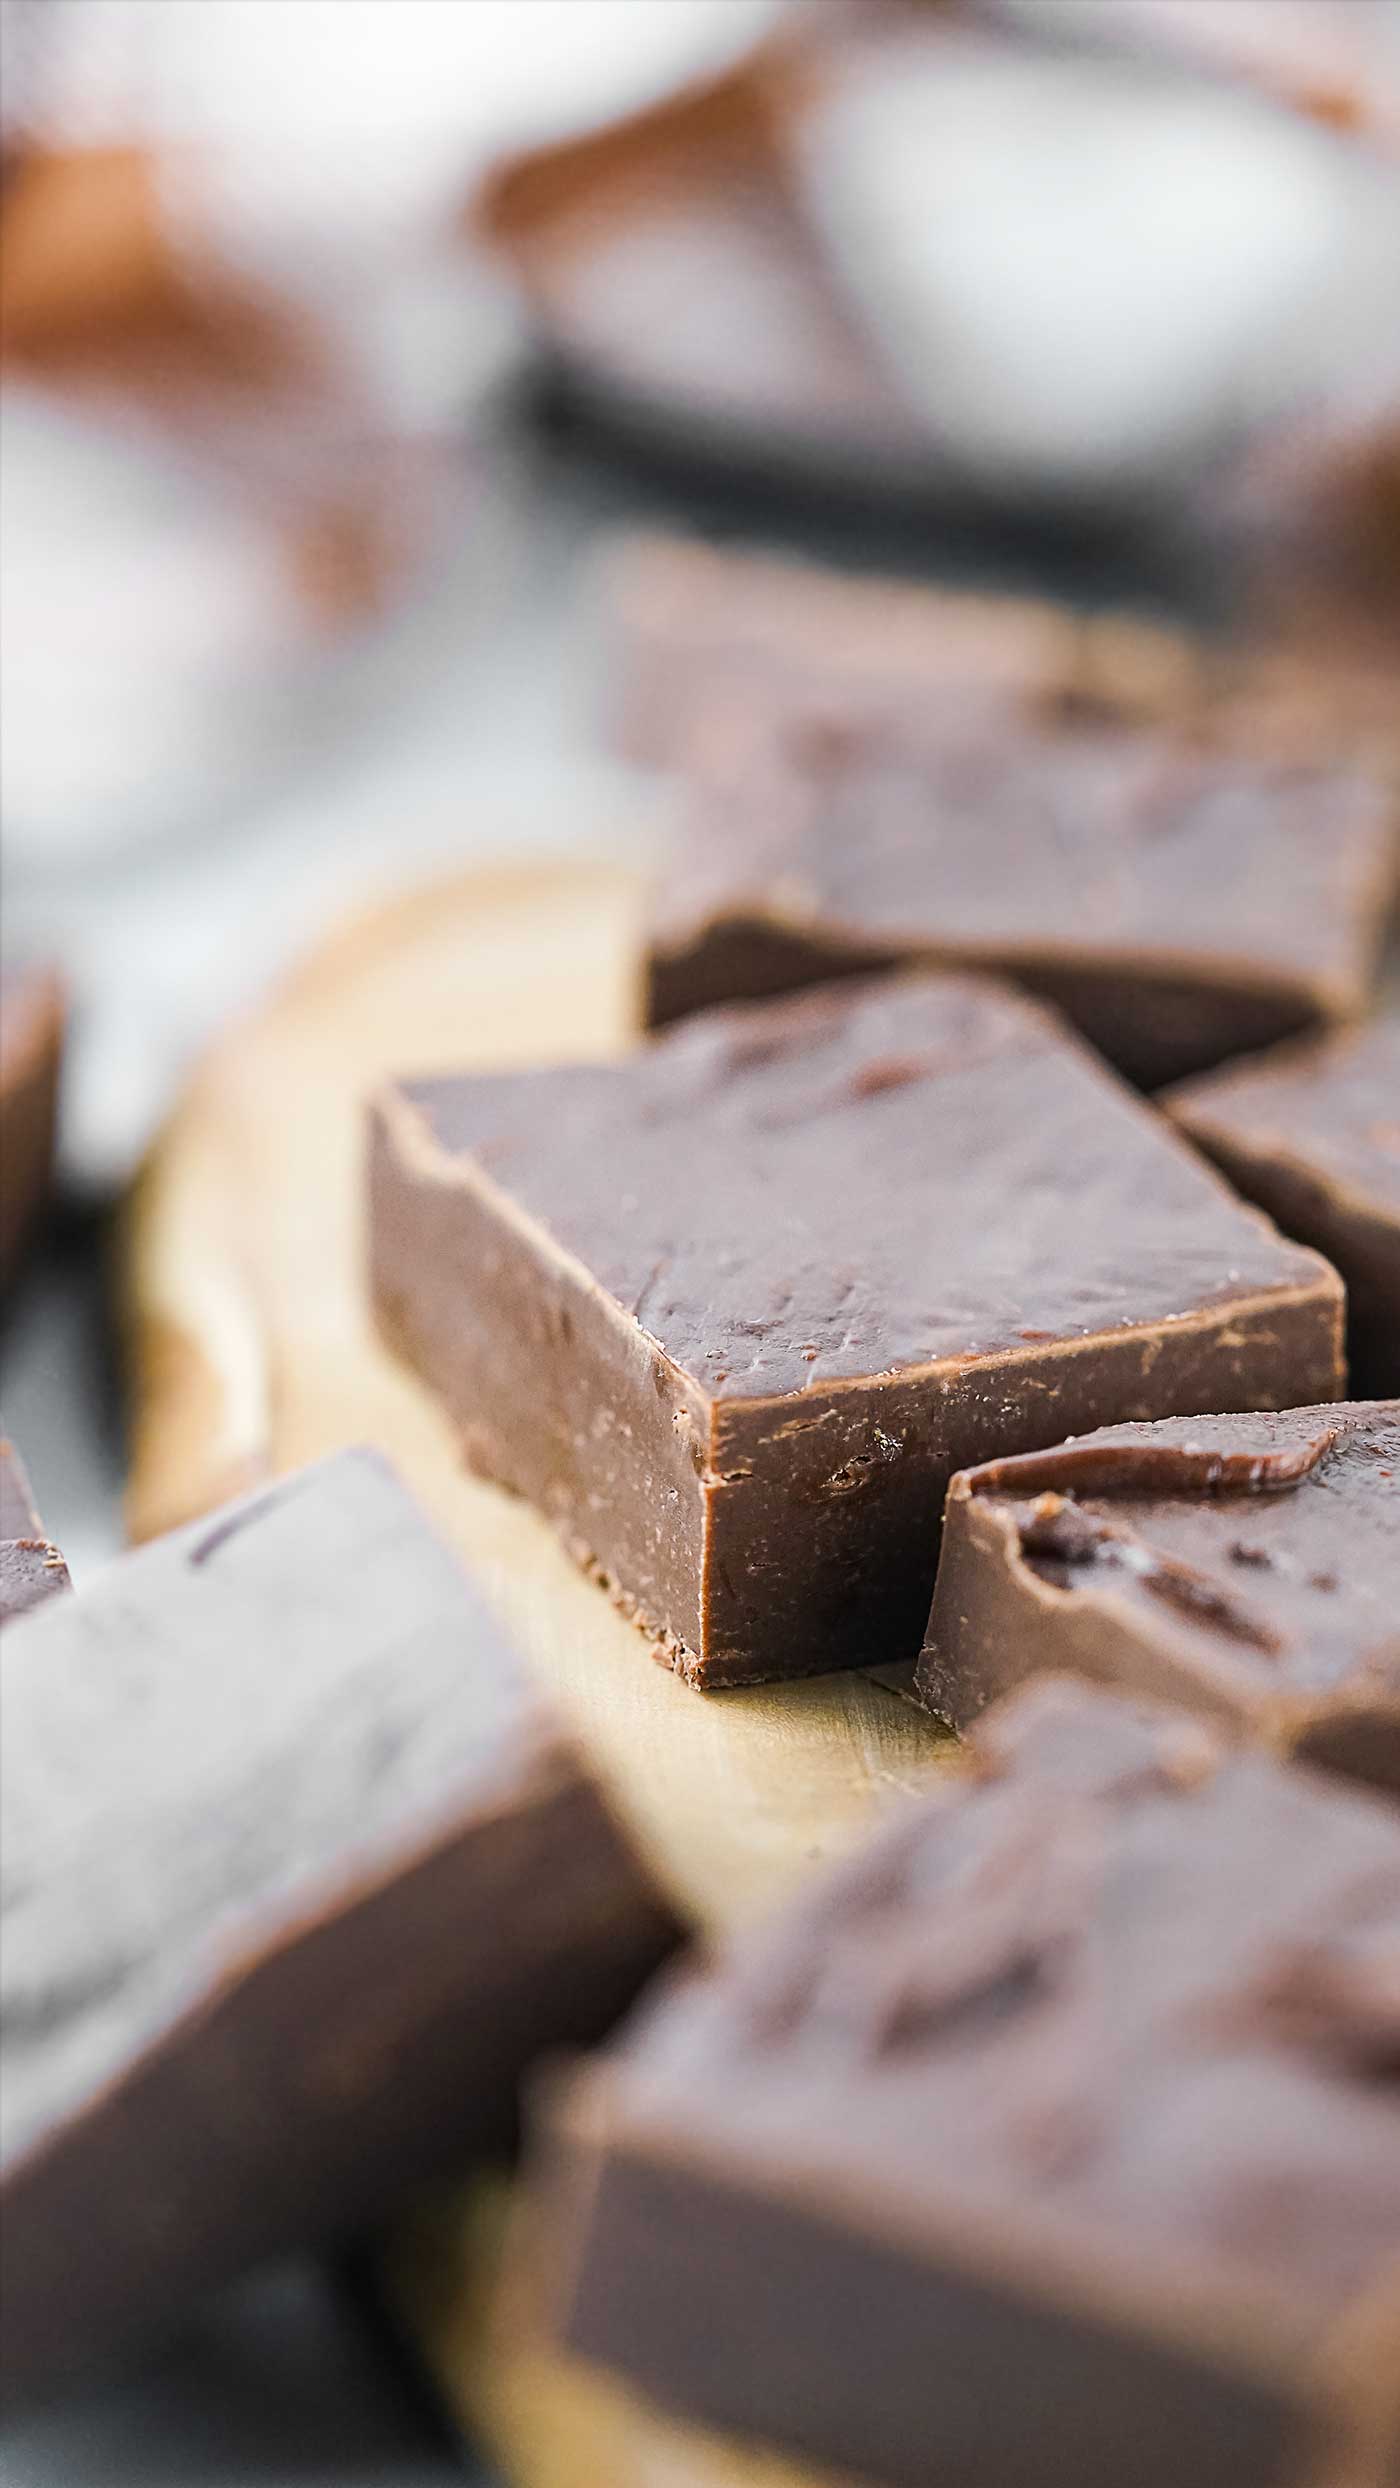
Once the fudge has completely set, lift the parchment paper overhangs from the pan. Place it on a cutting board, and cut it into squares or your desired shapes with a sharp knife.
You can make small bite-sized pieces or larger chunks – it’s entirely up to you!
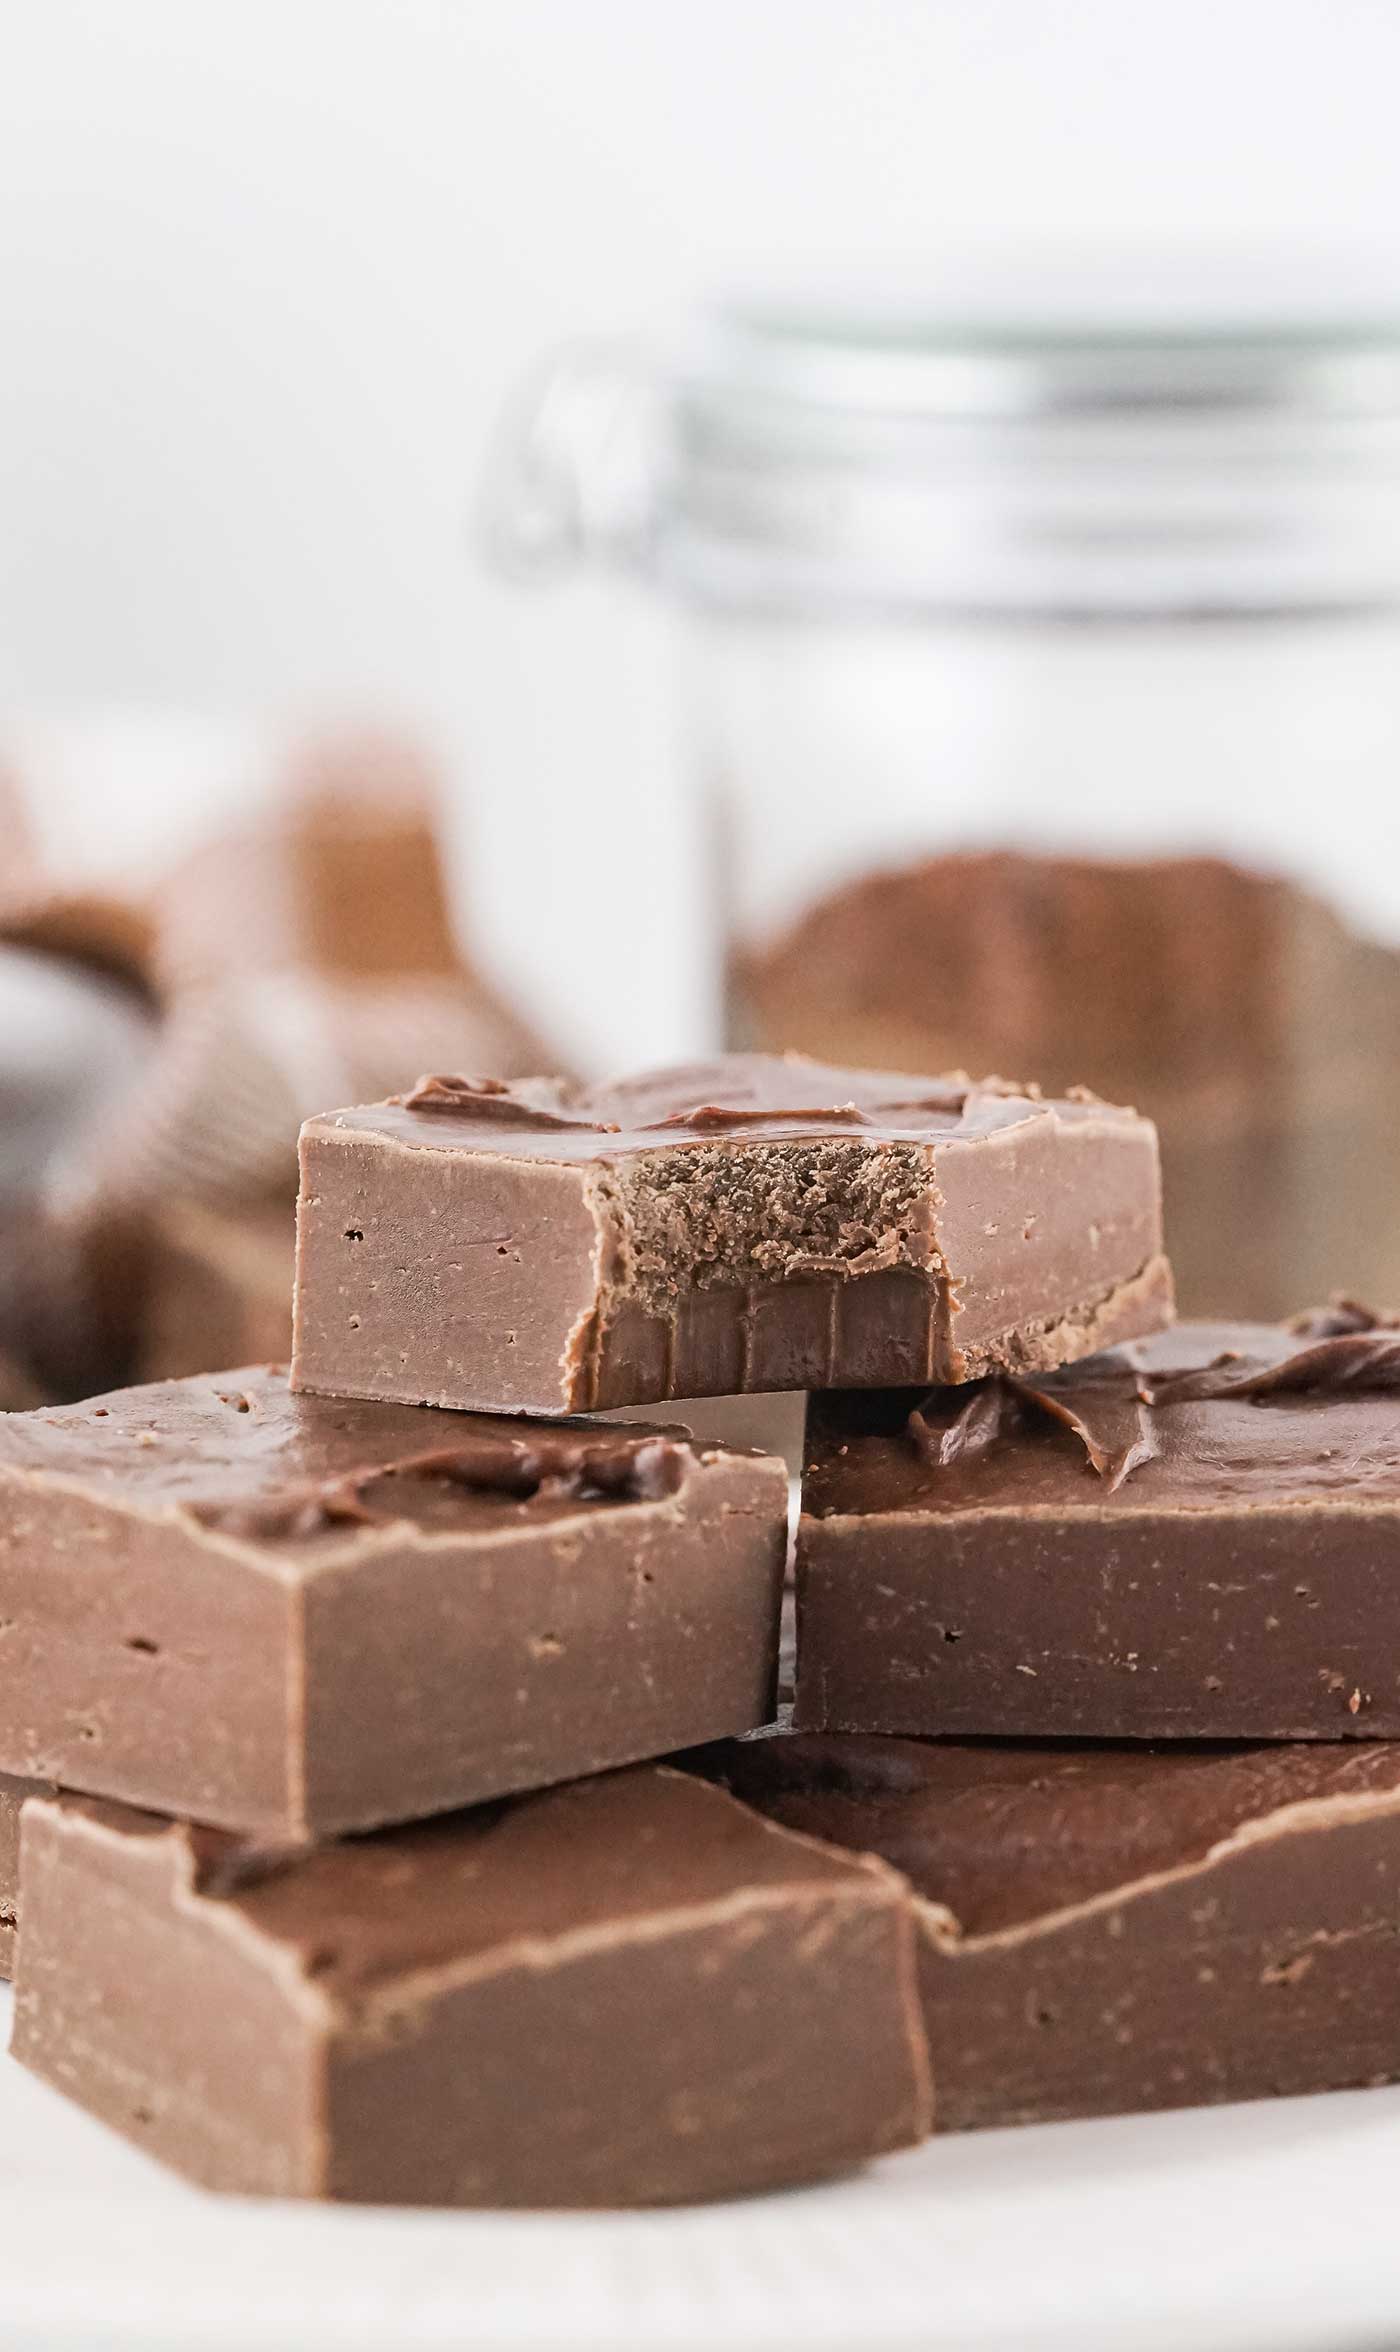
Step 7: Enjoy Your Homemade Chocolate Fudge.
We’re done! We’ve successfully made a batch of heavenly two-ingredient chocolate fudge! Now, it’s time to indulge. Whether you’re enjoying it as a sweet treat or gifting it to friends and family, this fudge won’t disappoint.
Variations and Add-Ins:
While this two-ingredient chocolate fudge recipe is undeniably delicious on its own, you can get creative by adding some exciting variations or mix-ins:
- Nuts: Chopped nuts like walnuts, pecans, or almonds can be mixed into the fudge for a delightful crunch and added flavor.
- Vanilla Extract: A teaspoon of pure vanilla extract can enhance the overall flavor profile of your fudge.
- Sea Salt: A pinch of sea salt sprinkled over the top of the fudge before it sets can create a delightful sweet and salty contrast.
- Mint Flavoring: Add a few drops of peppermint extract to the mixture for a refreshing twist.
- Toppings: After the fudge has partially set but is still slightly soft, you can add toppings like mini marshmallows, chocolate chips, or even crushed cookies.
Storing Your Chocolate Fudge:
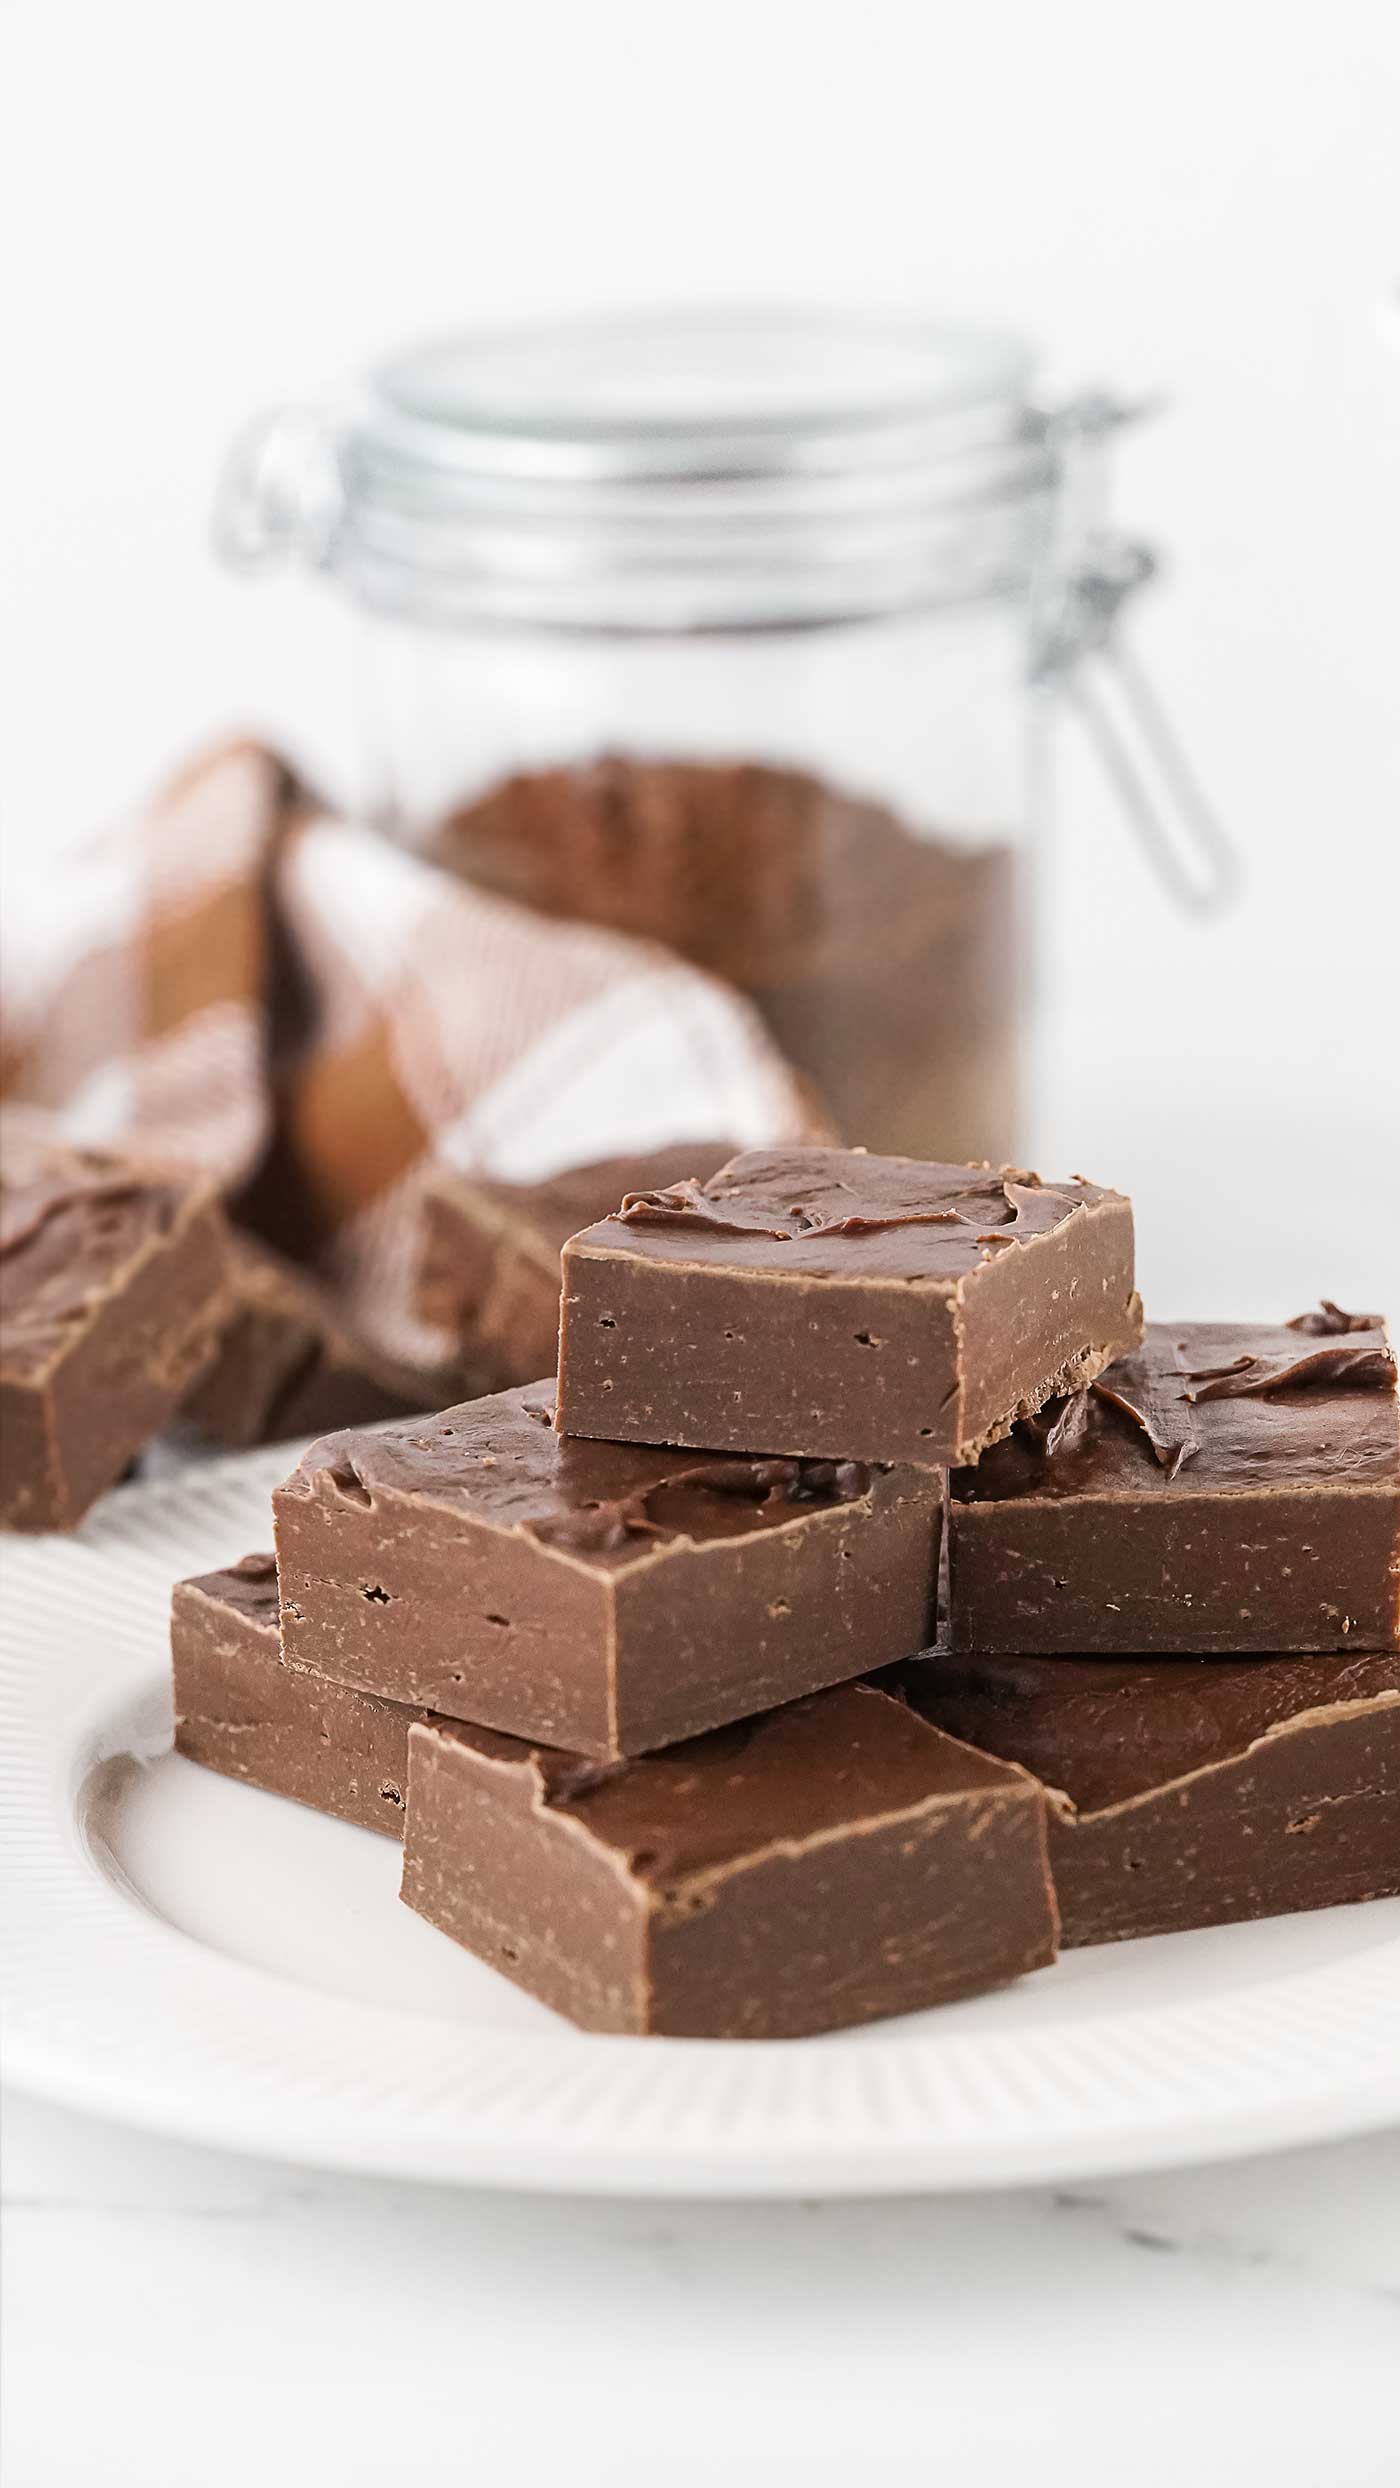
If you somehow manage not to devour all your fudge in one go, you’ll want to store it properly to keep it fresh. Place the cut fudge pieces in an airtight container, separating layers with parchment paper to prevent sticking. Store the container in a cool, dry place or the refrigerator, and your fudge should stay fresh for up to two weeks.
Obviously, this two-ingredient chocolate fudge recipe is a testament to the incredible things you can create with just a few simple ingredients. It’s the perfect treat for any occasion, whether satisfying your sweet tooth or impressing guests with your homemade confectionery skills.
So, the next time you’re craving something sweet, don’t hesitate to whip up a batch of this delightful fudge – it’s a little square of chocolate heaven that’s ready in no time!
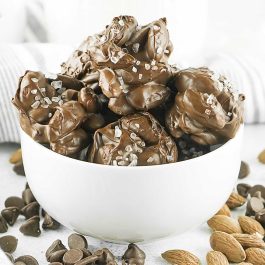
Other Chocolate Recipes you might enjoy:
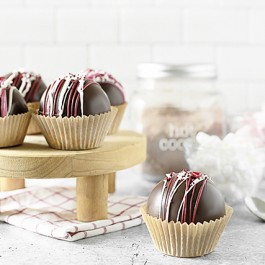
Easy Chocolate Truffles
Hot Fudge Brownie Pie
Oreo Cupcakes
Thin Mint Browns (for two)
Frozen Rocky Road Pudding
Easy Chocolate Fudge Recipe
Ingredients
- 1 12-oz bag Semi-Sweet Chocolate Chips
- 1 14-oz can Sweetened Condensed Milk
Instructions
- Line an 8×8 baking pan with parchment paper. Set aside. Please note that non-stick spray will not work.
- Combine the chocolate chips and sweetened condensed milk in a medium, microwave-safe mixing bowl.
- Start by microwaving for 30 seconds at a time on medium power (50% power). After each interval, stir the mixture thoroughly with a spoon or spatula. Repeat this process (approximately 2-3 minutes) until the chocolate is completely melted and combined with the condensed milk. Be careful not to overheat; slow and steady heating is the key to avoiding scorching.
- Pour the mixture into the prepared pan and spread even, tapping the pan on the counter or table to flatten.
- Place in the fridge for 3-4 hours or until set.
- Using a sharp knife, slice the fudge into 1-inch pieces. Enjoy!
Notes
Serving Size: 2 pieces.
Variations and Tips:
- Toppings: After the fudge has partially set but is still slightly soft, you can add toppings like mini marshmallows, chocolate chips, or even crushed cookies.
- Nutty Twist: Chopped nuts like walnuts, pecans, or almonds can be mixed into the fudge for a delightful crunch and added flavor.
- Size: Double the recipe or use a smaller pan for thicker fudge.
- Sea Salt: A pinch of sea salt sprinkled over the top of the fudge before it sets can create a delightful sweet and salty contrast.
- Mint Flavoring: Add a few drops of peppermint extract to the mixture for a refreshing twist.
- Storage: Place the cut fudge pieces in an airtight container, separating layers with parchment paper to prevent sticking. Store the container in a cool, dry place or the refrigerator, and your fudge should stay fresh for up to two weeks.
This two-ingredient chocolate fudge recipe is a testament to the incredible things you can create with just a few simple ingredients. It’s the perfect treat for any occasion, whether satisfying your sweet tooth or impressing guests with your homemade confectionery skills. So, the next time you’re craving something sweet, don’t hesitate to whip up a batch of this delightful fudge – it’s a little square of chocolate heaven that’s ready in no time!


Gina says
I’m making this same recipe today and tomorrow to give as gifts! I’ll do two white versions and two dark chocolate versions. I sewed little burlap bags to tuck the ziploc bags of fudge into. I think homemade treats are always best!
Jessieherrera says
Can you make this on stove top. I have no microwave at the moment
Kelly Rowe says
Hi Jessie! I don’t see why you can’t — just be sure you don’t burn the chocolate 🙂