How to Make a Fall Wreath
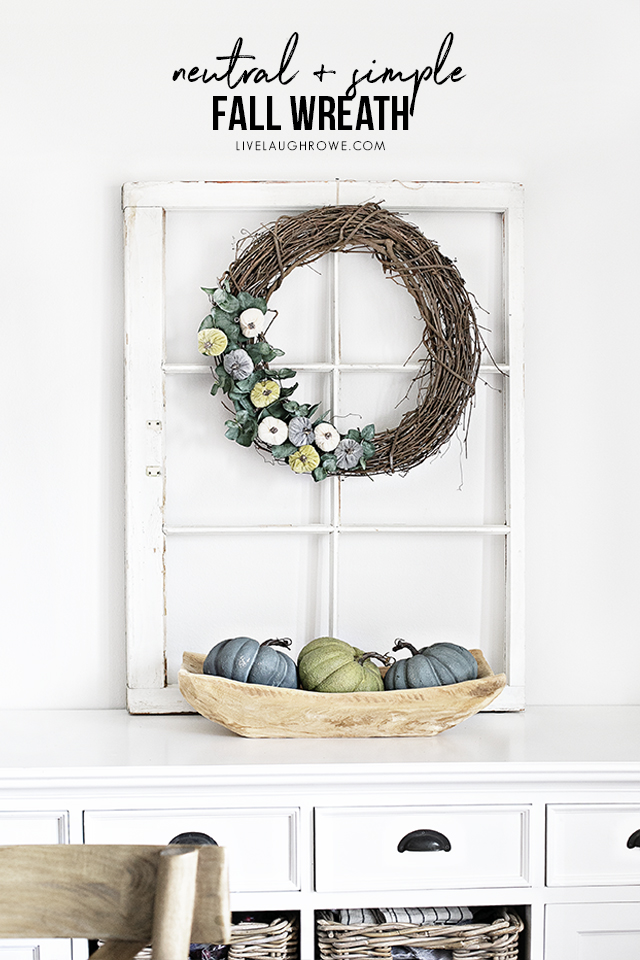
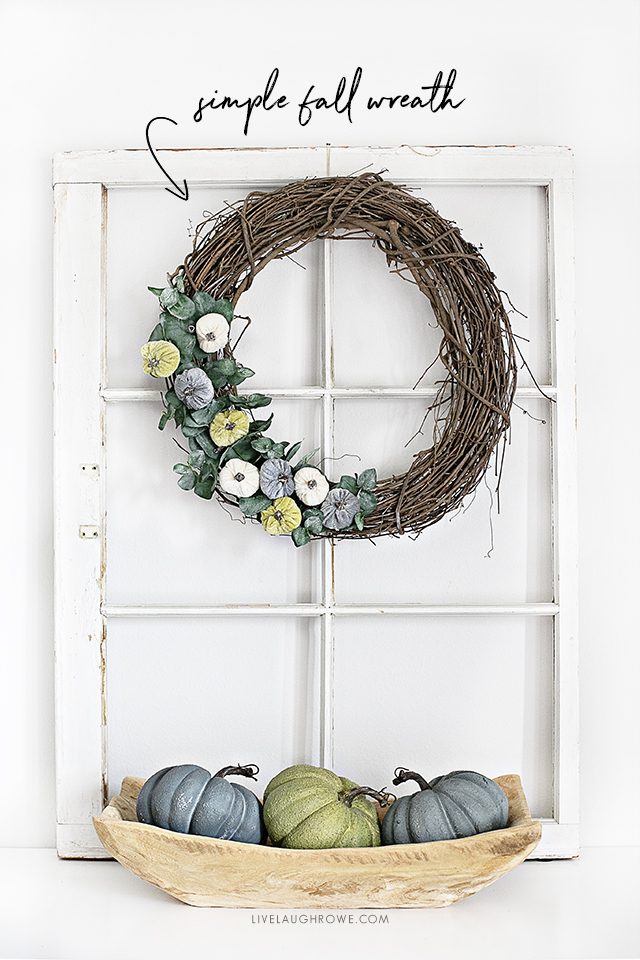
When it comes to fall decor, sometimes it can be on the expensive side. Remember the beautiful Autumn Wreath I made while living in the Airbnb? Well, the other week I was strolling through a shop and spotted a cute wreath, priced at $26.99. I decided to buy a few supplies, use some eucalyptus stems I had on-hand, and make my own. So, I thought I’d show you how to make a fall wreath that is affordable and simple. And with any extra supplies, you can make an extra one for friends and/or family.
Be sure to sign up for my email to get new recipes
and creative ideas sent right to your inbox!
As a result, my husband, Parker (our little Maltese), and I just got back from taking an evening stroll. It’s a beautiful 60º F out there in good ole’ Rogersville, MO.
Therefore, I’m getting pretty darn excited about bonfires, sweatshirts, cardigans, s’ mores, and more. Eeeeeks.
Every leaf speaks bliss to me,
fluttering from the autumn tree.
(Emily Bronte)
This past week I pulled out my fall decor. Since we moved into a smaller home a few years back, I don’t have a ton of autumn decor.
In my humble opinion, there’s nothing wrong with keeping some decor to a minimum. I don’t like a lot of the color orange in my fall decor either. In short, I guess you could say I’m a bit particular. Ha.
Additional Fall Decor to Inspire You:
Indian Corn Garland
Fall Hanging Mason Jars
Psalm 118 Fall Printable
Neutral Fall Wreath
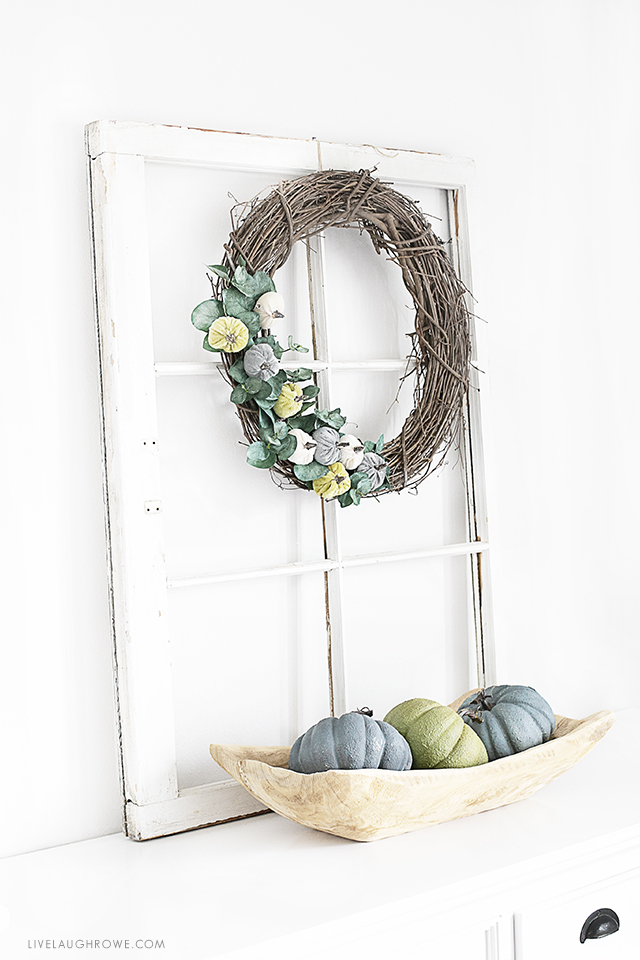
So, let’s take a look at how to make this sweet and super simple fall wreath. I think I’m going to hang this on my front door. We have a storm door, so photographing can be a little tricky. However, with a covered porch, there’s no reason this wouldn’t be a great fall front door wreath.
How to Make a Fall Wreath:
Supplies
18″ Grapevine Wreath
Mini Pumpkins (mine are velvet, from Hobby Lobby)
Two Eucalyptus Stems
Hot Glue Gun
Wire Cutters
Twine or String (for hanging)
Check out my video with step by step tutorial.
Instructions
1. Plug your glue gun in so that it’s warmed up and ready to go when we start assembling the wreath.
2. Prep Work. Start by shortening one of the eucalyptus stems, using the wire cutters. After that, you’ll cut all of the branches off of the second eucalyptus stem. These pieces will be used for filler.
3. Eucalyptus Stems. Place the trimmed eucalyptus stem into the bottom left side of your wreath. Using a grapevine wreath allows for the stem to have a tight fit, so I don’t glue this in. After you’ve inserted the larger stem, determine how wide you want the decorative part of the wreath to be and use the other eucalyptus pieces to fill the other areas in.
4. Pumpkins. Play around with the placement of the mini pumpkins. You might even lay them out and glue them thereafter. That’s how I like to do it. Here is a picture with mine placed where I’m looking to place them. Note: It did change a bit.
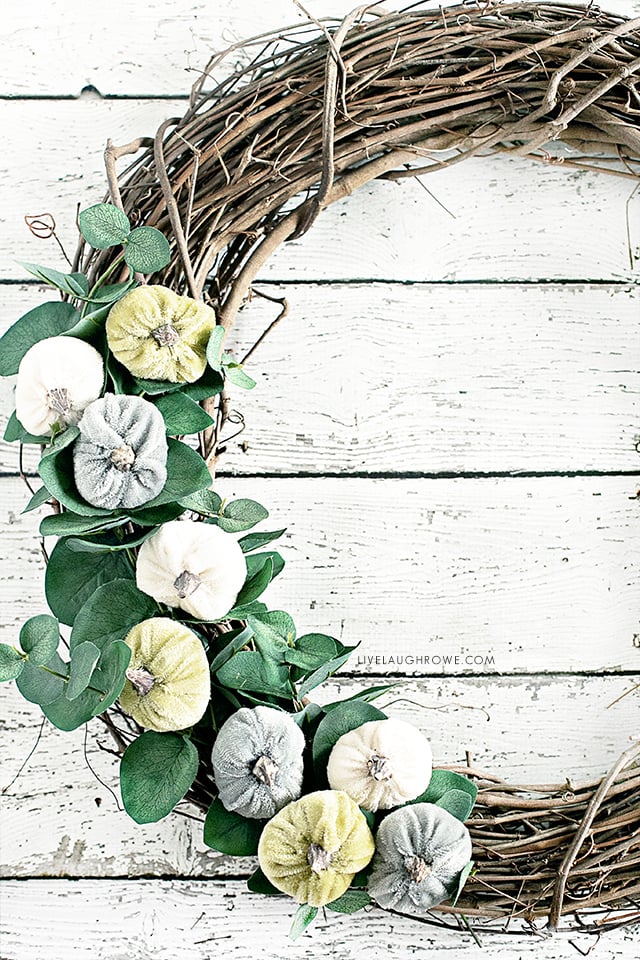
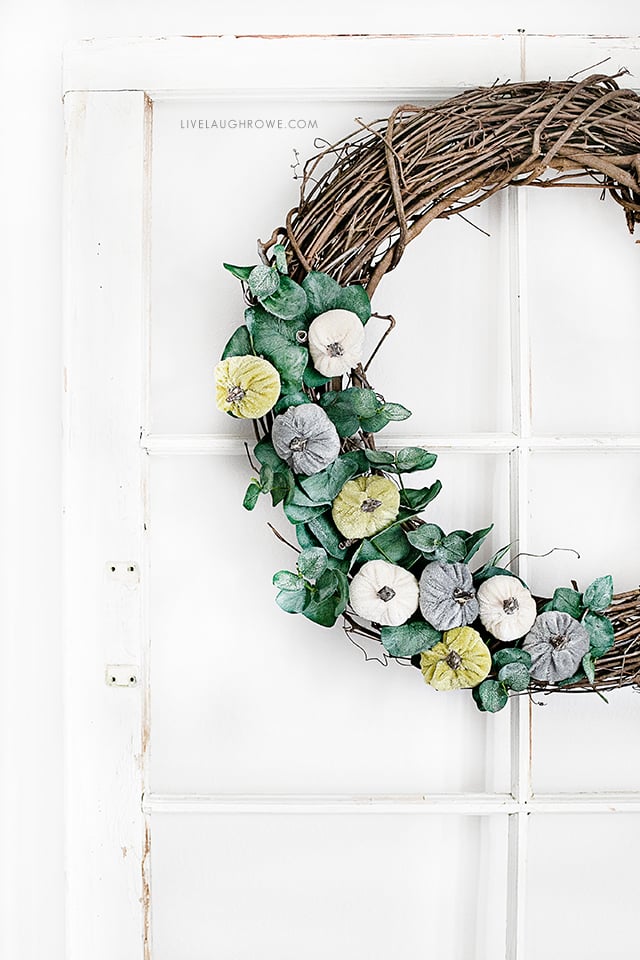
And you’re done! I told you it was super easy. This would make great girls craft night… sip of some warm wine, hot cider, or a cup of joe and craft the night away.
And all at once, summer
collapsed into fall…
(Oscar Wilde)
p.s. I did decide the green was a little too dark for my liking. So I watered down some white acrylic paint on a paper towel and wiped it on each of the leaves. Now I likey it. (hee-hee)
Connect with Live Laugh Rowe!
Facebook | Instagram | Pinterest | Twitter
Hugs and Blessings!




Rebecca Payne says
So cute!
Emily Conner says
This looks really beautiful!!