I have some exciting news, friends! Ashley from Little Glass Jar is joining the Live Laugh Rowe Creative Team! She’s here today sharing a fabulous rustic DIY — this lovely wood slab cake stand!
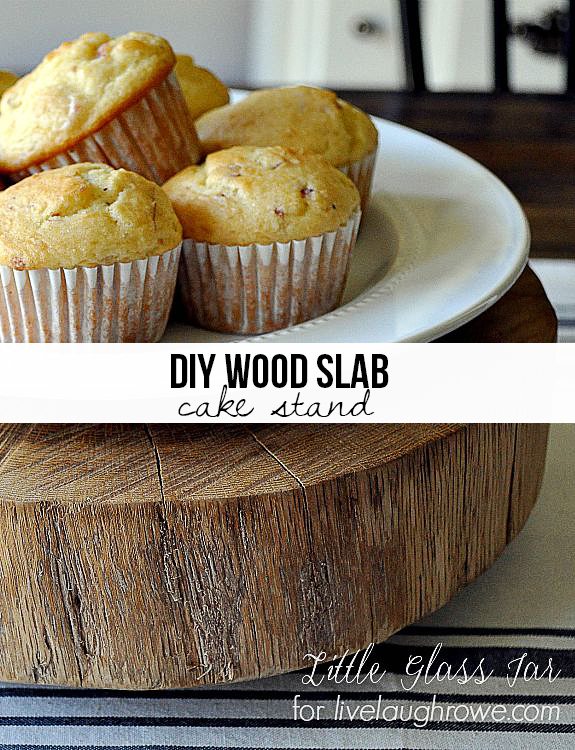 I’m so happy to be back at Live Laugh Rowe, this time as a contributor! I did a guest post for Kelly this past June where I shared a tutorial on how to make some DIY Bean Sack Art, and today I have another fun DIY project to share — a DIY Wood Slab Cake Stand!
If you are at all familiar with my blog, you know I am a sucker for wood grain. I just love the natural look and texture it brings to a space, so I try and incorporate it in just about every room in our home.
We’ve had some hand cut wood slabs sitting in our garage for over a year that we used as part of our wedding centerpieces, and I’ve been thinking of different ways to use them. I decided to try and make one of them into a cake stand and I seriously love the way it turned out!
 Supplies:
- Raw Cut Wood Slab
- Hammer or Rubber Mallet
- Putty Knife
- Hand Sander
- Hemp Oil
- Scrap Wood
- Wood Stain
- Saw
- Wood Glue
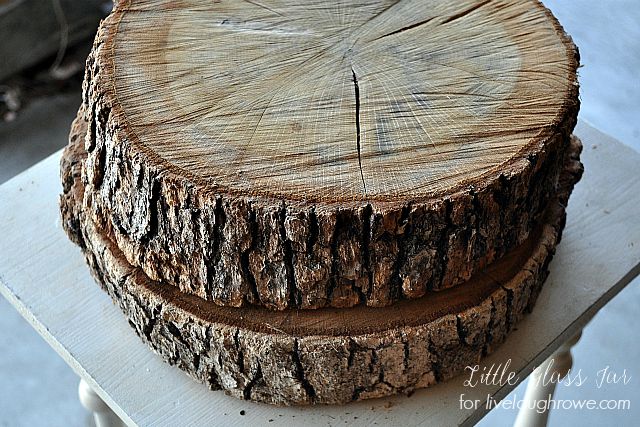
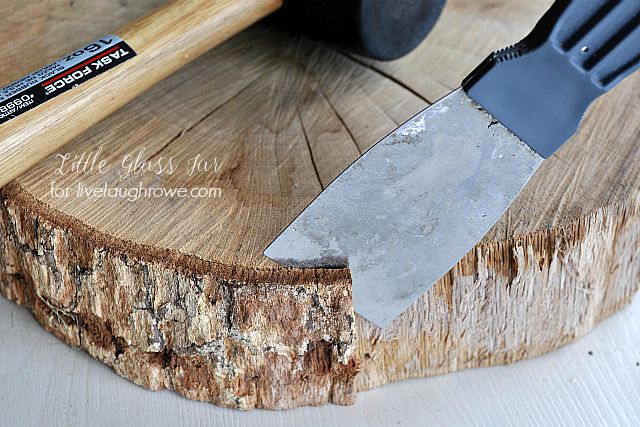
The wood slab had some pretty dry and crumbly bark still left on the outside, so I knew I wanted to have that removed for a smooth look. Plus, who wants pieces of a tree in their cake!? Not me! I started by using my putty knife to kind of chisel away the outer bark, hitting it with my hammer or rubber mallet to peel it off.
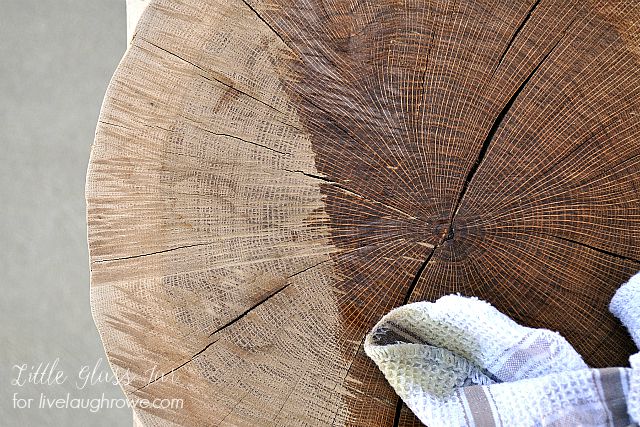
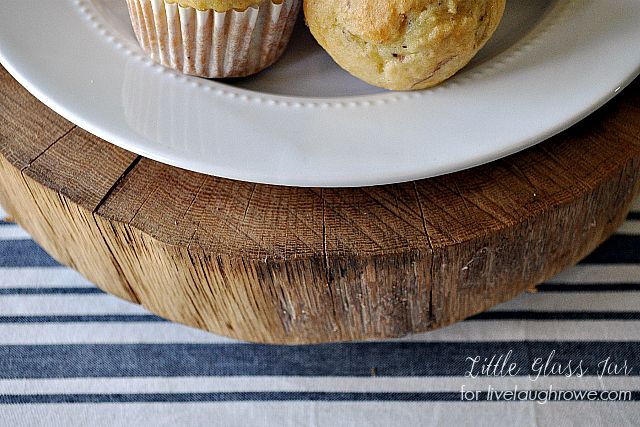
 Once I had the entire outer layer of bark removed, I used my hand sander to sand it smooth. I went over the sides several times to make sure it didn’t have any little splinters sticking out. The last thing I would want is to get one of those when I’m going to get a treat!
 To bring out the natural wood grain, I applied some hemp oil to an old rag and covered the entire slab with it. This was actually my very first time using hemp oil and I have got to say, I think it’s pretty fantastic stuff! Not only does it transform the way your wood looks, it also acts as a protection to your piece.
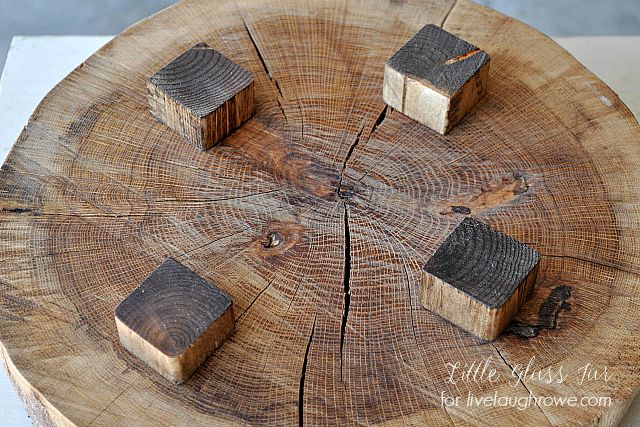
 Once the hemp oil was all dry, I added little tiny legs on the stand to give it a little height off the table. We had a few pieces of scrap wood in our garage that I just quickly cut, stained, and attached to the bottom with wood glue.
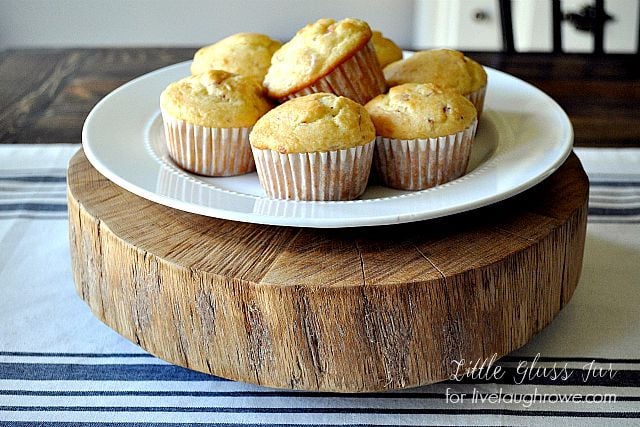
 I seriously love how it turned out! I actually started a collection of cake stands in our kitchen, so it was pretty special to be able to add a handmade one with some sentimental meaning.
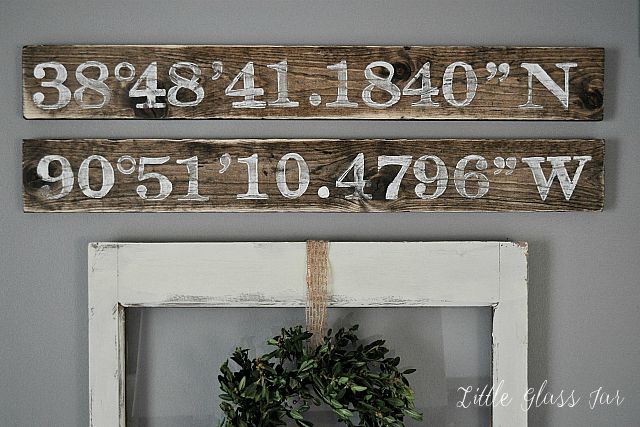
 What do you think of my DIY Wood Slab Cake Stand!? I think it was well worth the work! If you like this, you might also be interested in checking out my DIY City GPS Sign over at Little Glass Jar!
Thanks so so much for stopping by!!!
You can also find me hanging out here:
Instagram | Facebook | Twitter | Pinterest
https://betweennapsontheporch.net/


Cheryl says
Great tutorial. We had to fell a tree a few months ago. We still have the logs. Maybe I can turn one of those into one.
Ashley Broviak - Little Glass Jar says
Yay! You absolutely should! It’s so simple and adds great texture to the inside of your home. And what better way to have a little piece of your home if you ever move 🙂
Stephanie R says
I LOVE this! I love the way that wood looks when used in decor and this is just another example!
Ashley Broviak - Little Glass Jar says
I’m so happy you love it! And I couldn’t agree more! I love bringing a little piece of the outside in!
suzan says
This is just so fabulous !
I decorate with branches all over the house – time to step up my game I think LOL – I NEED one of these!
Beautiful job
Krysta says
Oh how I love you.
Genius.
Jennifer says
A great idea and tutorial. Thanks.