Have I got a treat for you! Ashley from Little Glass Jar is back with us today sharing an awesome sauce project. I’m in love with this Bean Sack Art project. Enjoy!
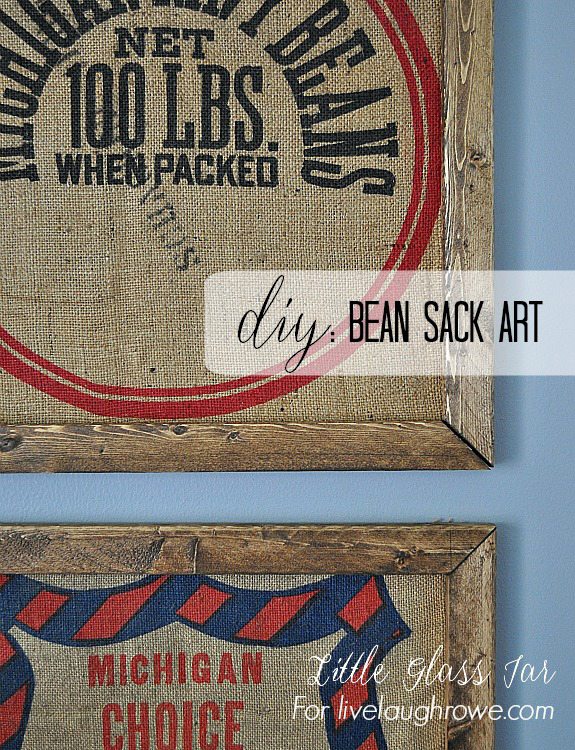 DIY Bean Sack Art

Well hello there! Happy Friday!!! I am so so excited to be guest posting at Live Laugh Rowe today! I recently met Kelly through the blog world over on Instagram when we found that we both live in St. Louis. She has been such a great help to me as I still consider myself a newbie to blogging!
I have always been huge on home design and anything DIY, so after I got married last year I decided to start Little Glass Jar to share all of our home projects and anything else related to the everyday life! Working a full time job on top of the blog can get a little crazy during the work week, but my blog is my creative outlet and it is what I am most passionate about! I would absolutely love for you to come over and visit sometime!
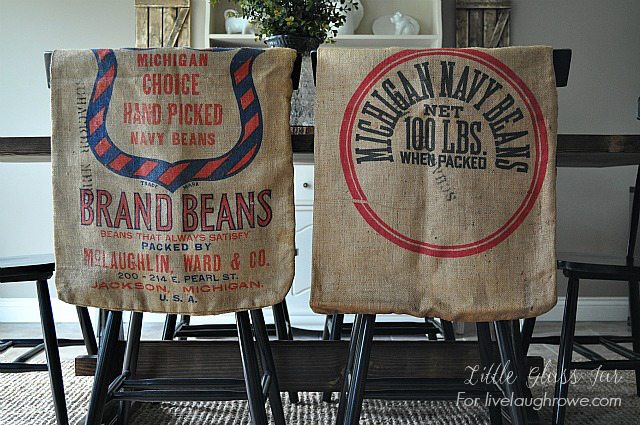
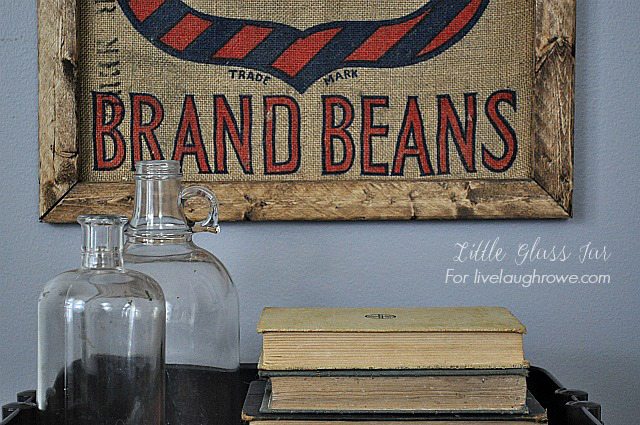
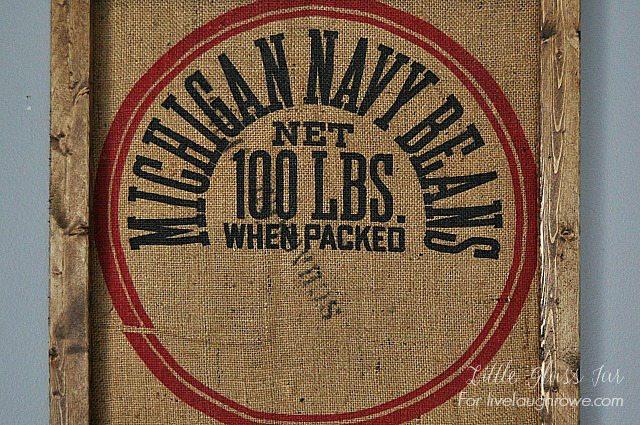
My style has a lot to do with finding pieces full of character from flea markets, thrift stores, and antique malls. I am a lover of all things old that can be given new purpose. When I found these old bean sacks at an antique store and knew that I could come up with something to make from them, so they came home with me!
 I decided to make some DIY art from the sacks for our home office. I’ve done similar projects using tea towels that turned out awesome, so I got to work!
Materials Needed:
- Bean Sacks
- 1×2 Wood Strips
- Wood Stain
- Scissors
- Staple Gun
- Saw (I used a Miter Saw)
- Flat Corner Braces
- Drill or Screw Driver
- Picture Hooks
- Hammer
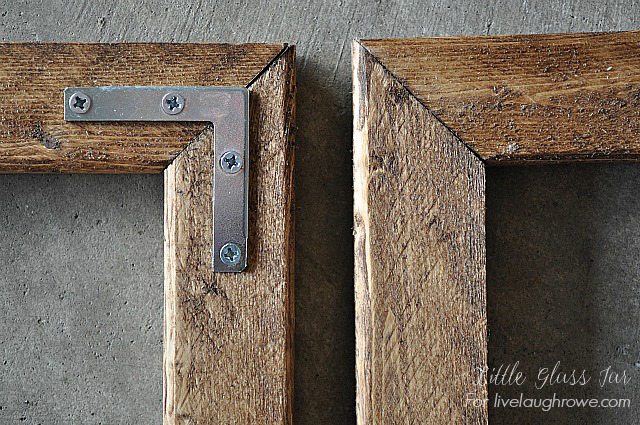
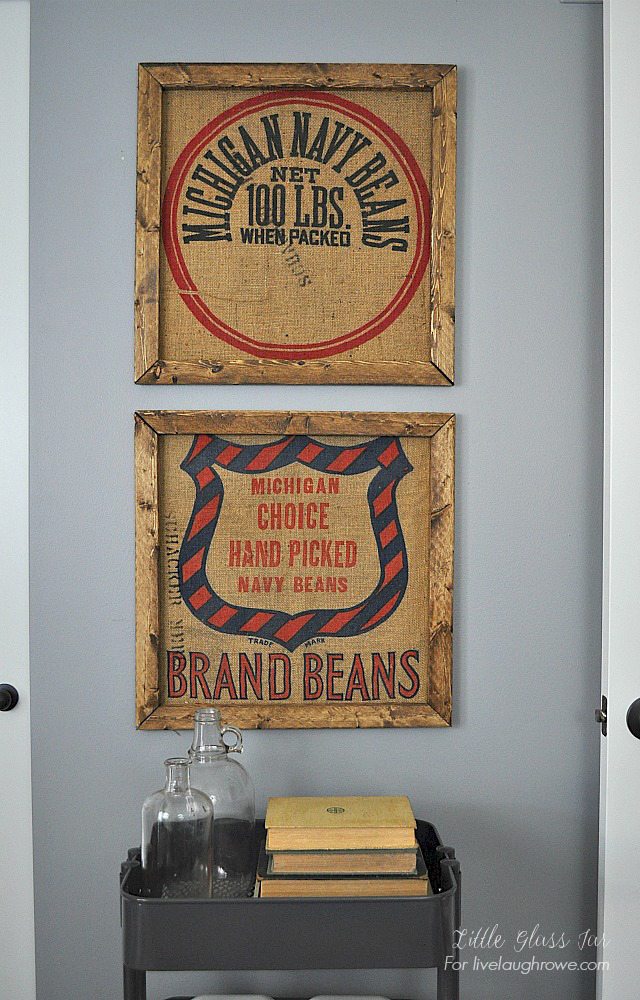
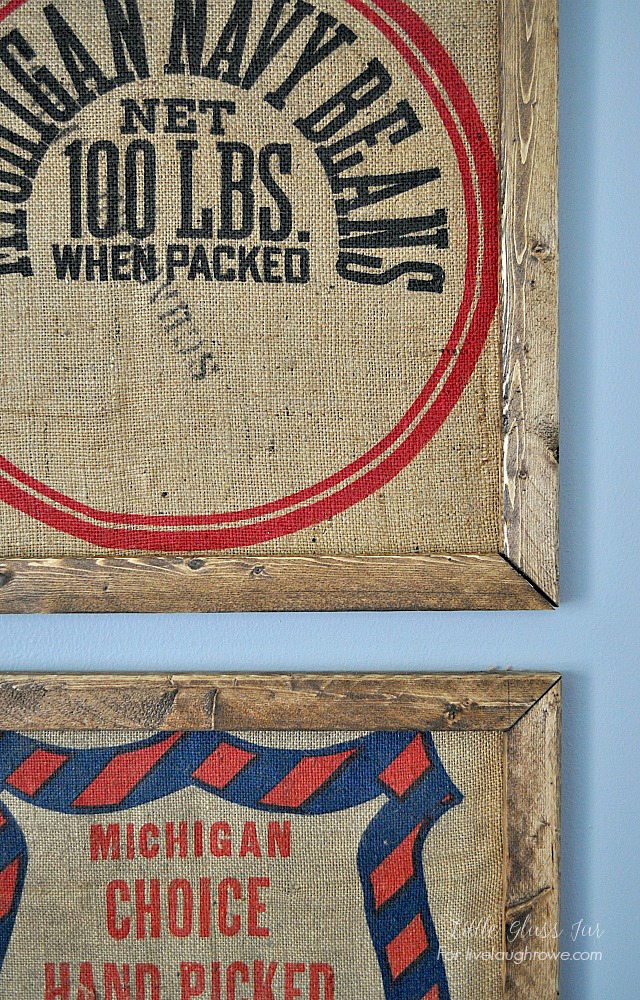
I started by cutting out the parts of each bean sack I wanted to use. For this particular project, I used 19 inch squares. I used our miter saw to cut eight 19 inch sides, each with 45 degree angles to make the frame. After I stained the pieces with wood stain, I used flat corner braces to assemble each wood frame.
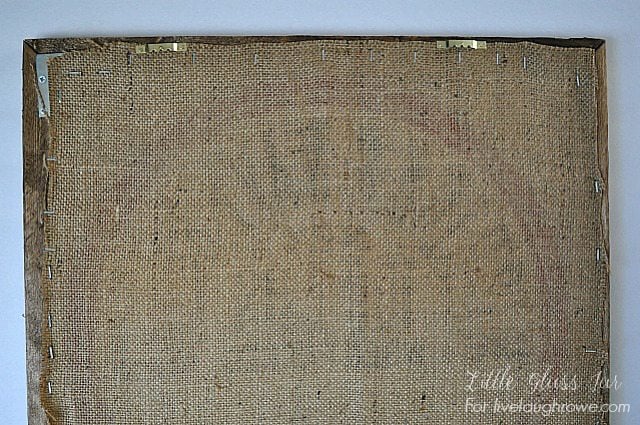
 Once the two frames were assembled, I simply used a staple gun to staple the bean sack directly to the back side of the frame. I added two picture hooks and that was it!
 New vintage bean sack art pieces for our home office! I love how they turned out, and I hope you do too!
 A huge thanks to Kelly again for inviting me to guest post! Seriously, I had so much fun! If you are interested to see more from Little Glass Jar, please stop by and say hi!
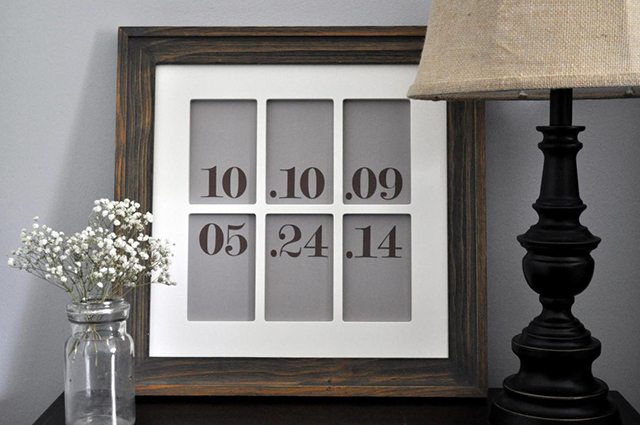
If you liked this wall art, you might also enjoy my Special Dates Artwork.
You can also find me on:
Instagram / Facebook / Twitter / Pinterest
Have a wonderful weekend!!!


Karen Pope says
Thank you so much for posting. I have several old apple sacks and now I am inspired!
wendy / life on the shady grove says
Great job Ashley!
Rhonda says
Love this! I think I might even try using the L-shaped brackets on the front of the frame.
Kerry @ Sylvan&South says
These are great! I love that you used unpainted wood to keep with the rustic look, although I could also see this going very well in a more modern house.