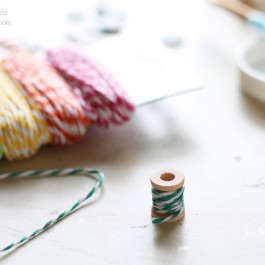
As silly as it may sound, I love spools! Vintage spools are a favorite of mine as well. I have jars and bowls of them around the house. I find there’s lots of good uses for a spool or two.
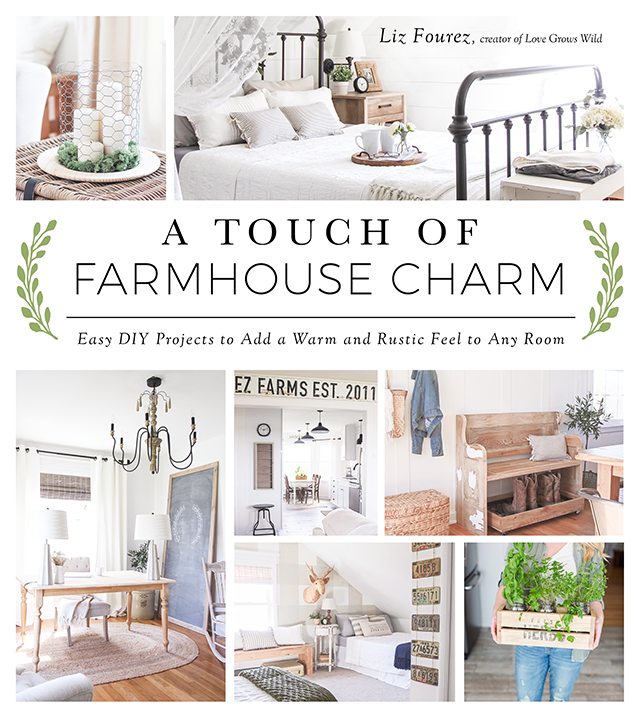
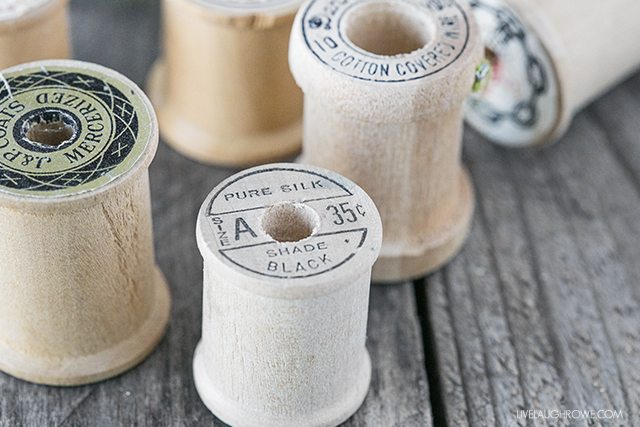 I’ve bought several wooden spools over the years to hold washi tape, scraps of ribbon and some of my hand painted twine. However, I recently got my hands on a copy of my friend Liz’s book, A Touch of Farmhouse Charm. Liz is the writer and creator behind Love Grows Wild as well. While browsing through the book I fell in love with her vintage wooden spool project.
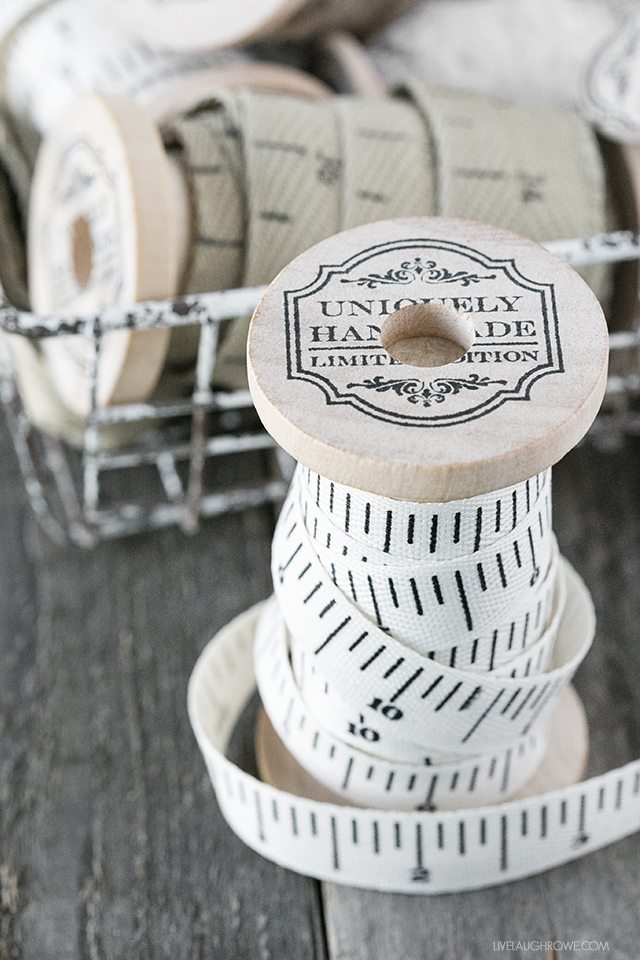
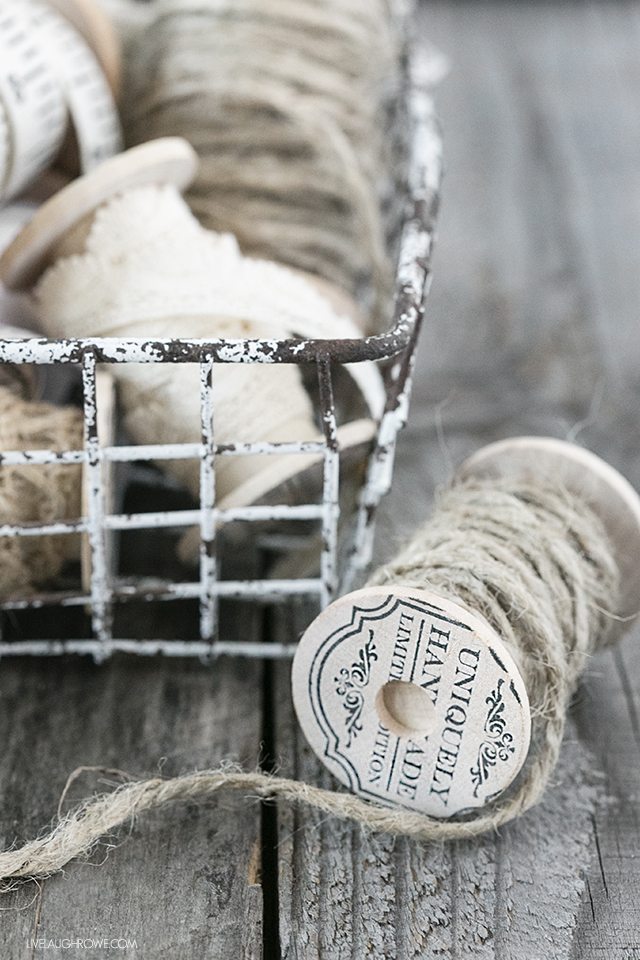
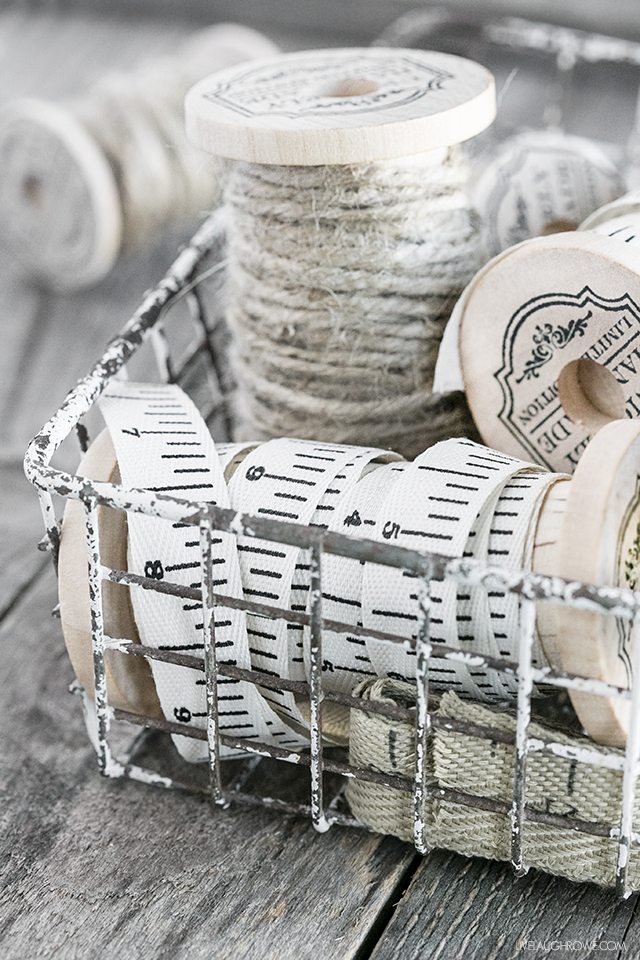
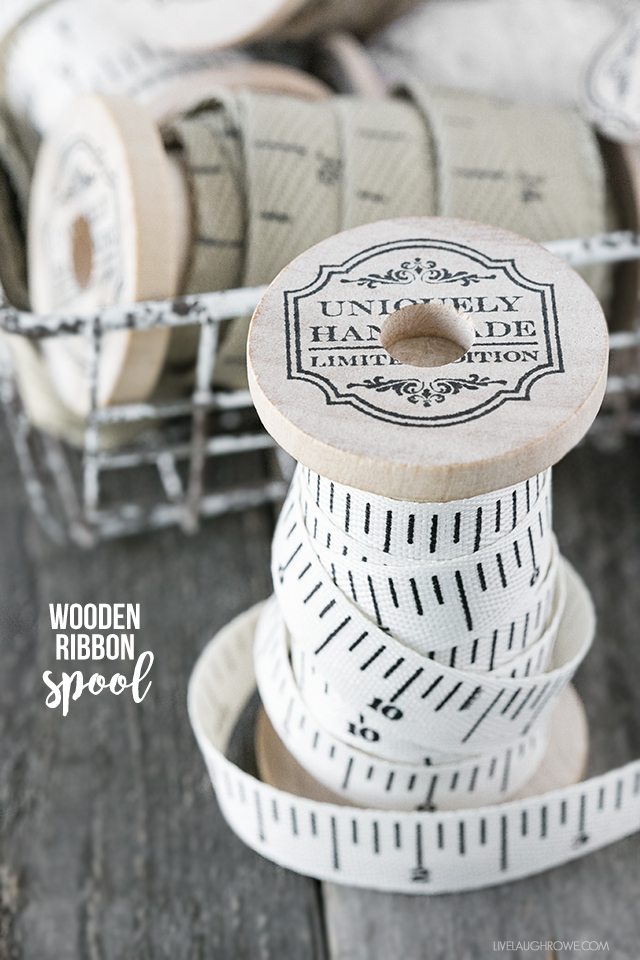 Vintage Wooden Ribbon Spool

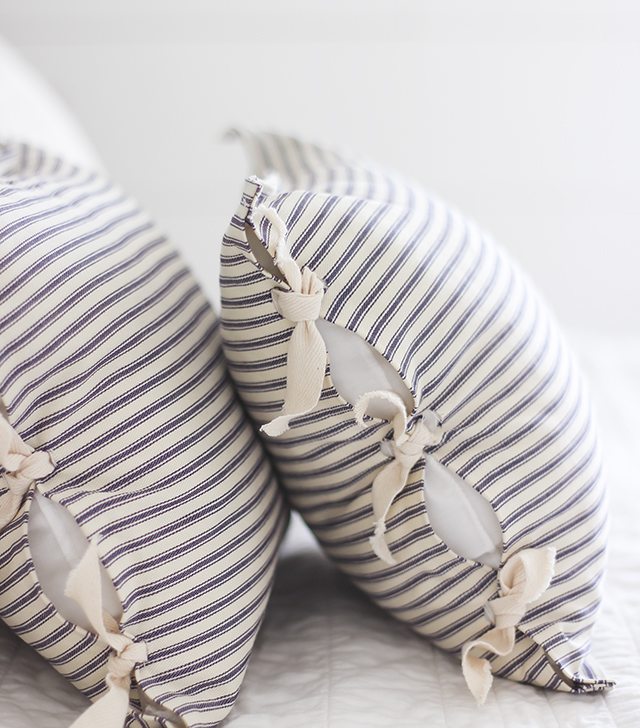
A couple of other projects that caught my eye were the Tied Pillow Covers. These covers are just darling!
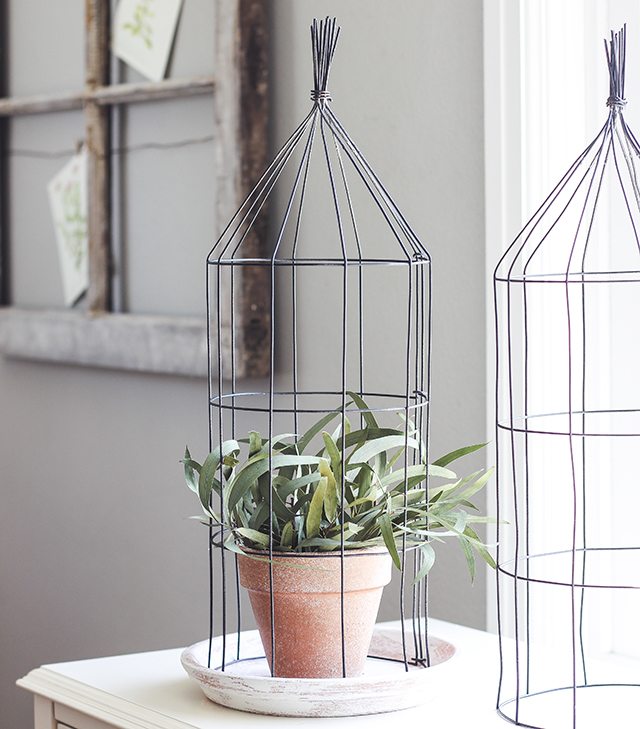
A Touch of Farmhouse Charm includes:
- 70 home decor projects for all levels of DIY experience, from beginner to advanced
- a room-by-room tour of the farmhouse with details on how they renovated each space
- ideas for styling and decorating with each project
- tips for working with tools
- and much more!
You can purchase a copy on Amazon, Barnes & Noble, and/or Books-A-Million.
It’s amazing what you can do with a couple of simple supplies — wood rounds and dowels. My first thought was, “why I didn’t think of that?” I made a few using Liz’s instructions in the book and a few others a little smaller. Let’s take a look!
Supplies for Vintage Wooden Ribbon Spool:
Tape Measure
1-1/4″ (3 cm) dowel rod
Miter Saw or Circular Saw
Drill
Two 2″ x 3/16″ (5 cm x 5 mm) Wood Discs
1/2″ (13 mm) Paddle Bit
Rubber Stamp (from Hobby Lobby)
Black Ink Pad
Wood Glue
Step One:
Measure and cut a 3″ piece from the dowel rod using a saw.
Step Two:
Drill a hole in the center of both wood discs using the 1/2″ paddle bit.
Step Three:
Lightly stamp a design on one side of the wood with black ink.
Step Four:
Attach a disc to both ends of the dowel rod using wood glue. Place something heavy on the spool while the glue dries.
These are perfect for gifting ribbon, storage, photography props, and/or home decor. The possibilities are endless and charming!

Facebook | Instagram | Pinterest | Twitter | Google+


Alison Palmer says
I really like the ticking pillow covers. I think they will be a great addition to my guest bedroom