
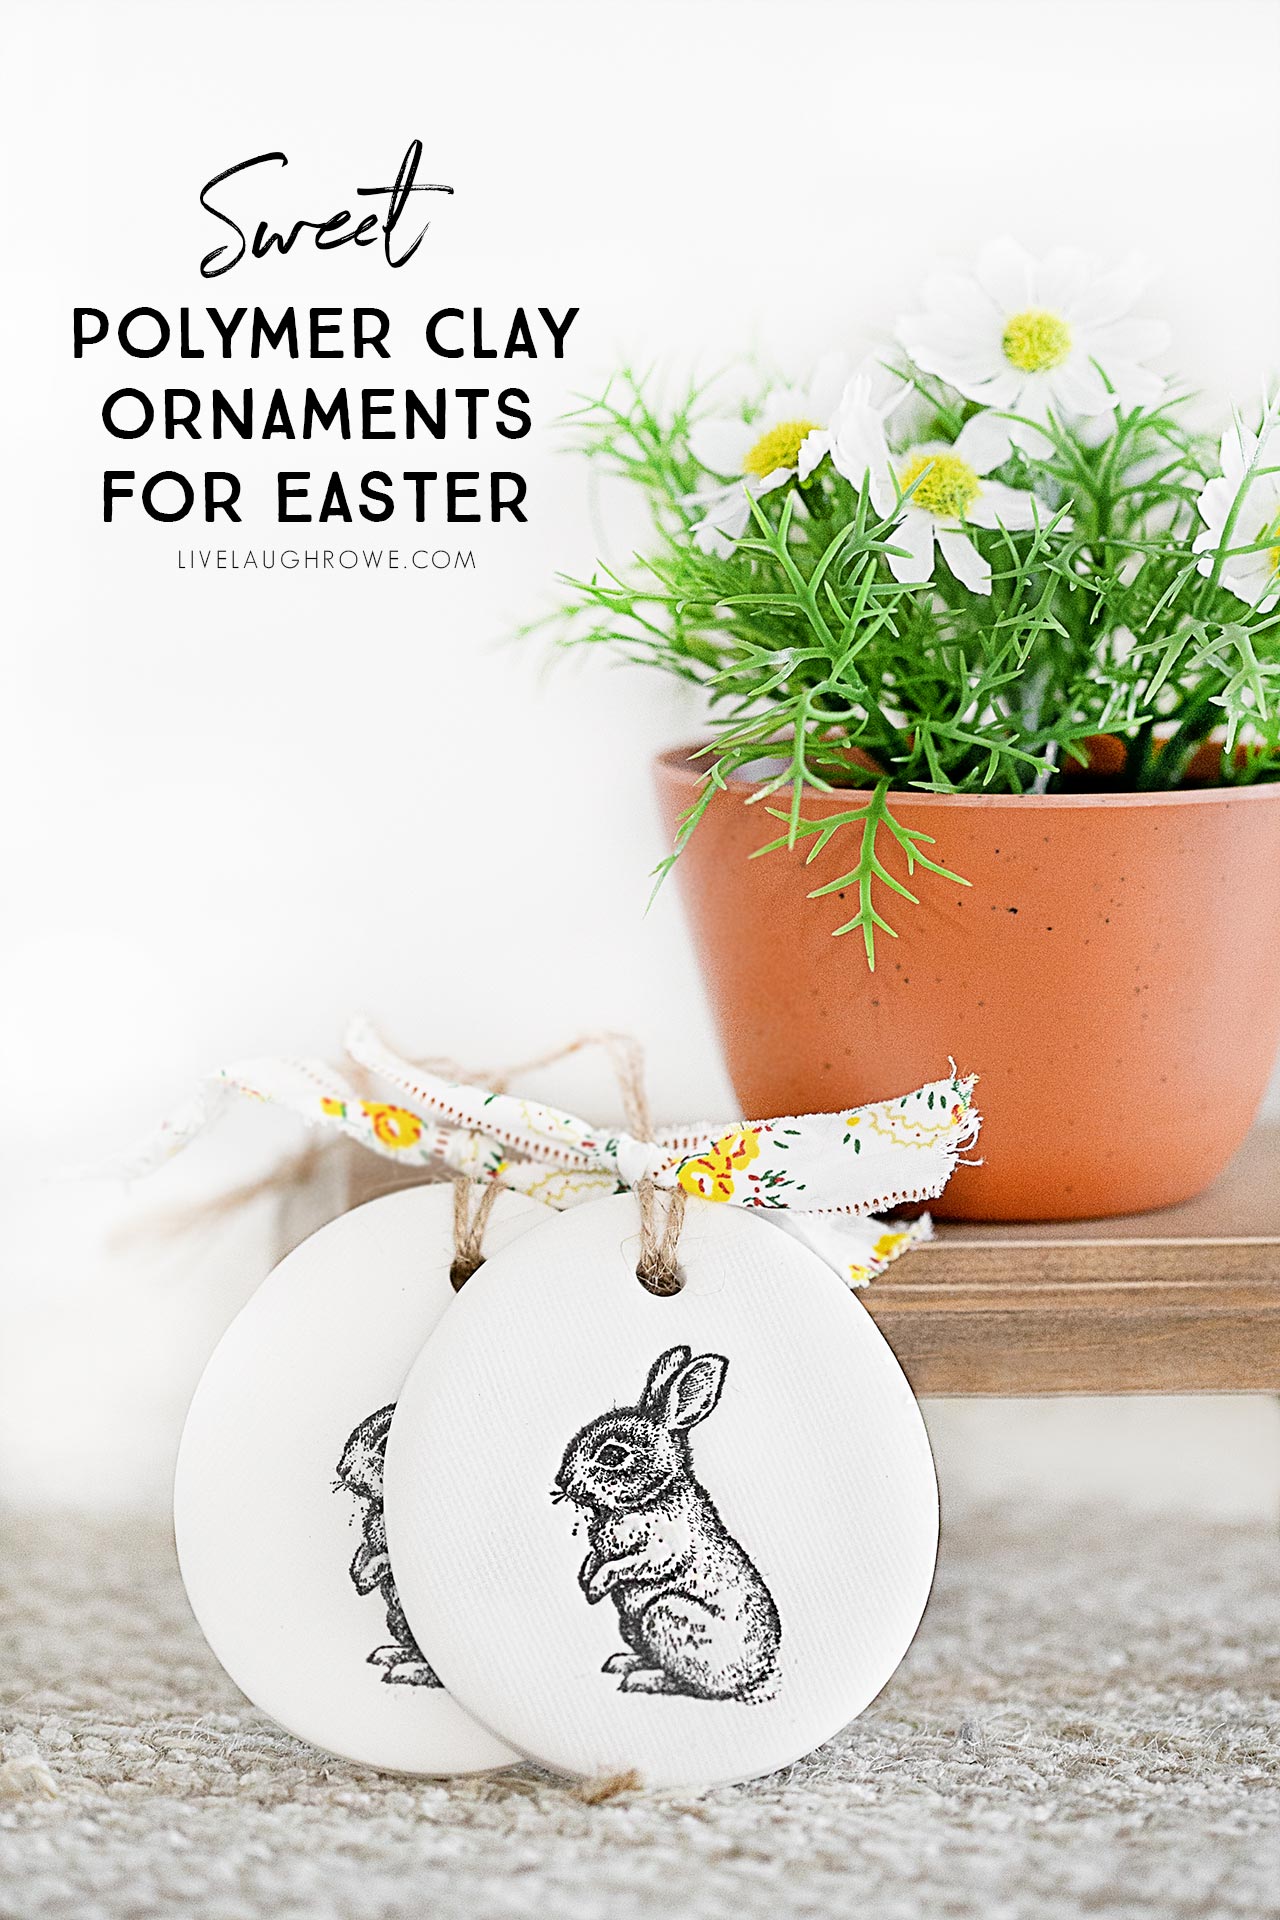
Polymer clay is a fascinating craft medium. It’s so incredibly versatile. Not to mention that there are so many different things you can make with it. From miniature figurines to jewelry and more. Today I’m super excited to share a sweet tutorial for polymer clay ornaments (or gift tags) for Easter.
 This project was inspired by an ornament I saw on Etsy. If you know me, you might know that I’m most likely going to try to make something before buying it (when feasible).
And, well, these polymer clay ornaments seemed feasible to me. Yay.
So I took a quick trip to a local craft store and was surprised to find only a couple of packages of the white polymer clay available. I picked up a terra cotta color too. Stay tuned for another fun craft idea. Eeks.
Nevertheless, I was excited to snag a package and put it to good use.
Popular Questions…
How do you make polymer clay ornaments?
You make polymer clay ornaments using oven-baked clay, rolling pins, and cutters to create the shape you desire. Usually, you start by kneading the clay, making it easier to work with. Using a rolling pin, you’ll flatten the clay to approximately 1/4″ to 1/2″ thickness on a smooth non-stick surface. After that, create your shape using a cookie cutter or other object of choice.
And lastly, decorate before baking in the oven. However, some decorating may take place after the ornament has baked.
How do you decorate polymer clay?
Decorating polymer clay varies. You can certainly use a variety of different objects or patterned rollers to create texture. It’s also easy to decorate the polymer clay using rubber stamps, acrylic paint, and more. Quite frankly, the possibilities are endless.
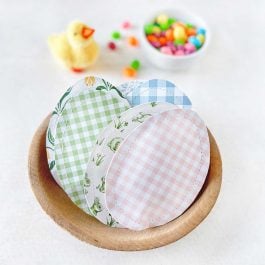
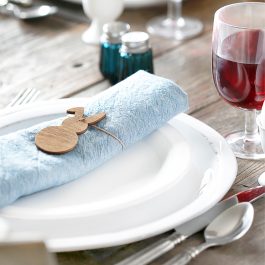
Other Easter Crafts:
Simple Muslin Easter Treat Bags
Easter Gift Boxes
Scrap Fabric Easter Wreath
Sweet Easter Treat Holders (or Favors)
Decorative Eggs with Paper Mache
Supplies for Polymer Clay Ornaments:
White Polymer Clay (I used Sculpey)
Acrylic Clay Roller
Egg-shaped cookie cutter
Textured Paper
Plastic Straw
Rabbit stamp
Black Ink Pad (I used Memento)
Twine or Ribbon
How to make Polymer Clay Ornaments for Easter:
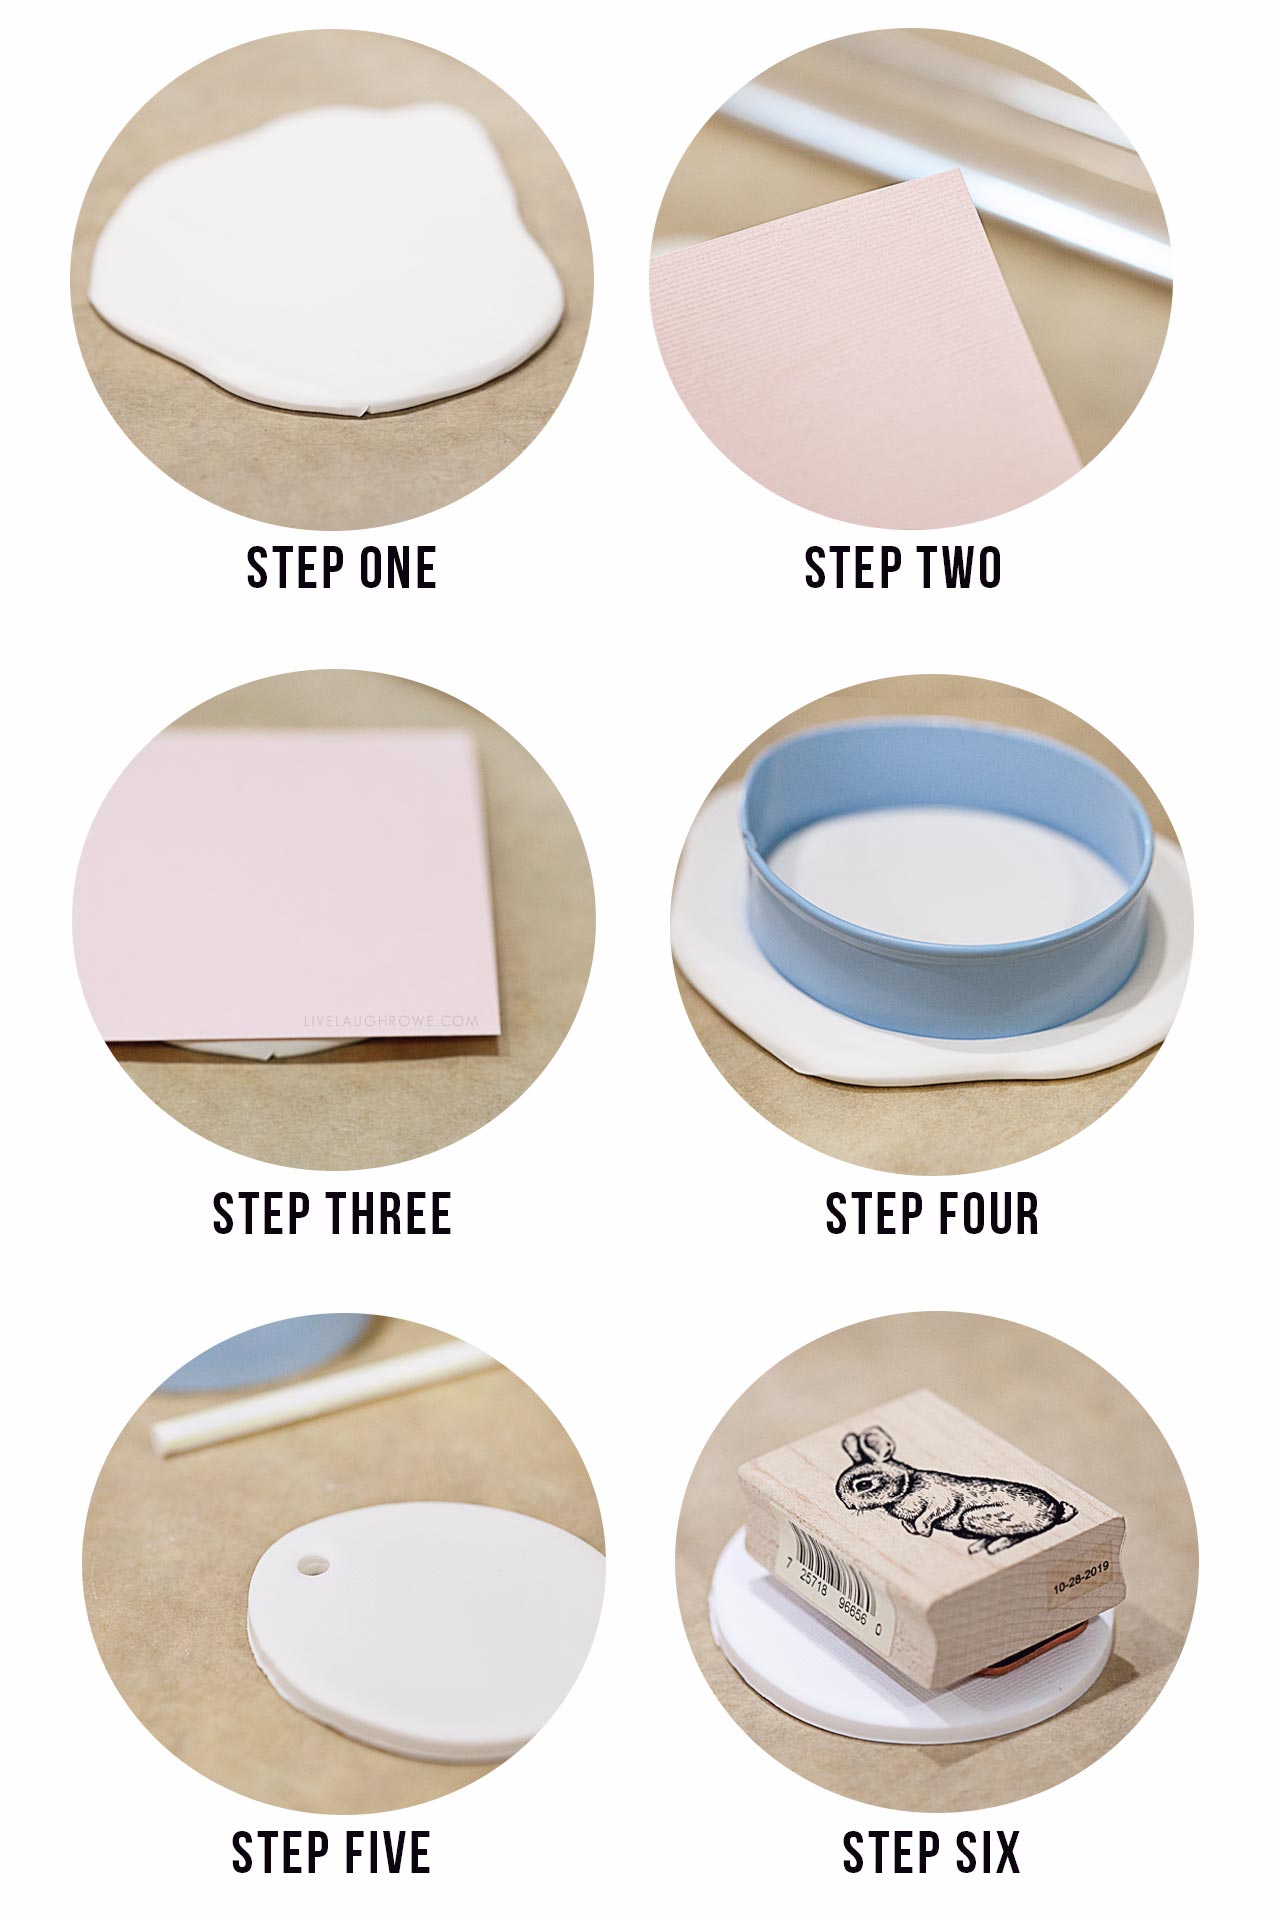
Step One:
Roll out the polymer clay on a non-stick surface using an acrylic clay roller or rolling pin.
Step Two:
Secondly, cut (or tear) a piece of textured paper that will completely cover the clay.
Step Three:
Place the textured piece of paper on top of the clay and press gently. Likewise, you could use the roller too. Regardless, you want to be sure it leaves a slight indention in the clay. Remove the paper and set aside.
Step Four:
After that, we’re going to place the egg-shaped cookie cutter on the clay and press it down firmly to create the shape for the polymer clay ornament. Remove the cookie cutter and extra clay.
Step Five:
Using a plastic straw, center it towards the top of the egg shape. Twisting the straw will allow for the clay to attach to the straw. Remove the straw and the small hole will most likely remain in the straw. This hole will be used later for twine and/or ribbon.
Step Six:
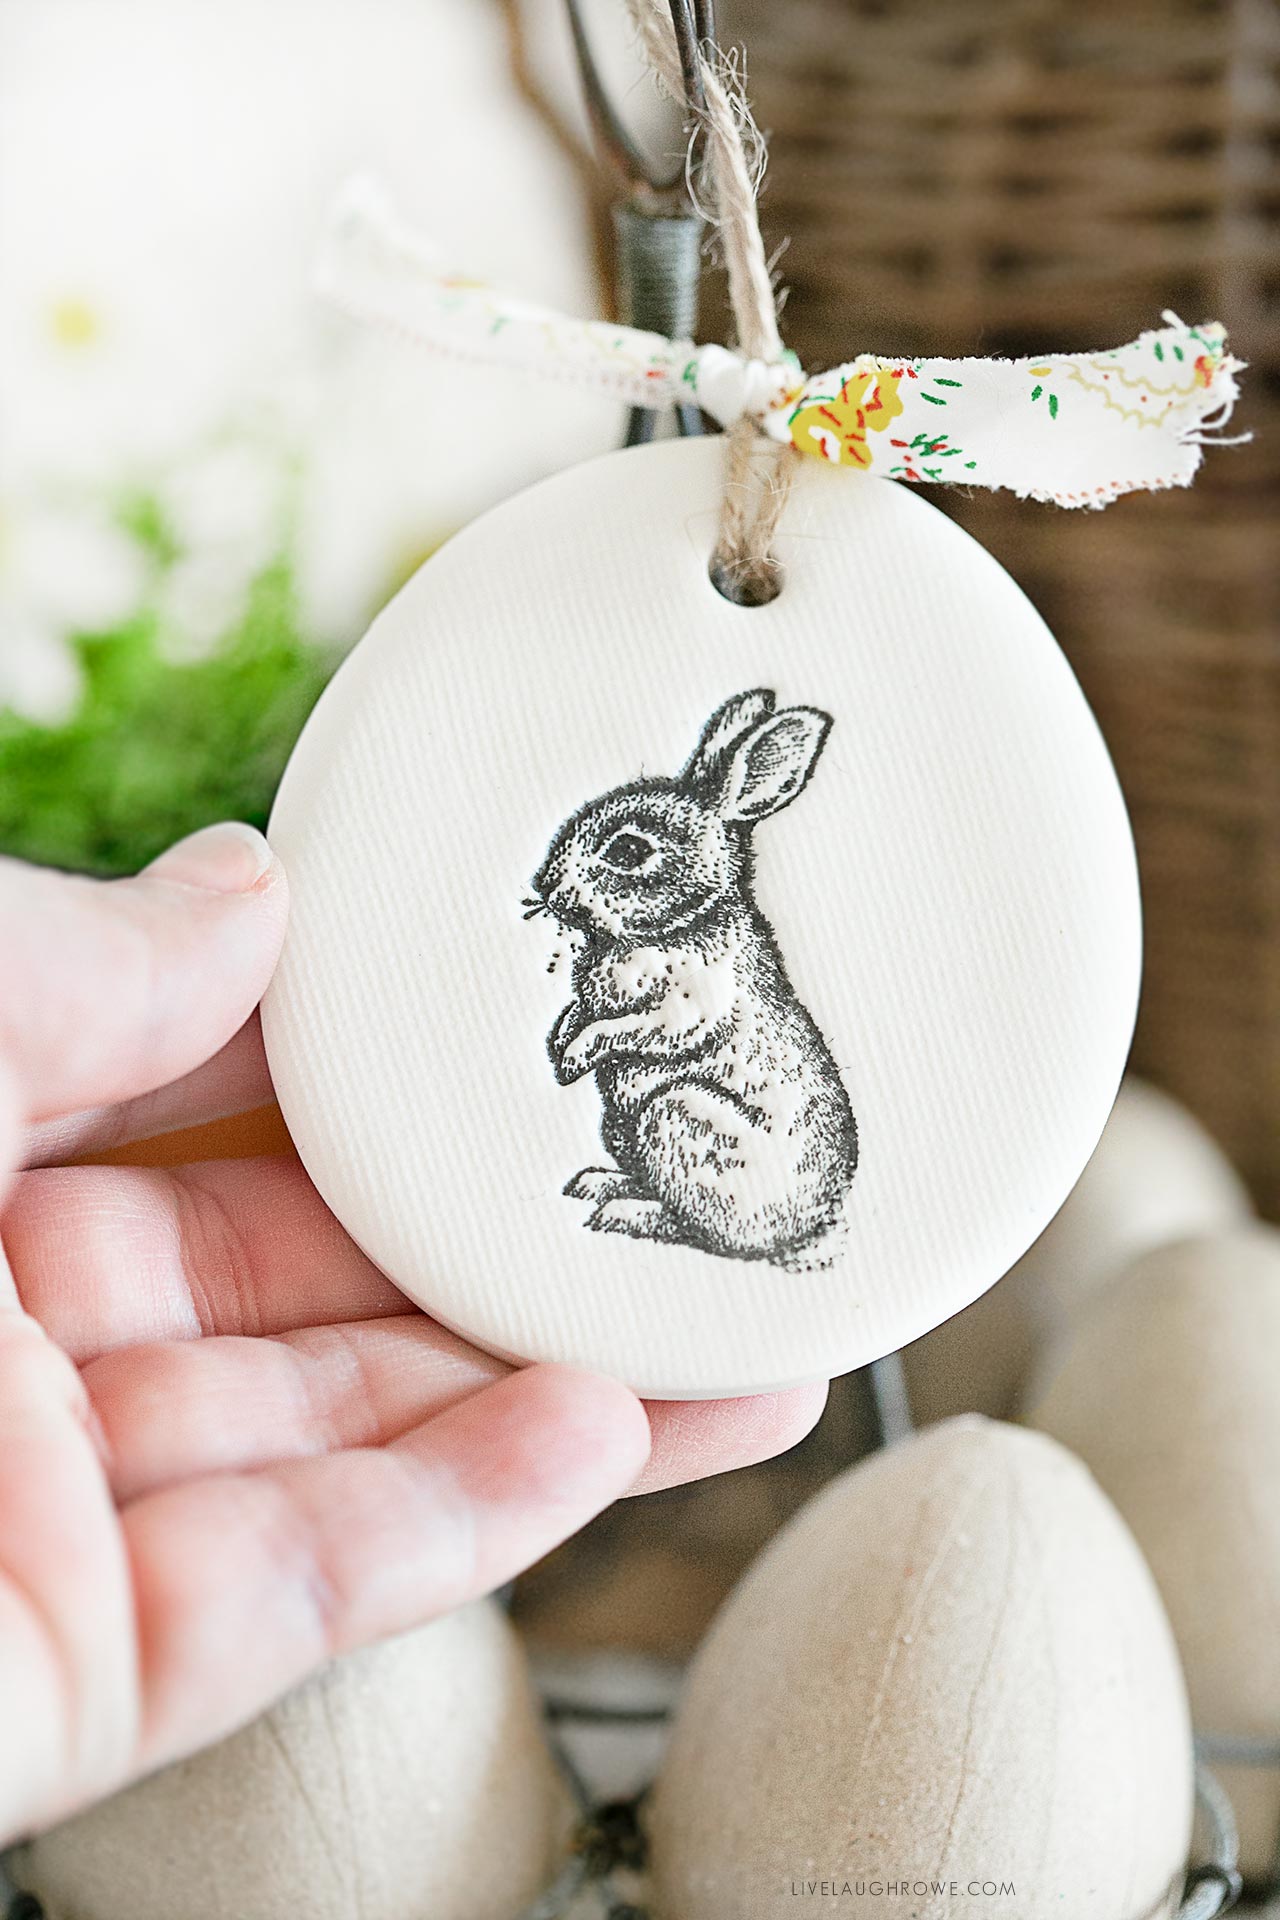
Prepare the rabbit stamp for stamping by tapping it several times on the black ink pad. Carefully place on ornament and press gently. Remove the stamp.
Final Step:
Place the clay ornament on a cookie sheet and bake in the oven at 250º for approximately 15-20 minutes. However, it’s important to note the instructions on the packaging as the thickness will cause the baking times to vary.
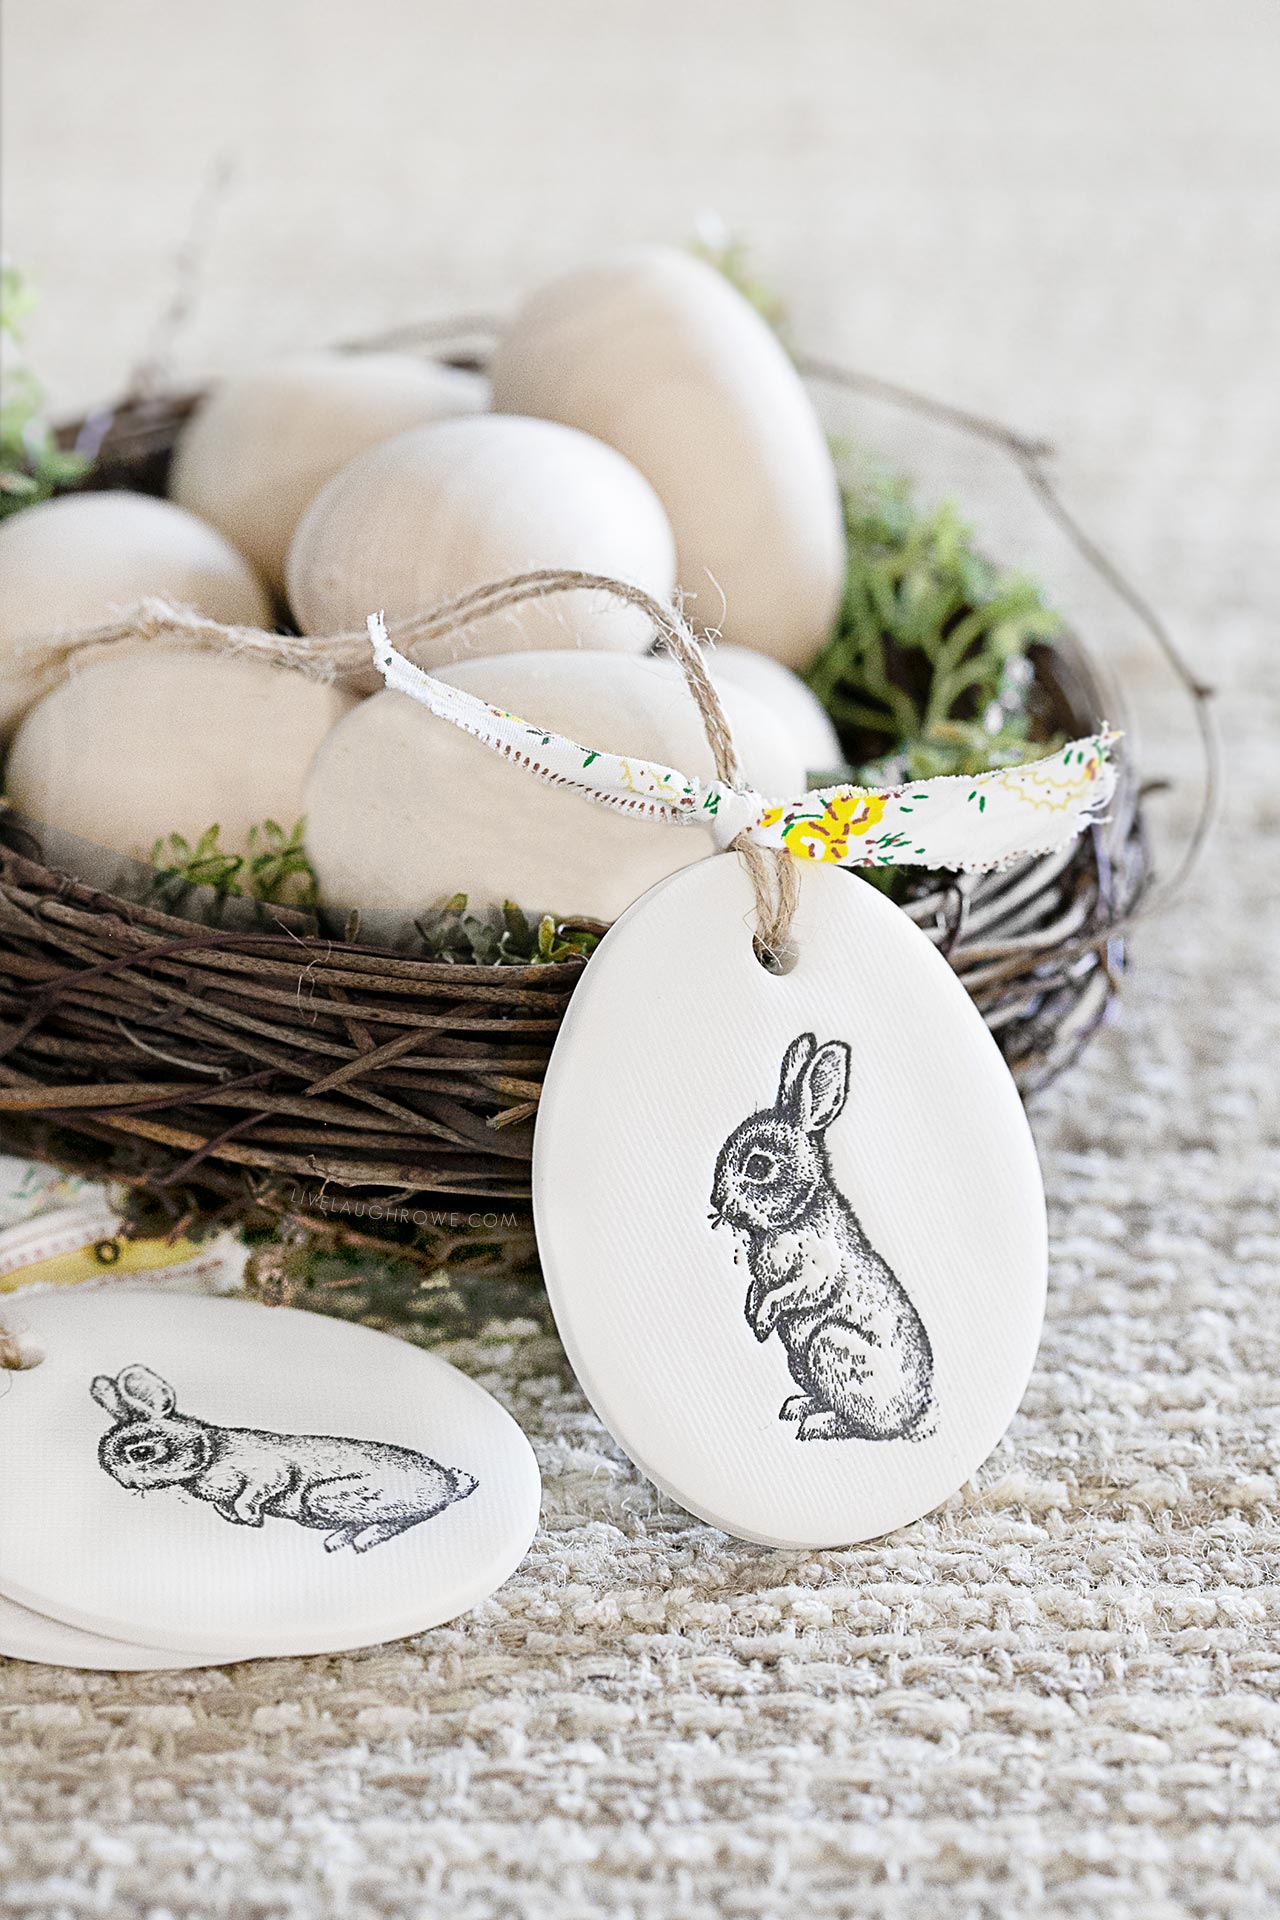
After the polymer clay ornaments have completed baking, remove them from the oven and allow them to cool. Use fine sandpaper to clean up any uneven edges. I love that this can easily be sanded, adding a beautiful finishing touch.
Add twine or ribbon for hanging. And as a result of your hard work, you’re done.
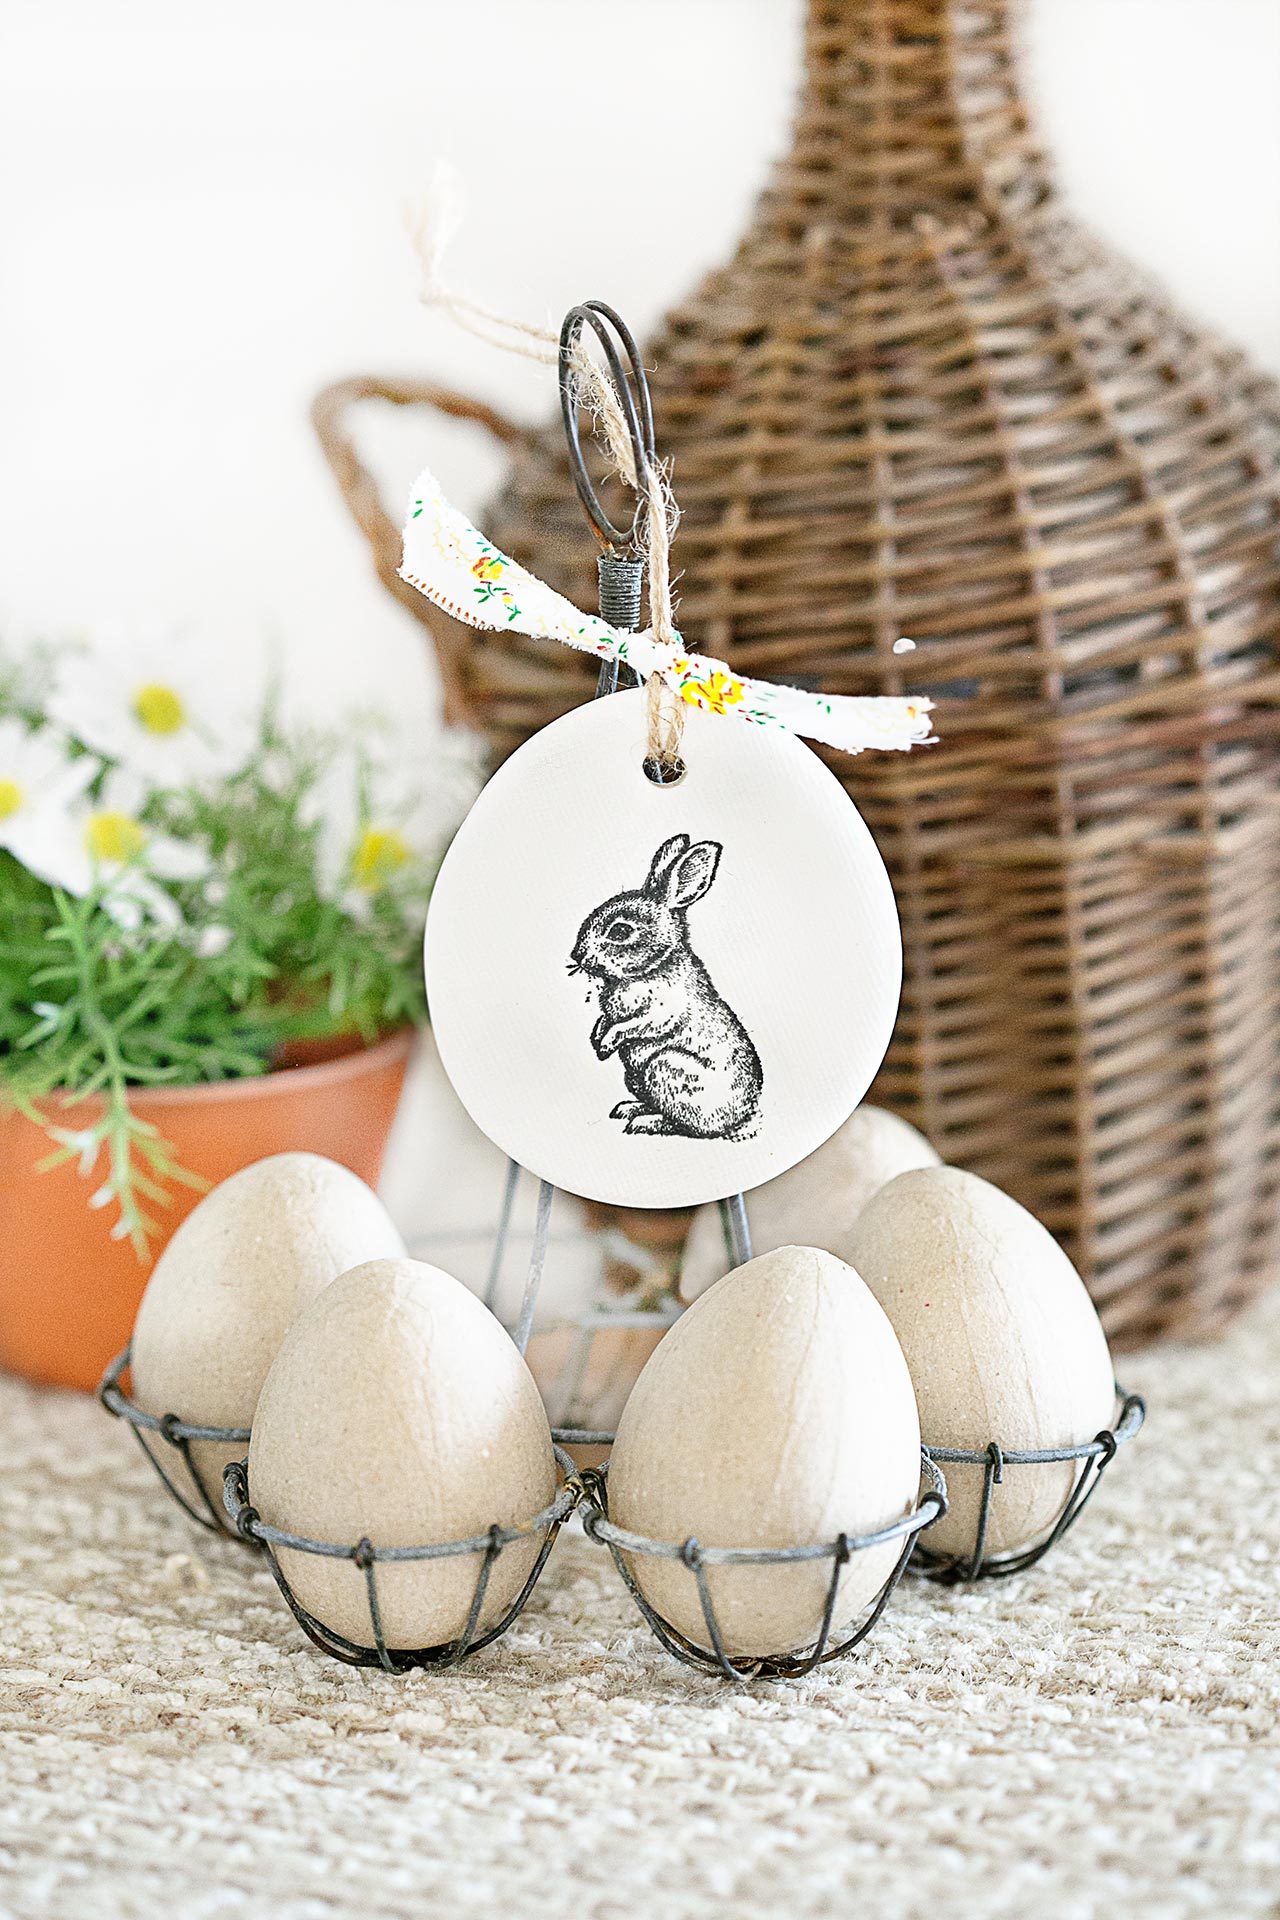
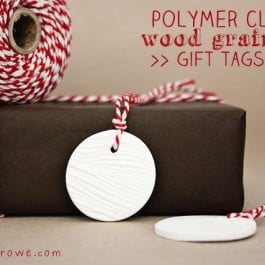
These make great ornaments for those who have festive holiday trees, gifts, favors, or gift tags. Aren’t they the absolute sweetest?
Connect with Live Laugh Rowe!
Facebook | Instagram | Pinterest | Twitter
Hugs and Blessings!


Ymana Johnson says
This is a cute idea and one that I’m going to use with my grand children to make some fun Easter ornaments to hang on some branches from my pruned trees. Thank you.
Charlotte Prow says
These are absolutely precious! I’m going to Michael’s tomorrow to get the supplies. Thank you for sharing this great Easter idea : )