
This post is sponsored by The Home Depot. See full disclosure below regarding DIH Workshop.*
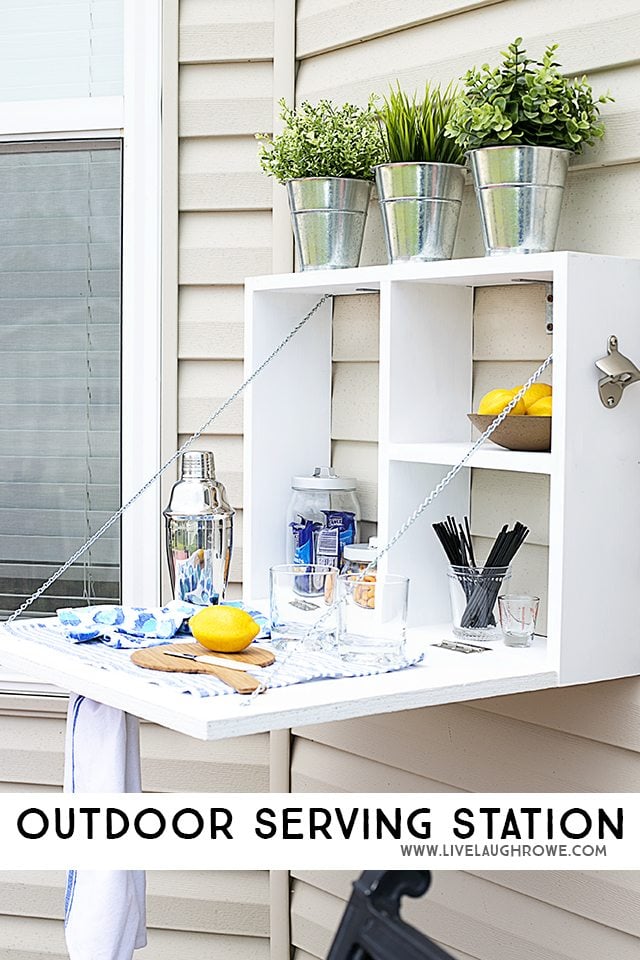
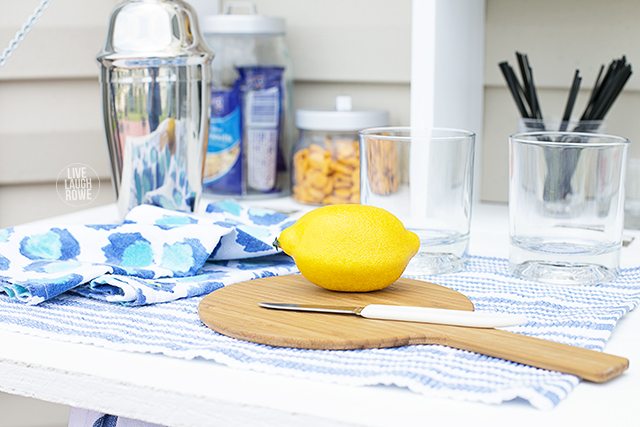
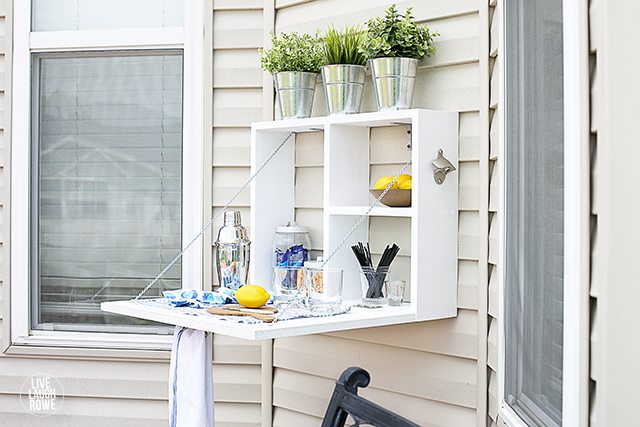
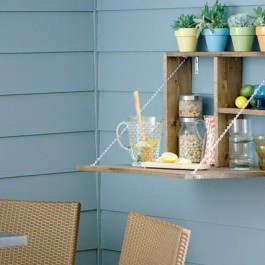
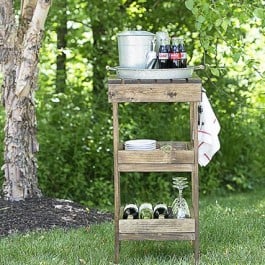
Who’s ready for another #DIHWorkshop project? Today I’m sharing the tutorial for this super fun Outdoor Serving Station. I think it would make a great potting station or an indoor desk for the kiddos too!
Pssst! Ladies, have you signed up to see an in-person demonstration at your local Home Depot store for this Thursday, June 18th? Grab a girlfriend or two and sign up today!

DIY Outdoor Serving Station

Tools Needed:
Circular Saw
Level
Drill with driving bits
Safety goggles
Tape Measure
Pencil
Paint Brush
Gloves
Nail Gun
Pliers
Materials Needed:
-2 x 2, 3/4 inch project panel
-10 foot 1 x 6 pine board
-One-and-a quarter inch nails (for nail gun)
-Wood glue
-White outdoor paint
-Four 5/8 inch screws
-Two-inch hook & eye kit
-5 foot jack chain
-Two pack of 3″ utility hinges
-Four 3″ deck screws
-Two 3″ corner braces (2′ x 4′ x 1/2″)
Alrighty, let’s get this party started!
 STEP ONE: Cutting Wood.
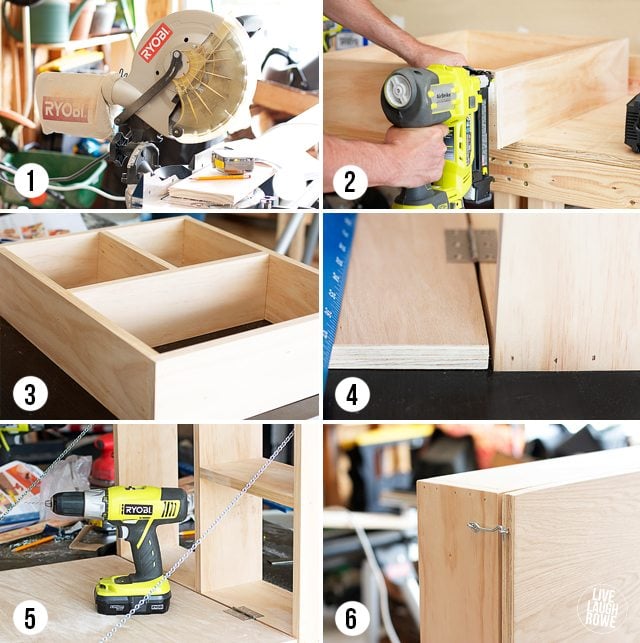
Using a circular saw, cut the one-by-six into two 18-3/4″ pieces, two 22-1/2″ pieces, one 17-1/4″ piece and one 10-7/8 inch piece. Then cut the project panel into a 2-foot by 18″ rectangle.
If you like to paint or stain your project before it’s assembled, now is the time to do so. I prefer to wait until after it’s assembled based on experience.
STEP TWO: Assembling the Box.
Next, create a box using the 22-1/2″ pieces for the top and bottom and the 18-3/4″ pieces for the sides. Check to make sure that the top and bottom pieces fit between the side pieces. lastly, check that the outer measurement are 24 by 18-3/4″ inches, then — being careful to keep the box square — glue and nail each corner together.
STEP THREE: Attach the Divider and Shelf.
The next step is to attach the divider and shelf. Find the center of the box – 12″ across the top and bottom — and insert the board measuring 17-1/4″. Glue it and nail in place.
Now, do the same with the 10-7/8″ board, positioning it horizontally at the 9-3/8″ mark. Again, secure it with wood glue and nails.
STEP FOUR: Attach the Table Top.
Now it’s time to attach the folding top. Stand the box upright, and butt the table top up against the bottom. From there, pull it back about an 1/8 of an inch, leaving just enough of a gap to attach the two 3″ utility hinges.
STEP FIVE: Attach the Chain.
Next up is the drawbridge-style chain. This is the part that will support the table once it’s mounted. With the box and table top still resting on the workbench, cut the chain in half (unless it was cut to size at your local Home Depot). From the outer corners of the table top, measure back two inches and in one inch. Then use two of the 5/8″ screws to attach the chain.
Stretch one side of the chain upward. Make sure it’s nice and taught before attaching it to the inside of the box with another 5/8″ screw. You may ned to cut off some of the excess chain with your pliers.
Repeat the process on the other side.
STEP SIX: Attach the Hook & Eye.
After your chain is securely fastened, it’s time to attach the hook & eye. Close the table top against the box, then screw the eye into the side of the table top and screw the hook into the outside of the box. Measure carefully as you’ll want to make sure that the hook & eye are close enough to attach.
STEP SEVEN: Paint or Stain (not pictured).
I like to paint (or stain) after my project is assembled. This is based on your preferences. I used a white satin outdoor paint and applied 2 coats.
STEP EIGHT: Attach Mounting Plates and Hang (not pictured).
Yay! We’re just about done. Now, attach the two three-inch corner braces to the inside of the top two corners of the box, and use the deck screws to mount it to the wall.
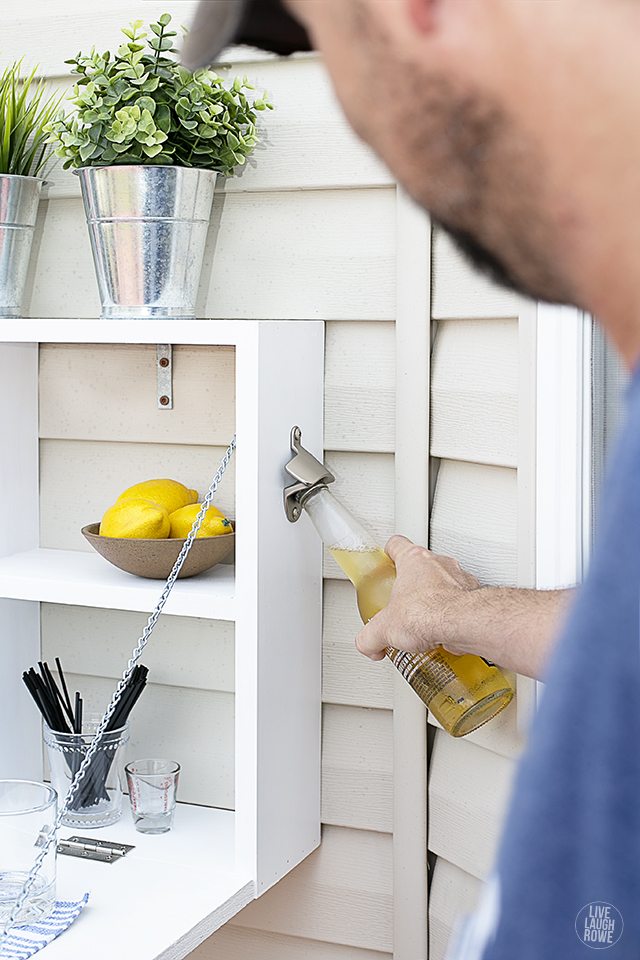
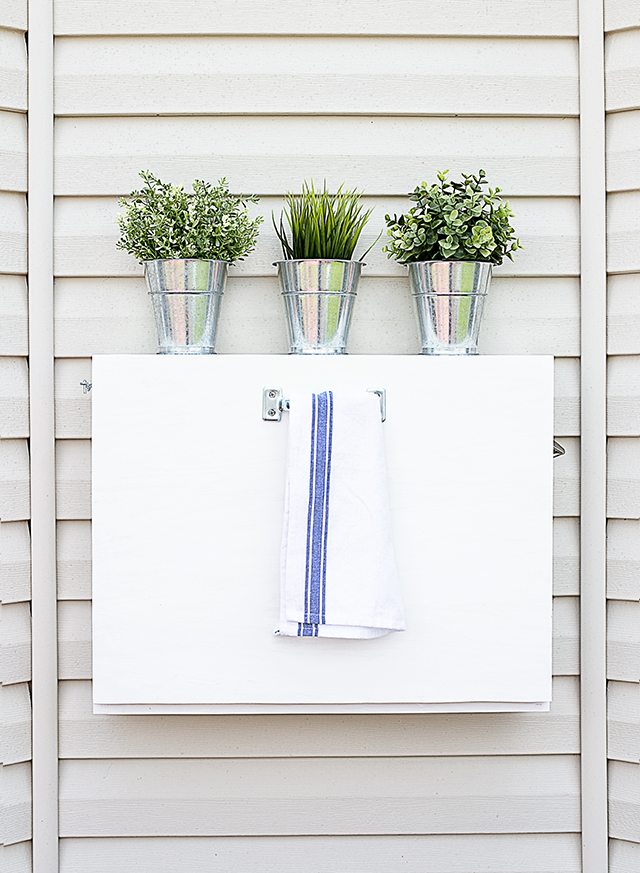
I also added a handle to the front of the serving station for a hand towel and a bottle opener to the side, just for a little extra fun!
 Last, but not least, stock, serve and ENJOY!
PLEASE NOTE: A full bar can be pretty heavy, so be sure to find a stud or hang it on another strong structure.
 Join the Home Depot this Thursday, June 18th
for the DIH Workshop and see an hands-on demonstration!
Happy Creating, friends! xo
Care to stay in the loop? I’d love to have you!
Catch me snapping + sharing pictures over on Instagram.
Subscribe to Updates | Like on Facebook | Follow on Pinterest

https://betweennapsontheporch.net/
*The Home Depot partners with bloggers such as me for DIH Workshop program. As part of this program, I received compensation for my time. They did not tell me what to purchase or what to say about any product mentioned in these posts. The Home Depot believes that consumers and bloggers are to form their own opinions and share them in their own words. The Home Depot’s policies align with WOMMA Ethics Code, FTC guidelines and social media engagement recommendations.


Janelle @ Wholly Healthy says
This is such a good idea! I could also see it working as a table for a smaller space like a balcony.
TidyMom says
This is such a fabulous idea!! Pinning!!
Kelly Rowe says
Thanks so much Cheryl! Appreciate it…and the Pin! Have a great evening. xo.
Liz says
Terrific idea!!! And I love the special touches like the bottle opener on the side—perfect.
Kelly Rowe says
Thanks Liz! This serving station has so many possibilities! Maybe you could take it on…I bet it would make a great addition to your home. HUGS.
Julie Blanner says
It is perfect, Kelly!
Kelly Rowe says
Thank you so much Julie! Appreciate it. Enjoy the rest of your evening. HUGS.
Chris @ Celebrations At Home says
What a fantastic project! Especially love the bottle opener detail on the side.
Kelly Rowe says
Thanks so much Chris! Appreciate you stopping by. 🙂 The possibilities with this station is really endless. Enjoy the rest of your evening. xo.
Jane Maynard says
that is super cool! can you come build one for me, now? 😉
Kelly Rowe says
Thanks so much Jane! Maybe on of these days, I can accommodate you on that. 😉 Enjoy the rest of your evening. xo.
Emily says
I love this project so much! We just finished our deck and are in the process of making our backyard look pretty, THIS would be perfect. The bottle opener on the side is my favourite. AMAZING and convenient!
Eddie says
Thanks for the walk through. Nice of you to share with others.
Danielle says
This is fabulous!!!! What an amazing idea!!!
Jennifer Dynys says
I just love this! I hope you don’t mind, I am sharing this on my weekly round-up tomorrow!
Kelly Rowe says
Thanks so much for your kind words, Jennifer — and thanks for the share! Have a great weekend. Hugs and Blessings!