
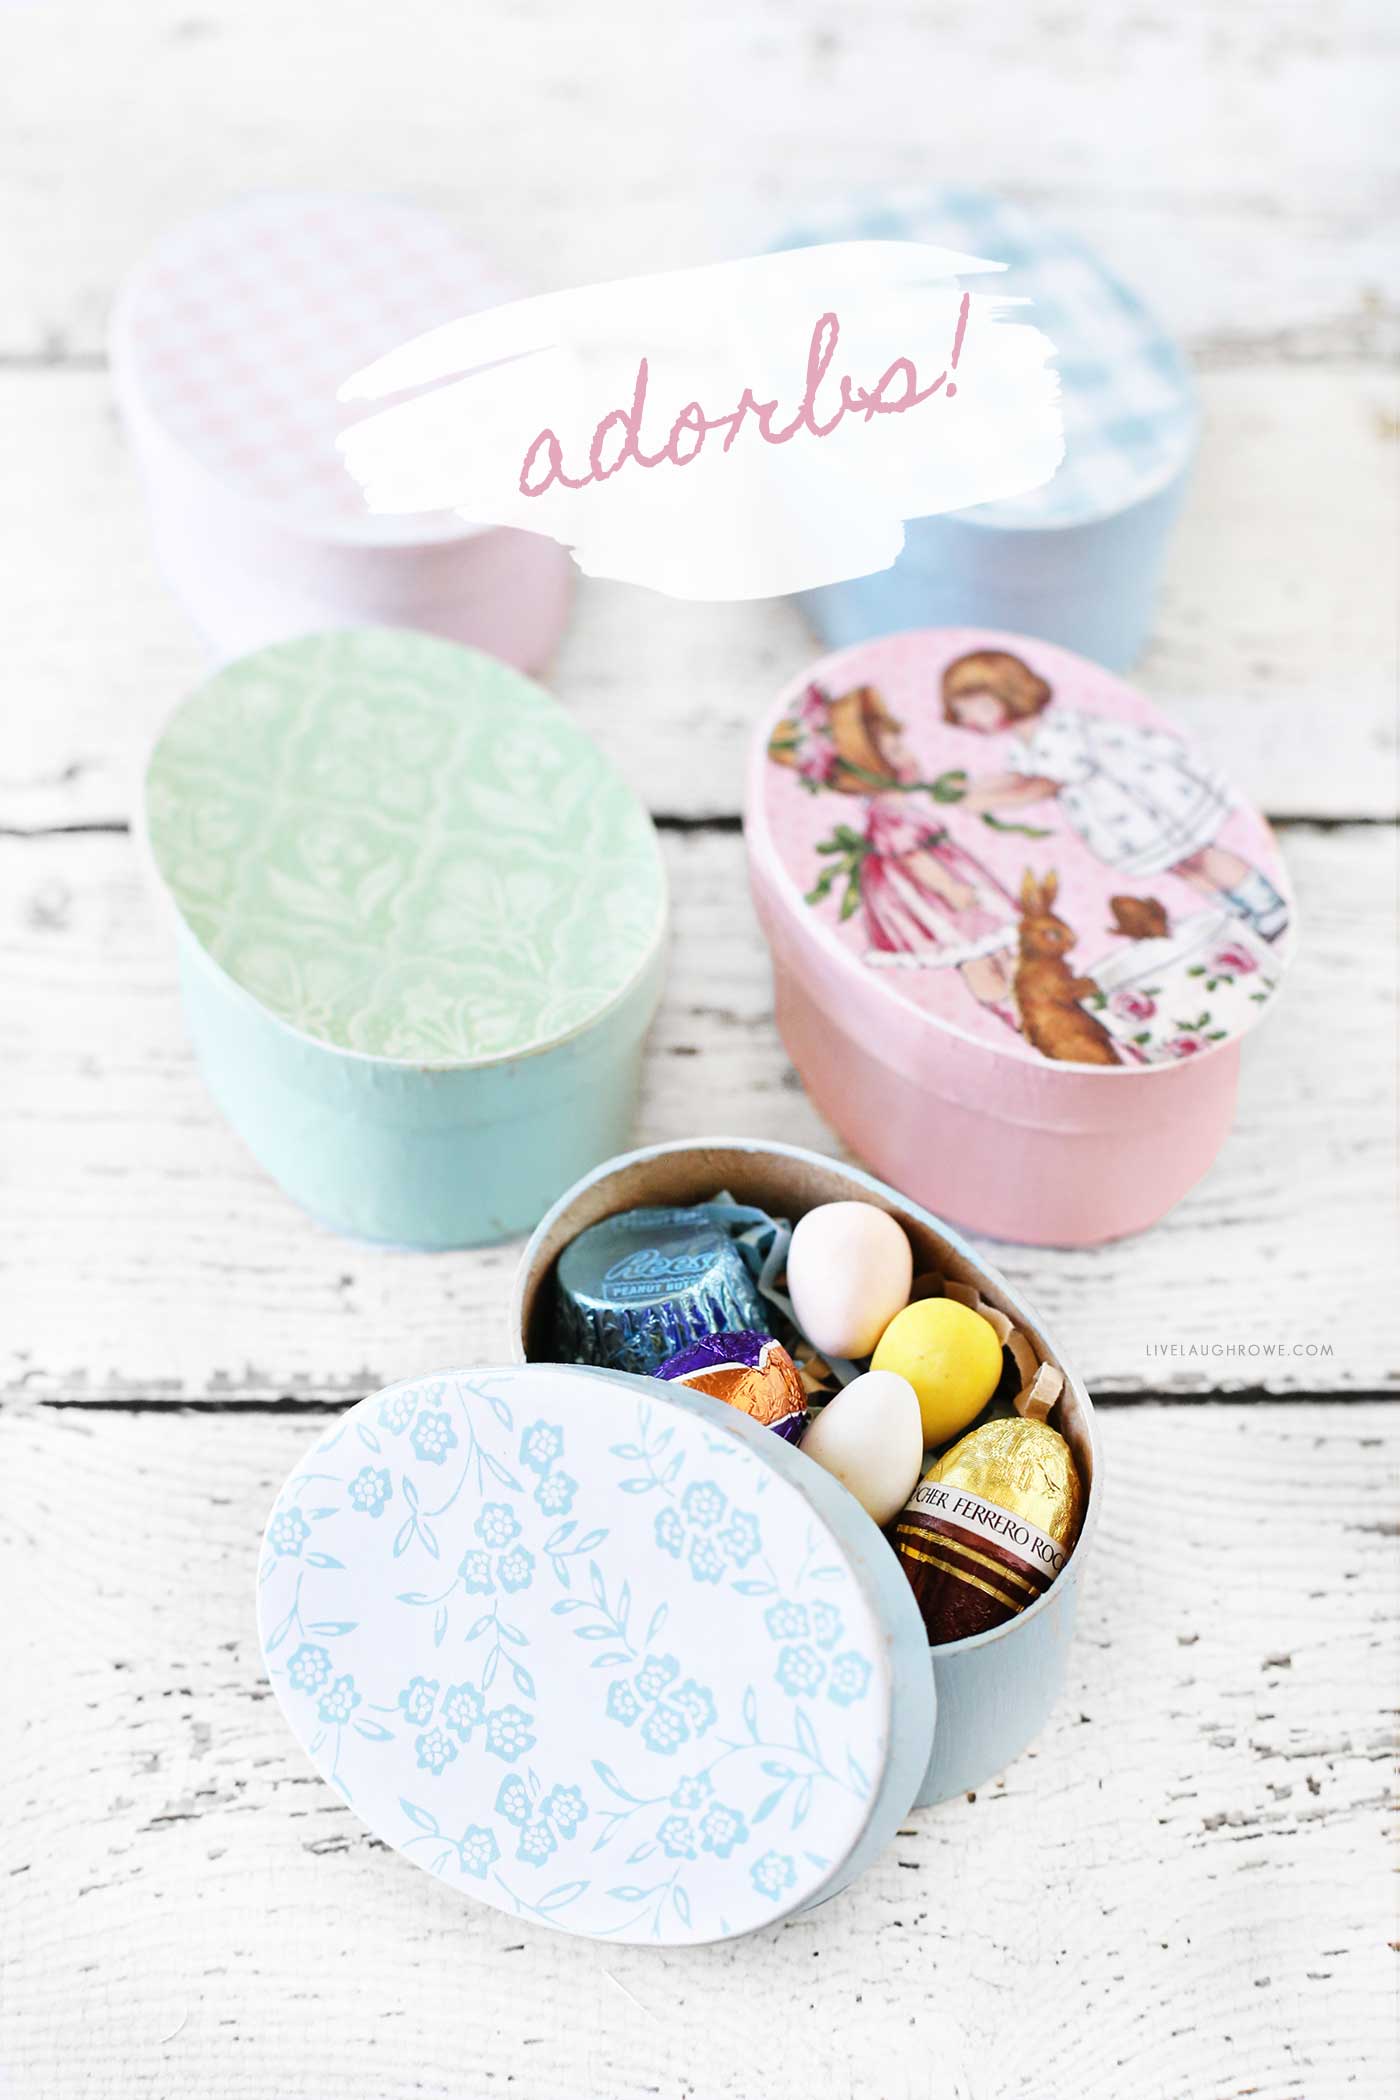
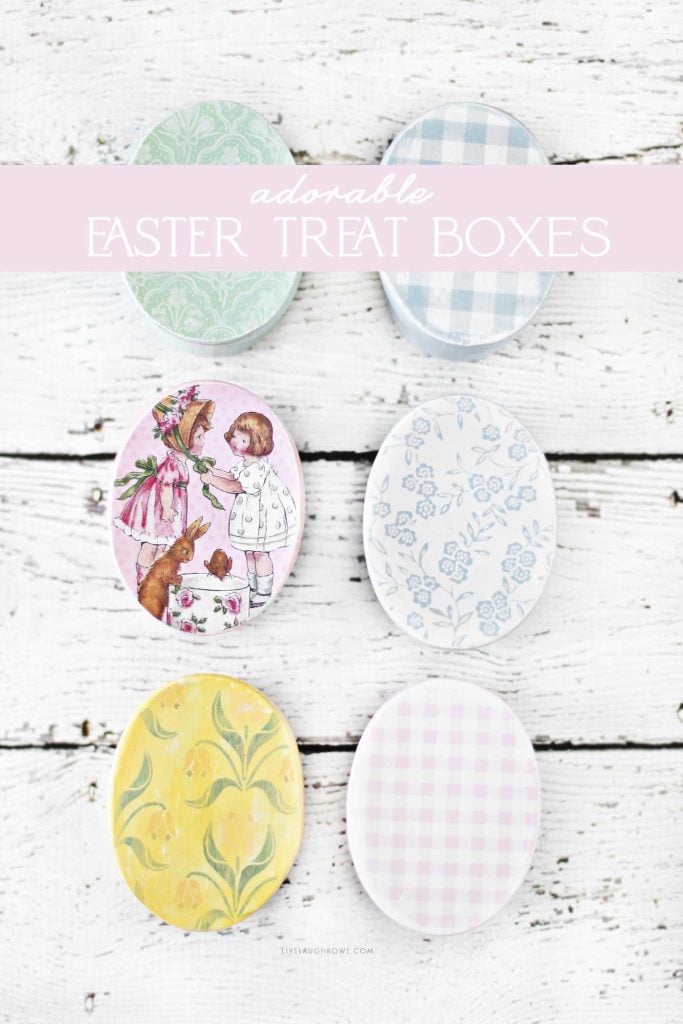
Spring is in the air, and Easter is just around the corner! What better way to celebrate the season than by creating beautiful and personalized Easter Treat Boxes? These charming keepsake boxes are perfect for filling with small gifts, treats, or even sentimental trinkets.
Using simple craft supplies like paper mache oval boxes, acrylic paint, scrapbook paper, and a touch of creativity, you can craft one-of-a-kind Easter treasures that will delight family and friends.
In this tutorial, we’ll guide you through the steps to make your own Easter Treat Boxes. Whether you’re making them as gifts, decorations, or party favors, these handcrafted boxes will add a touch of elegance and charm to your Easter celebrations.
Easter Treat Boxes: A Beautiful DIY for Spring
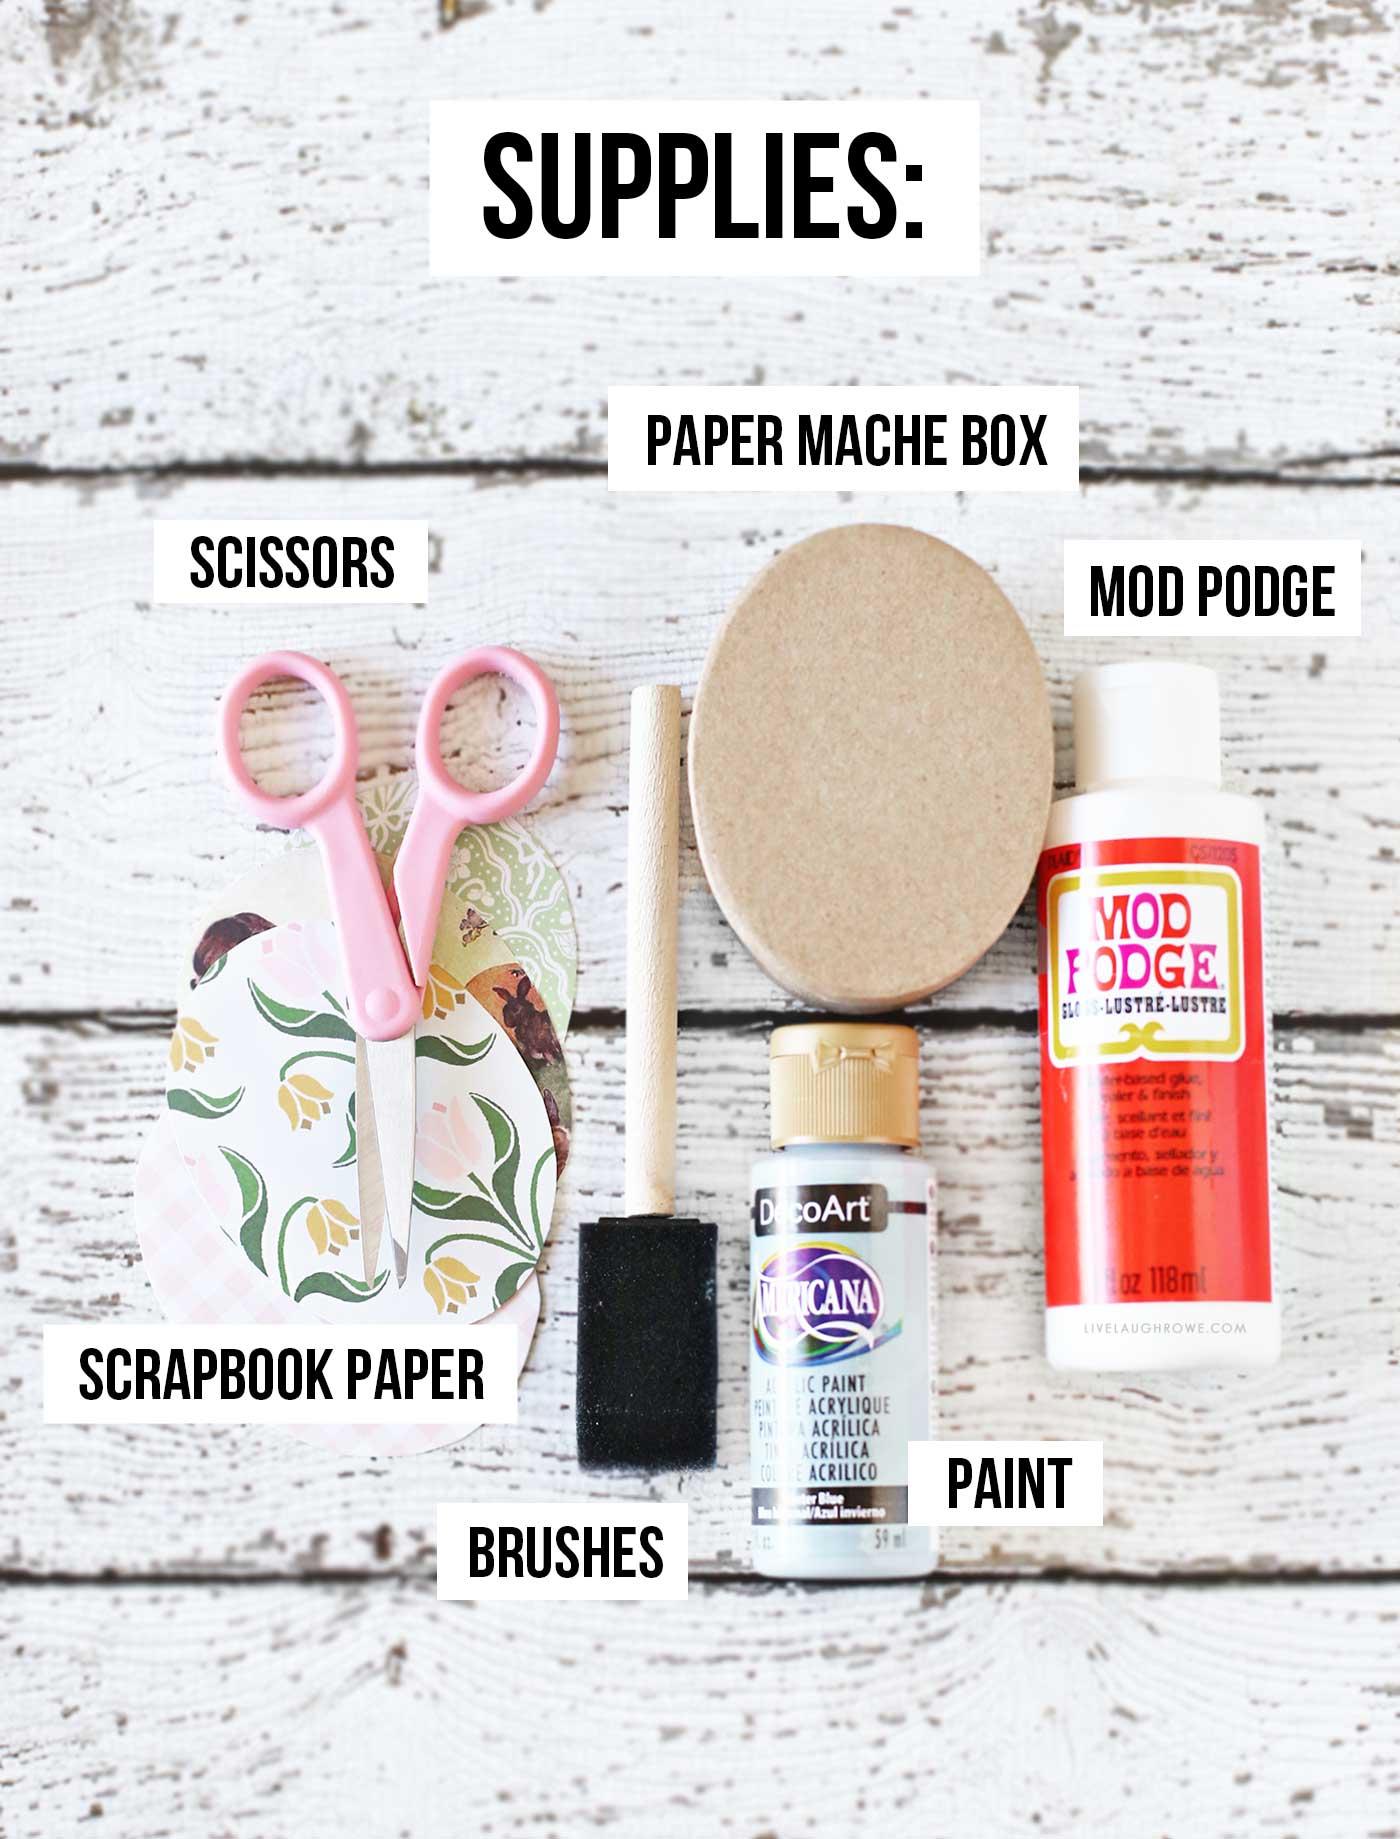
Supplies Needed
- Paper mache oval boxes (mine are from Hobby Lobby)
- Acrylic paint (choose pastel or spring-inspired colors)
- Scrapbook paper (floral, gingham, or vintage prints work beautifully)
- Paint brushes
- Mod Podge
- Sandpaper
- Satin varnish (optional, for a polished finish)
- Scissors
- Decorative elements
Paint Colors Used:
- Apple Barrel (Matte): 21464E Cameo Pink
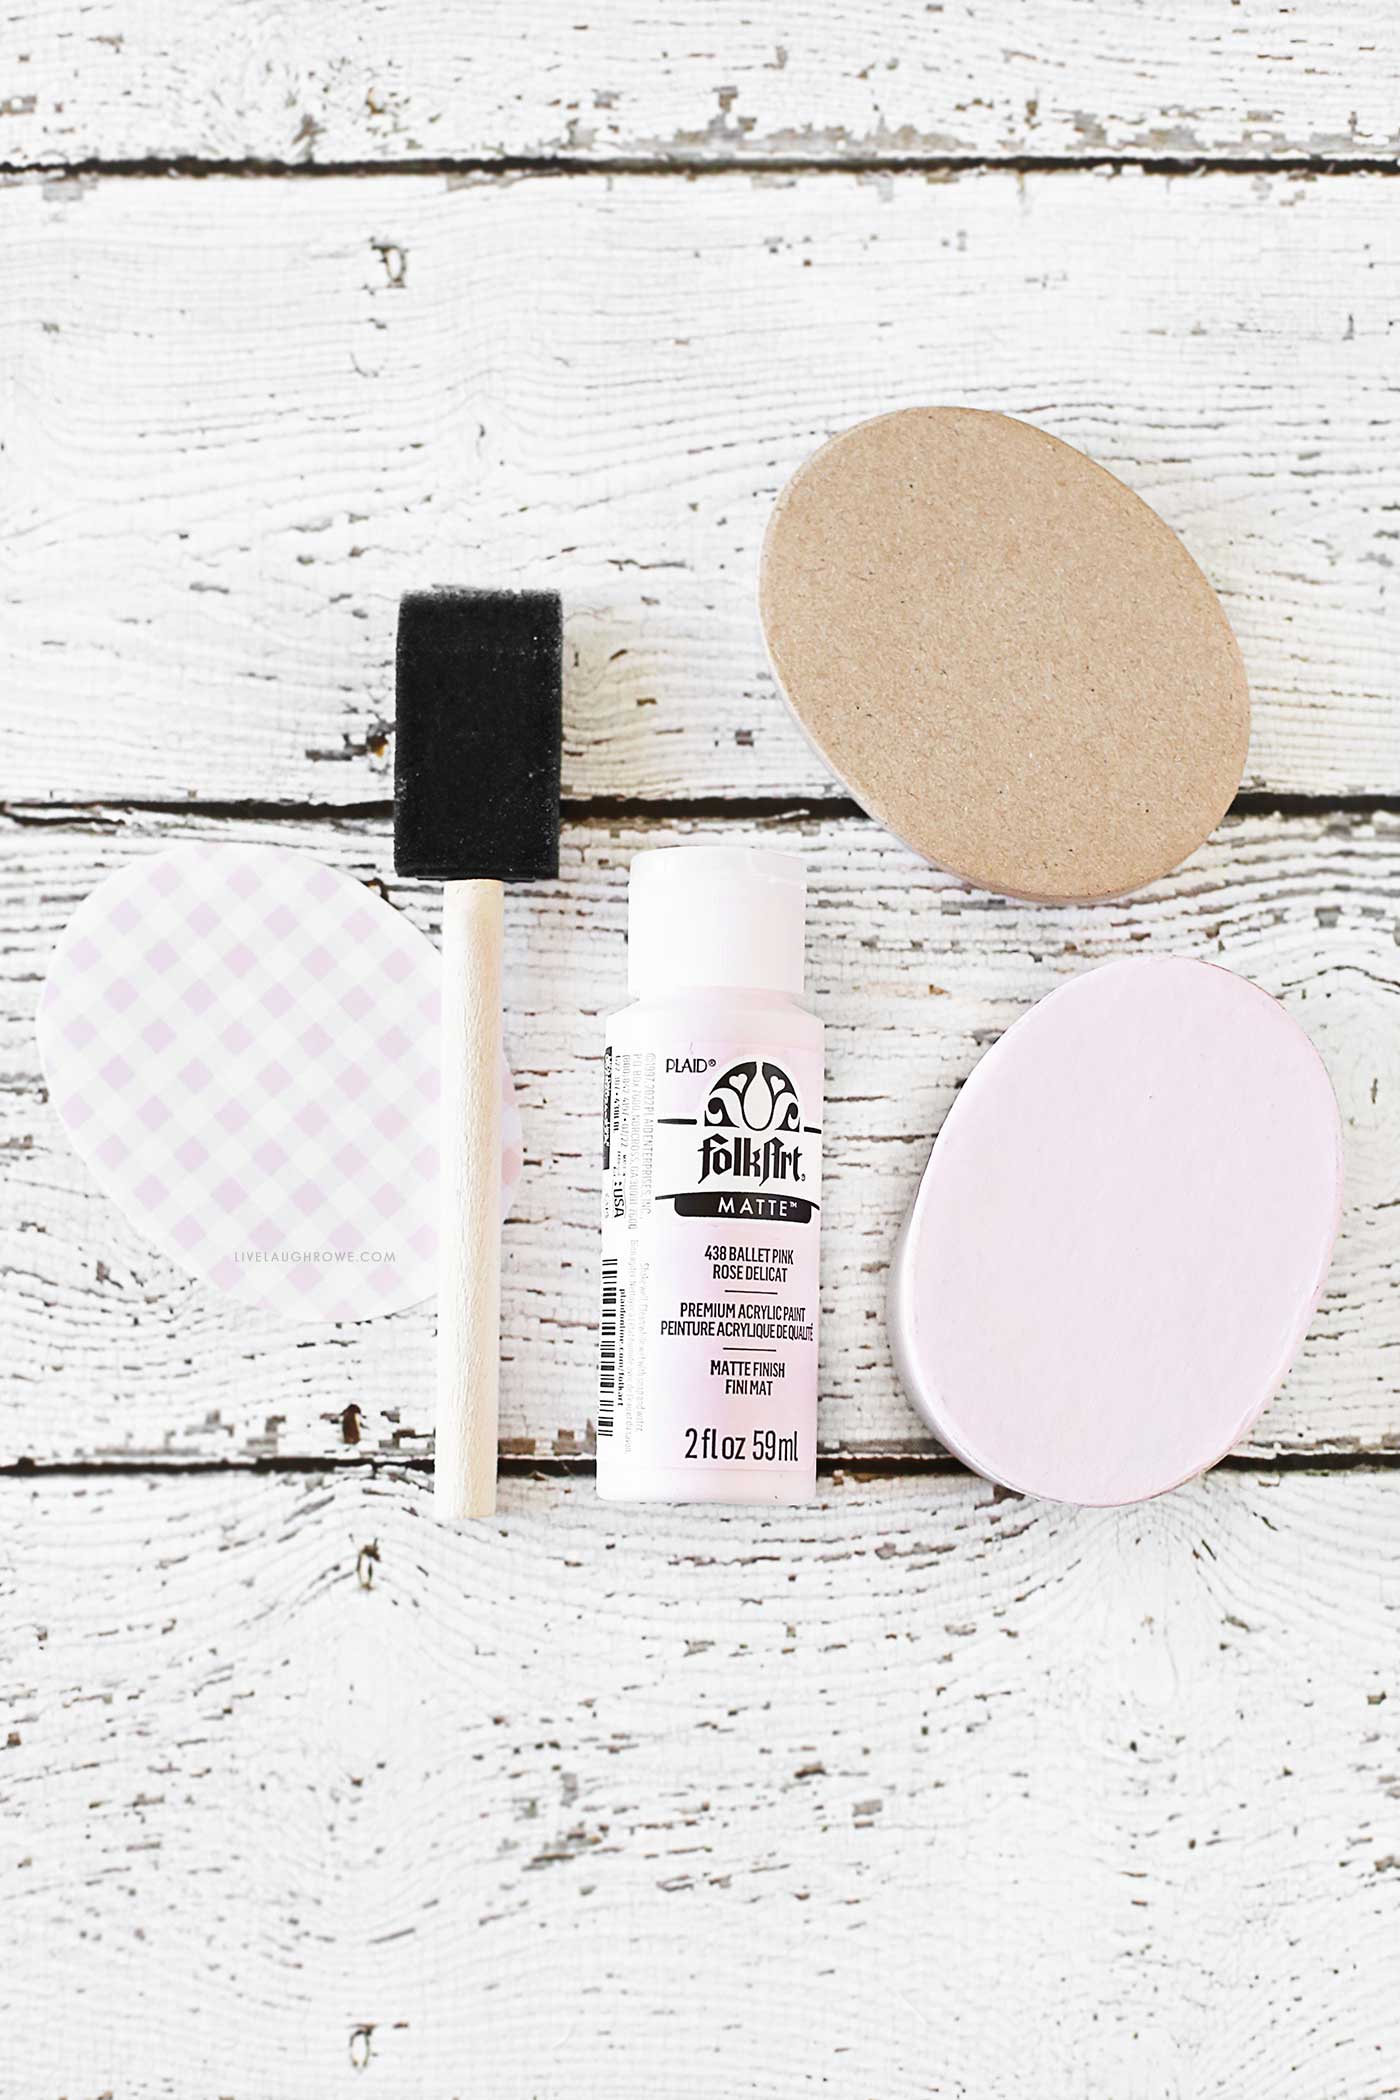
- FolkArt (Matte): 438 Ballet Pink
- DecoArt Americana: Winter Blue
- Apple Barrel (Matte): 21384E Sunny Day
- FolkArt (Matte): 2636 Villa Green
Step-by-Step Guide to Creating Easter Treat Boxes
Step 1: Prepare Your Boxes
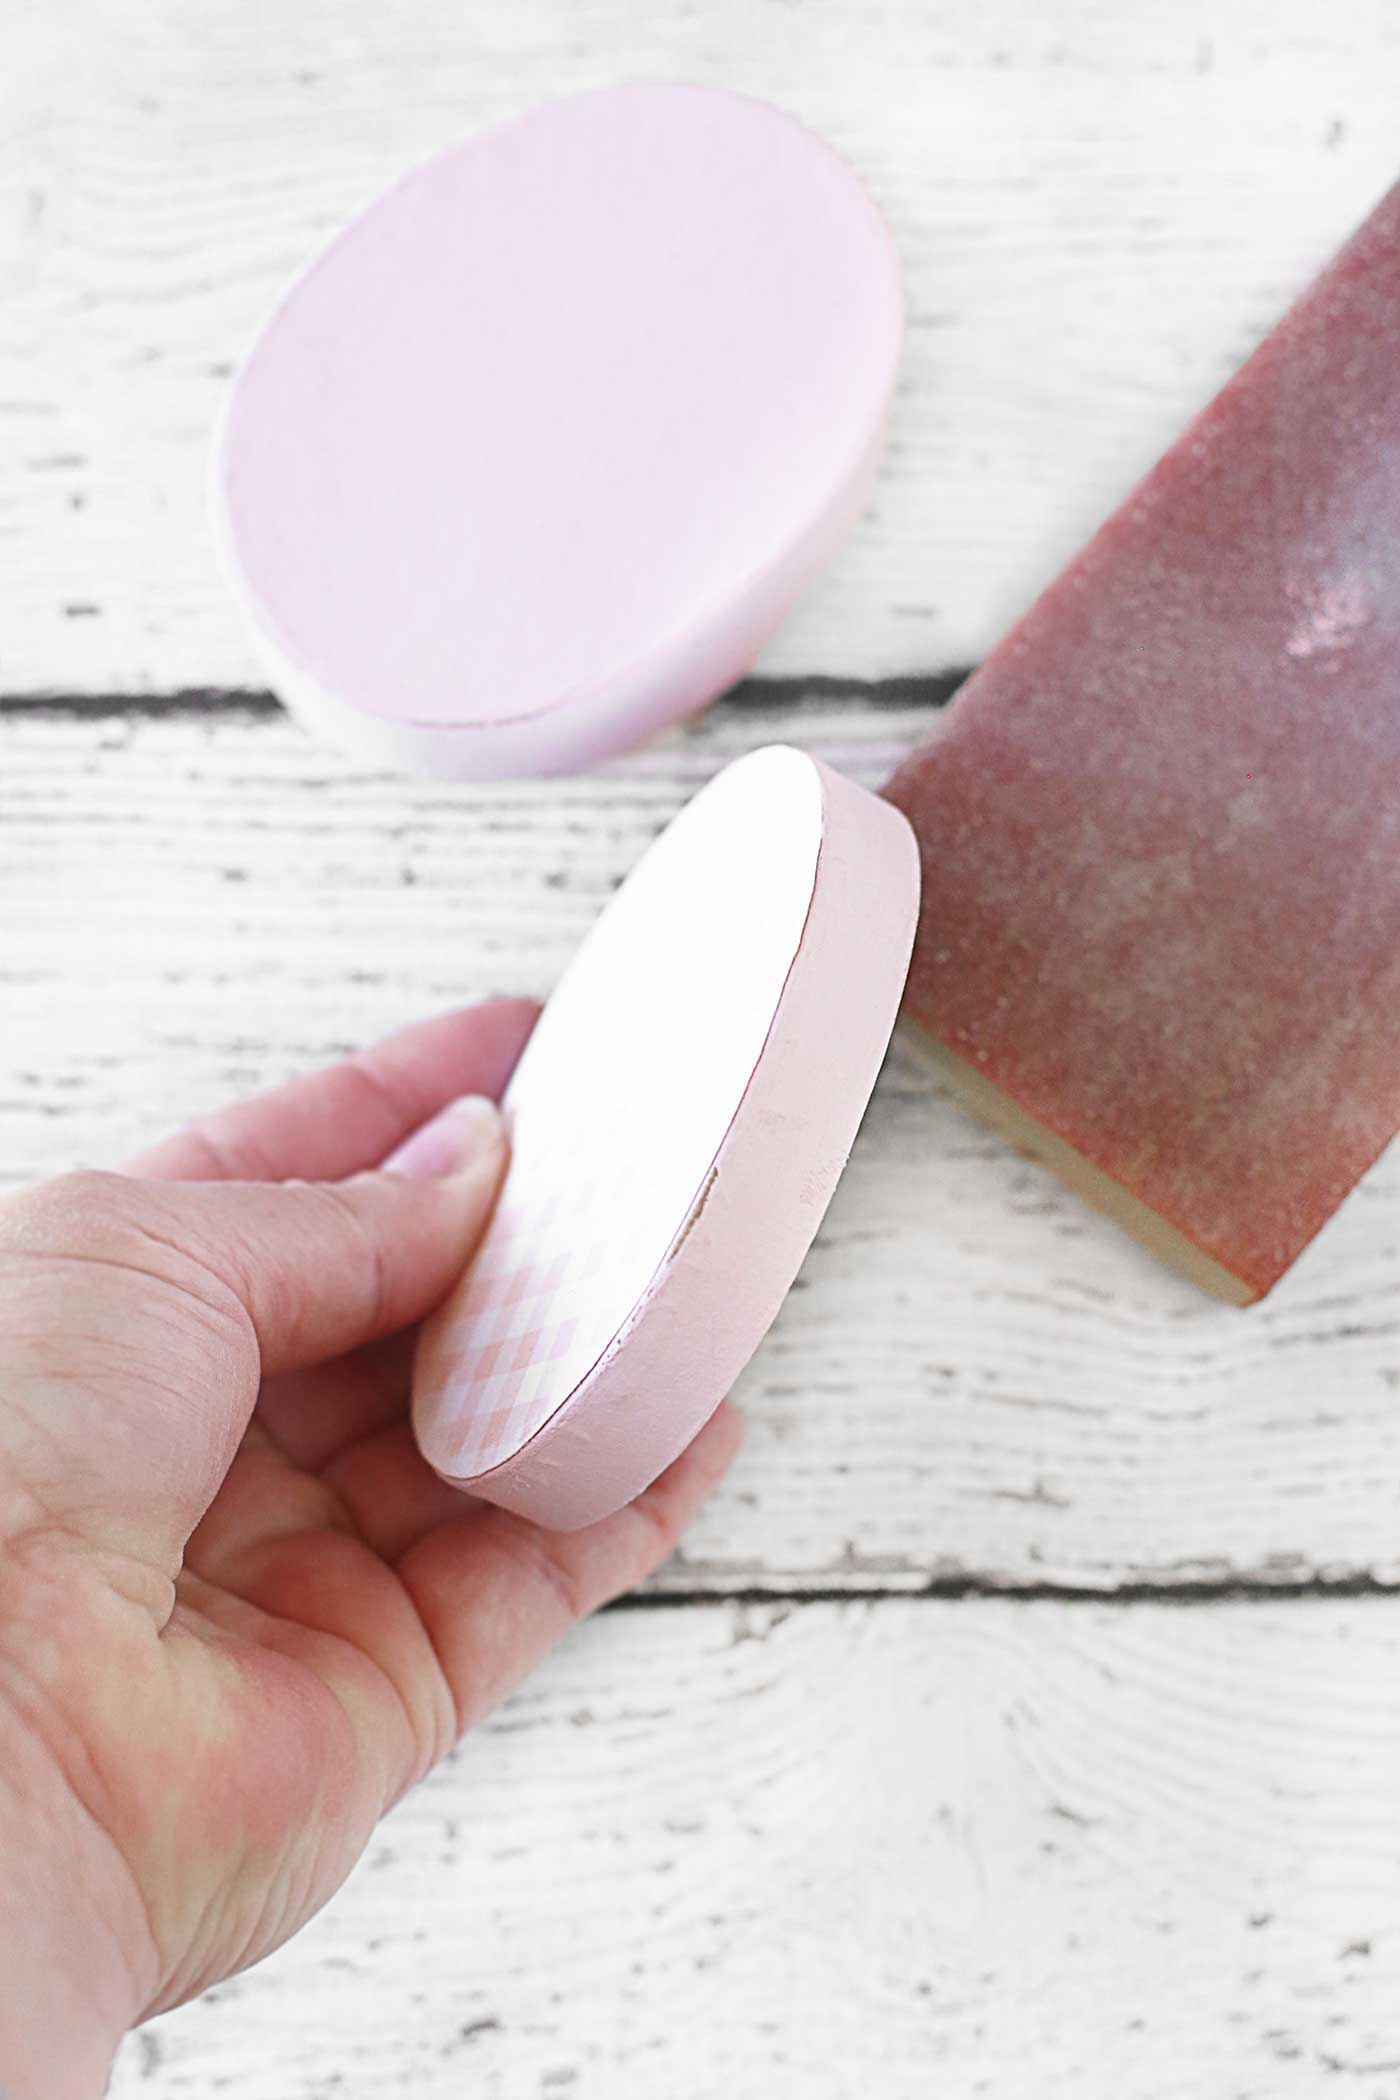
Start with clean, dry paper mache oval boxes. My boxes are approximately sized at 3 x 2.25 x 1.5 inches. Feel free to use a larger size and any shape for other occasions.
If needed, lightly sand any rough edges for a smooth finish. This helps the paint and paper adhere better to the surface. If the boxes have uneven surfaces, a light sanding will provide the perfect base for paint application.
Consider planning out your design before you start painting. Whether you want a single-color aesthetic or a mix of patterns, a little bit of preparation will ensure a more polished final look.
Step 2: Choose Your Color Palette
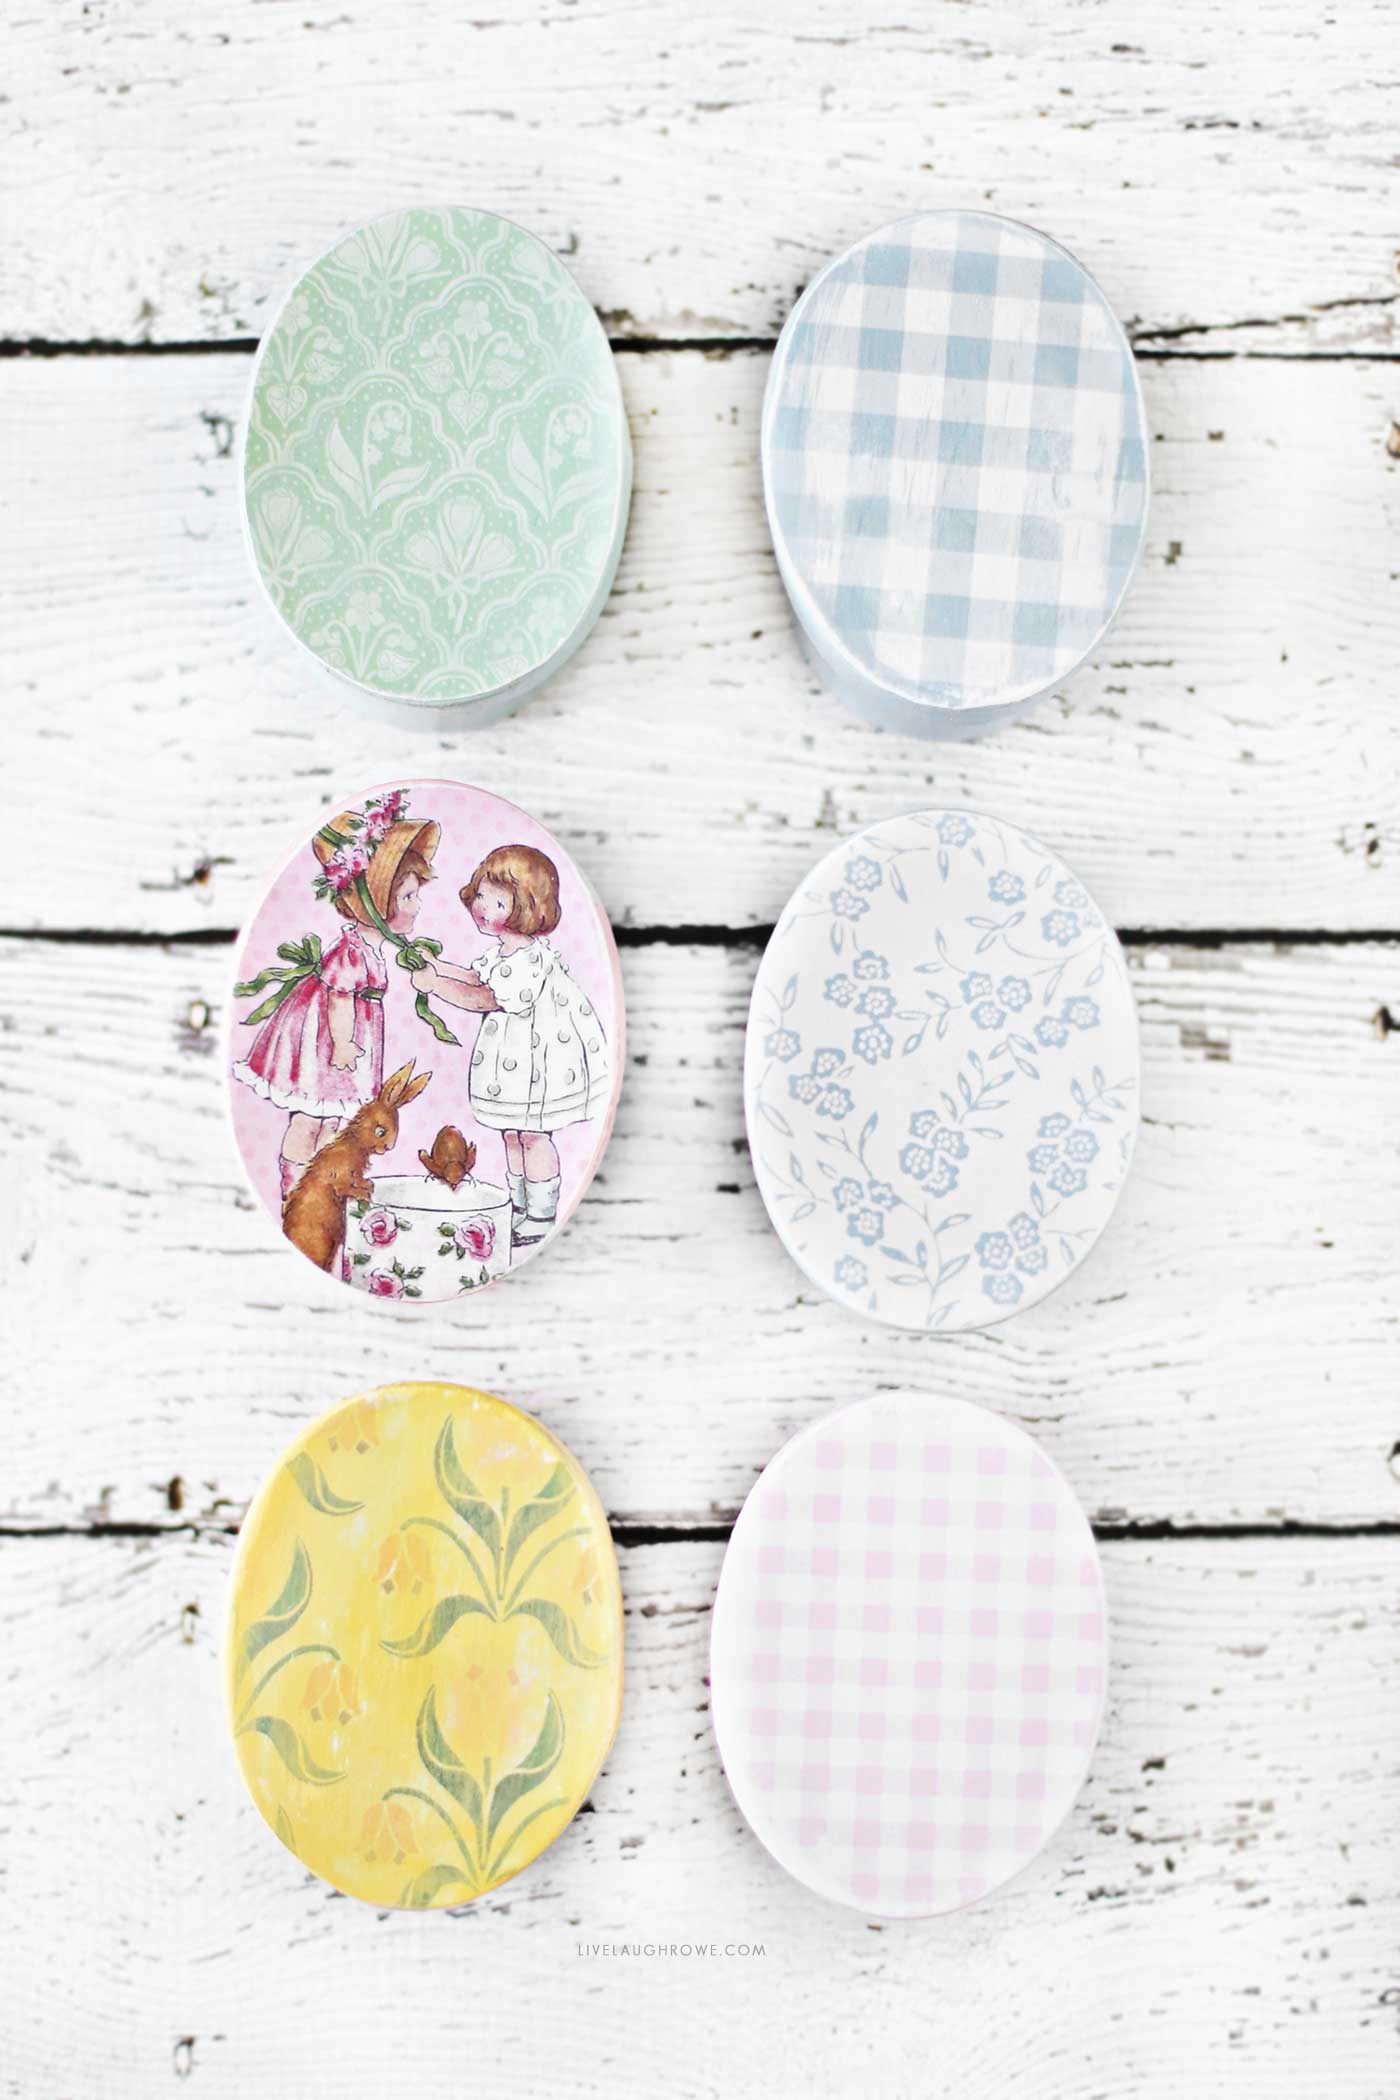
Select a color scheme that matches your Easter theme. Soft pastels such as baby pink, sky blue, mint green, and pale yellow work beautifully. You can also mix and match patterns for a whimsical effect. If you love vintage aesthetics, consider muted tones like dusty rose, sage green, or faded lavender.
When choosing colors, think about the overall look you want. Are you going for a rustic, country-inspired style, or a more modern, elegant finish? If you prefer a farmhouse aesthetic, consider using chalk paint for a matte, distressed look.
Now is the time to cut any scrapbook paper you might be using on the lid or sides of the boxes. Use your box to trace out the oval shape for application.
Step 3: Painting the Boxes
Using acrylic paint, apply a thin, even coat to the exterior of each box. The interior is optional, I chose not to paint the inside.
Allow the paint to dry completely before applying additional coats if needed. This ensures a smooth, professional look.
If you want a textured look, use a dry brush technique by dipping your brush lightly in paint and sweeping it across the box. This technique creates a slightly weathered, shabby-chic appearance.
To create patterns, you can use stencils to add polka dots, florals, or even monogram initials to personalize each box. Another fun idea is to use a sponge to dab contrasting colors for a speckled, artistic finish.
Step 4: Applying Scrapbook Paper
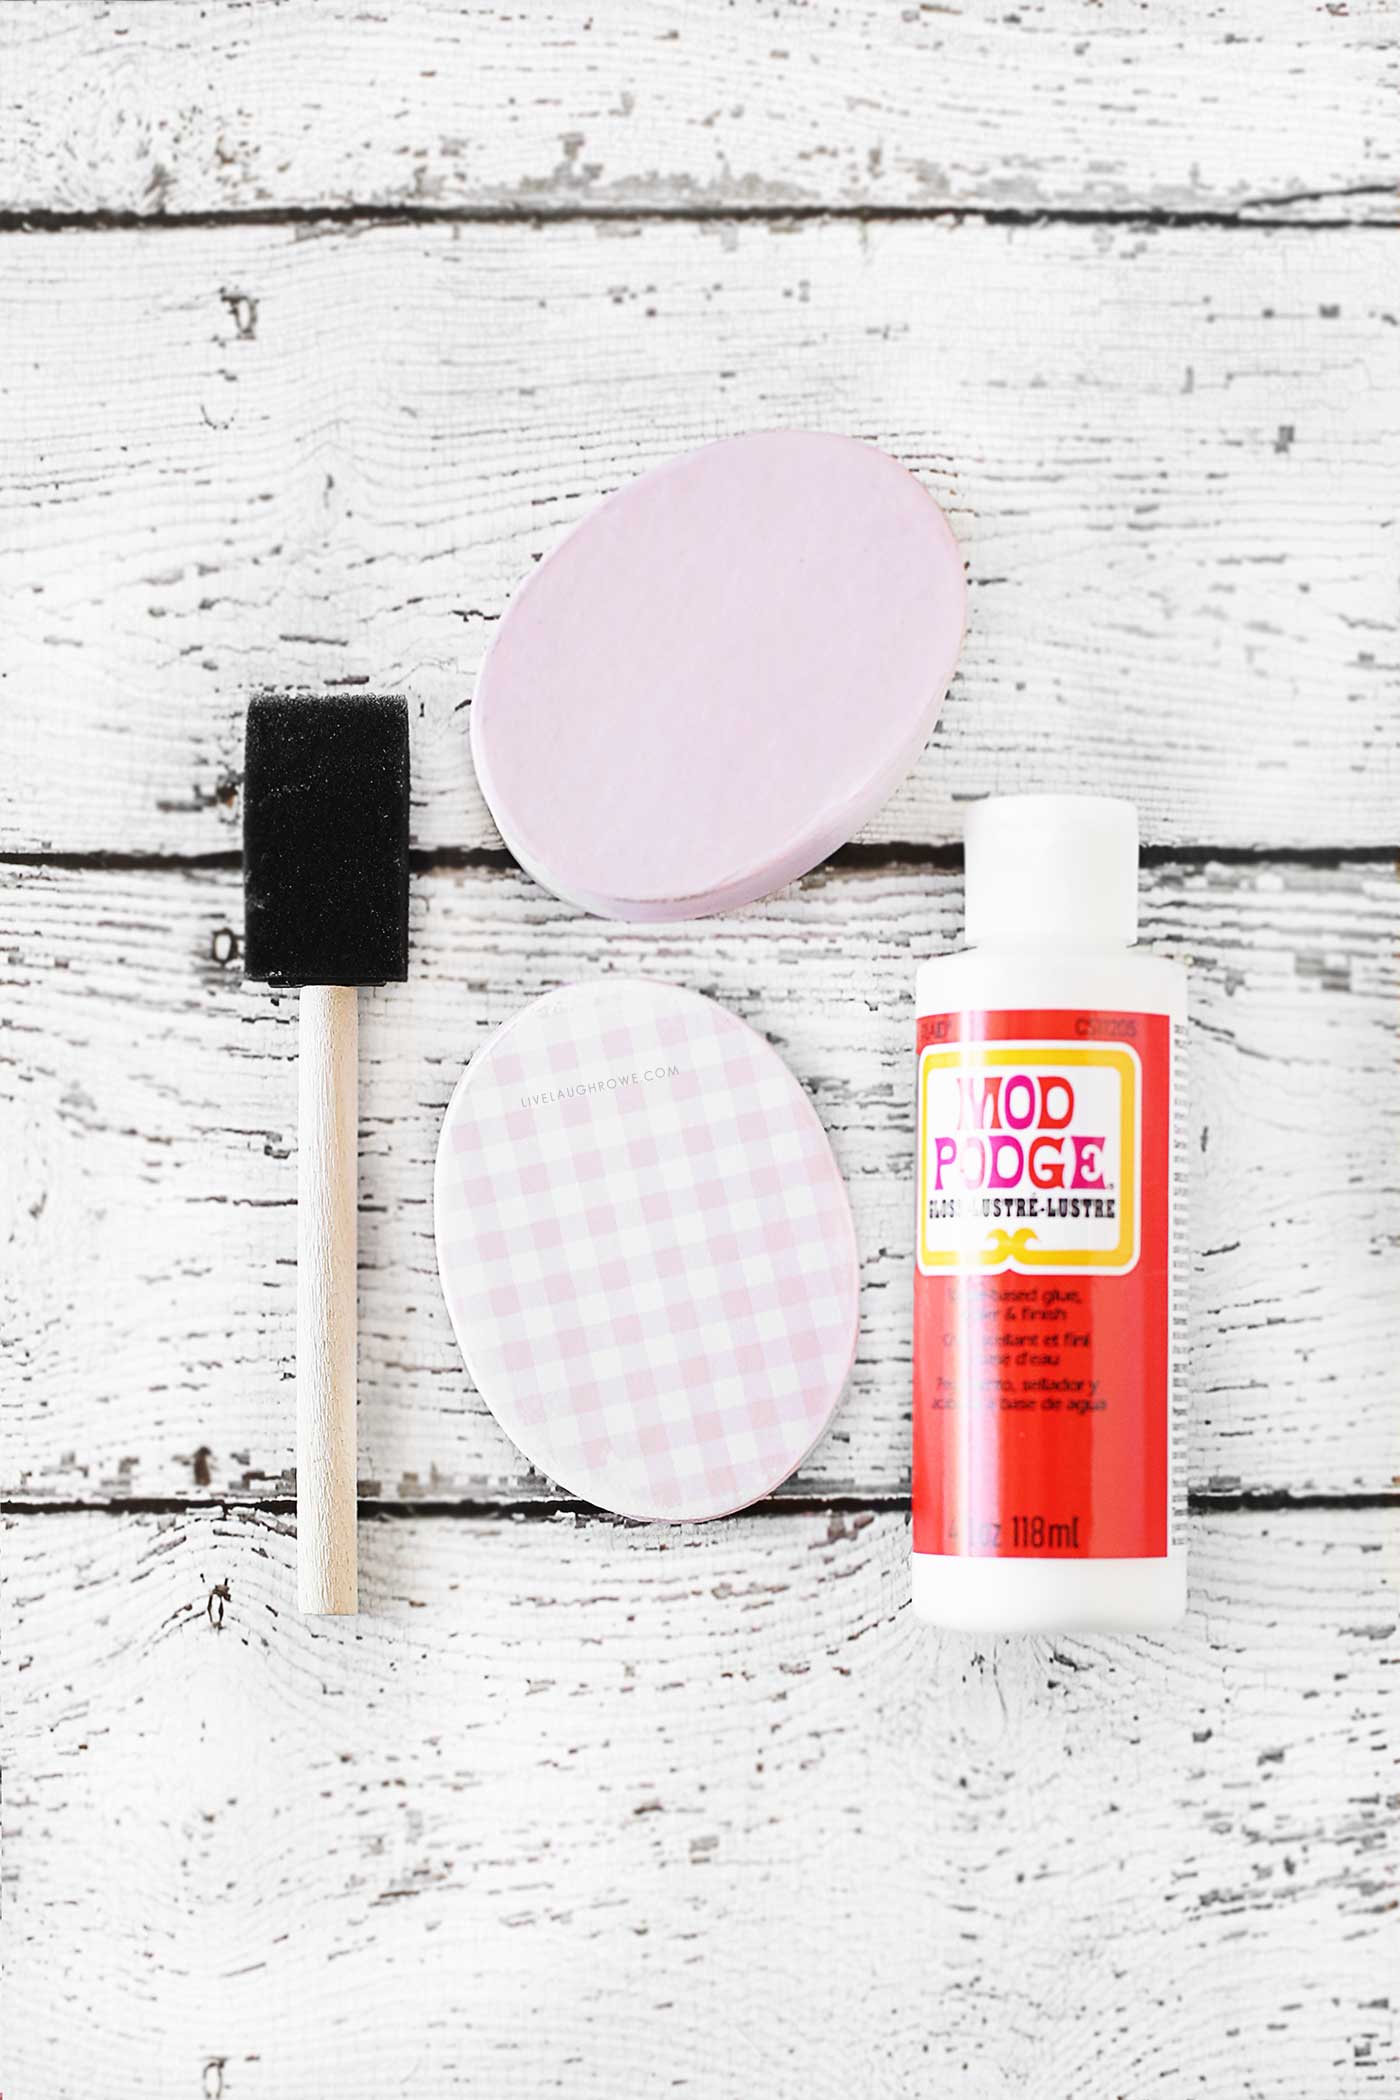
How to apply:
- Apply a thin layer of Mod Podge to the back of the paper.
- Carefully position the paper onto the box, smoothing out any wrinkles or bubbles.
- Trim the edges, if necessary.
- Allow it to dry completely before handling.
If you want to add a layered effect, use different scrapbook paper patterns and layer them for a collage-inspired design. You can also tear edges for a vintage, decoupage-style look.
Step 5: Distressing for a Vintage Look (Optional)
For a charming, vintage aesthetic, use fine-grit sandpaper to lightly distress the edges of the box. This creates a weathered effect, perfect for a shabby-chic Easter design.
If you love the farmhouse style, distressing is a great way to give your boxes a well-loved, heirloom-quality look. The options are limitless.
Another method for distressing is dry brushing white or cream-colored paint over the edges to create a soft, faded appearance. This is especially lovely when paired with floral scrapbook paper or delicate lace embellishments.
Step 6: Adding Decorative Elements (Optional)
Feel free to personalize your Easter Treat Boxes with embellishments such as:
- Vintage-inspired prints (think Easter bunnies, florals, and gingham patterns)
- Hand-painted designs (small flowers, polka dots, or delicate borders)
- Stickers, stamps, or lace trims for added texture and charm
- Metallic accents like gold or silver detailing for an elegant touch
Consider using ribbon to tie around the boxes or small wooden embellishments shaped like bunnies or eggs for a unique, handcrafted look.
Step 7: Sealing with Satin Varnish (Optional)
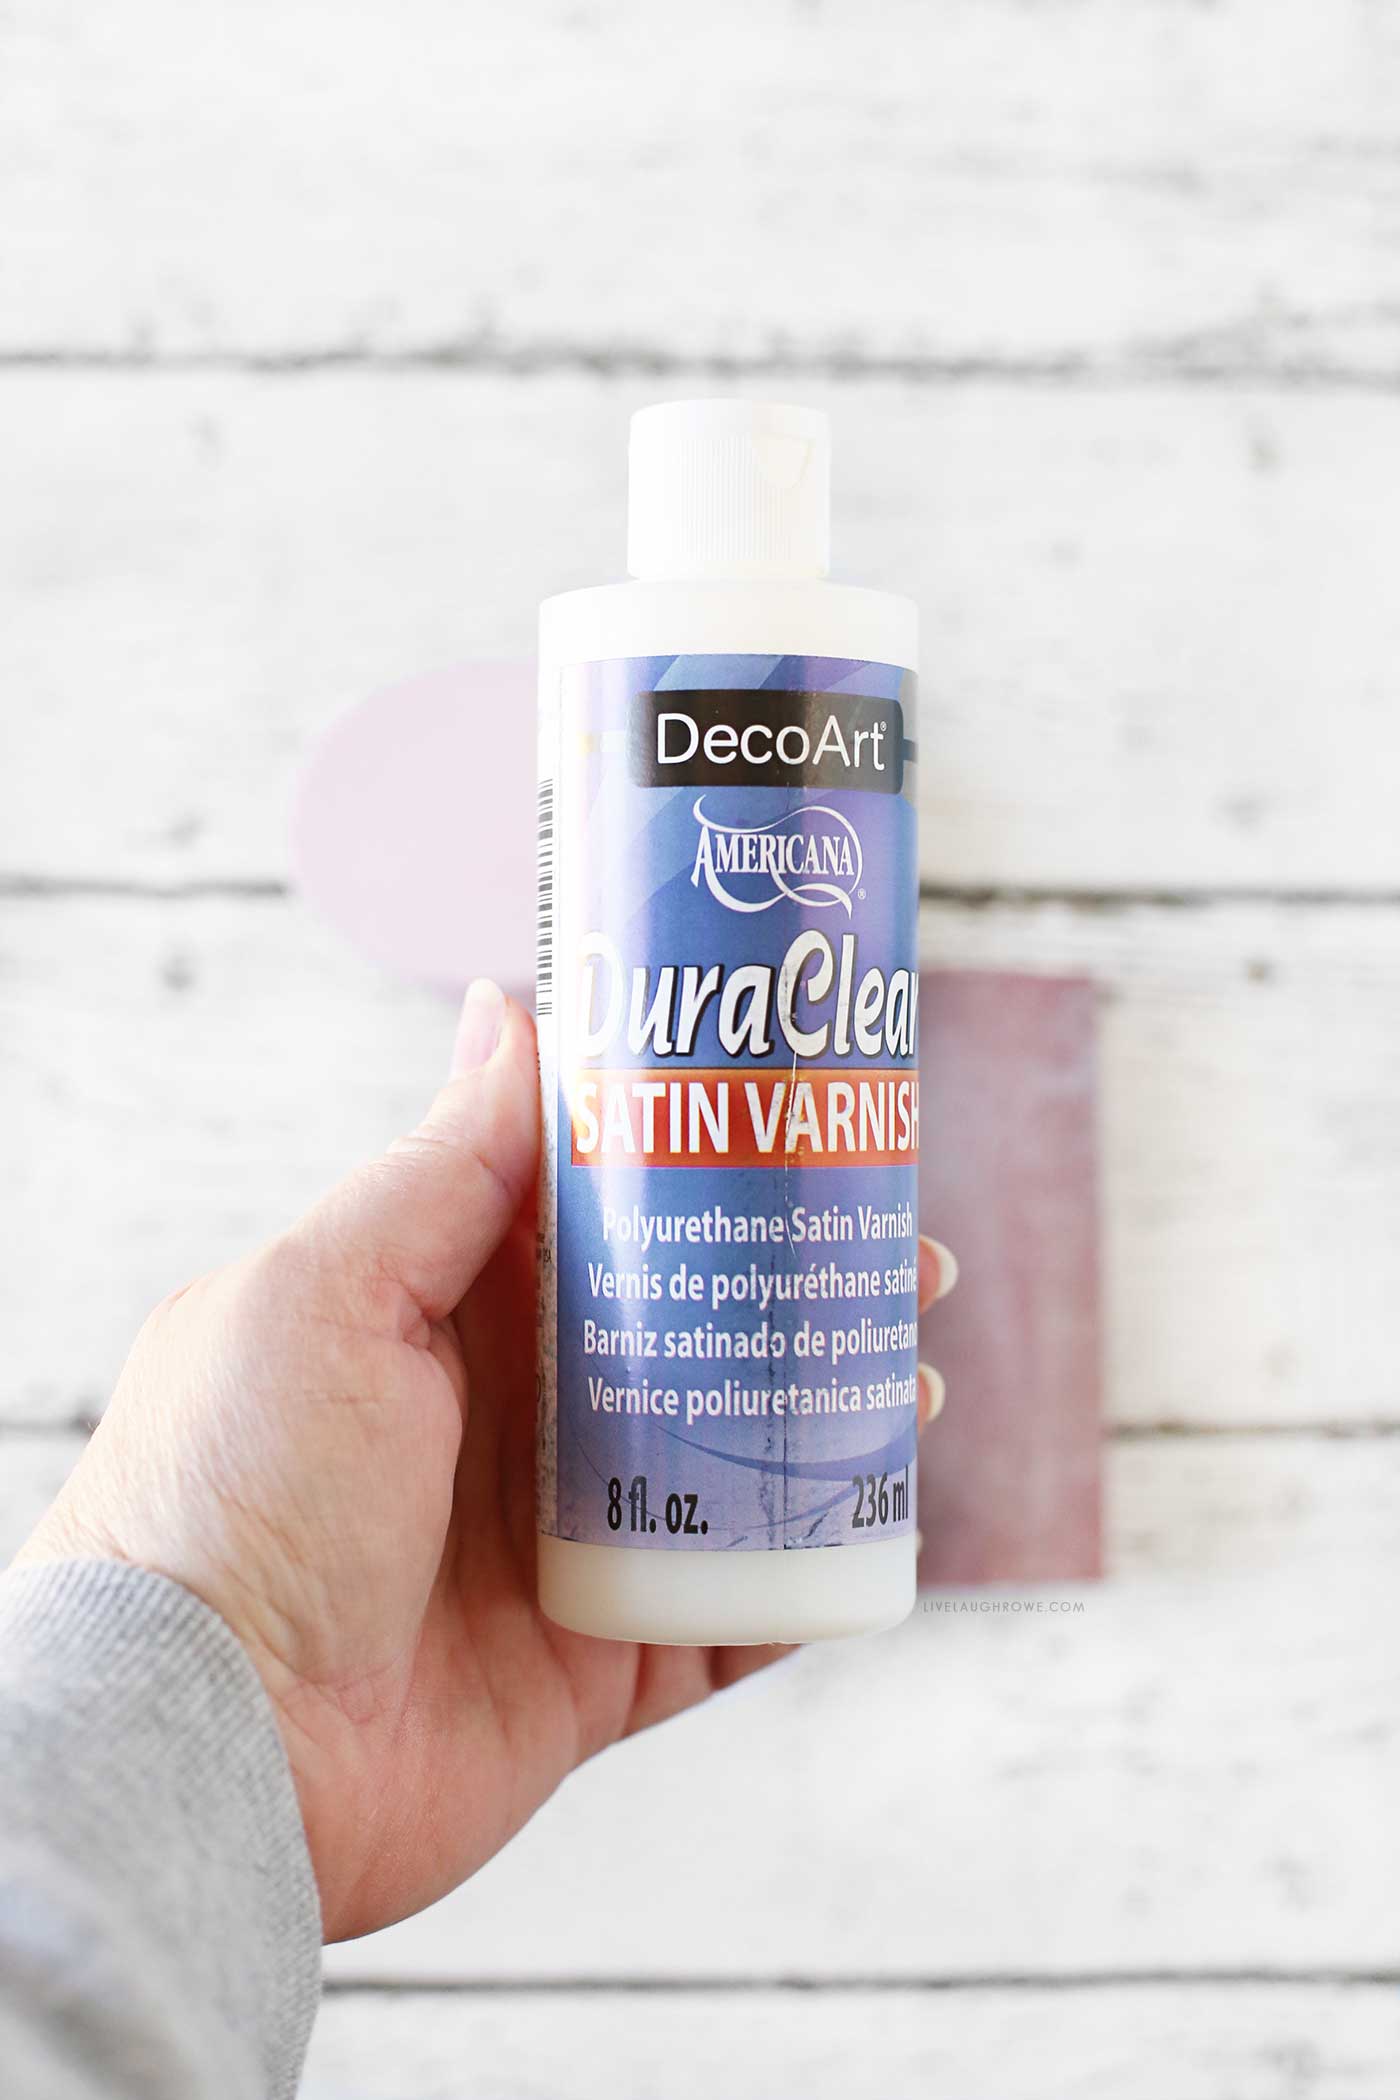
For a long-lasting finish, apply a thin layer of satin varnish over the entire box. This helps protect the paint and paper while giving it a subtle sheen. If you want a more rustic appearance, you can leave the boxes unsealed for a matte, organic look.
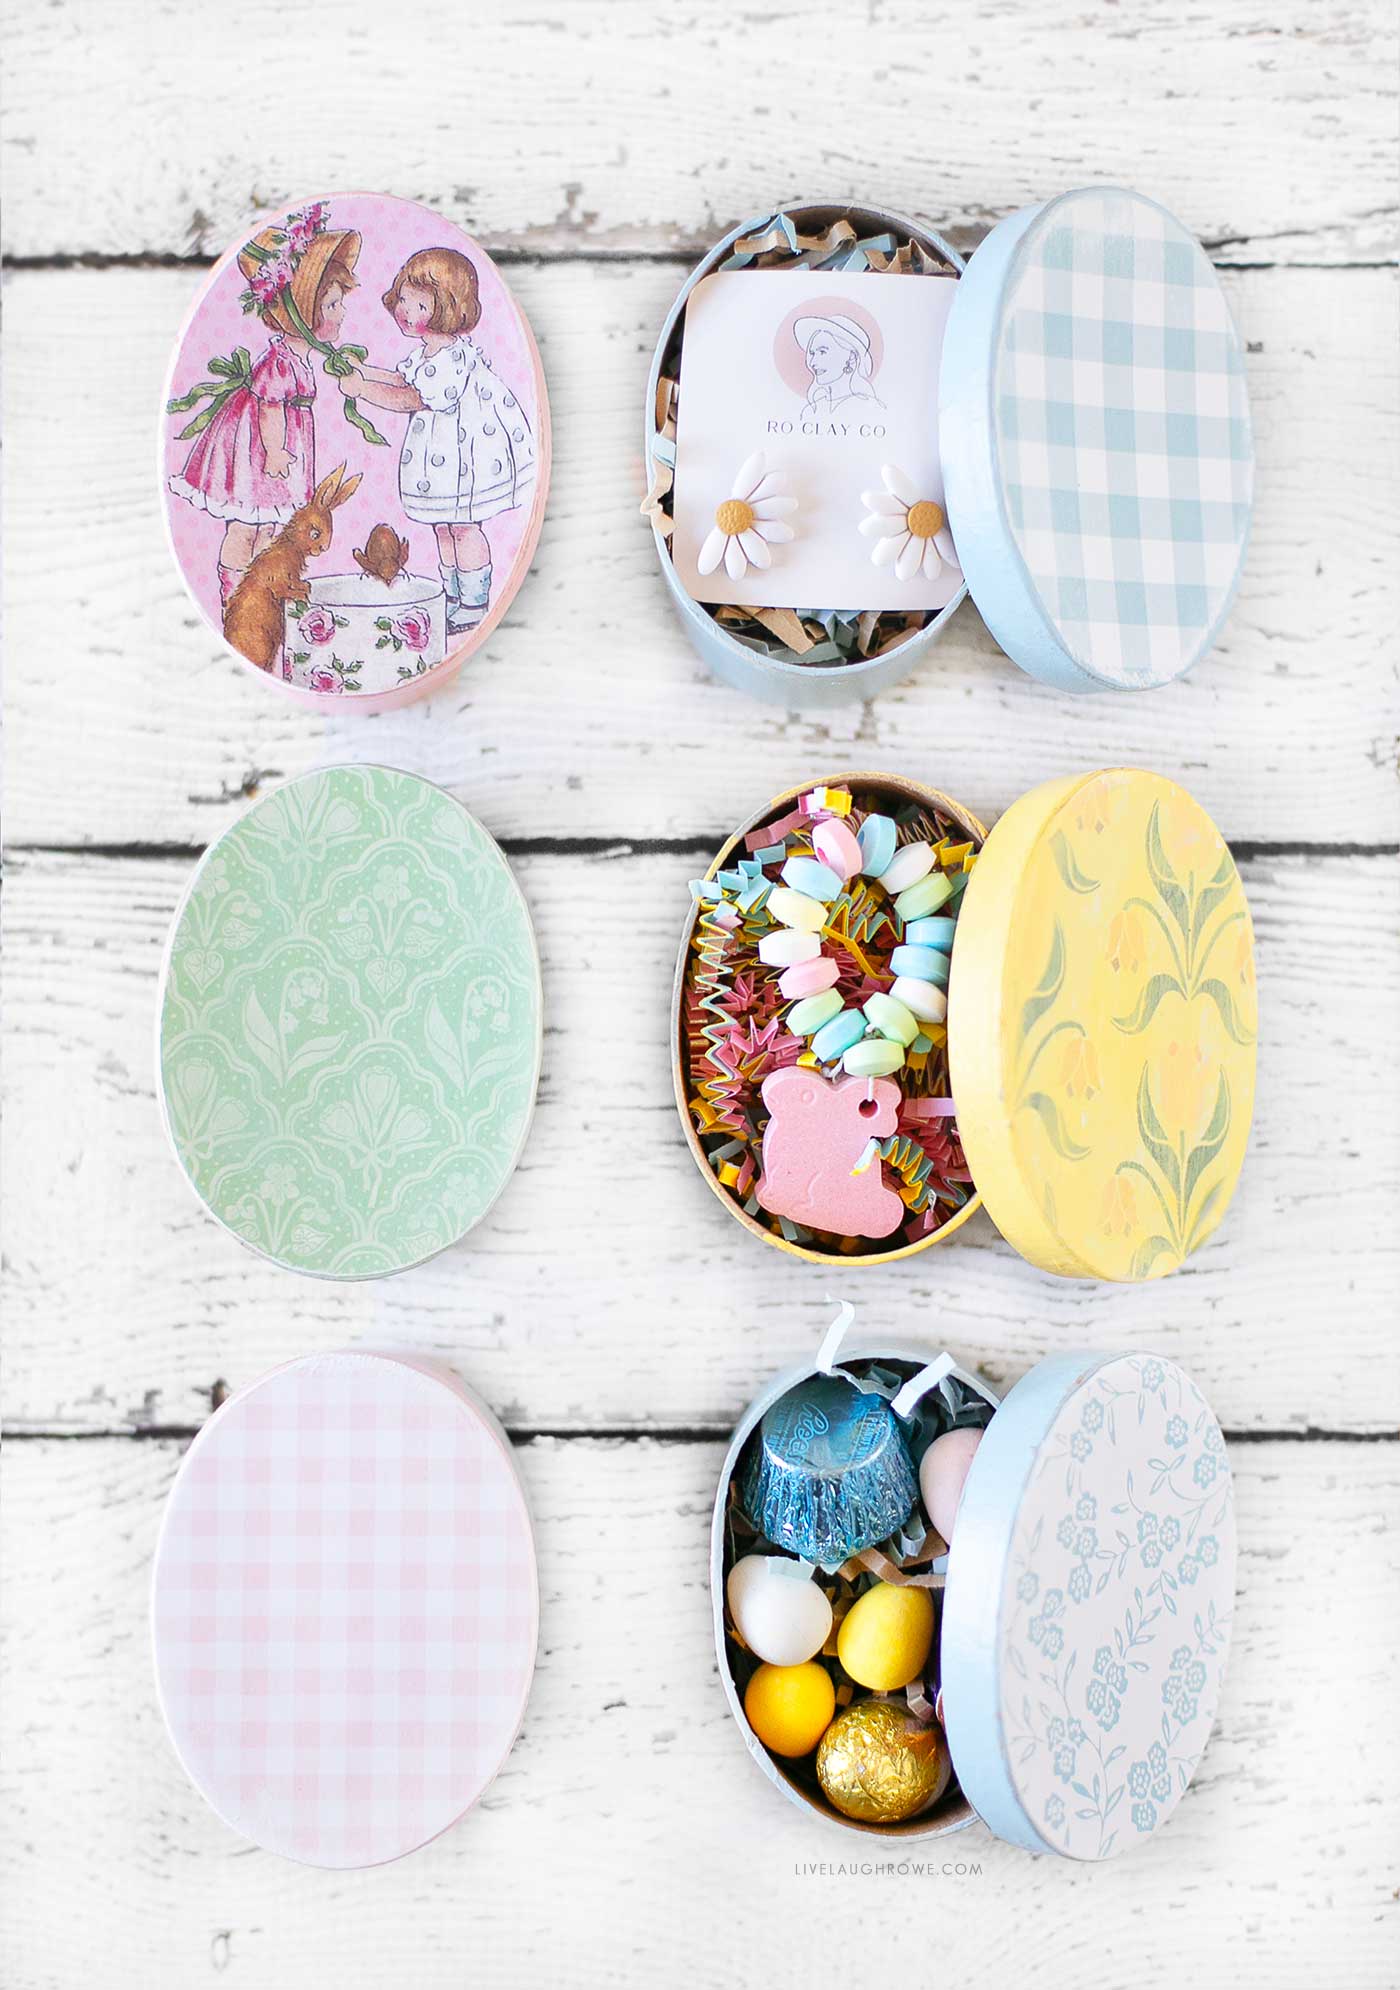
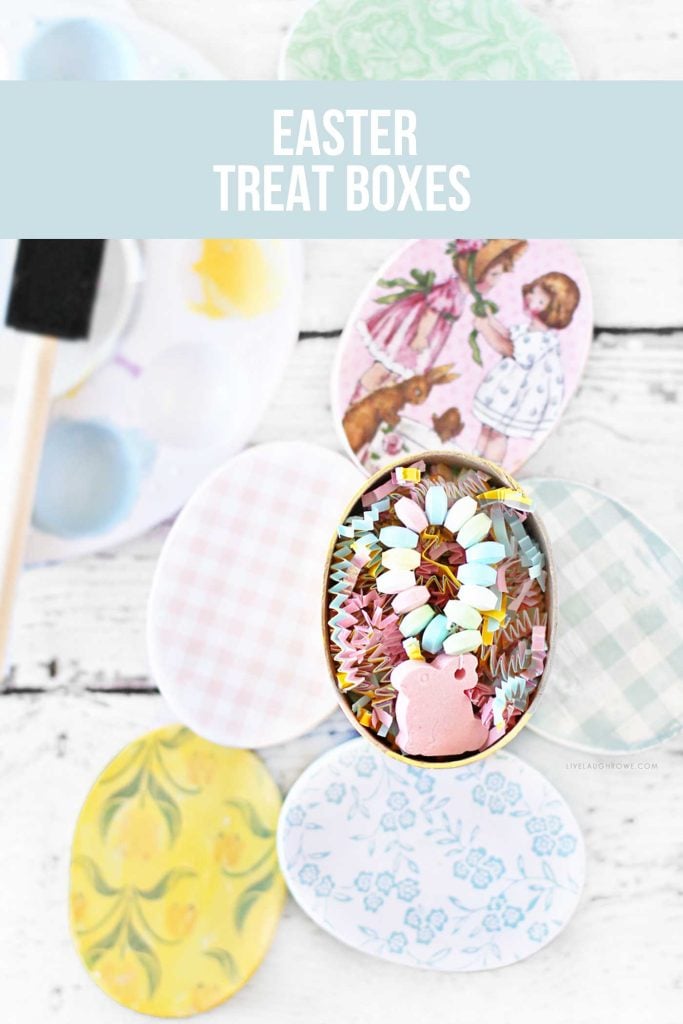
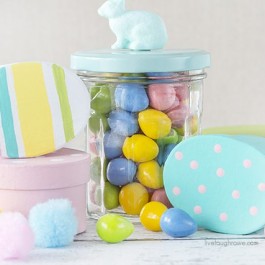
Ideas for Filling Your Easter Treat Boxes
Now that you’ve crafted your stunning treat boxes, it’s time to fill them! Here are some delightful ideas:
- Chocolate eggs and candies (a classic Easter favorite!)
- Handmade jewelry or trinkets
- Miniature flower arrangements
- Personalized notes or letters
- Small toys or charms
- Bath salts or scented sachets for a spa-like gift
For a themed approach, you can create different styles of treat boxes:
- Spring Garden Theme: Fill with a variety of flower seeds.
- Vintage Easter Theme: Include a small vintage brooch, and pastel-colored candies.
- Wellness Gift Box: Fill with herbal tea bags and/or dried lavender.
These boxes also make wonderful Easter gifts for friends, teachers, and loved ones. They can be reused as keepsakes, making them a gift that lasts beyond the holiday.
Other Easter Packaging:
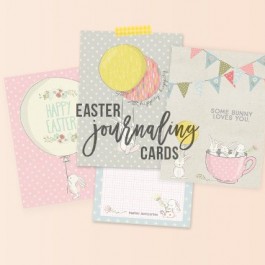
Printable Gift Card Holders for Easter
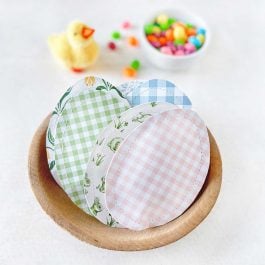
Easter Treat Holders
DIY Burlap Easter Bags
Easter Gift Boxes
Final Thoughts
Easter Treat Boxes are a fun and creative way to celebrate the season while adding a personal touch to your gifting. The possibilities are endless, whether you prefer a vintage-inspired look or a bright, colorful design. Using simple materials and your imagination, you can craft a unique Easter keepsake that will be cherished for years.
Beyond Easter, these boxes can be used for other occasions as well. Modify the design and theme for birthdays, Mother’s Day, or even Christmas to create thoughtful, customized gifts. Handmade keepsakes like these hold sentimental value and bring joy to both the creator and the recipient.
So gather your supplies, put on some cheerful spring music, and enjoy the process of making these delightful Easter treats. Happy crafting and happy Easter!


Ash says
These are adorable, I absolutely love them! What a lovely Easter gift to make for all the children in the family!