Easy crafts are my go-to and if I can save money, even better. When I was putting together the Spring Vignette on the buffet in our dining area I decided to make a garland wreath.
So using only a few supplies, I merged two very different pieces into a beautiful wreath for Spring (or even Easter).

When I decided to make a garland wreath, I headed off to the craft store. I grabbed a cart at the local Hobby Lobby and started strolling through the store. In other words, I was looking for some inspiration.
However, I did come with a few ideas in hand. I printed off a few pictures from Pinterest.
One was a simple greenery wreath. It had a beautiful delicacy to it though. Consequently, that’s what I was aiming for.
After a lot of perusing, I knew fern stems or swags weren’t going to work. Plus, I really wanted to keep this simple. But then I stumbled upon a 6-foot flowering garland (that’s what the tag called it anyway).
Friends, I got all the feels on this garland. The greenery was a beautiful combination of yellow, green sprigs. It certainly made me think of spring. Therefore, it was perfect and went right into my cart. Woop Woop.
Did I mention it was on sale too? Fist bump.
Other Spring and Easter Wreaths:
Spring Hoop Wreath
Simple Easter Wreath
Scrap Fabric Easter Wreath
Floral Moss Wreath
Can you make a wreath out of Garland?
Making a wreath of garland is 100% doable. It’s easier than you think and will usually save you a significant amount of money. In short, make a wreath out of garland (wink wink).
Supplies:
18″ Grapevine Wreath
5′ – 6′ Garland
Floral Wire
Wire Cutters
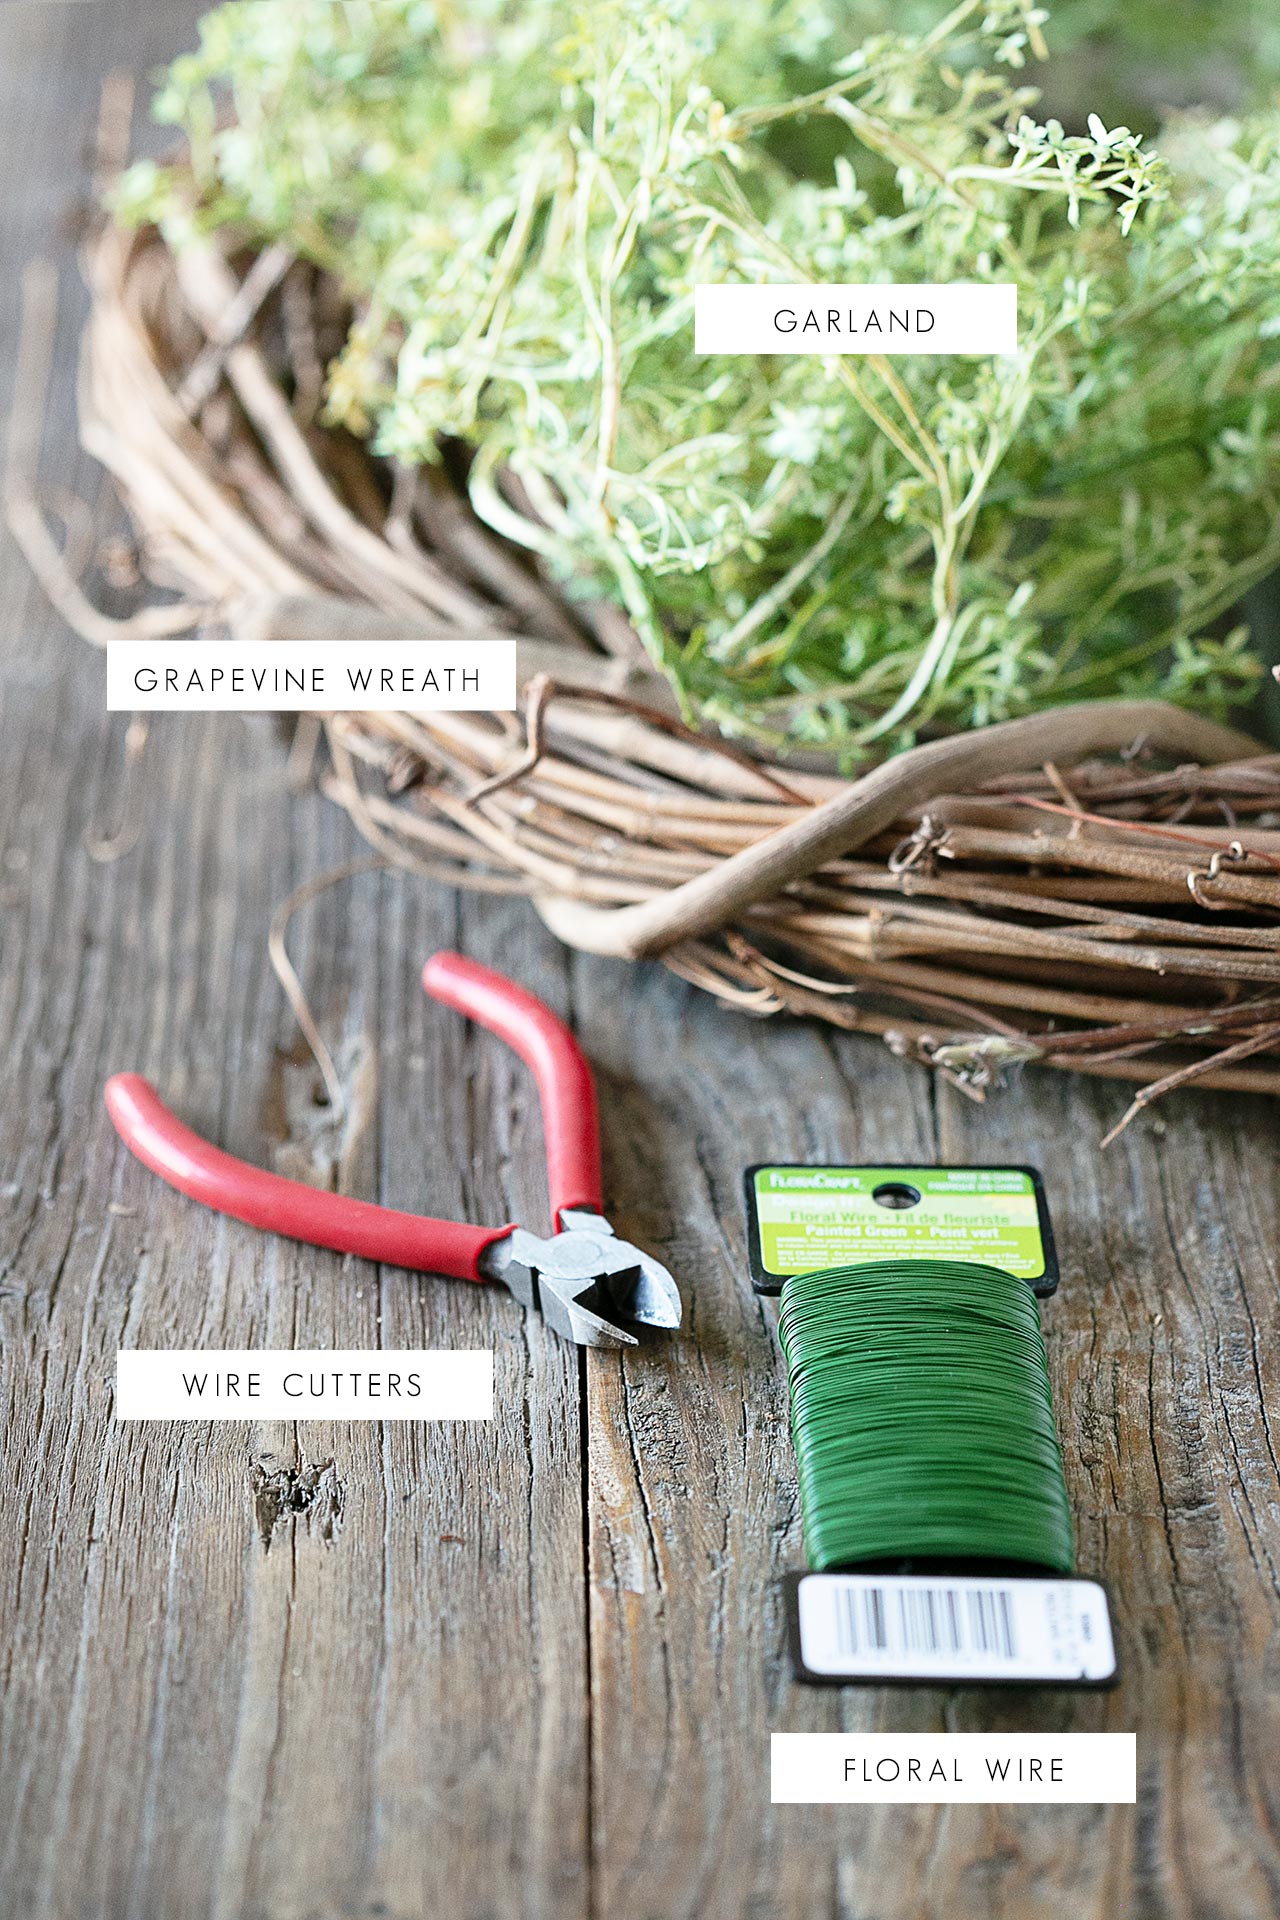
Honestly, the versatility of this garland wreath makes it a favorite of mine. Technically it could be used for spring, easter, or even summer. Don’t you agree?
Instructions:
1. Once you’ve gathered all the supplies, cut eight to ten pieces of the floral wire (approximately 6″ long) using wire cutters. Set aside.
2. Place the grapevine wreath on your workspace and decide where you want to start attaching the garland to the grapevine wreath.
3. Lay the garland on top of the grapevine wreath. Attach one end of the garland to the wreath using a strand of floral wire. String the wire through some of the grapevines and up and around the garland. Thereafter, be sure to twist tightly and trim the wires using the wire cutters.
4. Continue this step every 3 to 4 inches until the entire wreath is covered and the garland is snugly attached. Snip off the extra garland, if applicable. I had several extra inches left using a 6-foot garland.
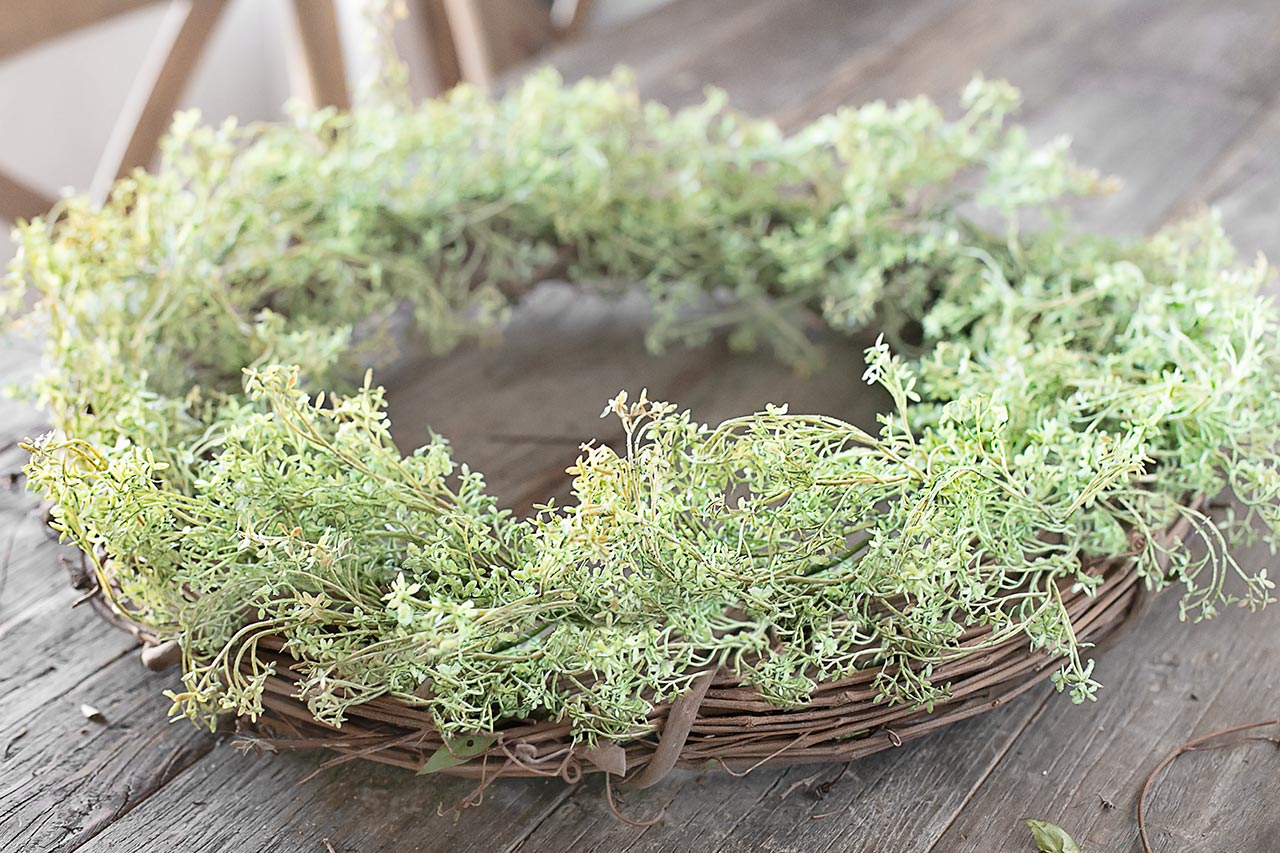
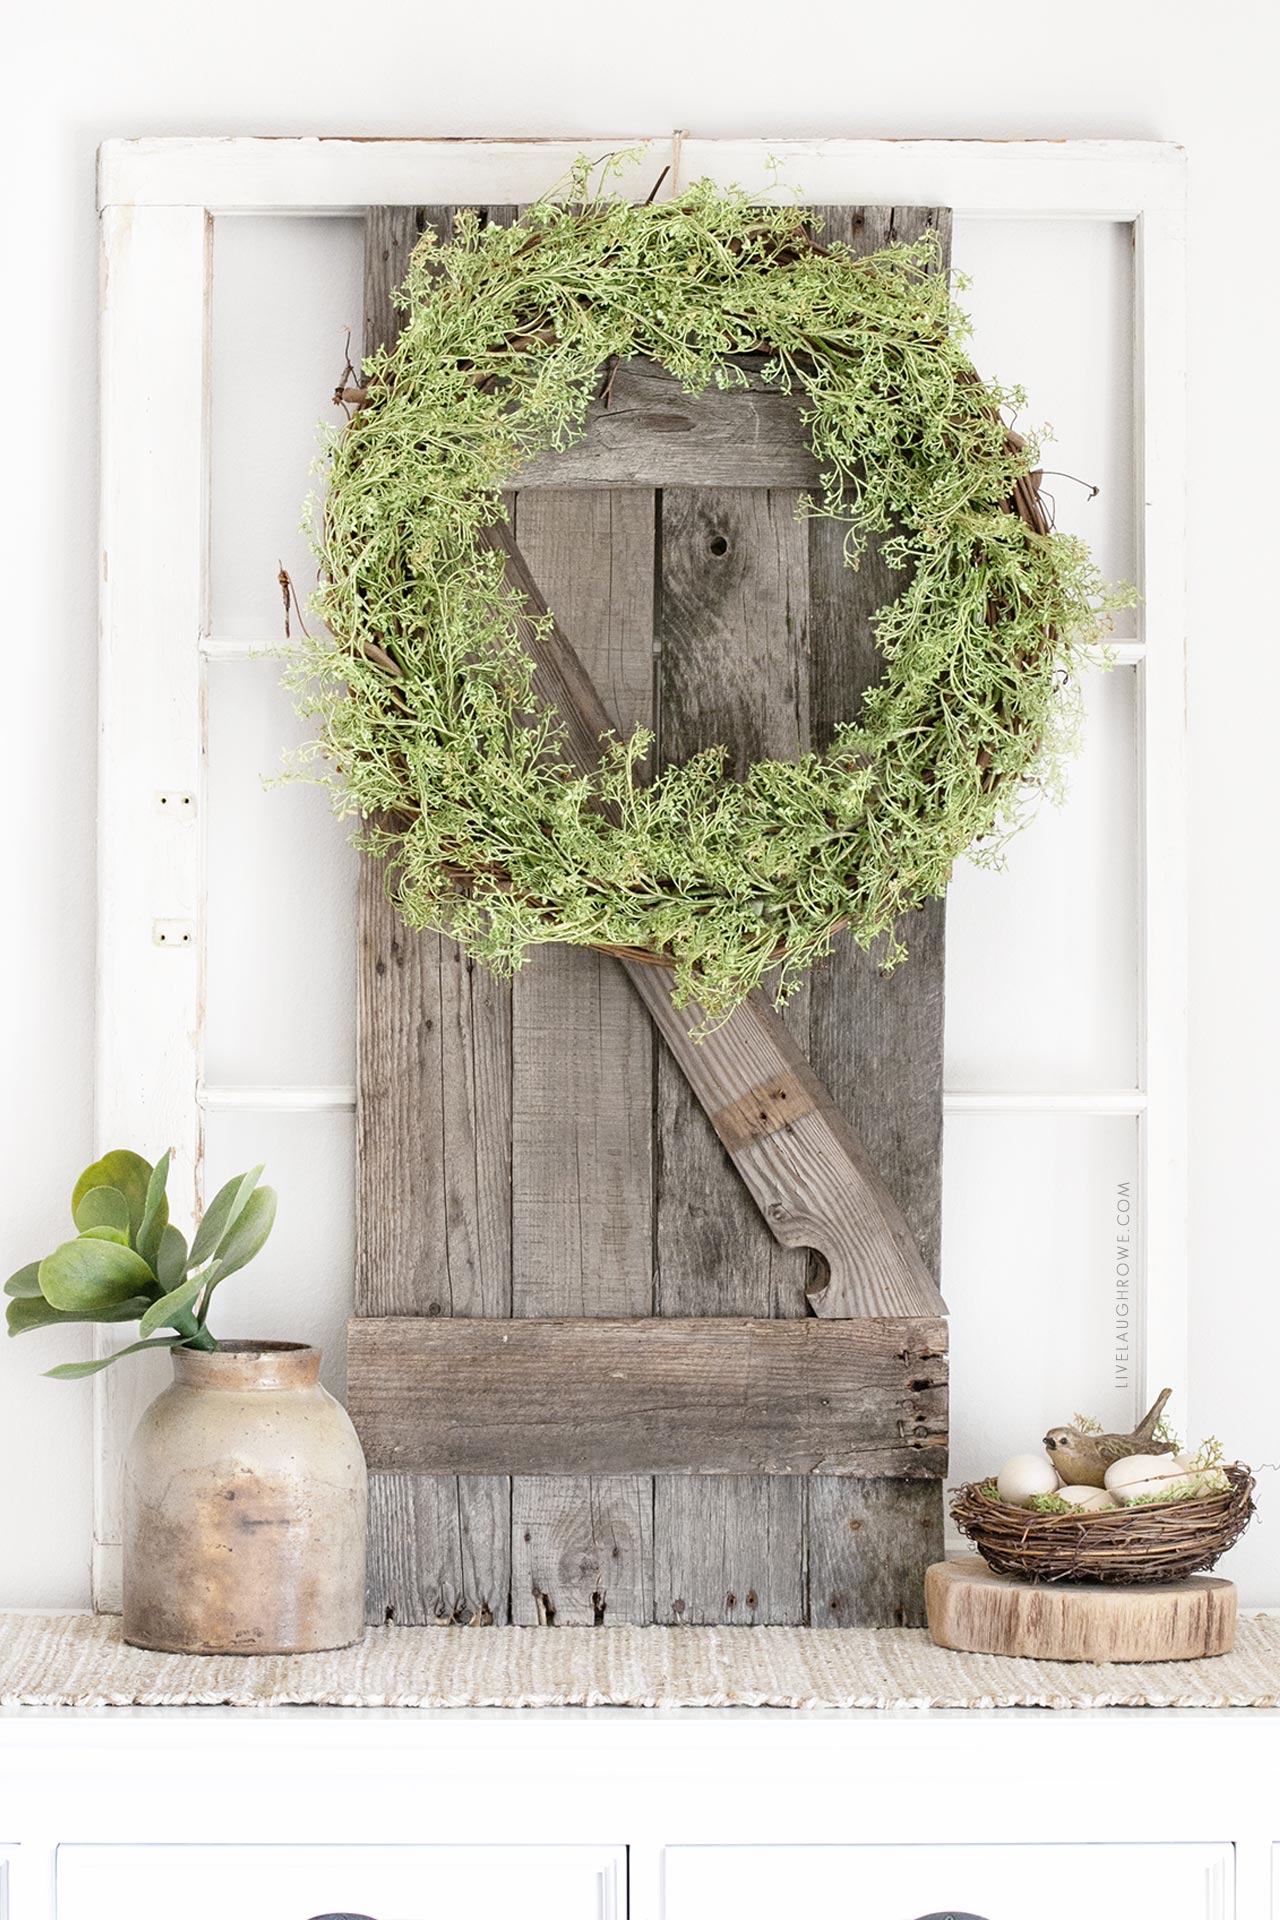
Here’s a visual aid. Haha. Goodness gracious, I’m certainly having a good chuckle.

Garland Wreath with a Twist
Another idea for Easter is to wire on a small nest with a few faux bird eggs. Darling, right?
Hugs and Blessings!



Leave a Reply