Wood House Tutorial for Decor and Gifting
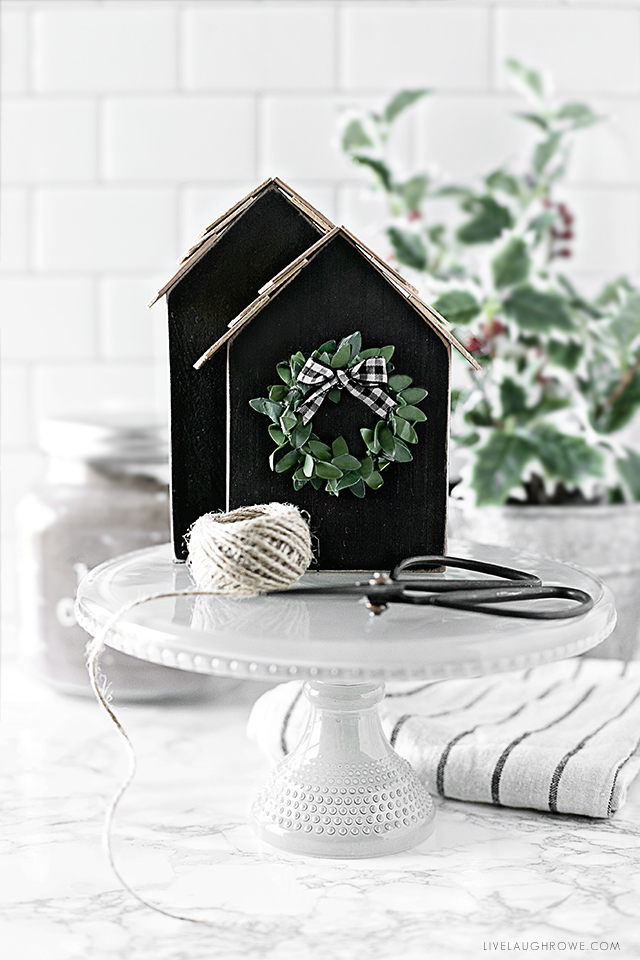
A darling and simple decorative wood house that can be made in no time? Yes, please. These wood houses can be placed just about anywhere from a shelf, kitchen counter, two-tiered tray, and more. And guess what? They make a great housewarming or hostess gift too.
As a result of the holidays quickly approaching, I thought this would be a great time to share. Why not make some for your friends, family, co-workers, and/or neighbors?
Be sure to sign up for my email to get
new recipes and creative ideas
sent right to your inbox!
Classic Red and Refined Black
The holidays often add some classic red to our decor, Christmas tree, and even gifts. Maybe you sprinkle some black and white here and there too. For example, gingham or buffalo check, anyone?
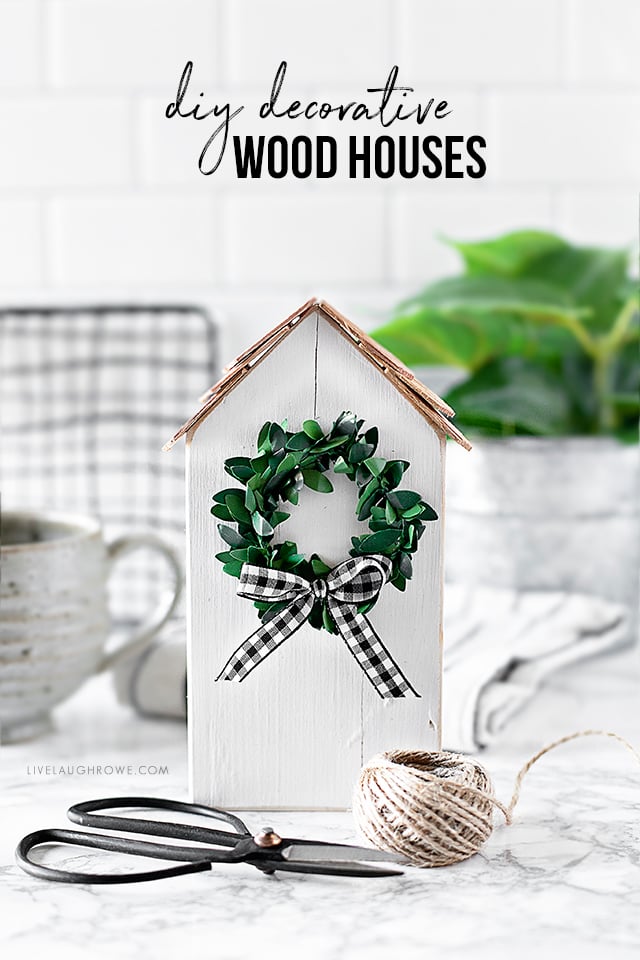
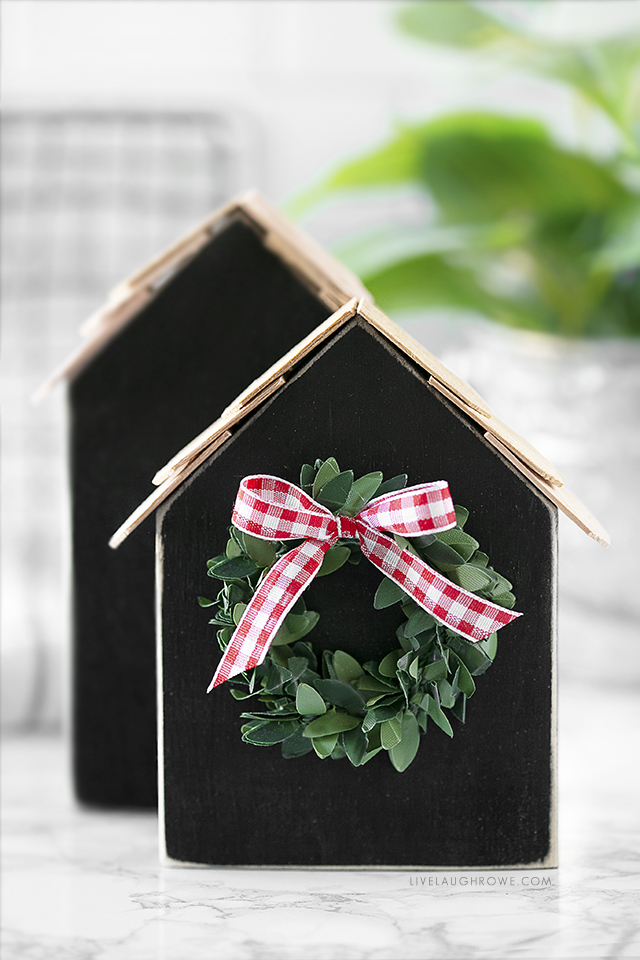
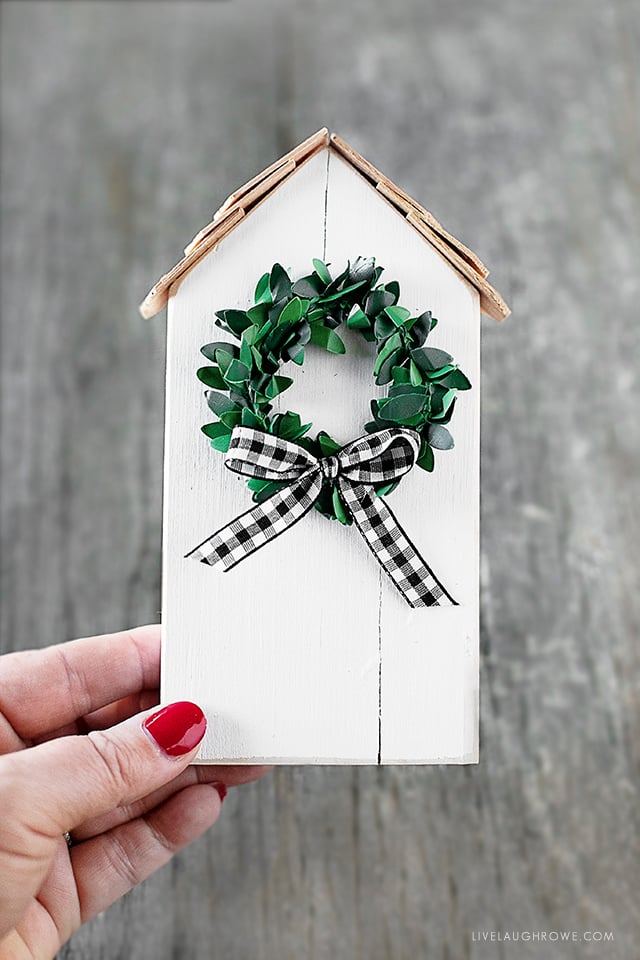
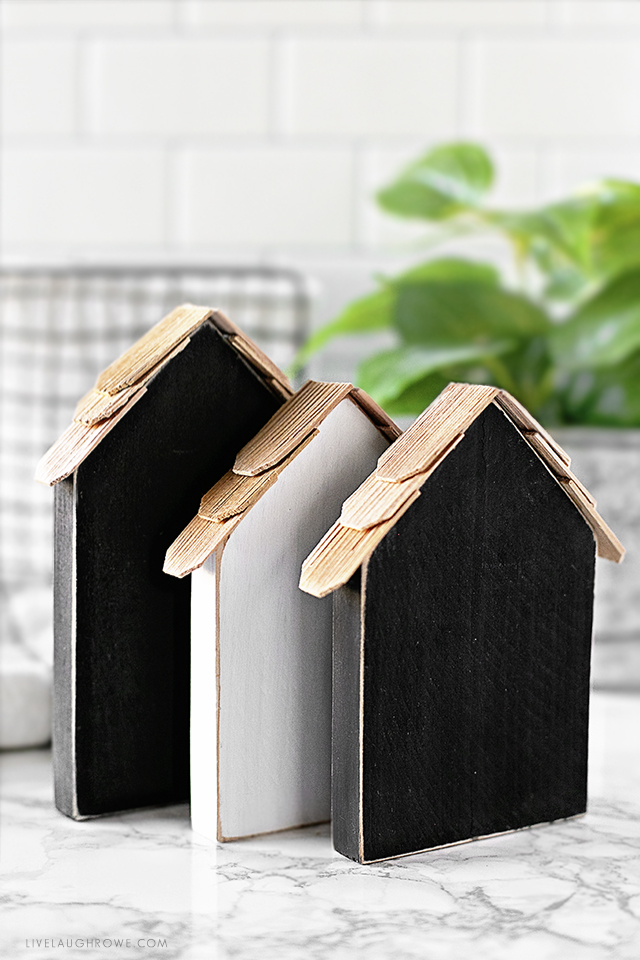
So, maybe this year we can warm our hearts and home with this sweet cozy-looking wood house. I love the chalkboard look with the red and white ribbon. And for everyday day use, I adore the white with the black and white gingham.
From a piece of raw wood to a simple and sweet decorative wood house — you’re sure to impress your friends. In short, you’ll get some crafting/DIY time in and you’ll get to do a little gifting. Winning.
In addition to grabbing your supplies, keep in mind how many you’ll be making and who you’ll be gifting them to. A housewarming gift for a friend who just bought her first home 0r a thoughtful gesture for a neighbor.
Shall we get started?
Be sure to check out my new video tutorial:
Other gift ideas:
Girls Night Out
Hot Chocolate Gift Idea
Instant Winter Scene
Tea Gift Basket for Tea Lover
Rose Scented Homemade Bath Tea
Wood House Tutorial
Supplies:
Wood Board (cut at varying lengths)
Miter Saw
Sandpaper
Black and White Acrylic Paint
Paint Brush or Foam Brush
Wood Glue
Cedar Dollhouse Shingles
Miniature Boxwood Wired Garland
Glue Gun
Gingham Ribbon
Instructions to make Wood Houses:
I picked up a bag of wood from Hobby Lobby (each piece measured approximately 3-1/4″ x 7″). Start by cutting each piece of wood to 5″, 5-3/4″ and 6-1/2 tall (or desired height).
Mark the center on one end of each board. After that, using a miter saw, you’ll make two 45-degree cuts through the center mark of each piece to make a roof peak.
Next, sand the houses and wipe off any sanding dust. Paint the wood house with black or white paint and let the paint dry. In addition, sand all of the edges of each wood house.
Starting at the bottom of the peak, attach one dollhouse shingle by placing glue on the shingle or the angled edge of each side of the house. Add glue and overlap with another shingle layer. Continue to overlap the shingles, using three or four until you reach the peak. Repeat on the other half of the roof and let dry. (Of course, you’ll repeat this on each angled side of the other houses as well).
It’s all in the details.
It’s certainly in the details, right? I mean, sure, the house looks cute as is, but… let’s add a cozy touch.
Using the miniature boxwood garland, create small wreaths for each house. After that, cut the ribbon and tie into bows. Trim ends as desired.
Glue a wreath to each wood house and attach a bow to either the top or bottom of each boxwood wreath.
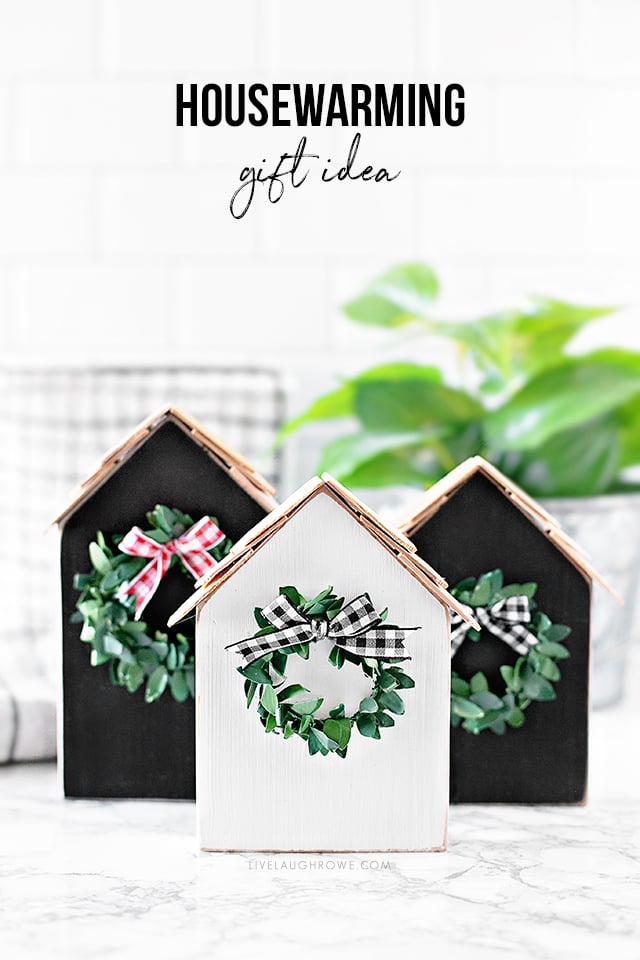
Gifting for a housewarming celebration? Add a sweet note or quote: “May your home be a place where friends meet, family gathers, and love grows.” -Anonymous
Connect with Live Laugh Rowe!
Facebook | Instagram | Pinterest | Twitter
Hugs and Blessings!





Sharon aka Mom says
Love, Love these little houses!!
chrispecherzewski0290Chris says
Love the little houses I have many from the Dollar tree
Lucy Armstead says
I love the wooden risers! I have a few wooden plaques of various sizes that I bought for another project, but this one is much better.
THANKS.
lea