Wood Slice Christmas Ornaments
A homemade ornament is such a special gift. Giving anything that is handmade tells your friends and family that a little extra TLC went into their gift. And, well, these sweet wood slice Christmas ornaments will not disappoint. They have the look of wood burning, but it’s a much simpler process.
Be sure to sign up for my email to get new recipes
and creative ideas sent right to your inbox!
 Simple Handmade Ornament

Making ornaments and handmade gifts started back in elementary school I believe (correct me if I’m wrong, mom). Every year I see these handmade clay ornaments on my mom’s tree with the initials KK on them (Kelly Kuert, my maiden name). I remember making them in Mr. Kennedy’s art class in either 5th or 6th grade.
My mom would also spend hours in the basement with my sister and me in junior and senior high making handmade gifts for teachers. We truly poured our hearts and souls into them too.
“I love making
handmade gifts.”
Vanna White
It’s funny how traditions start young and how my mom started investing creativity into our lives when we were much younger. I love those memories and I’m forever grateful that those seeds have bloomed into so much more — like this blog. Who would’ve ever thought?
Anywho, over the years I’ve shared a few different handmade ornaments, like these: DIY Rusty Metal Ornaments, Simple and Rustic Holiday Tree Ornament, and Vintage Map Ornament.
However, this oldie always seems to take the lead — Yarn Wrapped Star Ornament. I used to make and sell them on Etsy too. I believe it was inspired by a West Elm ornament.
Unfortunately, I have more ideas than I have time (or manpower) for… so some ornament ideas haven’t been shared. Nevertheless, I’m excited that this wood slice ornament made the cut this year (and the crowds go wild).
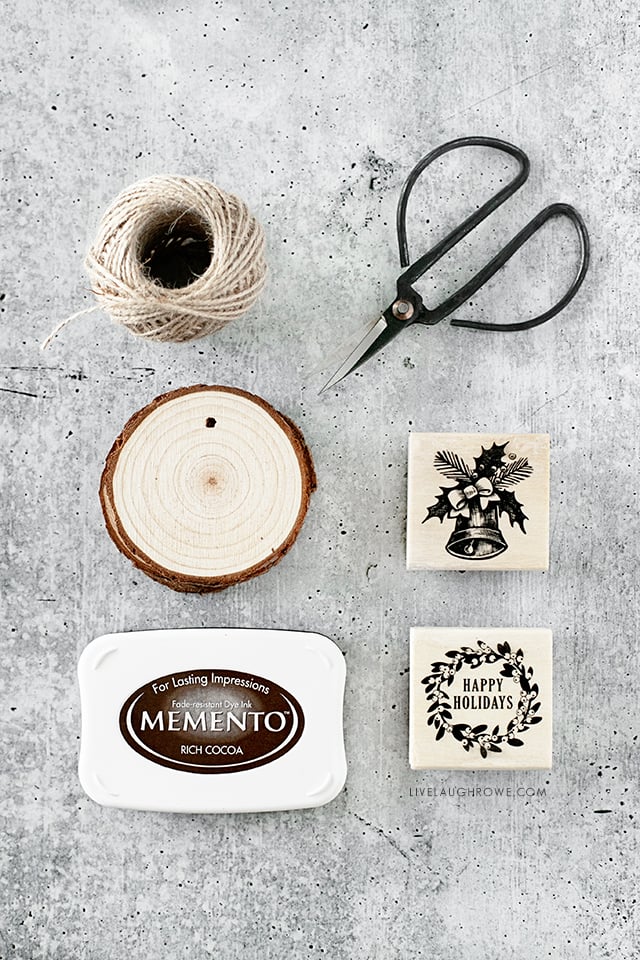
Supplies for Wood Slice Christmas Ornaments:
Wood Slices
Stamping Ink Pad(s)
Rubber Stamps
Jute Twine
Scissors
Baby Wipes (to clean stamps)
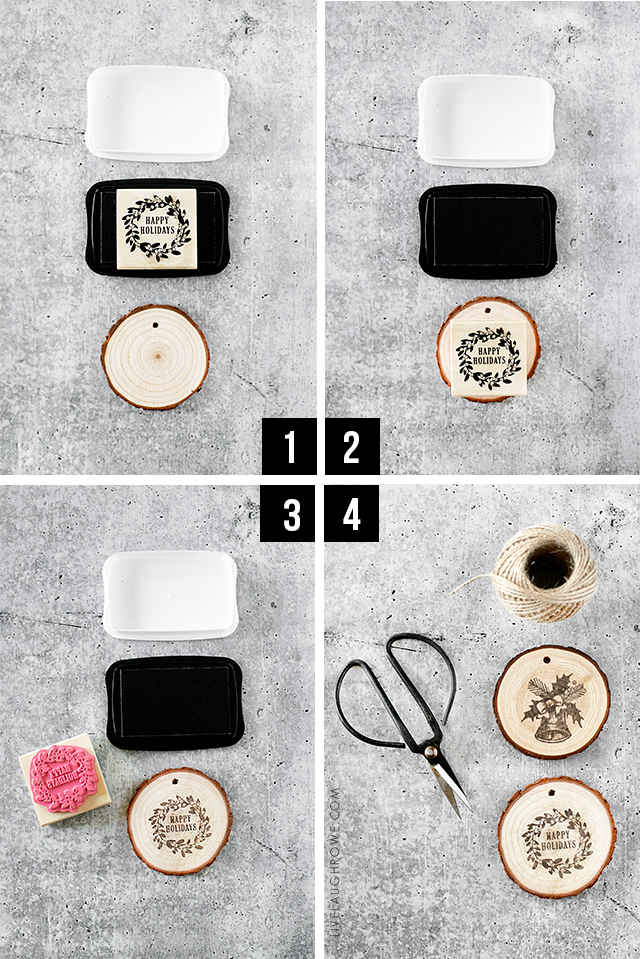
Step One:
Ink up your rubber stamp using your ink pad of choice. I used the Memento brand in Rich Cocoa because it resembled the coloring of wood burning.
Step Two:
Be sure to place the stamp as close to the center as possible and press down firmly.
Step Three:
Remove the stamp and admire your beautiful work (hee-hee). Be sure to clean your stamp, I like to use baby wipes.
Step Four:
Add twine. I cut a 12″ piece of jute twine to create my loop for hanging.
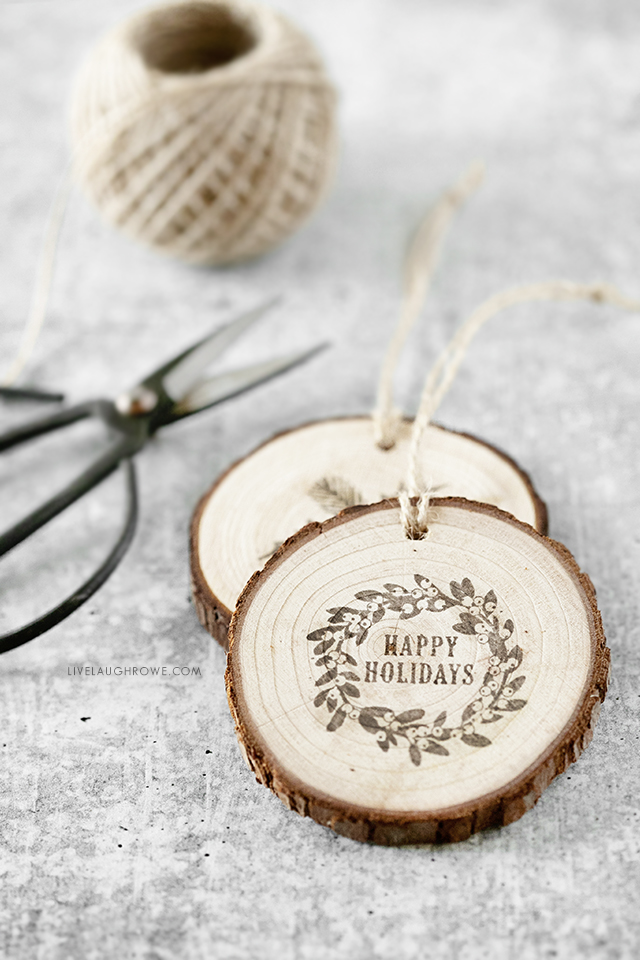
 Cute Gift Embellishment

What do you think? Pretty awesome, right? Like I said, they’re super simple to make and versatile. In my book, that’s a win-win.
Connect with Live Laugh Rowe!
Facebook | Instagram | Pinterest | Twitter
Hugs and Blessings!
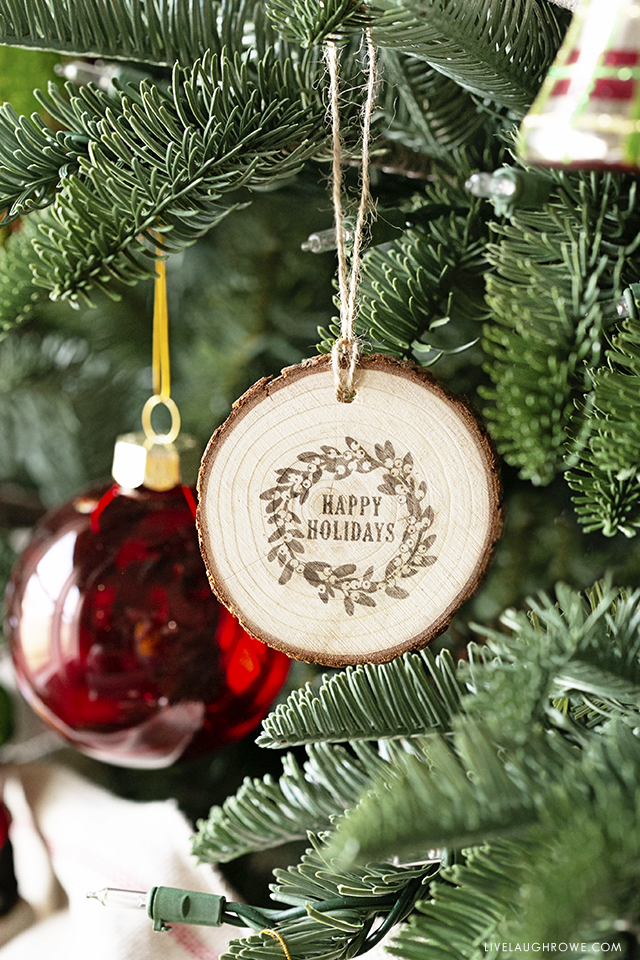 Simple Handmade Ornament
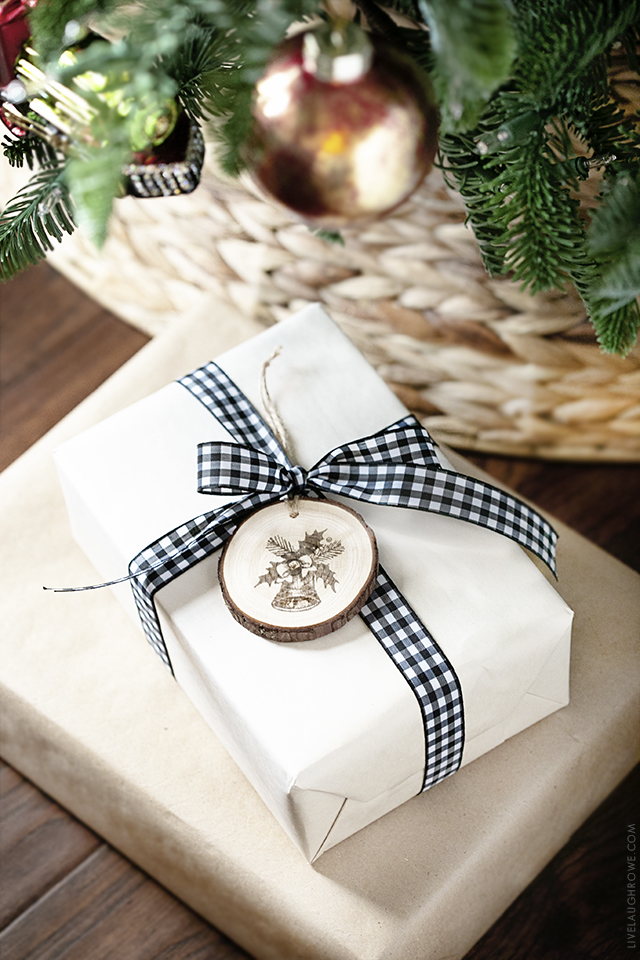 Cute Gift Embellishment




Karen says
I love this! I was looking for an ornament to make to tie on the gifts and my search is over. Thank You!
Kelly Rowe says
Hi Karen. Thanks so much — I’m tickled silly to hear that your search is over. Holiday hugs!! 😉
Debbie says
They are lovely! Such a great idea!!
Kelly Rowe says
Thanks so much, Debbie! Sending holiday hugs your way. 😉