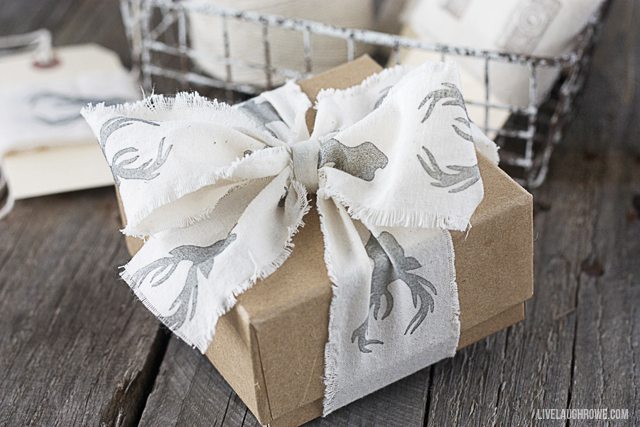
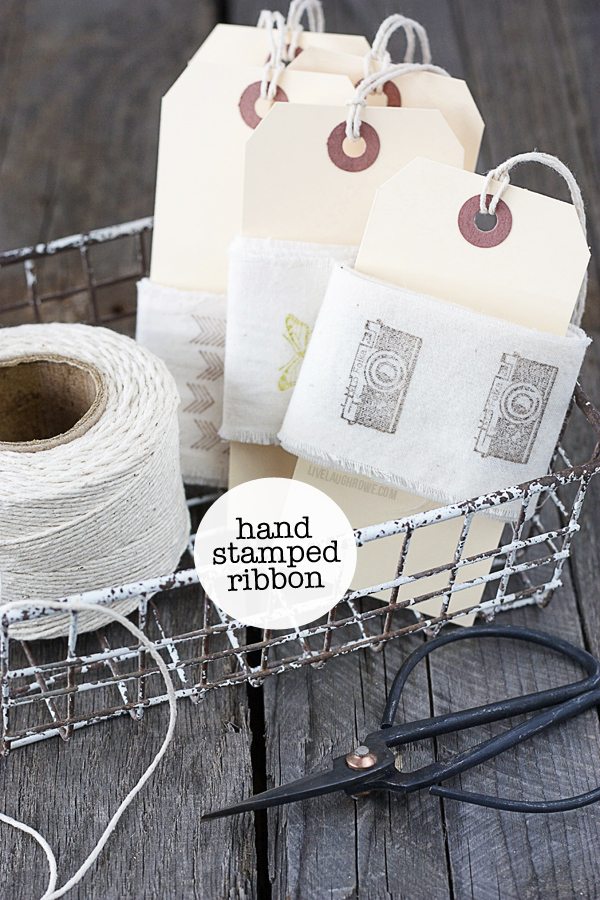
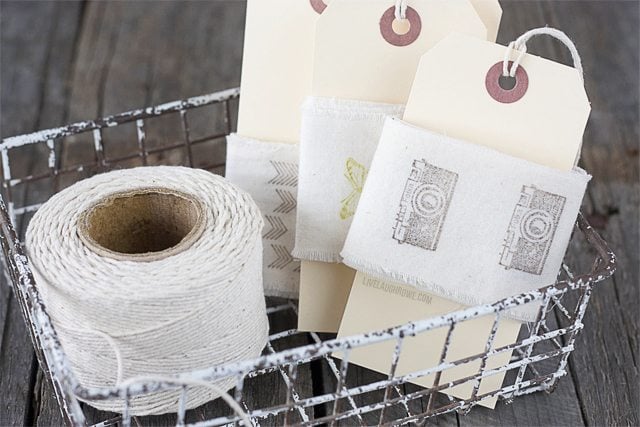
I am totally obsessed with todays project. It’s easy, fun and has so much versatility! Hand Stamped Ribbon.
Years ago, I probably had a stamping addiction. My sister and probably had hundreds of rubber stamps. We eventually parted ways by selling the masses of them at a yard sale… and I’m not back to buying rubber stamps. Isn’t it funny how things come and go — to later return. It happens with clothing too. Anywho, let’s take a look at how to make your own hand stamped ribbon.
 DIY Hand Stamped Ribbon

Supplies:
Muslin
Rubber Stamps
Ink Pad(s)
Ruler
Scissors or Rotary Cutter
Now that we’ve grabbed our supplies, let’s jump right in! Ready or not, here we go!
One: Cut your fabric. I used a rotary cutter with a self healing pad to cut mine. The length and width will be at your discretion. For mine, I made a 2″ wide and about a yard in length.
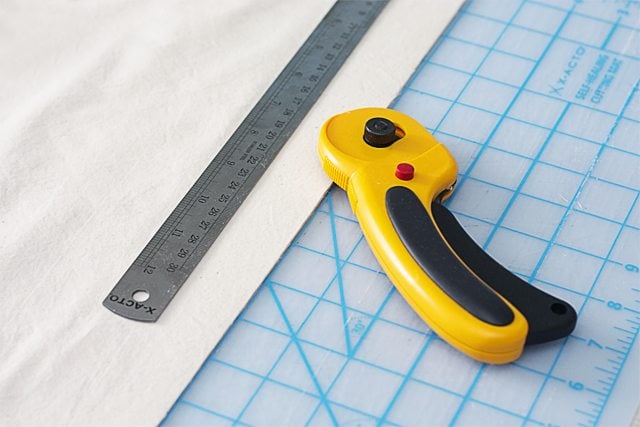
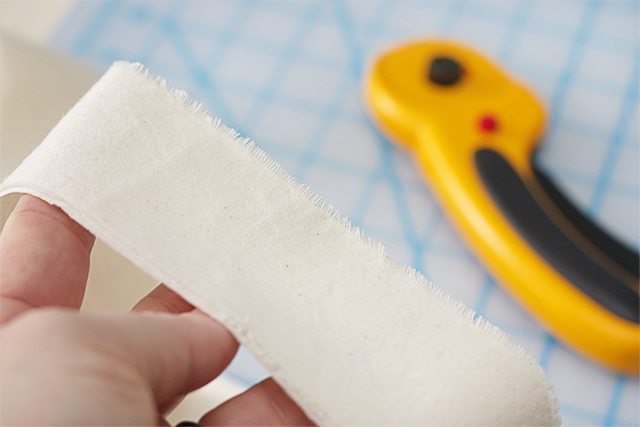
Note: I tried this using a number of different ink pads and the Memento Ink Pads seemed to work the best and dried quickly. I have no affiliation with them, just speaking from experience. I purchased mine at JoAnn.
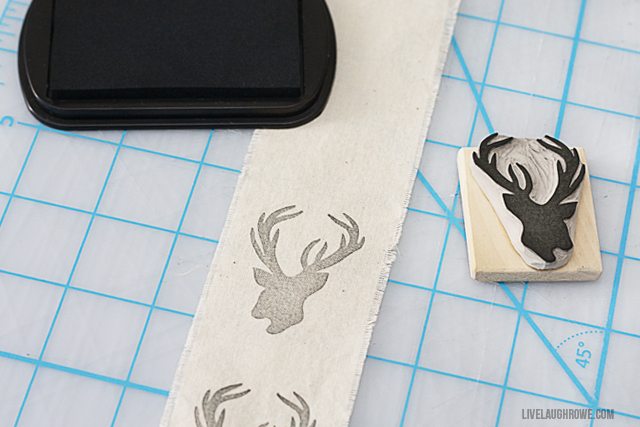
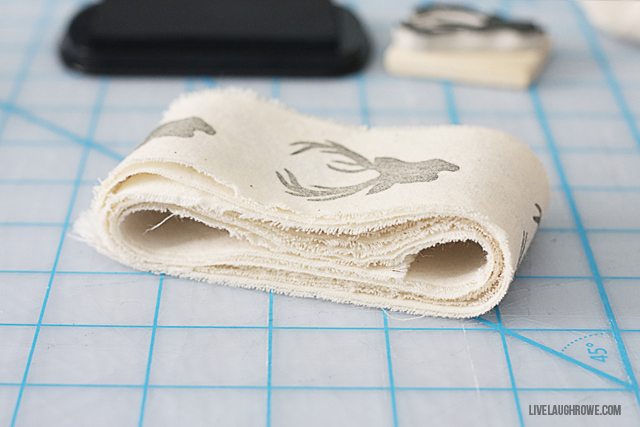

Facebook | Instagram | Pinterest | Twitter | Google+
 DIY Hand Stamped Ribbon


Judith says
what a fun and quick way to make yards of your own ribbon! I am going to try this, definitely :0) thanks for the tutorial!
Kelly Rowe says
Thanks Judith! Appreciate you stopping by. Have a great evening. xo.
Judy says
Wow, love this idea, I am just getting the stamping craze with card making, so will be able to use the stamps for this
Thanks for the great idea
Kelly Rowe says
Your welcome Judy! Sounds like the timing of my post and your venture with stamps and card making is perfect! Happy stamping! xo.
Katie @The Casual Craftlete says
Obcessed! Love this project SOO much. I might have to place another order soon. xo
Kelly Rowe says
Katie, you’re so sweet! Thank you. I just love the diversity of them. 🙂 Have a great night. HUGS.
Jenn says
LOVE these!!! You are a genius my friend!!
Kelly Rowe says
Thanks so much Jenn! Not as genius as you, but I appreciate it. 😉 Have a great evening. HUGS!
Amy W says
Oh my word, how adorable is this!! I’m in love with that deer ribbon, great DIY.
Kelly Rowe says
Thanks so much Amy! I appreciate it. Enjoy the rest of your evening. xo.
Kristen says
I love this so much!! I remember doing this with my mom many years ago and it brought back memories!!
Kelly Rowe says
Thanks Kristen! I bet those were GREAT memories to recall. 🙂 These have that “vintage” flair. Enjoy the rest of your evening. HUGS.
Kyla @HouseOfHipsters says
Kelly! This is such a great idea! I love how it turned out.
Kelly Rowe says
Thanks Kyla! I appreciate it. Give it a try! 🙂 Have a great weekend. HUGS.