The holidays are upon us, and with that comes the delightful task of gift wrapping! But why stop at just pretty paper when you can create wooden gift tags that sparkle with charm? Even if you’re someone who, like me, isn’t particularly fond of glitter, there’s a way to make these gift tags both beautiful and fun—without it turning into a glitter disaster.
Before we get ahead of ourselves, it’s time for another round of the Hand Crafted Society. We’re a group of talented bloggers who create monthly projects using a shared medium or theme. This month, we’re using glitter or gold leaf. When you reach the end of the post, click on the image or blog name to view the full post of other participants.
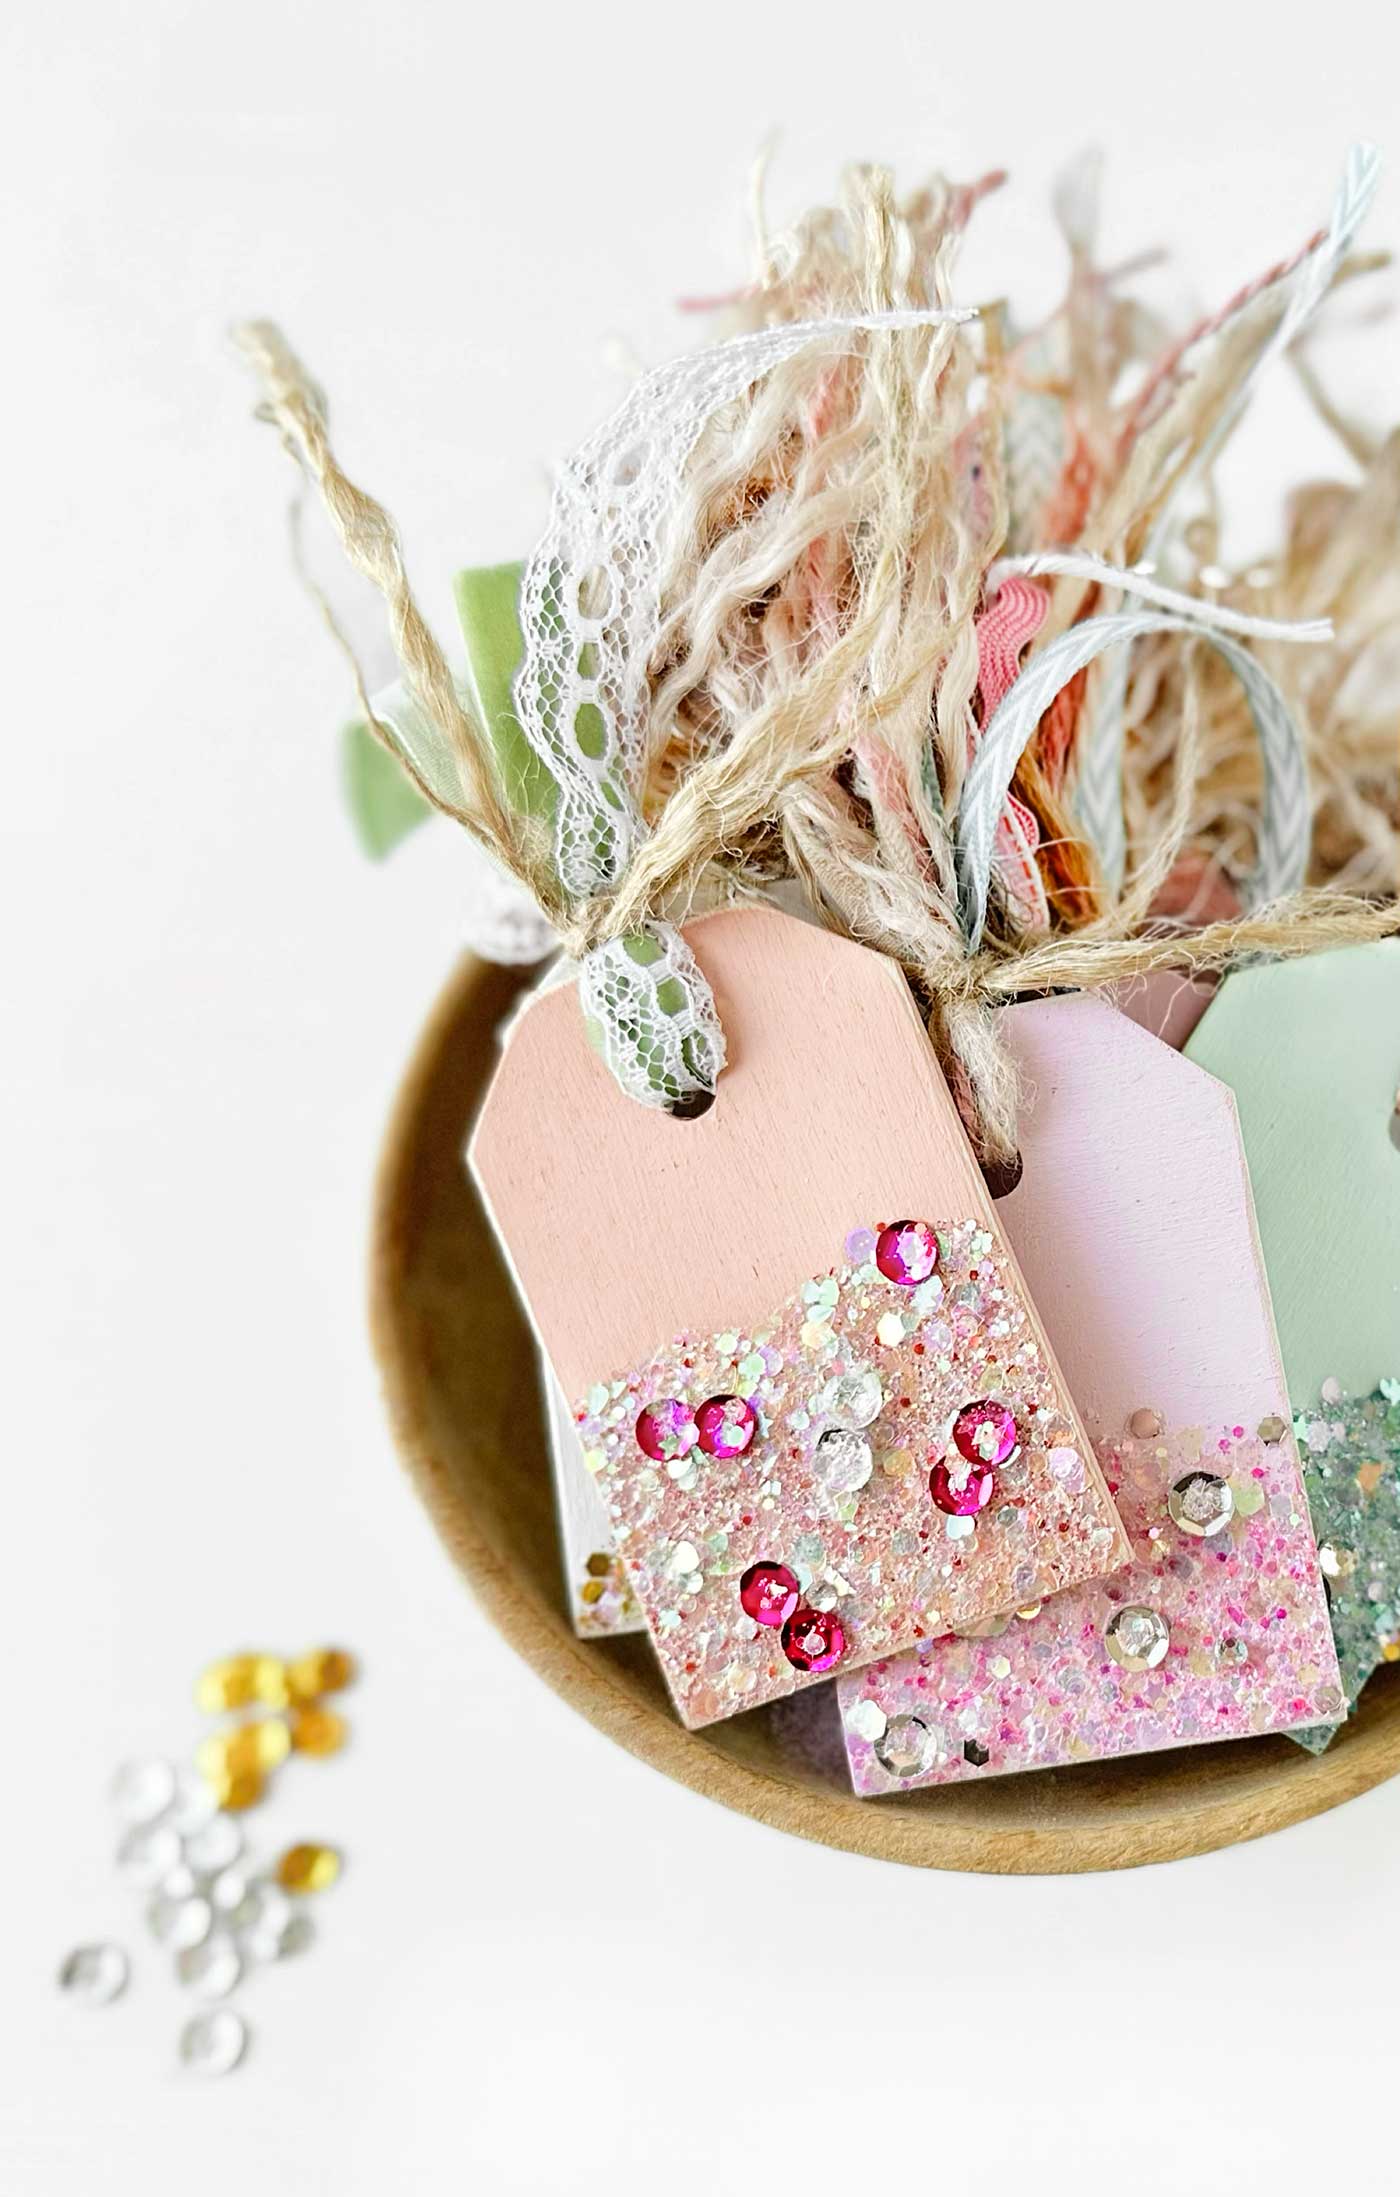
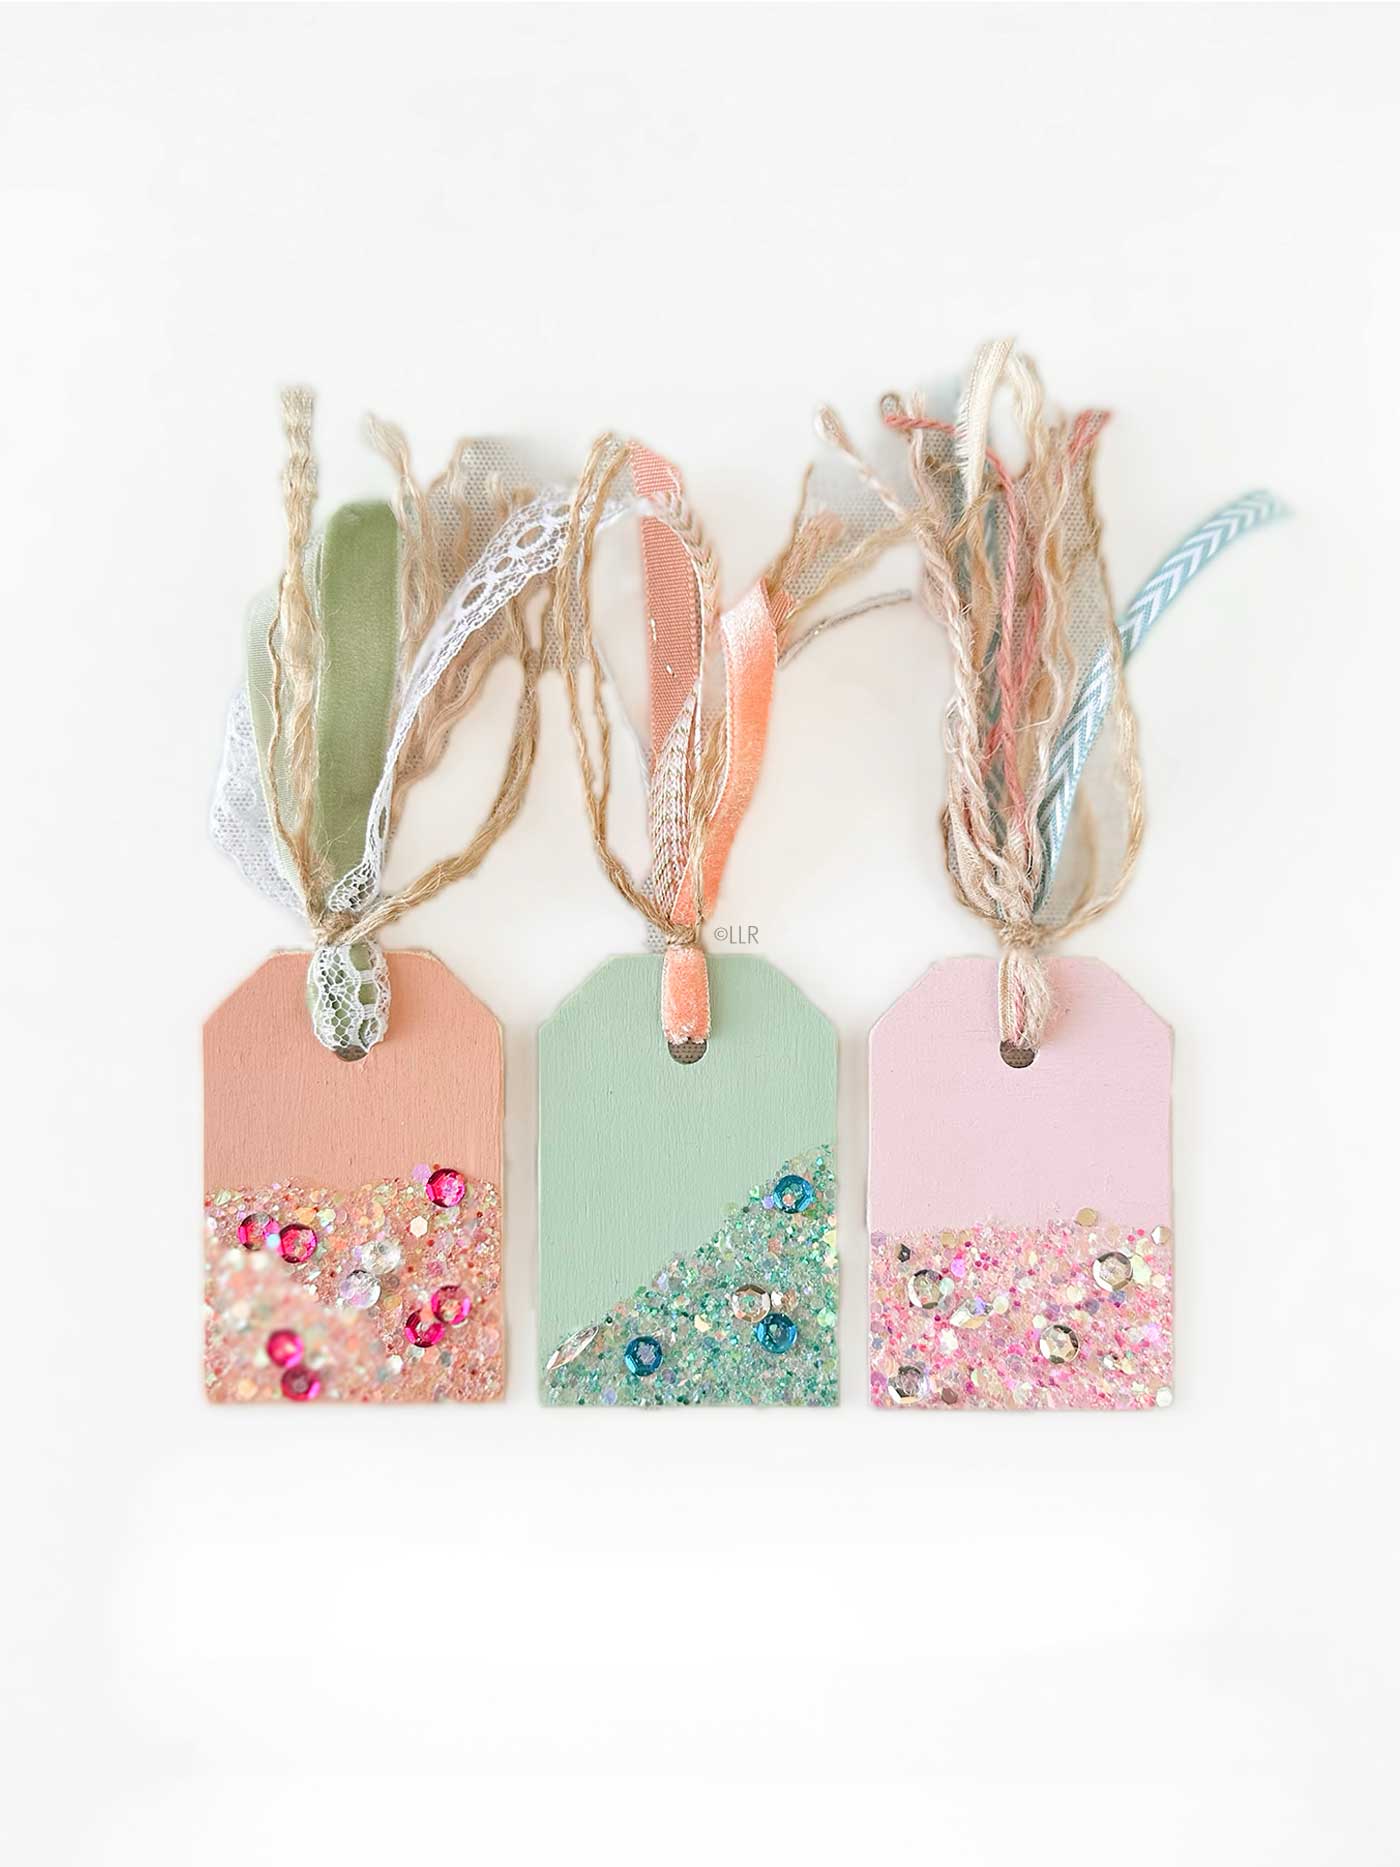
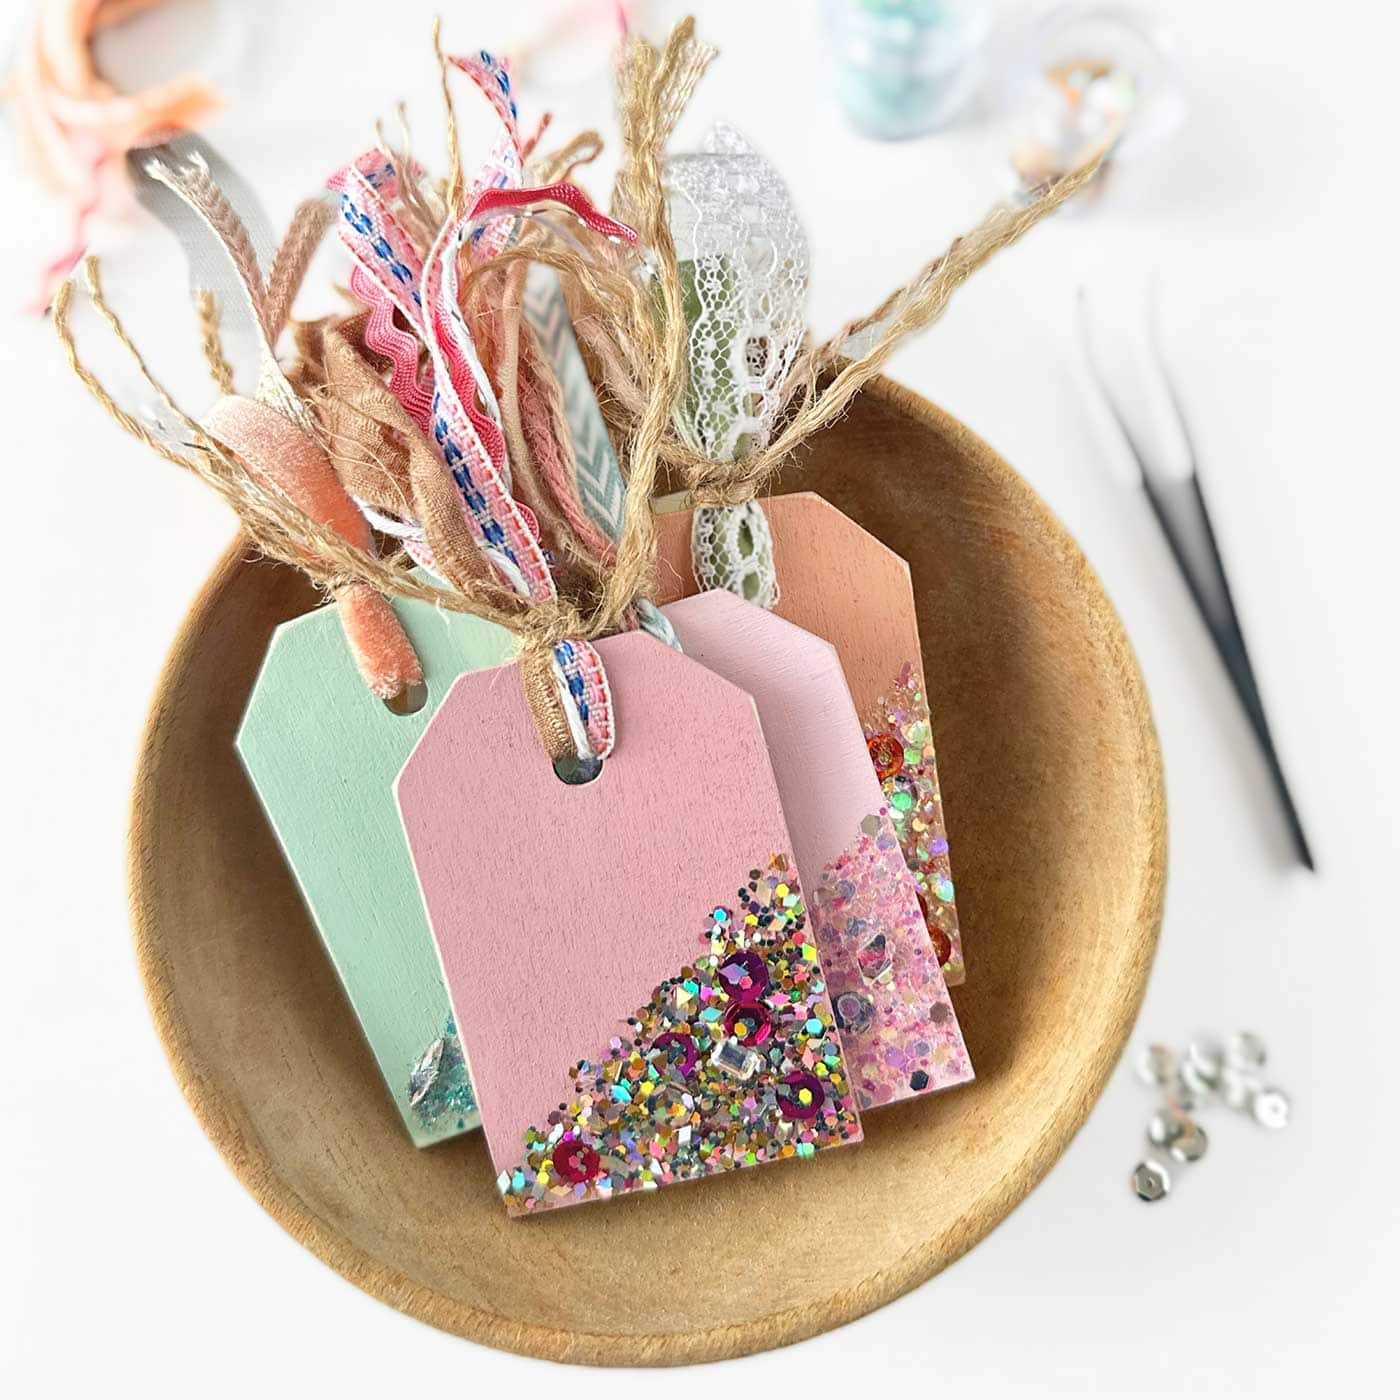
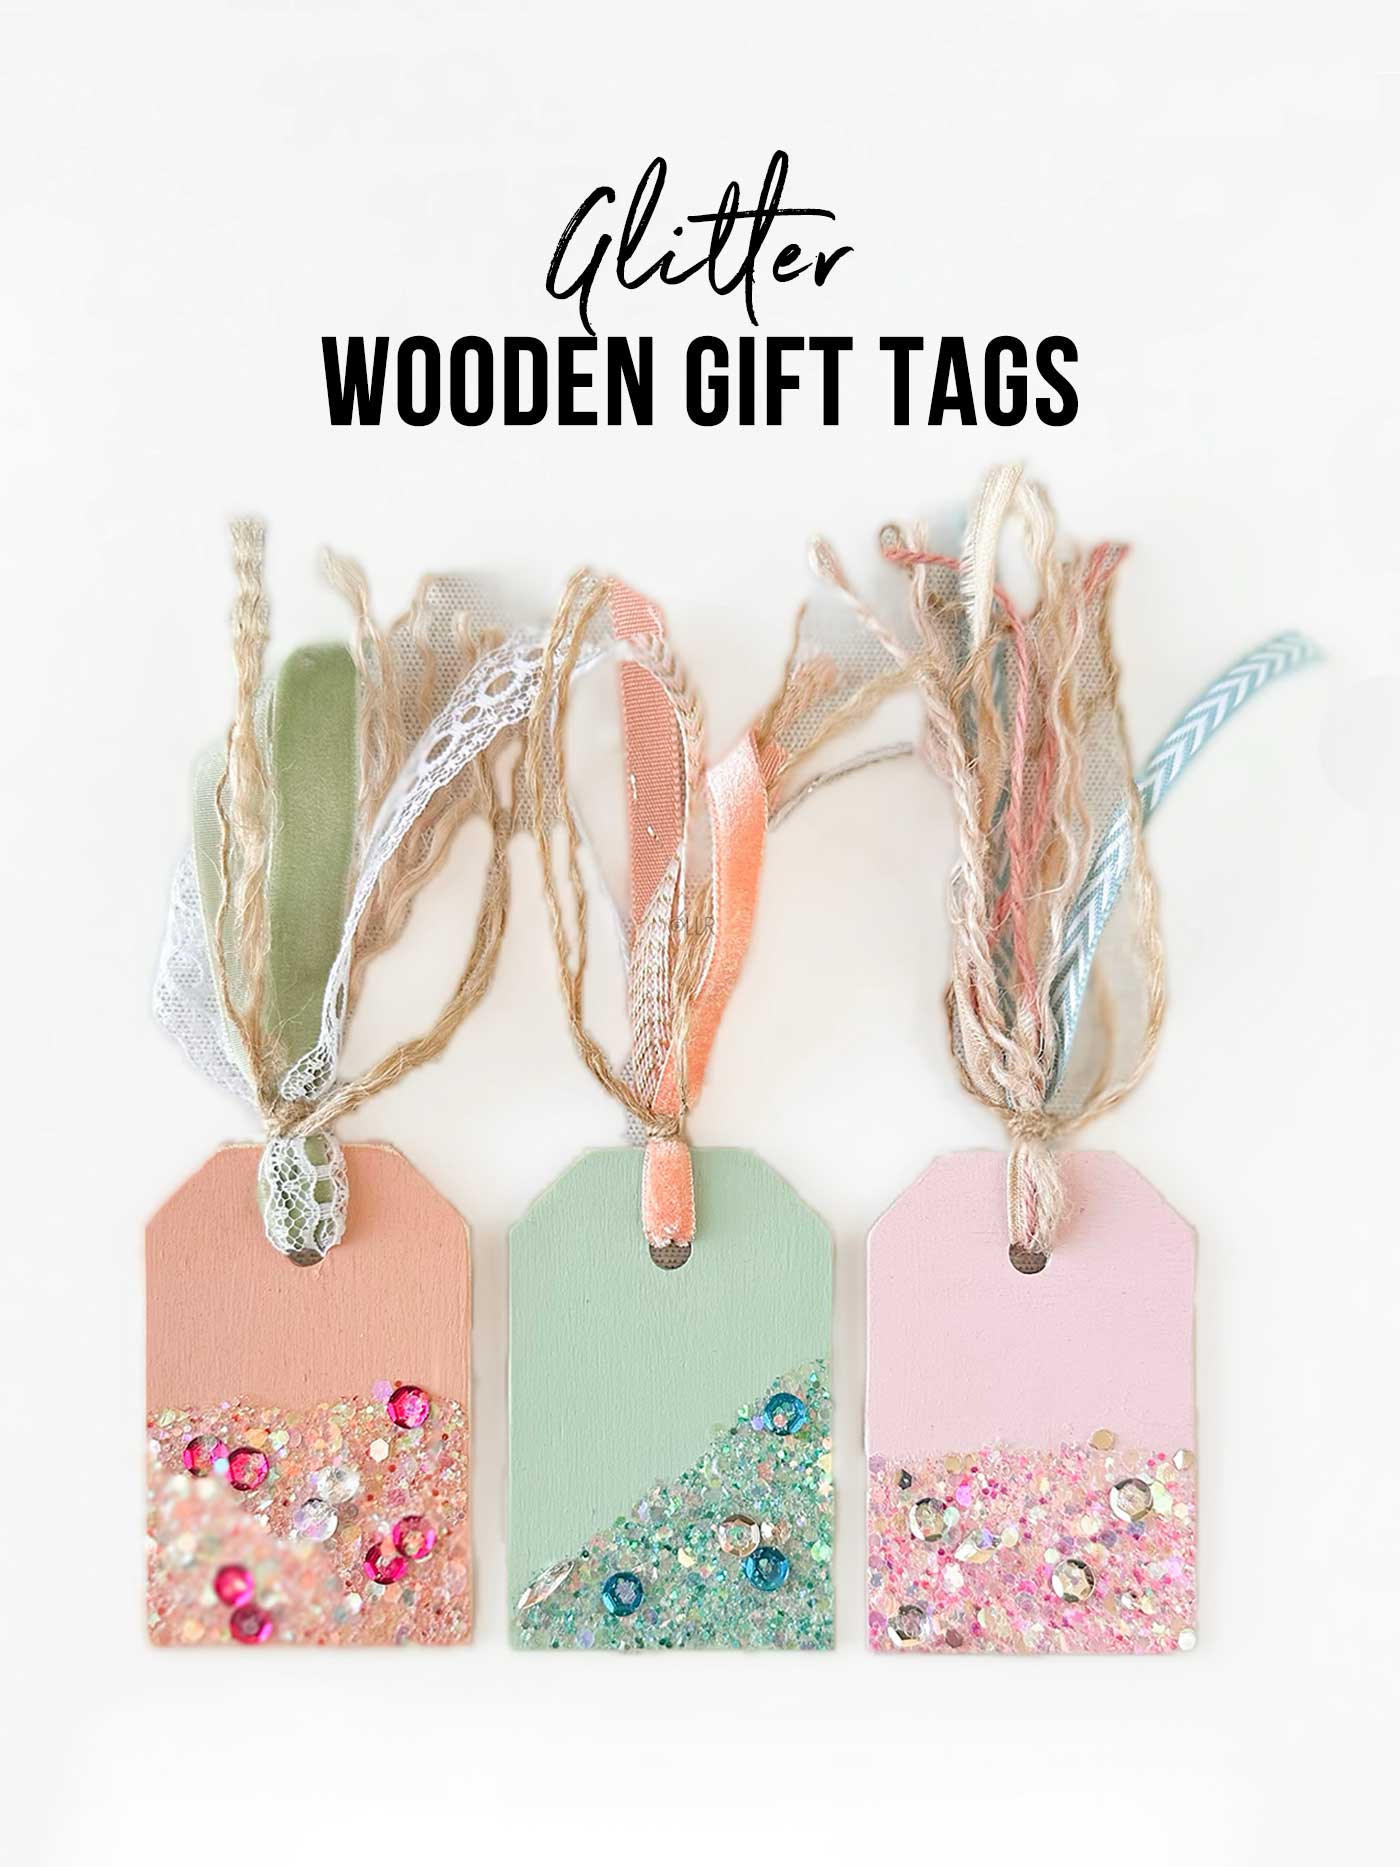
I’m excited to walk you through how to make these stunning wooden gift tags that will add a little extra sparkle to your presents and give you a handmade touch that’s sure to impress. So, let’s dive in and see how we can craft these shiny, lovely tags using simple supplies, including wooden tags, tacky glue, glitter, sequins, rhinestones, and ribbons!
Materials You’ll Need for Wooden Gift Tags:

Wooden Tags: These can be purchased at most craft stores or online. You can choose any shape or size, but I recommend something classic, like a simple rectangular or tag shape. Round tags would be cute, too!
Acrylic Paint: You can pick any color you like. I used various colors, but be sure to use what matches the occasion or holiday.
Tacky Glue: An excellent option for crafting because it’s strong enough to hold glitter and other embellishments in place, and it doesn’t dry too fast, so you have some time to work with it.
Glitter: As someone who isn’t a big fan of the stuff, I always imagine the mess and have anxiety, but you can keep it contained to a degree. If I can tolerate it, I promise you can. Haha.
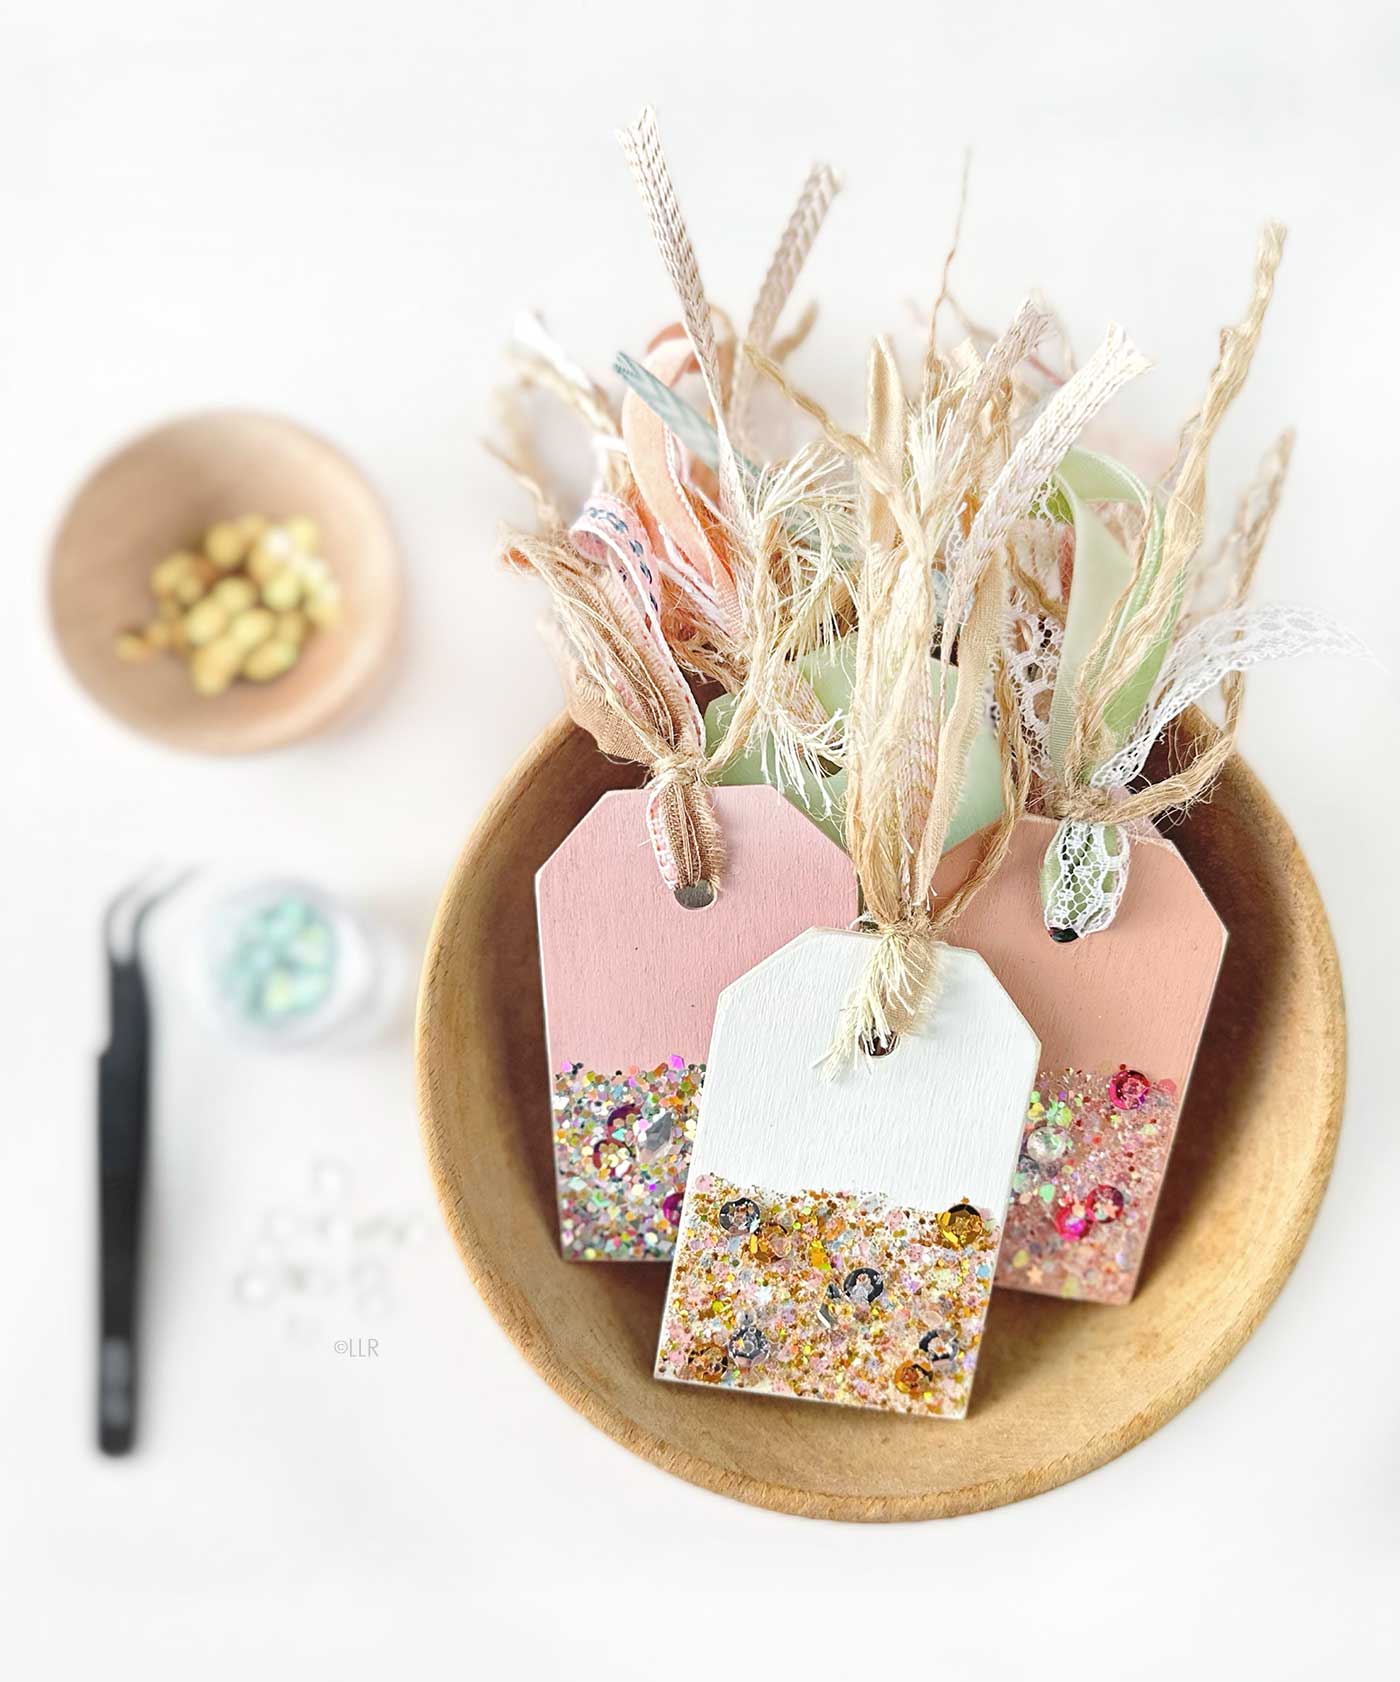
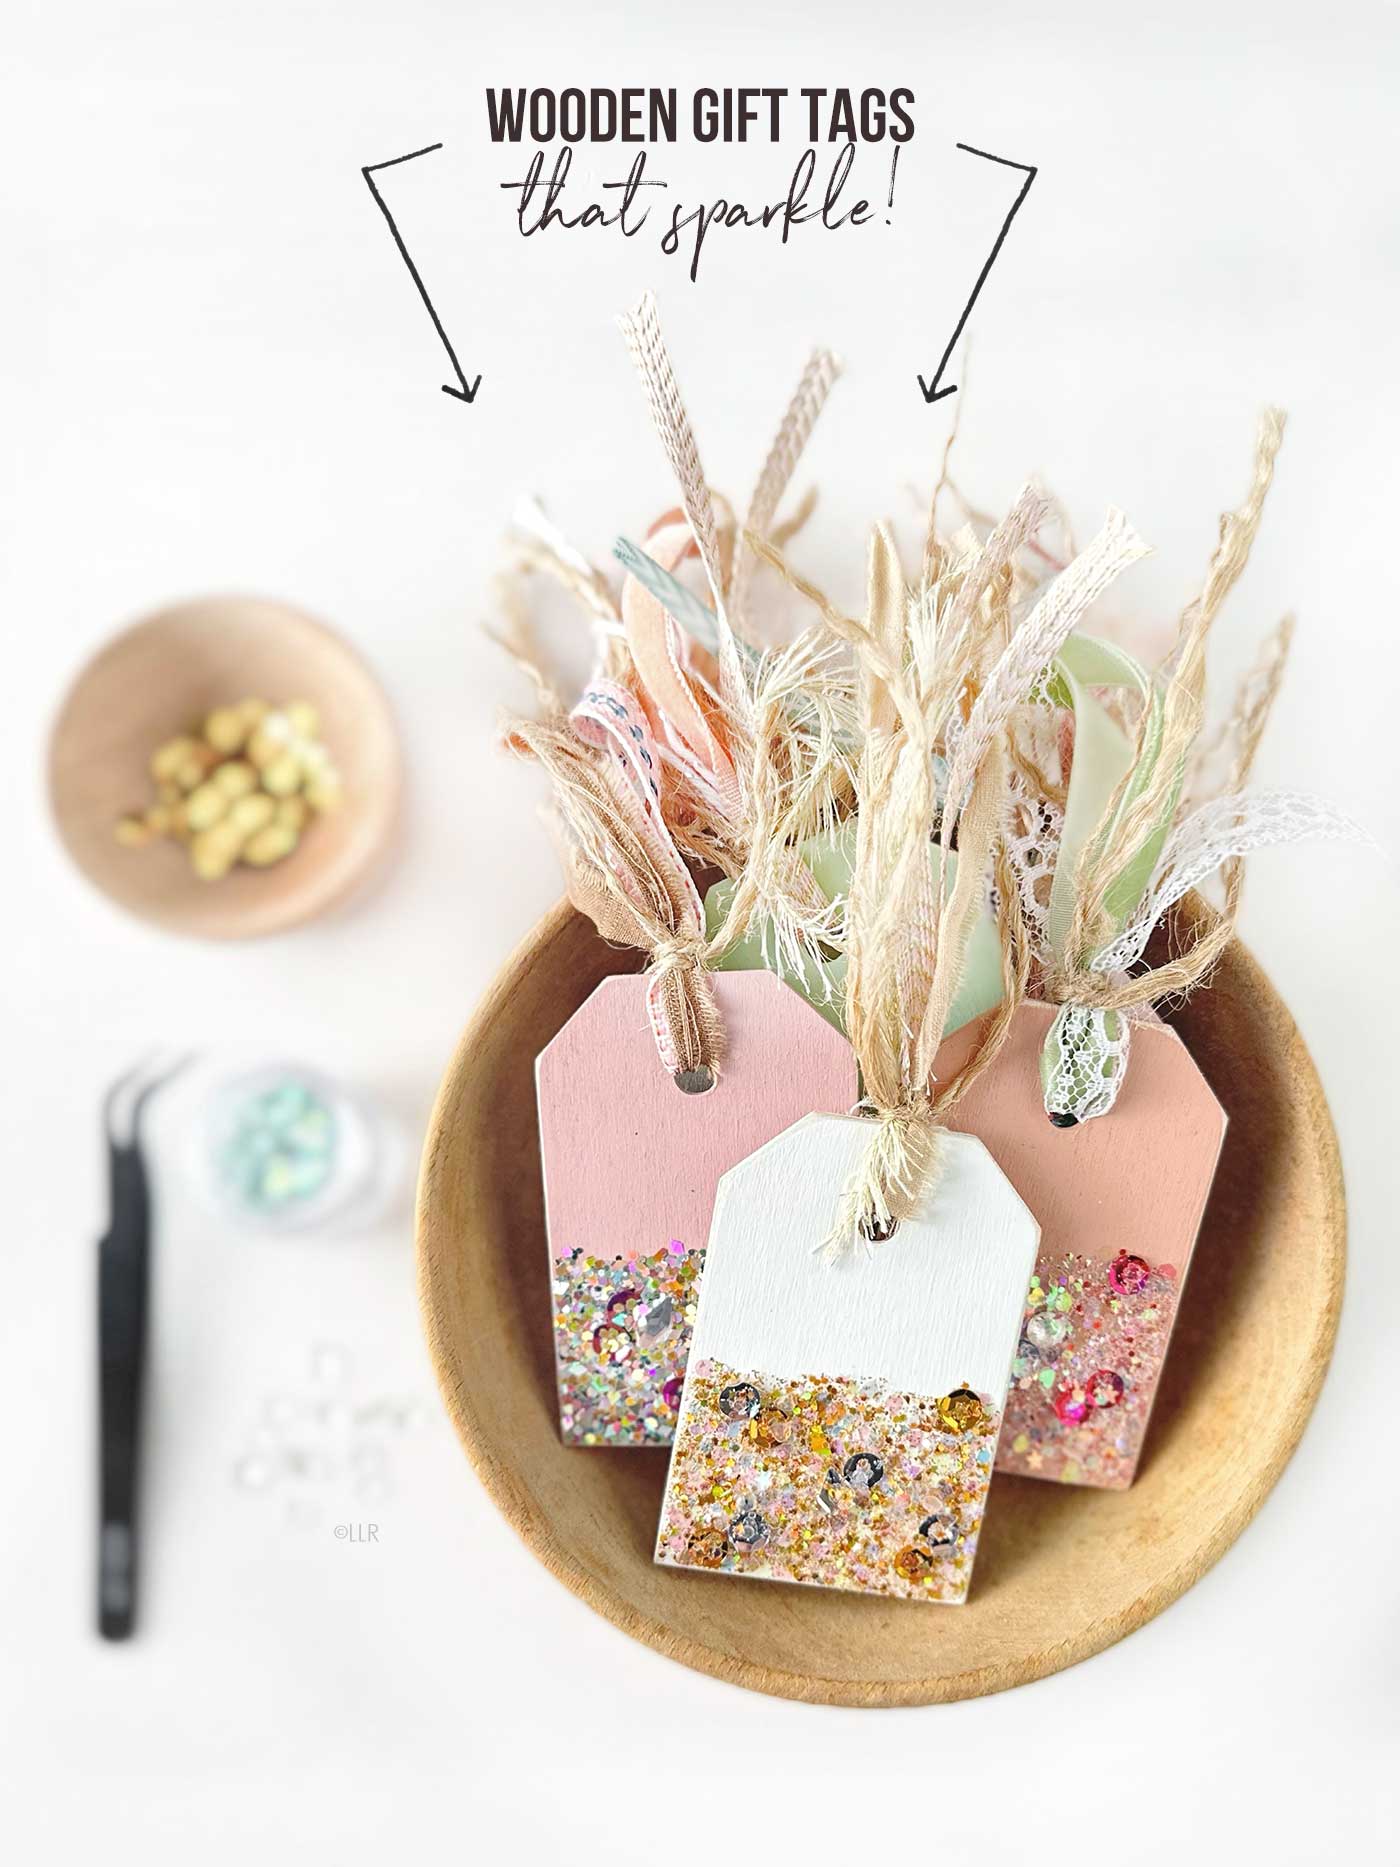
Tweezers (optional): Using tweezers can make adding delicate, sparkly details to wooden gift tags easy. They allow you to place small embellishments like sequins or rhinestones precisely where you want them.
Sequins: These little shiny discs are perfect for adding sparkle and bling.
Craft Rhinestones/Gems: These are a fantastic option for adding dimension. They give your tags a touch of elegance without being overly extravagant.
Ribbons: Any ribbon will work! You can use satin, burlap, or anything that complements your wrapping style. Use two to three different kinds for some extra interest and texture.
Paintbrushes: Grab a couple of Medium-sized brushes to apply paint to the wooden gift tags. A small brush or toothpick helps apply glue in small, controlled areas.
Sandpaper (optional): Use sandpaper to sand down and around the edges. I did this, but it might not be visible in the pictures.

Step-by-Step Tutorial: How to Create Sparkling Wooden Gift Tags
Step 1: Prep Your Workspace
Before you get started, set up a comfortable crafting area. Cover your table with newspaper, kraft paper, or a craft mat to protect it from paint, glue, and glitter. Trust me, you’ll want to keep the mess to a minimum.
Keep all your materials close at hand, especially your paints and glitter. And if you’re like me and prefer a cleaner crafting experience, have a damp cloth nearby for quick cleanup.
Step 2: Paint the Wooden Tags
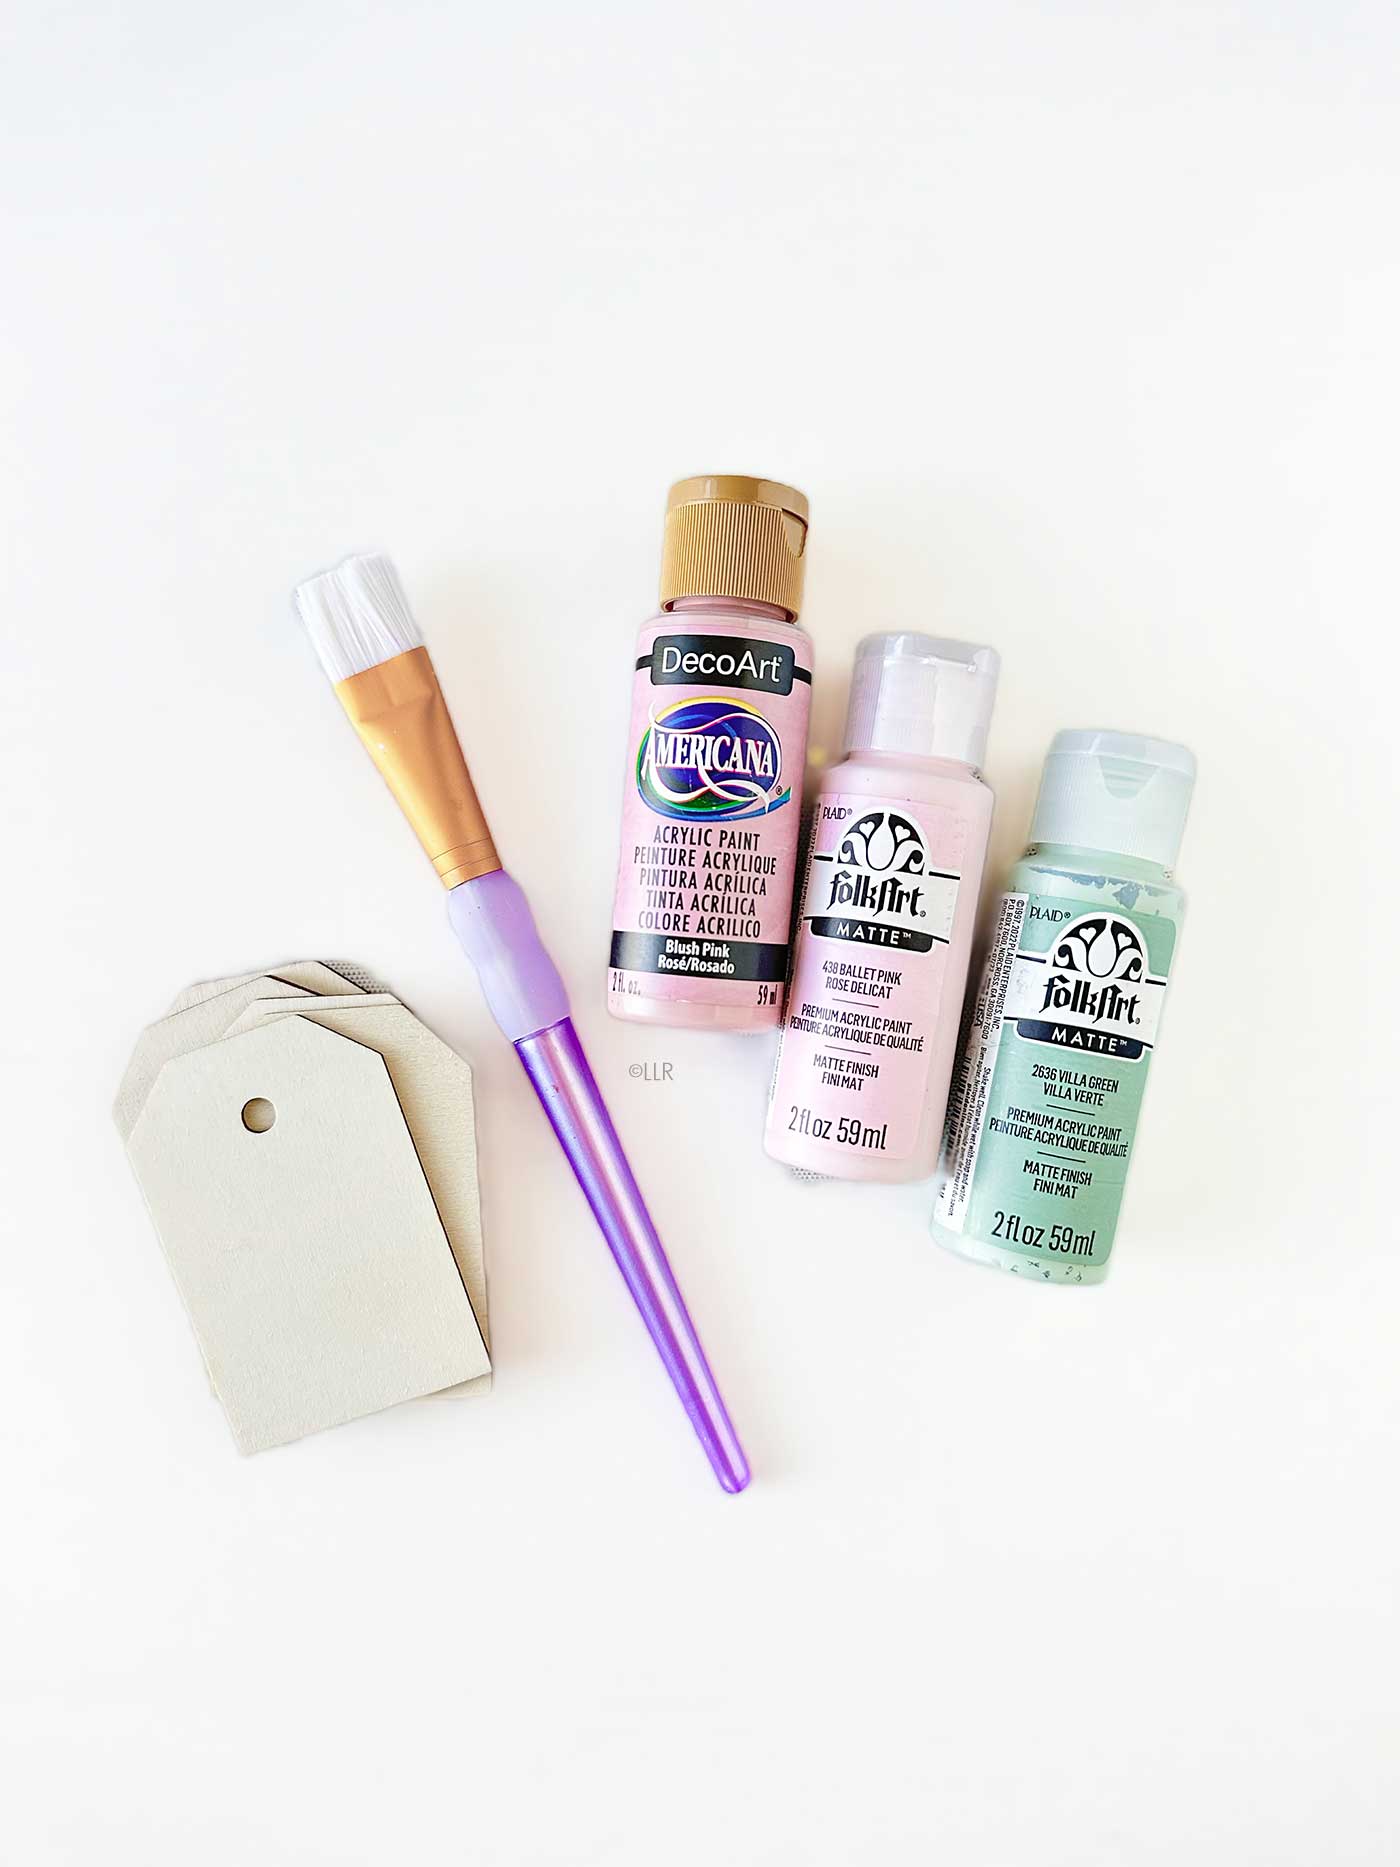
Painting your wooden tags adds a vibrant base layer that will make your embellishments pop and give the tags a more finished look. Start by selecting your paint color. Acrylic paint is perfect for this project because it’s quick-drying and comes in various colors. Whether you want your tag to be a neutral color like white or natural wood or something bold like gold or red, the choice is entirely up to you.
Colors I used:
Craftsmart Acrylic Paint – White
DecoArt Americana – Blush Pink
FolkArt (Matte) – 438 Ballet Pink
FolkArt (Matte) – 2636 Villa Green
Here’s how to do it:
- Apply the paint: Use a medium paintbrush to cover the surface of your wooden tag. You don’t need to worry about perfect coverage here; ensure there are no apparent gaps or patches of unfinished wood. You can also paint the edges of the tag to give it a more polished look.
- Let it dry: Acrylic paint dries quickly, but give your painted tags about 10-15 minutes to dry completely. If you’d like a deeper color, you can always add a second coat once the first one has dried.
Once the paint is dry, your tag is ready for the fun part — glitter and embellishments!
Step 3: Apply Tacky Glue and Add Glitter to Gift Tag
Now, it’s time to bring the sparkle! Things can get messy here, but don’t worry—I have a trick to control glitter. As much as I’m not a fan of glitter, I admit that it does add a magical touch to crafts.
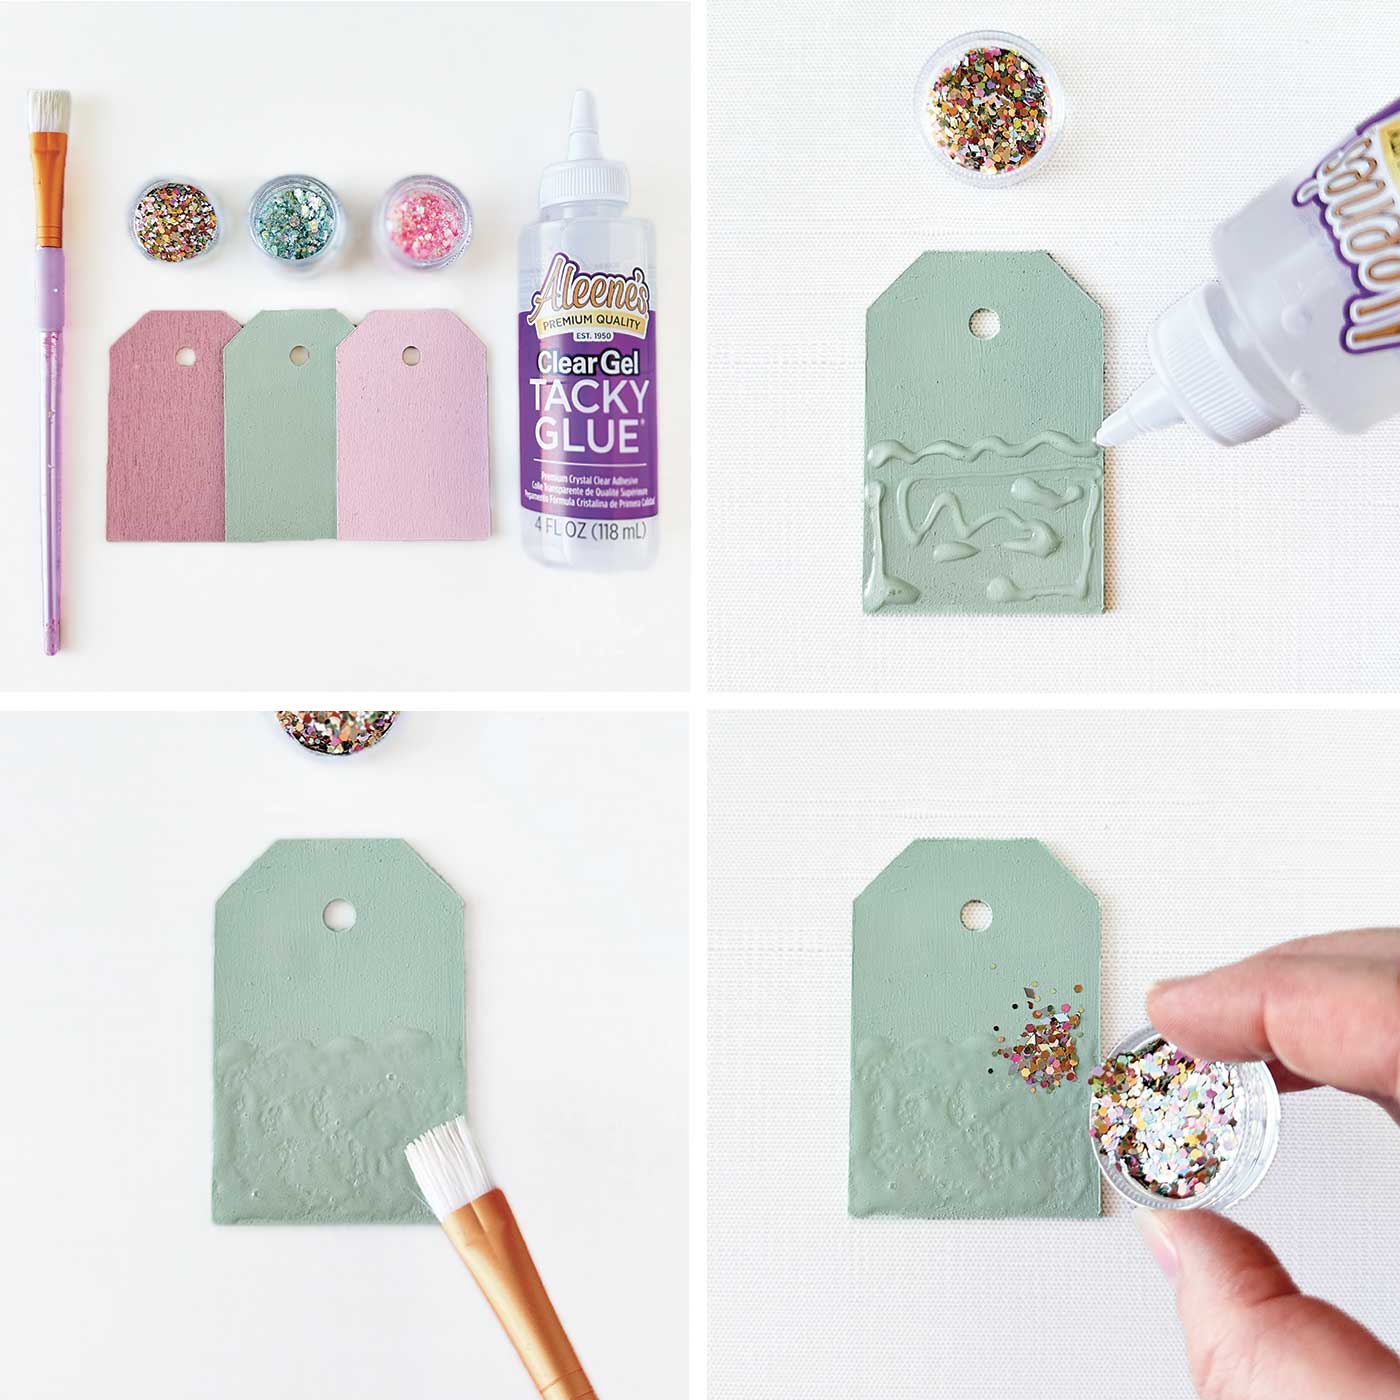
- Add the glue: Using your tacky glue (or a small paintbrush), apply a thin layer of glue to the parts of the tag where you want the glitter. You can cover the entire surface or select sections. If you’re doing a border or pattern, use the brush to apply glue for a design you like.
- Sprinkle the glitter: Here’s the key to keeping glitter contained and controlled—use a glitter shaker jar. This allows you to tap or shake the glitter over the tag lightly, and any excess will fall into the tray or plate underneath. Be gentle with it! You want to add just enough for a subtle shimmer without overdoing it. Note: If you don’t have a shaker, use a piece of paper or glitter tray to capture any extra glitter so you can pour it back into the jar.
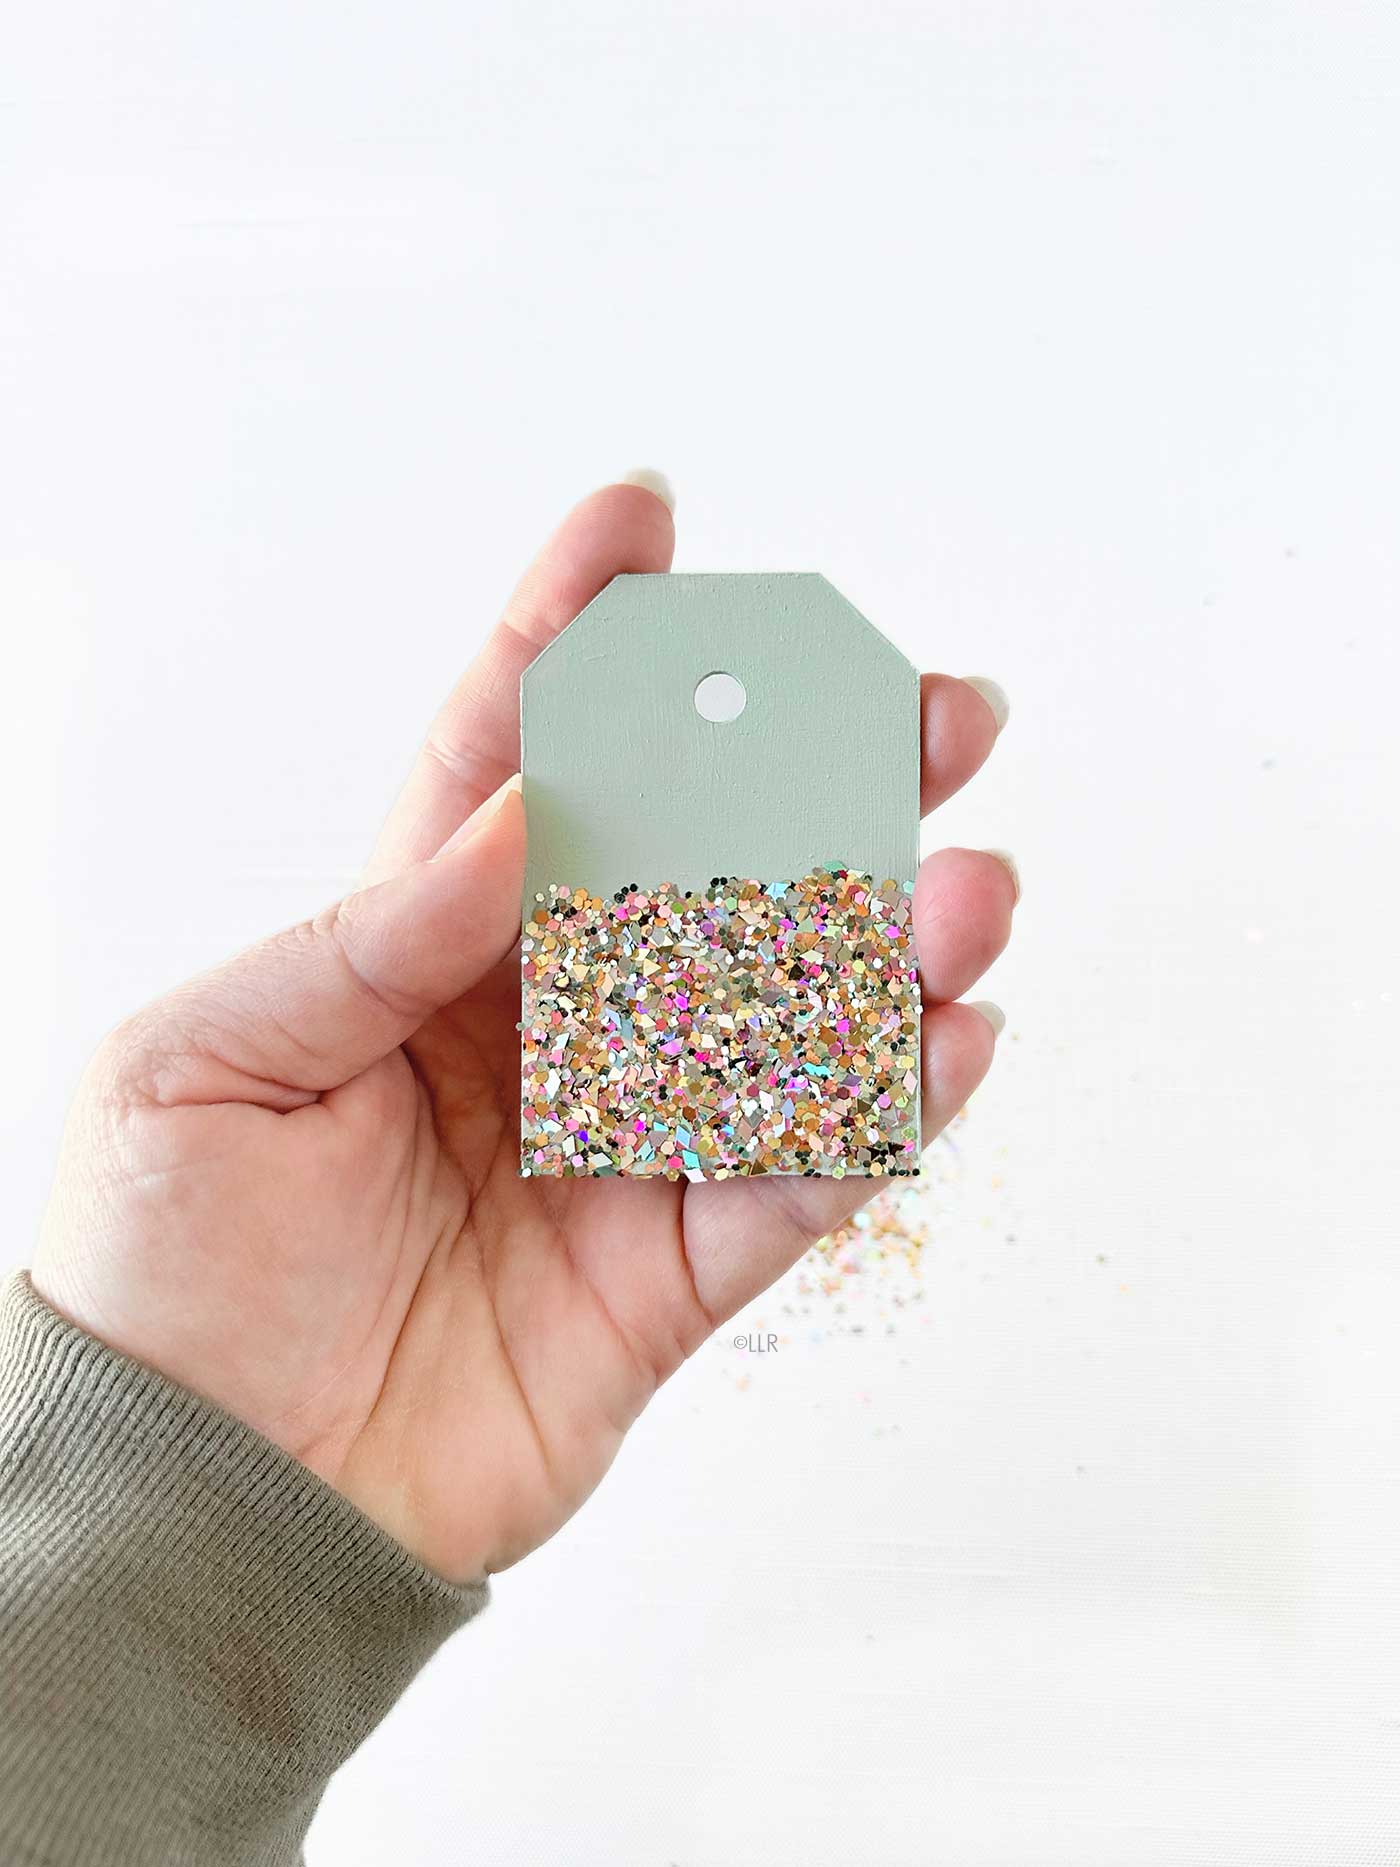
- Shake off the excess: After you’ve sprinkled the glitter over the glue, gently tap the wooden tag to remove any excess. You can even tilt the tag to ensure the glitter falls into the tray for easy cleanup.
- Let it dry: Allow the glitter to dry for 10-15 minutes before handling the tag.
Step 4: Add Sequins for More Sparkle
Once the glitter layer is dry, it’s time to add sequins. These little gems give a beautiful shine without the mess of loose glitter and add an extra layer of texture and visual interest.
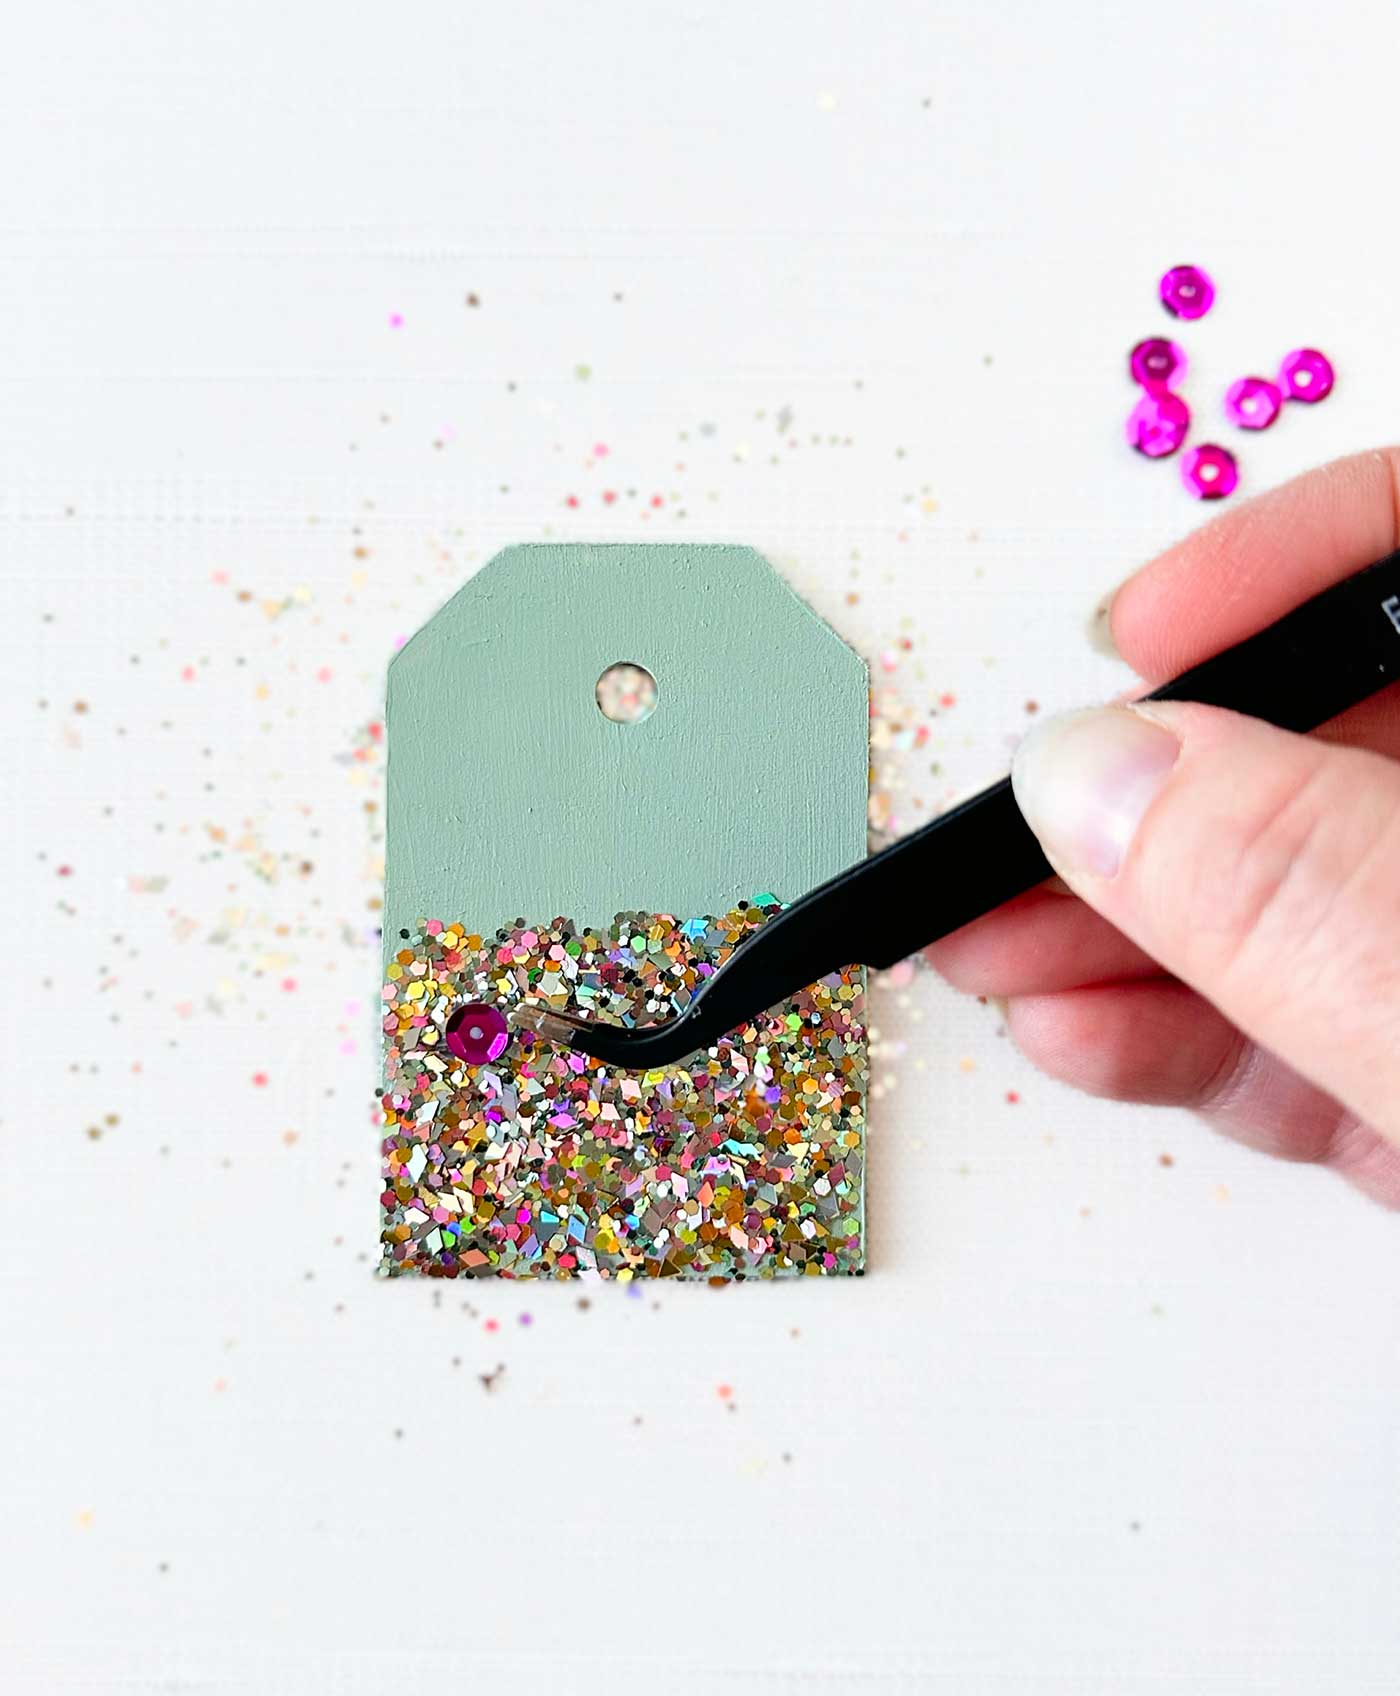
- Apply more glue: Take your tacky glue and apply small dabs of glue on your tag where you’d like to place the sequins. I recommend using glue in small, controlled areas rather than covering large sections so you can focus on the placement of the sequins.
- Place the sequins: Carefully place the sequins on the glue using tweezers or your fingers. You can create a pattern, like a circle or lines, or scatter them for a more whimsical look. If you’re unsure about placement, lay the sequins out without glue and then go back and attach them.
- Press and let it dry: After placing the sequins, gently press them into the glue to ensure they stick, and then let them dry for about 10-15 minutes.
Step 5: Add Rhinestones/Gems to the Wooden Gift Tag
Craft rhinestones or gems are a perfect addition for a touch of luxury. They will give your tags a bit of sophistication and a pop of color.
- Apply glue: Place small dots of glue where you’d like to place the rhinestones. The possibilities are endless.
- Place the rhinestones: Using tweezers (or your fingers), carefully place the rhinestones in the glue. Once the glue dries, these gems should stay securely in place.
- Allow to dry: Let the rhinestones (or gems) dry for 10ish minutes.
BONUS TIP: If you want extra sparkle, place extra glue on the sequins, gems, and/or rhinestones and sprinkle more glitter over your tag. Oohlala.
Step 6: Add Ribbons for the Finishing Touch
Add some ribbon to complete your tag and prepare it for gift-giving. The ribbon adds texture and an extra pop of color, allowing you to attach your tag to your gift.
- Cut the ribbon: Cut a few pieces of different ribbon (about 6-8 inches long) and thread it through the hole at the top of the wooden tag.
- Tie the ribbon: You can tie the ribbon into a bow, a knot, or a simple loop. If you want a more rustic feel, twine will do the trick.
- Trim the ends: Trim the ribbon ends to your desired length, leaving a clean, neat finish.
Step 7: Let Everything Dry
Let your beautiful tags dry completely before using them. This is essential to ensure that the glue, glitter, sequins, and rhinestones stay in place and that the tags are sturdy when you attach them to your gifts.
Other Gift Packaging Ideas:
DIY Burlap Gift Bags
Berry Gift Idea
Gift for the Garden Lover
Hot Chocolate Gift Idea
Lollipop Flower Bouquet
Tips for Avoiding a Glitter Disaster (For the Glitter Haters Like Me)
- Use glitter glue: If you want to skip the loose glitter altogether, use glitter glue. It’s less messy and much easier to control.
- Limit the glitter to accents: Instead of covering the whole tag in glitter, add a few glittery accents here and there to keep things understated and elegant.
- Stay organized: If you must use loose glitter, organize your workspace and work over a tray, piece of paper, or dish to catch any excess.
- Be patient: Let the glue dry thoroughly before handling the tags too much. This will help prevent any smudging or mess.
Products I purchased and used:
Wood Tags | Glitter | Circus Glitter | Sequins
Gems | Tacky Glue | Acrylic Paints (see below)
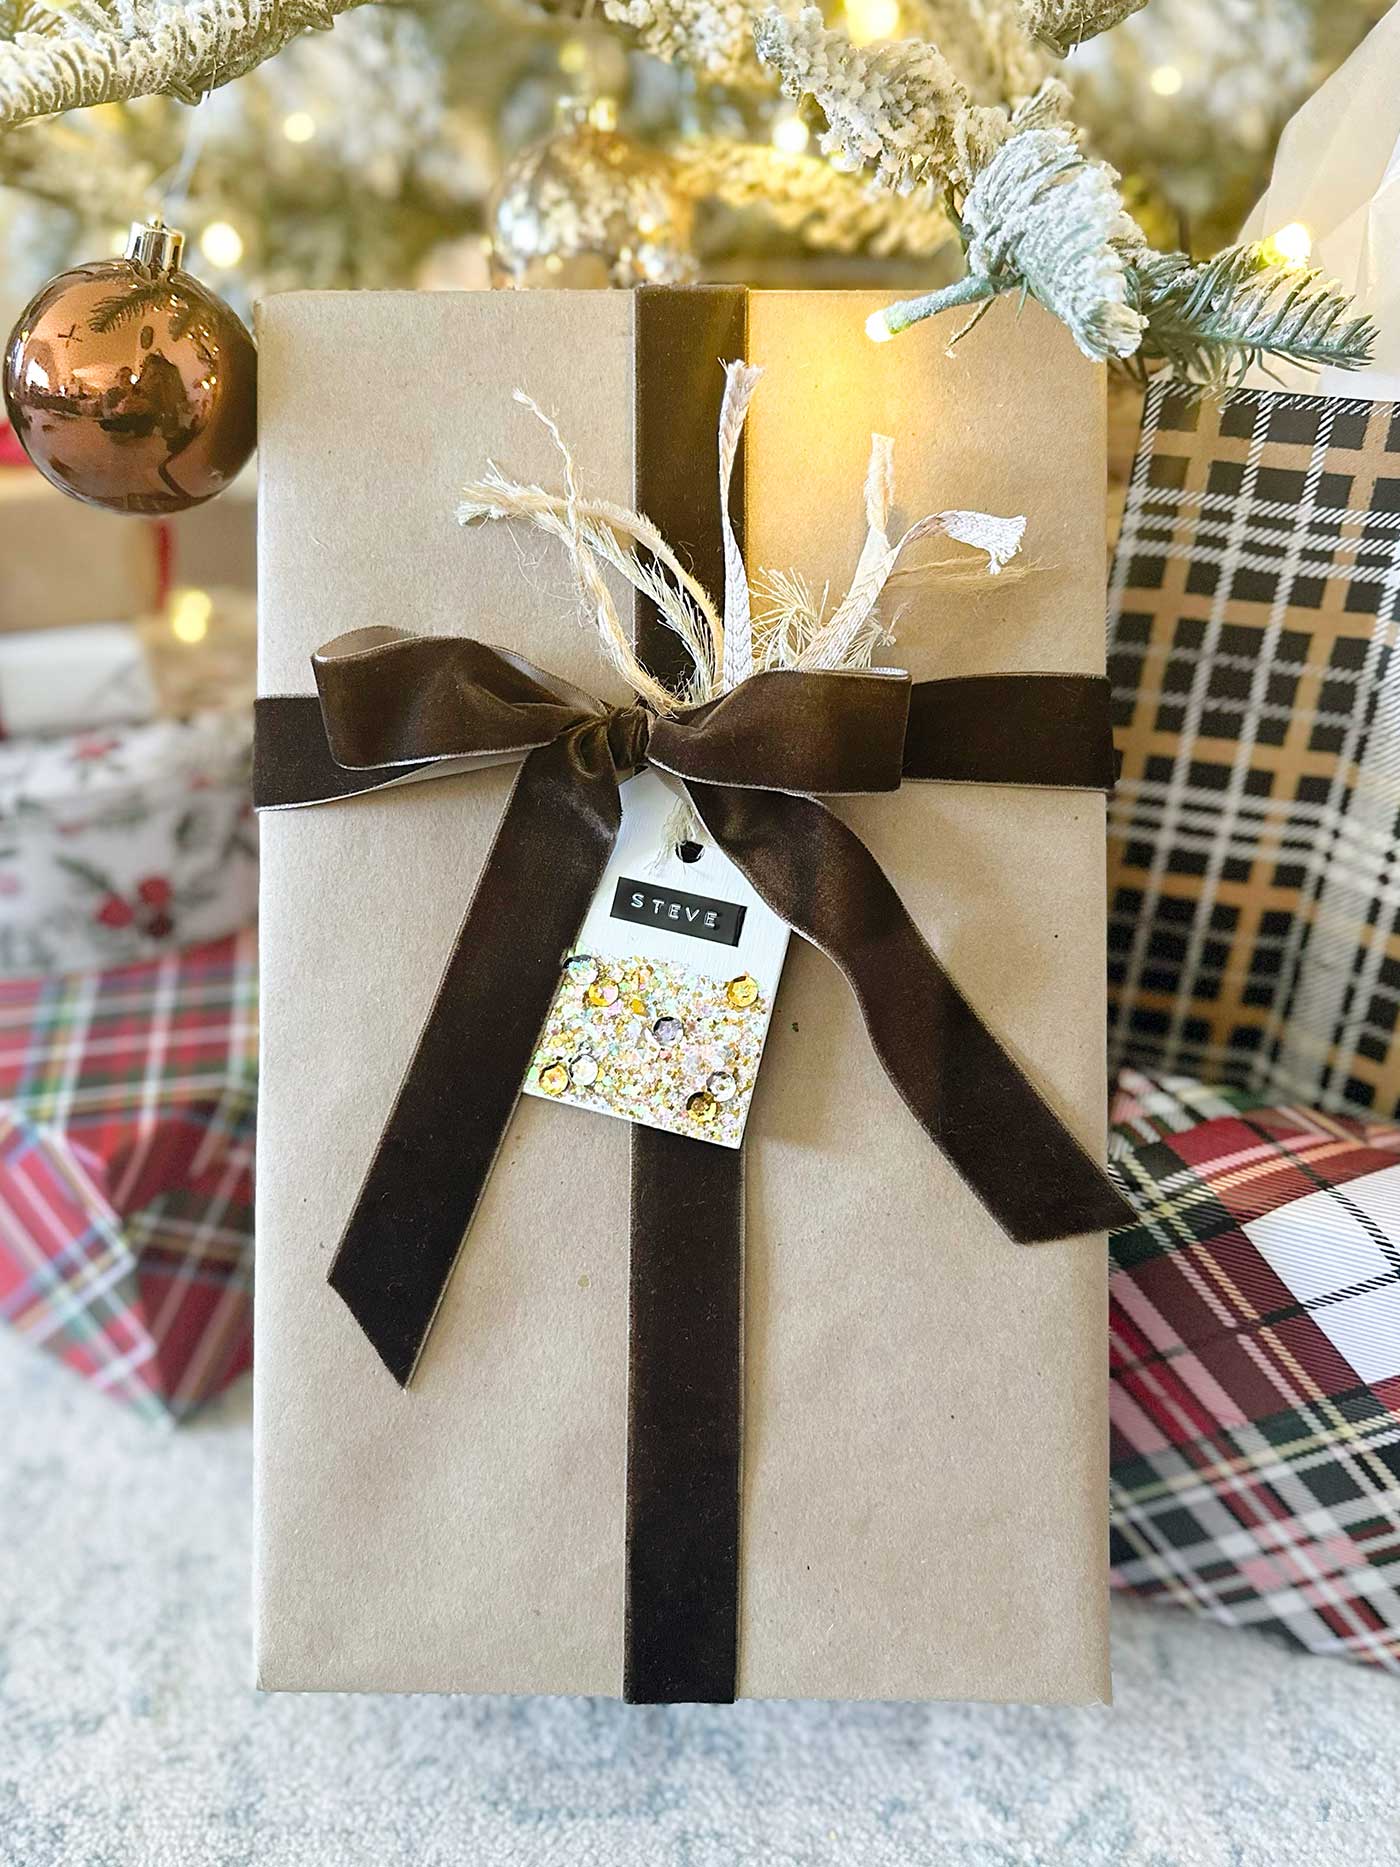
Creating wooden gift tags is an easy and fun way to personalize your holiday gifts (or any gift-giving occasion). While I’m not a fan of glitter, I can appreciate how these sparkling touches make a gift feel extra special. Above, I added the personalization with my Dymo Embossing Label Maker. Other options include handwritten, vinyl, stenciled letters, etc.
The best part about these tags is that you can customize them to fit any theme, whether you’re aiming for a rustic, elegant, or whimsical look. Plus, even if you’re not a glitter lover, there are plenty of ways to incorporate sparkle without the mess.
So gather your materials, find a cozy crafting space, and prepare to make beautiful wooden gift tags that will impress everyone on your gift list. Happy crafting!
Additional Projects from the Handcrafted Society


Missy says
Glitter and sequins…I’m in love! These gift tags are SO cute! I definitely want to try this! Pinned!
Tammy says
I love these sweet tags. They are perfect hanging on gifts or stockings.
CoCo says
These gift tags are adorable, Kelly! I love how fun and festive they make your packages look and how easy they were to put together too. They would make for such a fun craft night activity! Hugs, CoCo
Michelle | Thistle Key Lane says
This takes glitter to a whole new level Kelly! I’m in love with these color combinations and your little embellishments with the crazy cute ribbons are the crowning touch! Pinning!
Donna says
Kelly, This is such a fun and festive idea and a great way to personalize gifts! I adore how you layered the glitter with sequins to add even more sparkle! The pretty ribbons are the perfect touch! Pinning now!
Anna says
Kelly – We must have been sisters in a different life. I adore the colors you selected for these gift tags. Of course, I love almost anything pastel and sparkly. They remind me of something I would see in Anthropologie. Thanks for the inspiration! (These would be so cute on birthday gifts too or to use as place cards on table- oh the possibilities). Pinned!
Cynthia says
So pretty, and customizable !
Scarlet says
These are the best! They were so easy to make and they look so great. Thanks sparkle gift tag tutorial! Perfect for DIY gifting.