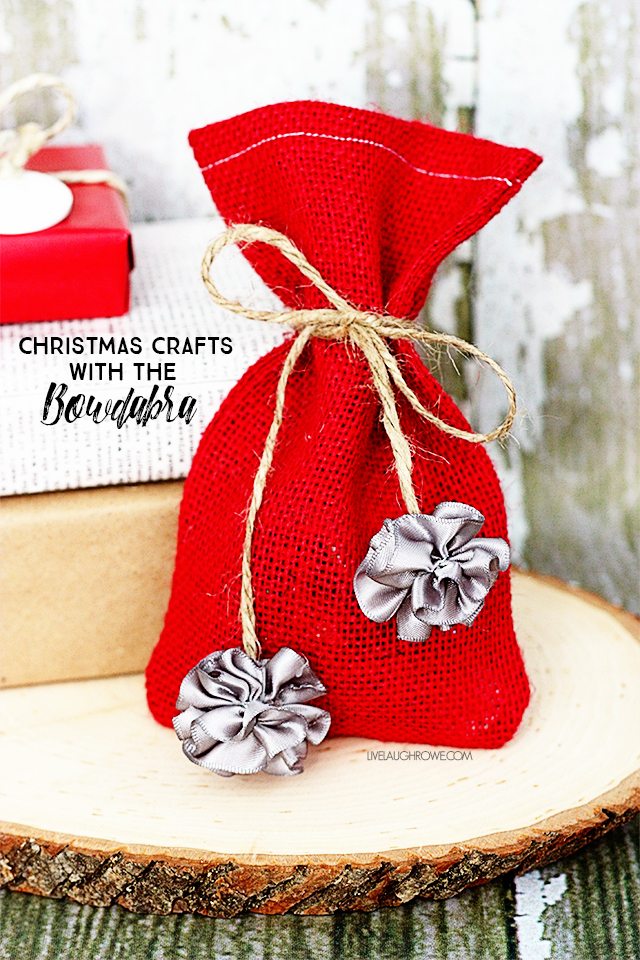
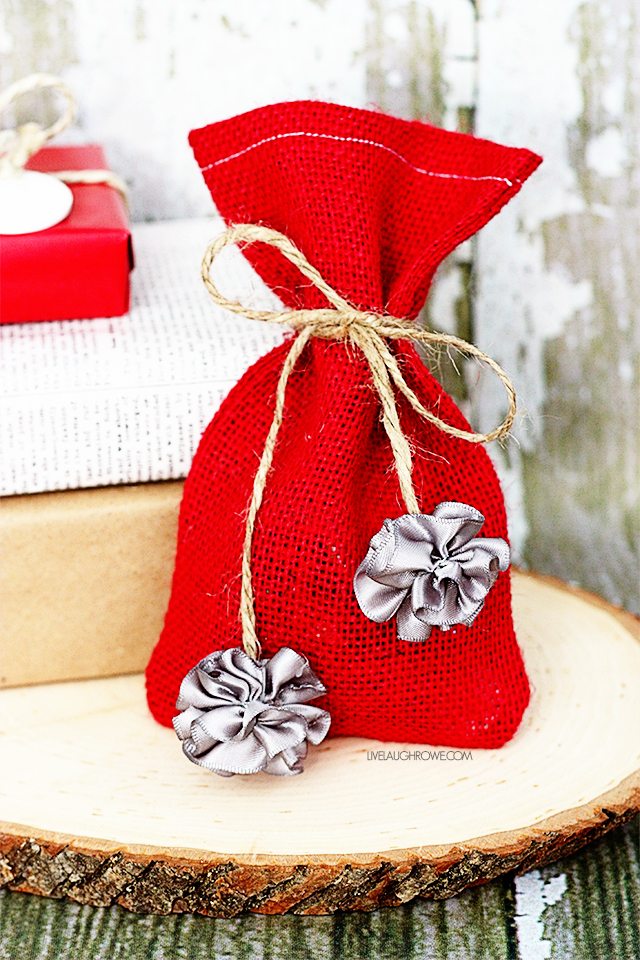
How many of you enjoy easy and versatile Christmas Crafts? ME! I love todays sweet project, as it can be used to add little charm to a gift or be used in you holiday decor.
With the Bowdabra®, there’s the fold bow, the fold and twist bow and among my favorites, the scrunchy bow! Let’s do some Christmas crafting, shall we?
 I recently partnered with Bowdabra and was provided with both the Mini and the Regular sized Bowdabra tools to do a little crafting goodness with. I was so excited! Sometimes bows can be the death of me… when you want your bow to look ‘purdy’ and, well, it looks a little on the lame side — what do you do? I used to ask my sister for help. She learned some great tips on making bows after working in a floral department years ago. However, I don’t have to ask for help any more! The Bowdabra is pretty fabulous, helping you to create the perfect bow for wreaths, packages, and more!
While it is a handy bowmaker (and craft tool), I didn’t want to share a traditional boring bow tutorial. So, I started to play with the Bowdabra and found the mini scrunchy bow to be among my favorites. It’s different (and when using the double face satin, adorable). So, I got super excited and started to pull together some Mini Scrunchy Bow Christmas Crafts to share with all of you today. Ho-Ho-Ho!
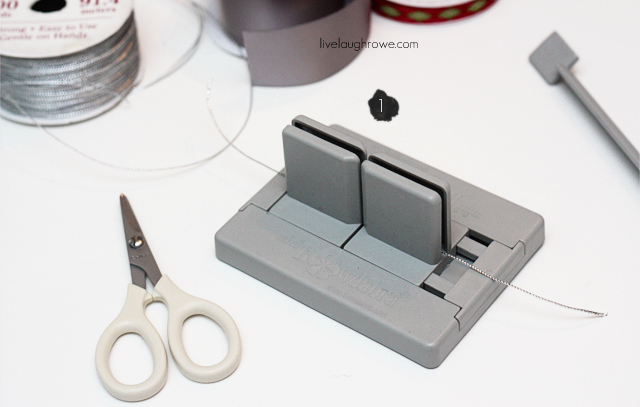
Supplies for Scrunchy Bows:
Mini Bowdabra
1.5″ Ribbon
Bowdabra Wire (I used silver)
Scissors
Supplies for crafting with them:
Embroidery Needle
Embroidery Thread
Plastic Yarn Needle
Twine
Step One. Place a 8-10″ piece of Bowdabra wired in the long way into the Mini Bowdabra. This piece will be used to tie off our scrunchy bow at the end.
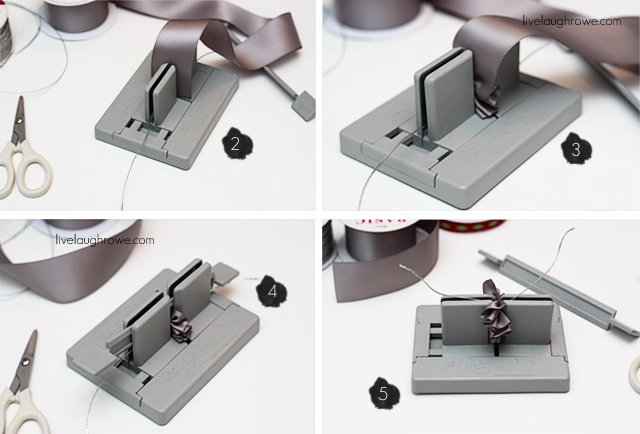
Step Three. Pile the ribbon like an accordian into the divider. Scrunch as much ribbon in as you’d like to reach your desired size of your scrunchy bow. With the size ribbon I used, I didn’t go overboard.
Step Four. Scrunch down the ribbon with the wand that accompanies your Mini Bowdabra.
Step Five. While the ribbon is still in the Bowdabra, take the ends of the wire and bring it up to tie it off.
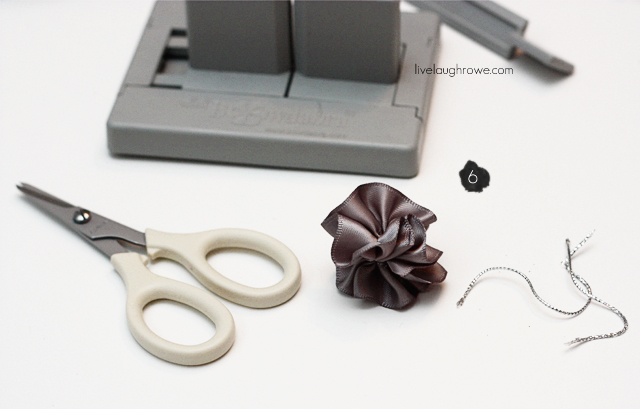
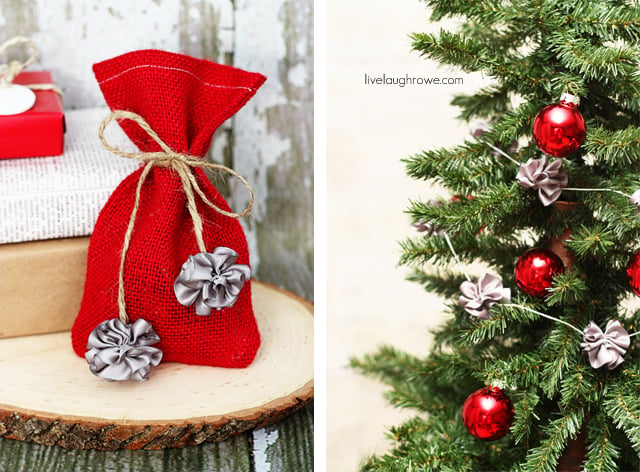
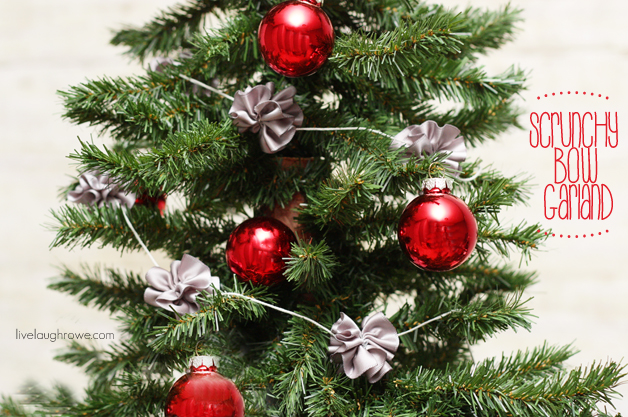
And that’s it for making these adorable little scrunchy bows. Now, using a needle and embroidery thread, I strung some garland that would compliment some red ornaments! Scrunchy Bow Garland. I love it!
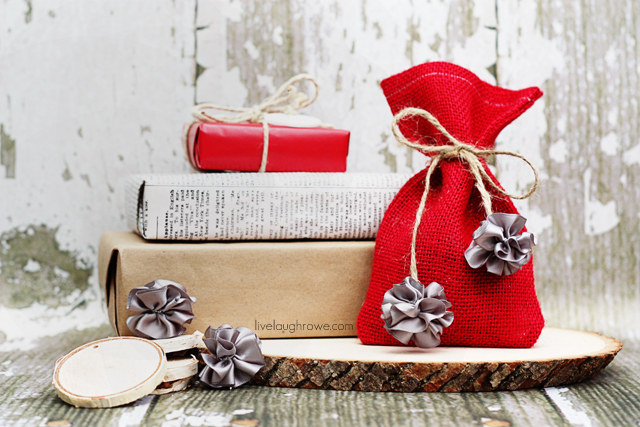
Where can you find these magical wonders? I thought you’d never ask! You can find them at most craft retailers, such as Jo-Ann Fabric and Craft Stores, Michaels, and AC Moore. They can also be found on Amazon!

Facebook | Instagram | Pinterest | Twitter | Google+


Susie @Bowdabra says
Beautiful!!!!! We love your creative spin on the Mini Bowdabra with these two projects and added this to our blog post – http://bowdabrablog.com/2013/11/18/10-bowdabra-prize-pack-giveaways-and-crafty-projects/ – We will also feature you all over on our social media channels!
We can’t wait to see what else you create with the Bowdabra. Let us know when you do and we will feature your projects. Susie @Bowdabra
Kelly Rowe says
Thanks so much Susie! It was so much fun “creating” this post with the Mini Bowdabra! xo.
JaneEllen says
Those are so blasted cute, what an adorable addition for a tree or pkg. or ? I’ll be looking for the mini bow-dabra to make the scrunchy bows, love them. I need something like that little gadget to help me manage the ribbon or whatever material I’m using as my hands don’t work well anymore. Besides arthritis I have no feeling in my finger tips which makes it hard to type and lots of other jobs I do. So glad you shared this project. Happy Thanksgiving Kelly to you and yours.
Kelly Rowe says
Thanks so much. Yes, you need to get one of these Jane Ellen! I think that you would love it and it really makes the bow making so much easier and manageable. 🙂 HUGS.
Claire @ A Little Claireification says
Ok, this might be my newest, and bestest, most favoritest thing!! 🙂 LOVE. Pinning now. And how stinking cute is the name “Bowdabra” btw??
Kelly Rowe says
Thank you friend! It is pretty great…and I agree, the name is stinking cute! 🙂 Enjoy the rest of your weekend. HUGS.
Kristine says
This is a FABULOUS idea! I love it and will keep it mind for the holidays. 🙂 Thanks for sharing such a creative way to use a bowdabra!
madetobeamomma says
These are adorable! I need to pick up one of those handy machines! My husband will definitely appreciate bows being all over the house! 🙂
marissa | rae gun ramblings says
Thanks for linking up at the Block Party! I’m featuring your great project this week 🙂
Cathy says
This is just ADORABLE! The twine is perfect–glad you did it with it! I love it, and it caught my eye at the I Heart Nap Time party–I had to stop by!
I would love it if you stopped by our Facebook page, and said “hello!”
https://www.facebook.com/OurMiniFamily
Your fan,
~Cathy Mini
ourminifamily.com