This post is sponsored by The Home Depot. See full disclosure below regarding DIH Workshop.*
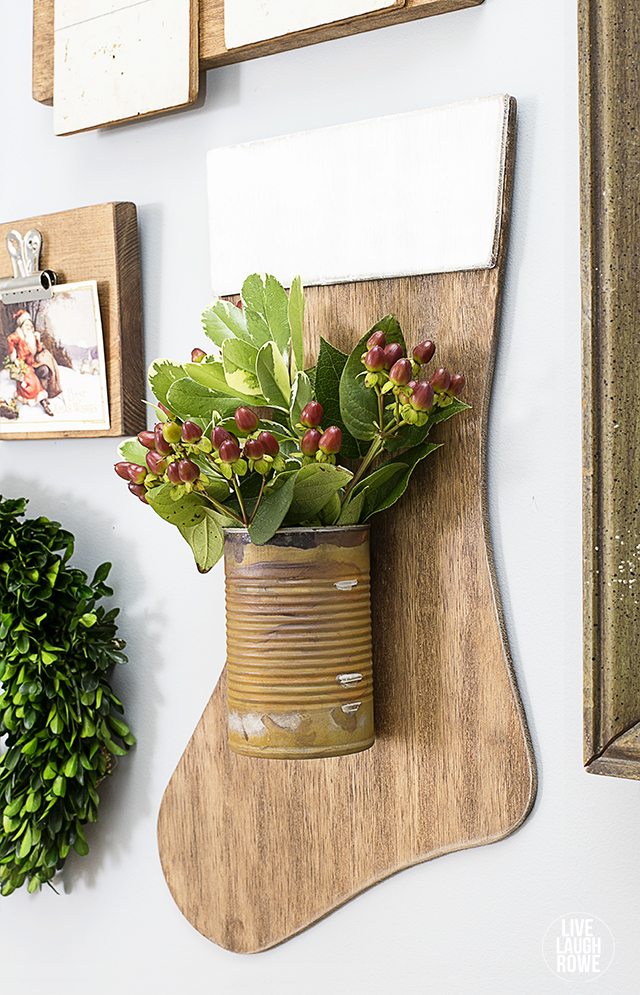
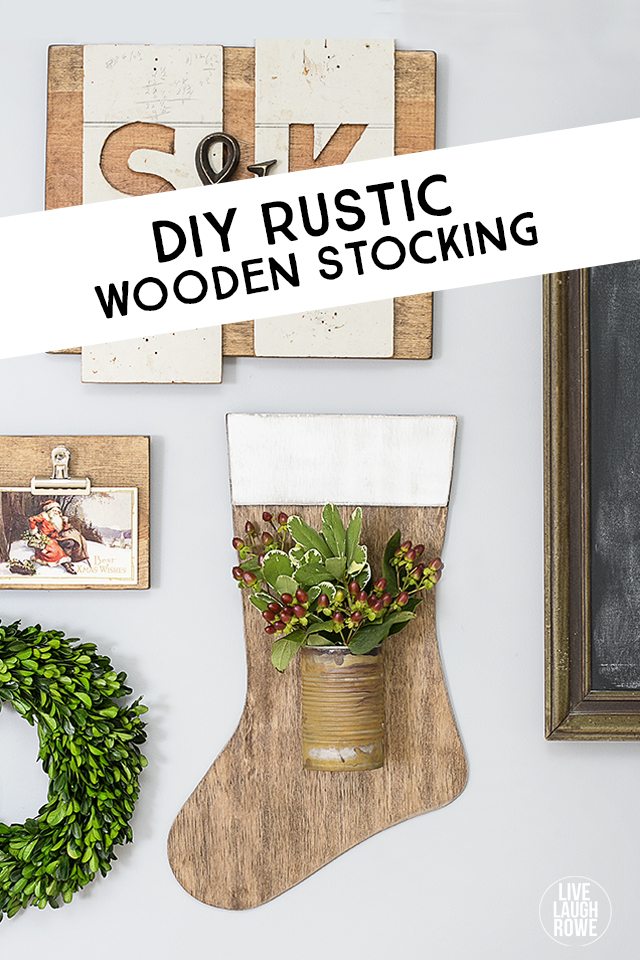
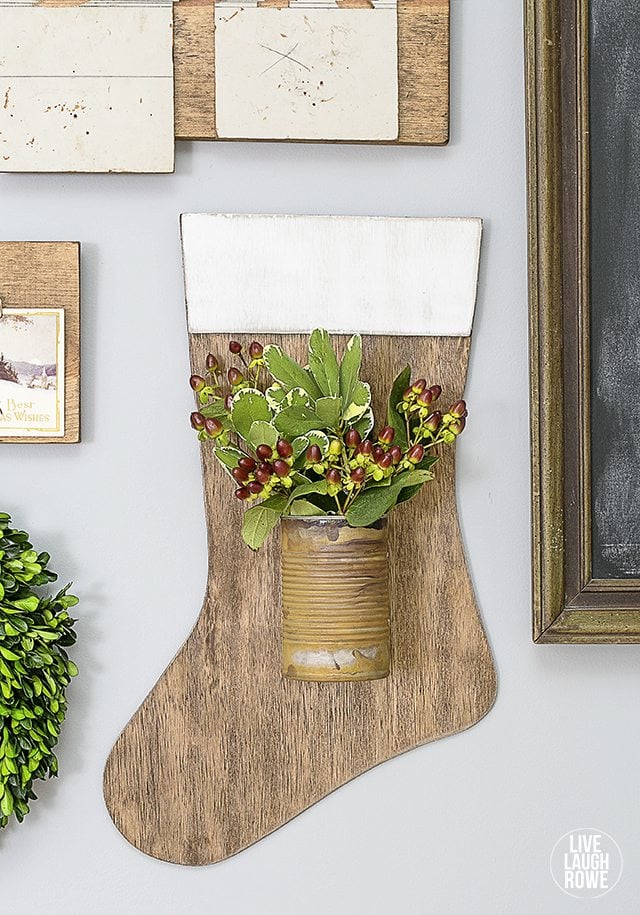
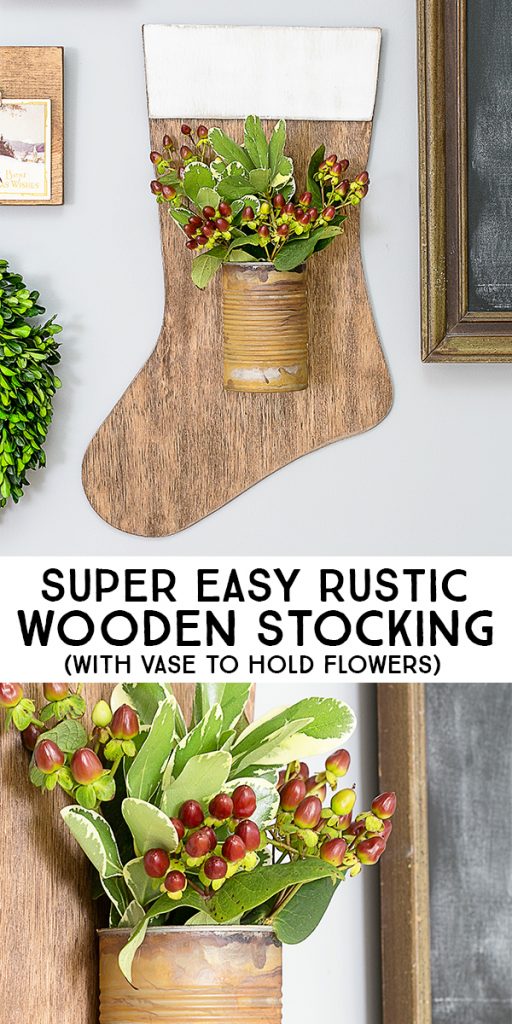
Oh Christmas, how I love thee! I am soooo super duper excited about this month’s DIH Workshop Project! This Rustic Wooden Stocking has made my heart go pitter patter on several occasions since its completion. It’s perfectly me and I hope you’ll consider putting your unique spin on one of these wooden stockings as well!
Ladies, have you signed up to see an in-person demonstration at your local Home Depot store for this Thursday, November 19th? Grab a girlfriend or two and sign up today!
Who’s ready to get this project started?
Tools
Jig Saw
Measuring Tape
Pencil
Laytex Gloves
Sanding Block
Staining Rags
Paint Brush
Safety Goggles
Materials
1 piece 24″x48″ piece of Sanded Plywood
Wood Glue
Rusty Tin Can
Nut and Bolt
Minwax Stain (Provincial)
White Paint
Step One:
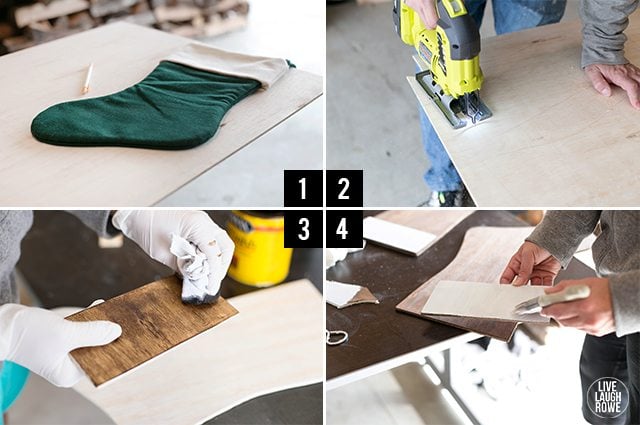
Use a pencil to sketch out your stocking. If you like to be technical, use a pencil and tape measure (or yardstick to mark a grid of 2″ squares on the sanded plywood.Use the grid as a guide and draw two stocking shapes. Draw one upside down and the other one right side up, so they will fit best.
As you can see, I cheated a bit and searched down one of our stockings to use as a guide. Genius, right?(hee-hee).
I decided to trace out an additional piece of the plywood to make a trim for the top of the stocking.
Step Two:
Use your jig saw to cut out the stocking shapes from sanded plywood.
Step Three:
Stain your entire stocking and the extra piece. I like to stain with a rag, just be sure to wear gloves. Allow to dry, following instructions on packaging.
Step Four:
Paint trim piece of wood with white paint. Allow to dry and sand, allowing some of the stain to peak through.
Apply a bead of wood glue to the trim and attach to the stocking. Apply weight to the piece (or use small clamps on edges) and allow to dry.
Step Five and Six:
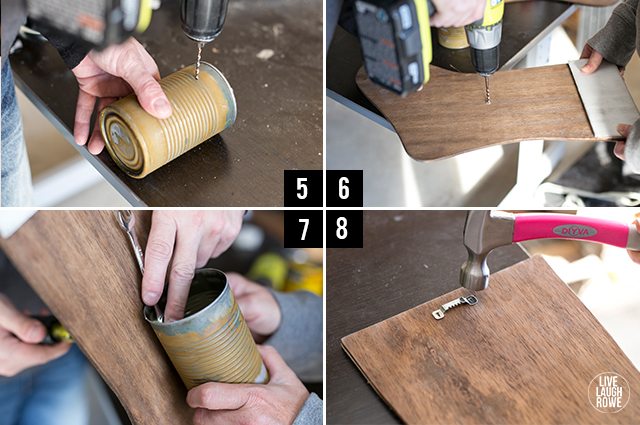
Decide where you’ll be placing your tin on the stocking. Drill hole in rusty tin and stocking.
Step Seven:
Attach can to stocking with nut and bolt. I honestly just found one that would work in our ‘stash.’
Step Eight (aka the last step):
Place a sawtooth hook on the back for hanging.
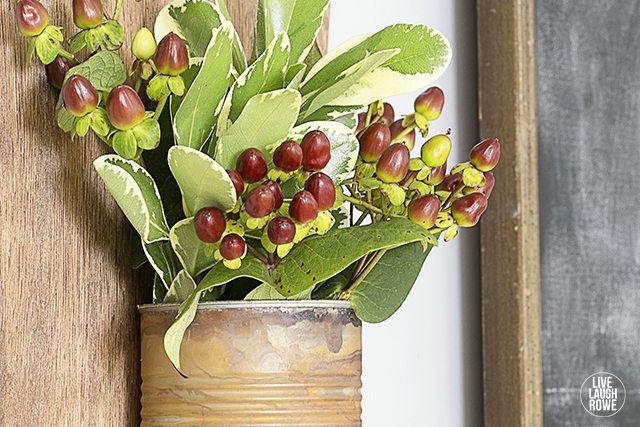
Technically, there is one additional step — add mixed florals!
Register today and don’t forget that I’ll be in Springfield, IL (Store #8430)!

Facebook | Instagram | Pinterest | Twitter |Google+
Linking up to Between Naps on the Porch




Kristi says
LOVE, LOVE, LOVE this Kelly! SO sweet to add that little tin can vase to the front!
Kelly Rowe says
Thanks so much Kristi! I appreciate it. It turned out great and I the rustic feel to it. 🙂 Have a great day! HUGS.
nancy says
Have a great class, Kelly. I’ve got about 20 ladies signed up for the Rohnert Park, CA class..we’re warming up the jigsaws and everyone goes home with a Wooden Stocking…and hopefully all of their fingers!!! 🙂
Kelly Rowe says
Thanks Nancy! That’s a great response for the class. Have fun! I’m sure it will be all kinds of fun. 🙂 xo.
Katie @The Casual Craftlete says
This is fabulous, Kelly! What a great project to make for Christmas. I’ll have to check my Home Depot store. Hope you have a lovely week. XO
Kelly Rowe says
Thanks Katie! Appreciate it. You have a lovely week as well. xo.
Maryann @ Domestically Speaking says
Love your stocking Kelly – super cute!
Kelly Rowe says
Thanks so much Maryann! I appreciate it. Have a wonderful day. HUGS.
Sharon aka Mom says
Hello to awesomeness! Love this stocking Kel. It will look nice in my house in Springfield….hmmmm!?
Kelly Rowe says
Thanks Mom. I agree…it would look great in your Springfield home. I’ll have to see what I can do. 🙂 Love you!
Rachel (Lines Across) says
This stocking is so cute Kelly! And you’re right, it is so perfectly you!
Kelly Rowe says
Aw, thanks so much Rachel! I appreciate it. 🙂 Enjoy the rest of your weekend. HUGS.
Angie | Big Bear's Wife says
That is so super adorable and would look too cute on our brick wall in the apartment!
Kelly Rowe says
Thanks Angie! You should give one a try…they are easy to make. 🙂 Have a great weekend. xo.
Rhonda says
Super cute!!! Love it! …coming from Met Monday! ~Rhonda
Kelly Rowe says
Thanks so much Rhonda! …and thanks for stopping by. 🙂 Have a great weekend. HUGS.
Marie at The Interior Frugalista says
Really love this idea – so adorable! I’m pinning it to our DIY Sunday Showcase Party Talent Board.
Kelly Rowe says
Thanks Marie! I appreciate it…and the Pin. Have a great weekend. xo.