Creating pressed flower candles is a delightful way to incorporate nature’s beauty into your home decor. I’ve wanted to try this craft medium for a long time, so I’m excited to finally do it and share it with you today! If I’m being honest, it was much easier than I thought. Yay!
Additionally, these unique pieces make great gifts. Whether you’re an experienced crafter or a beginner looking for a new project, making these pressed flower candles is fun and rewarding.

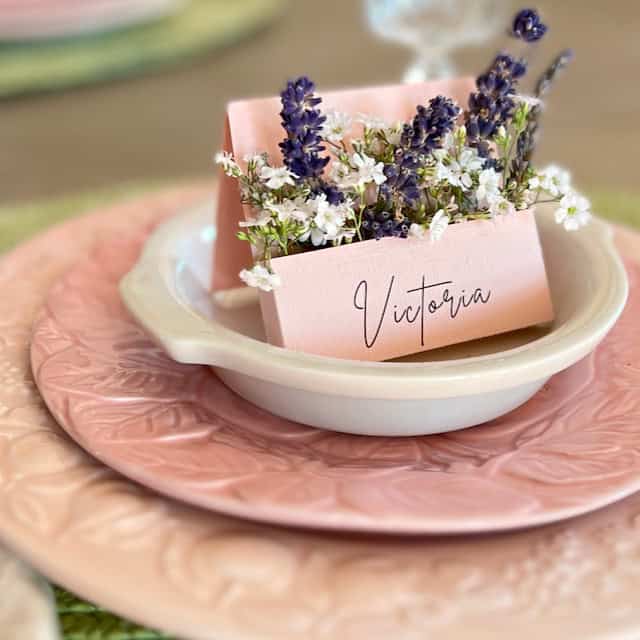
It’s that time for another round of the Hand Crafted Society.
We’re a group of talented bloggers who meet monthly to create works using a shared medium or theme. Each participant showcases their varied perspectives and interpretations.
When you reach the end of the post, click on the image or blog name to view the full post.
Below is a step-by-step guide to making your own pressed flower candles. So, let’s grab our supplies and get this party started.
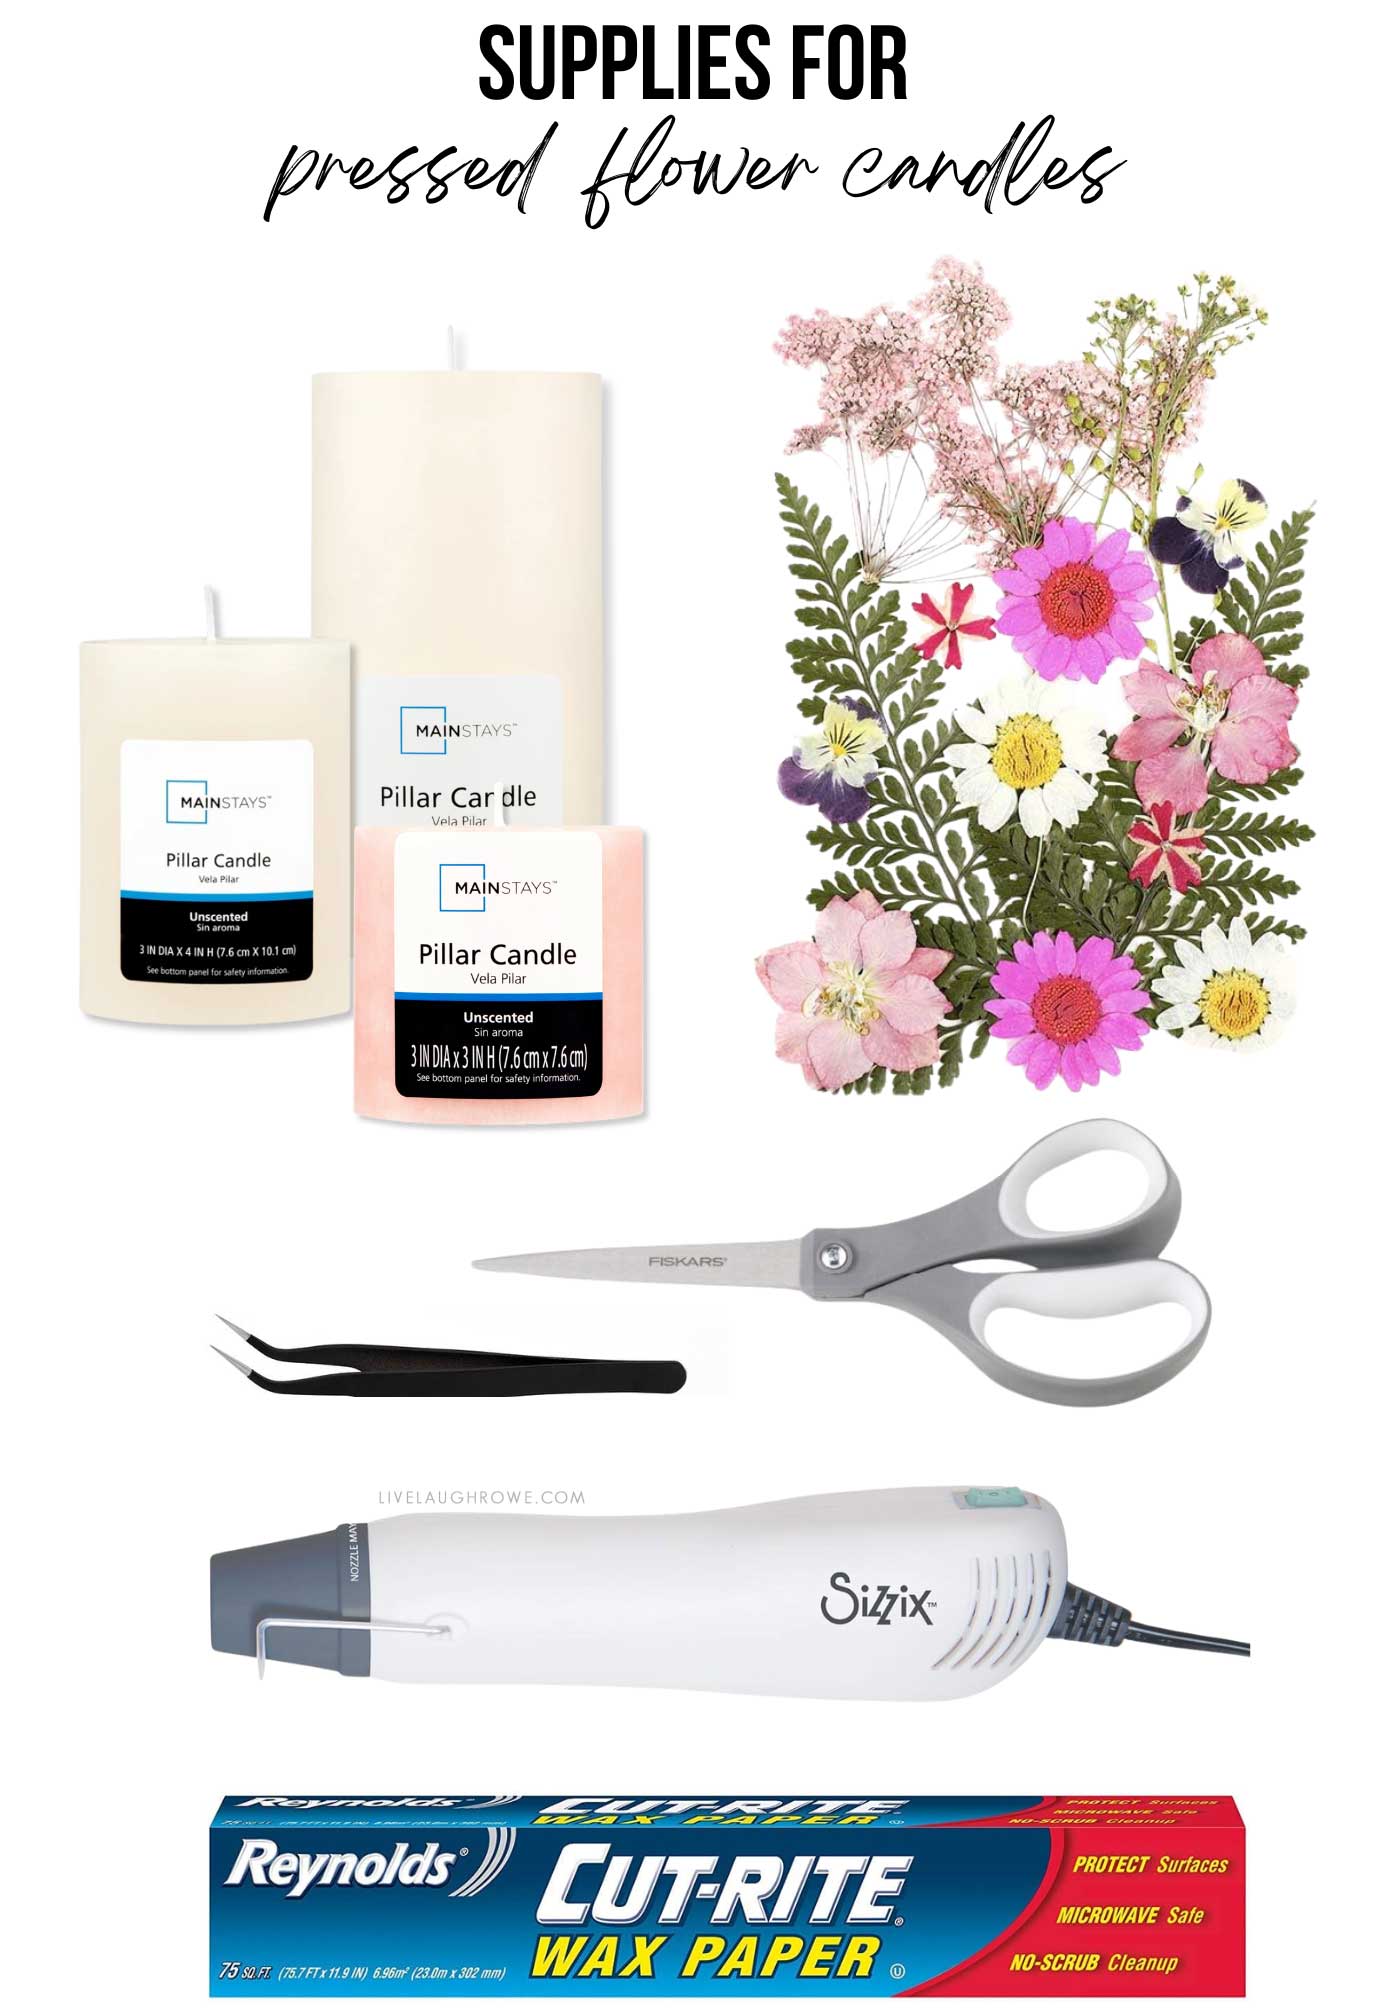
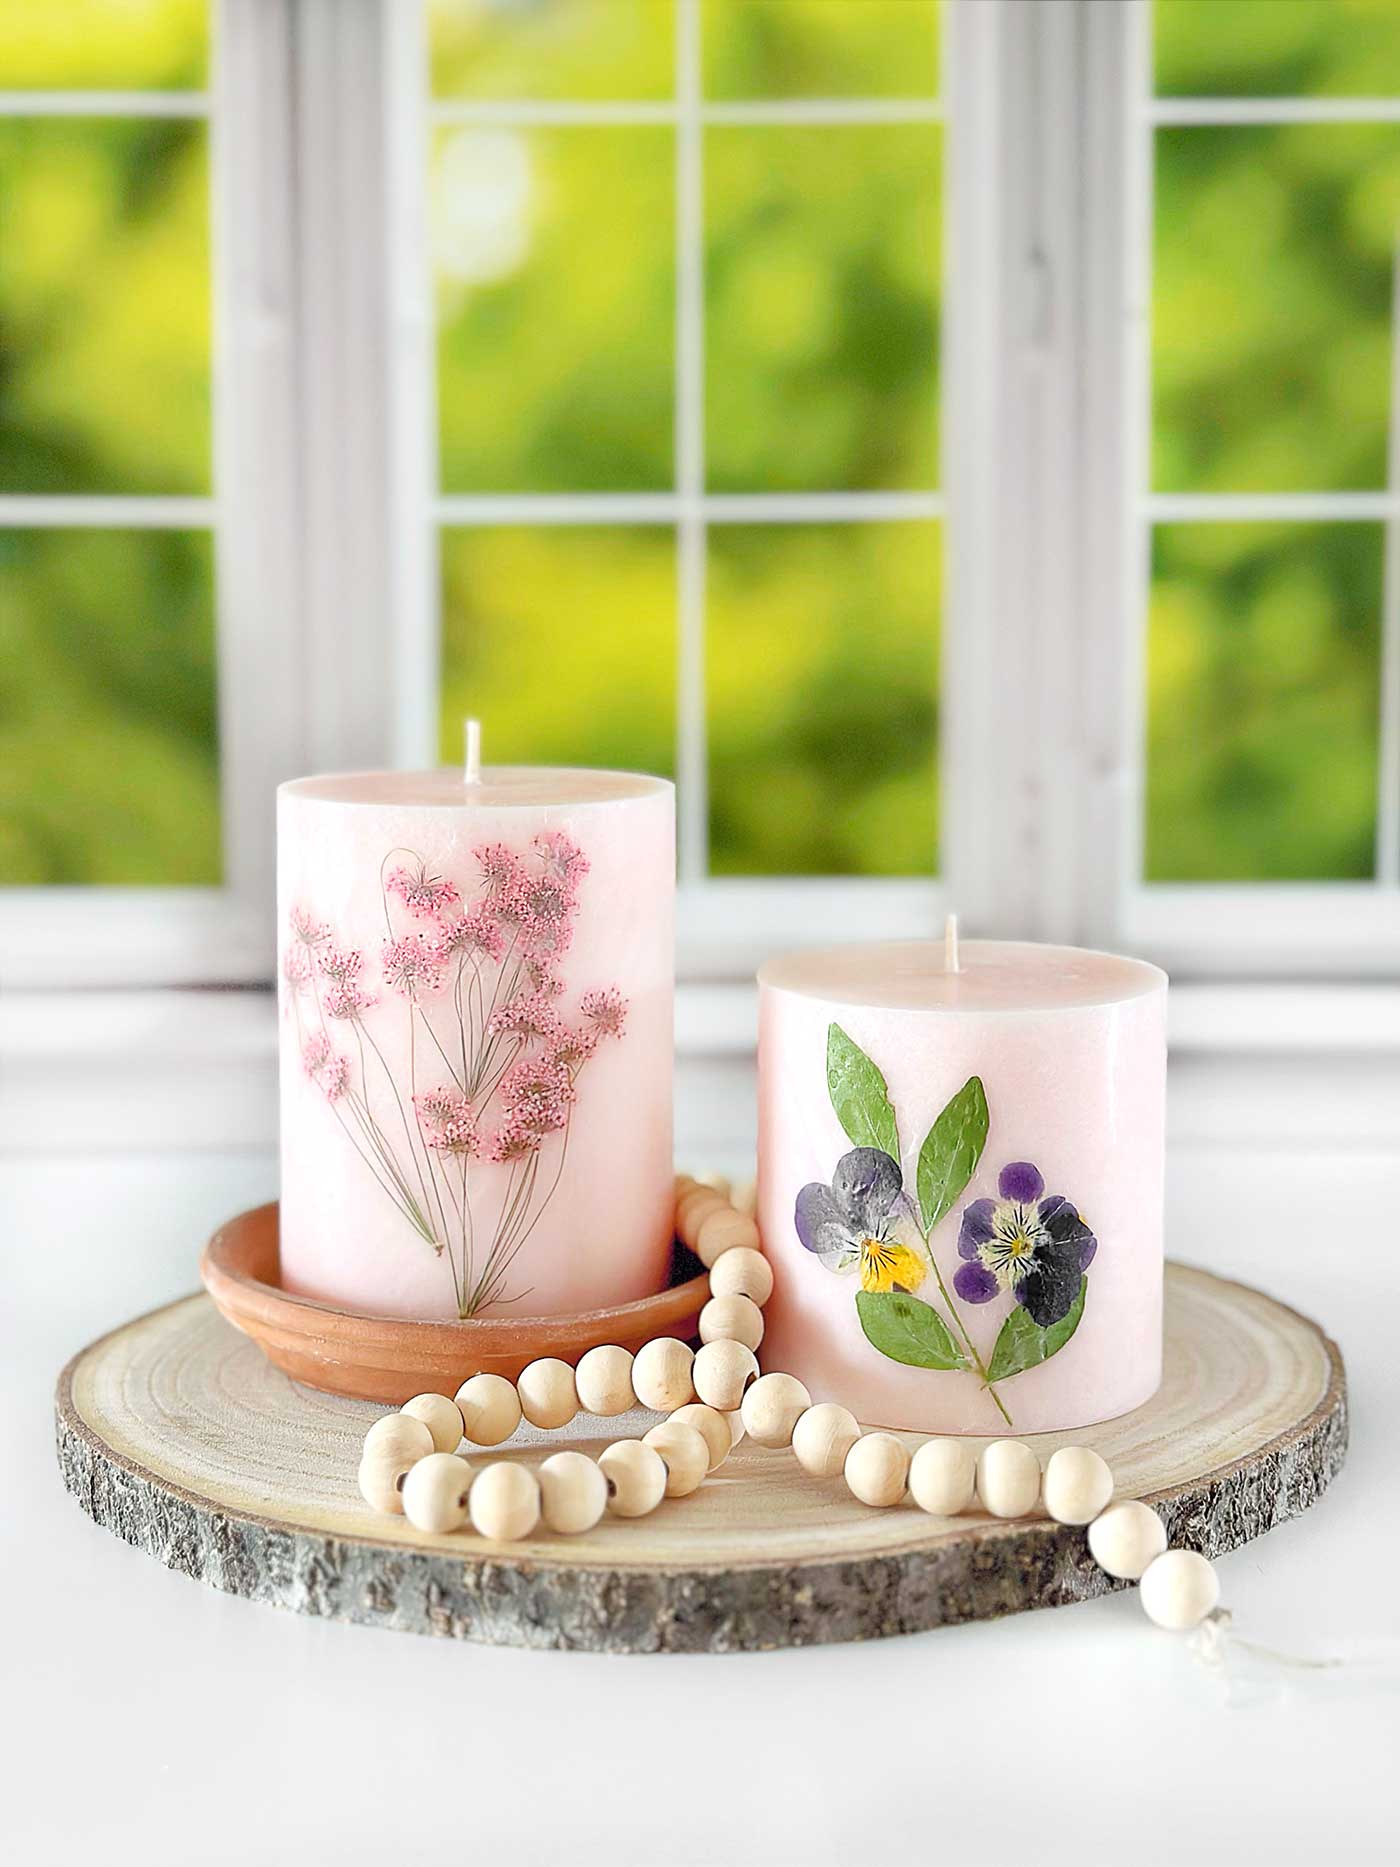
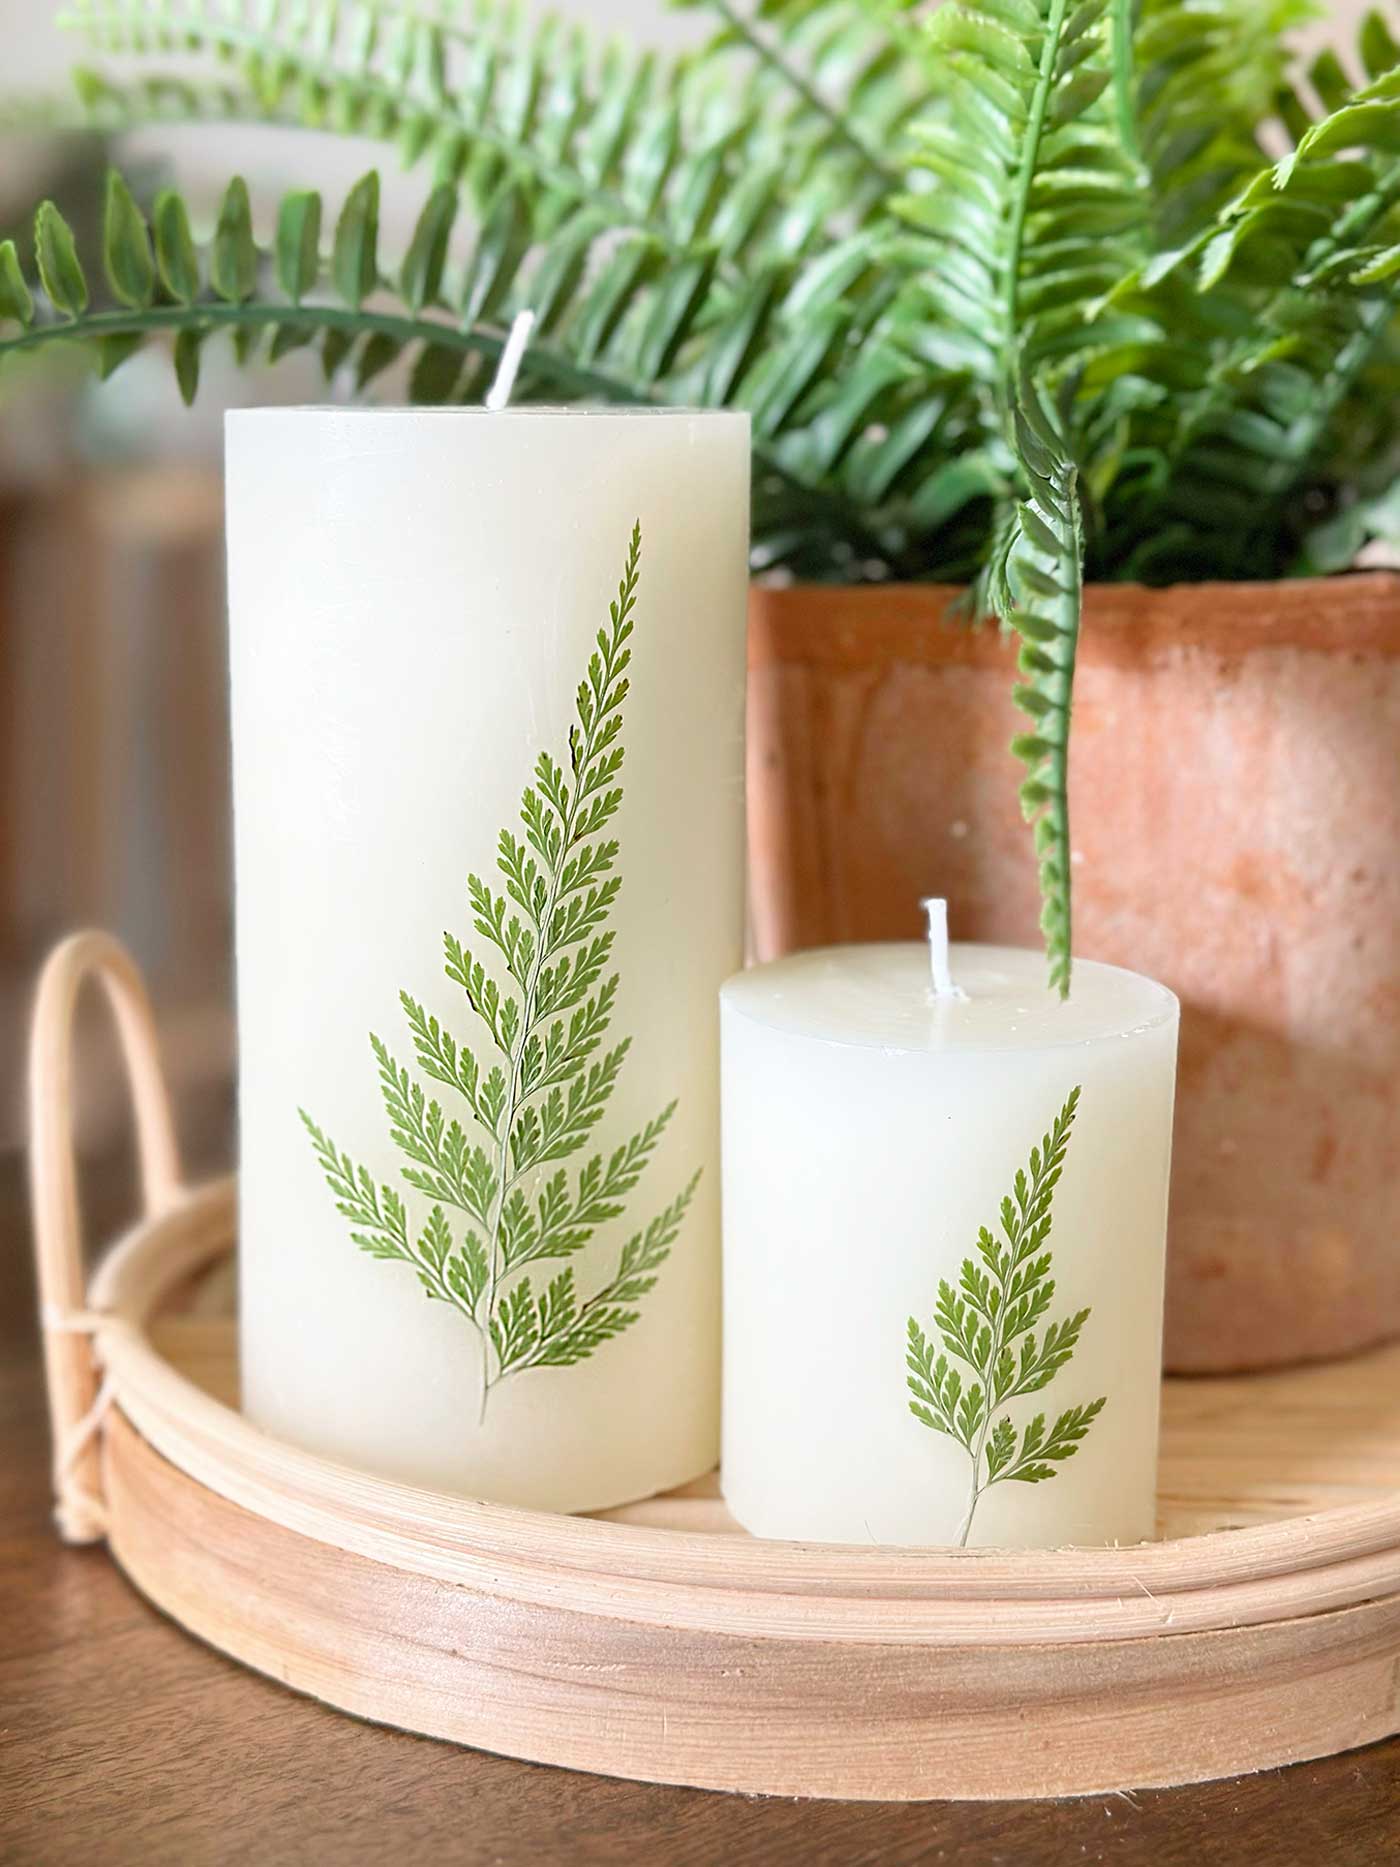
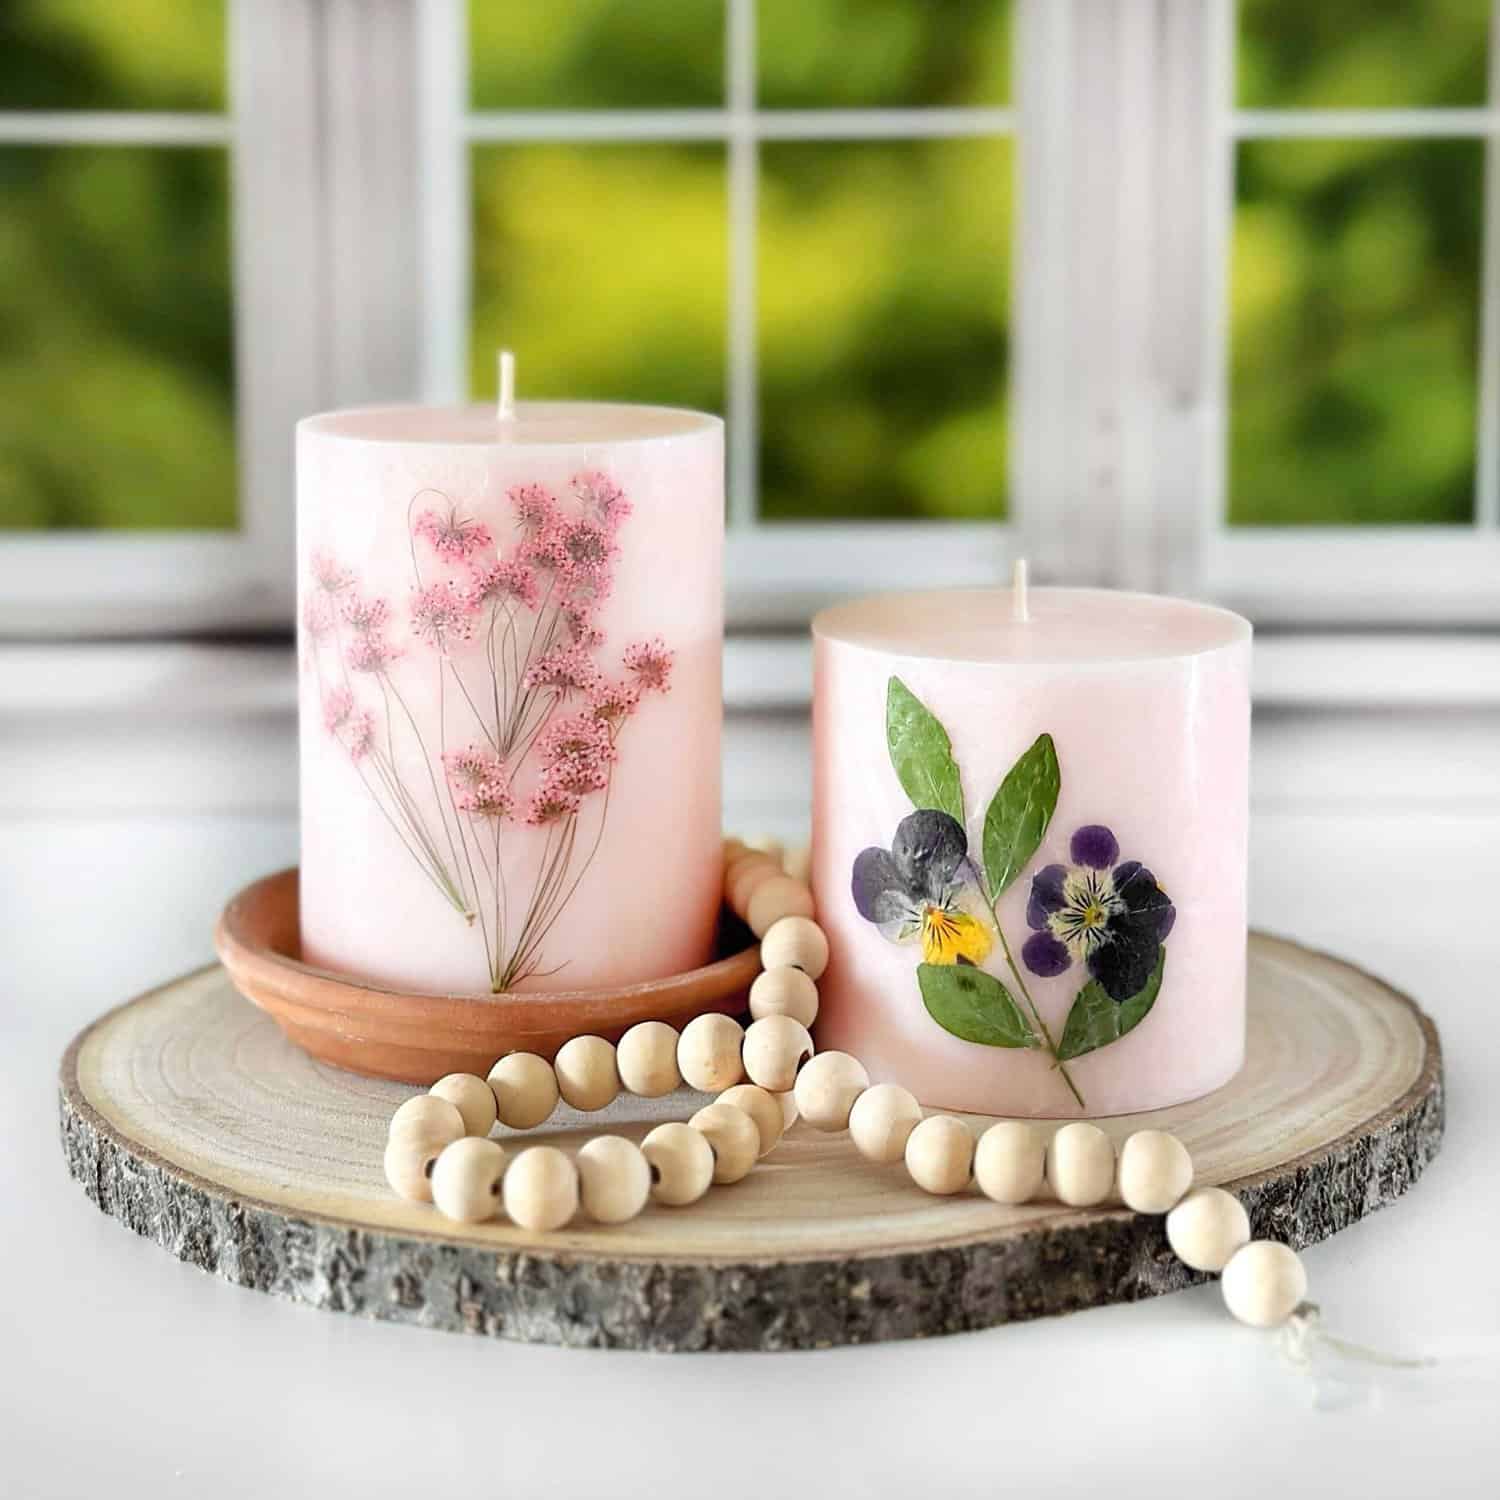
Pillar Candles. White or light-colored candles work best to showcase the flowers. However, I used some pink for more colorful dried flowers. Spoiler: you’ll see a picture of them at the end of the post.
I purchased my pillar candles at Walmart.
Pressed Flowers. The options are endless. You can certainly purchase these — or press your own.
Wax Paper. I just grabbed my box of wax paper from the kitchen and cut it as needed. Always ensure you have enough to wrap around the candle.
Embossing Gun. A tool that emits hot air to melt the wax. Mine is ancient, but there are so many options out there.
Scissors. The scissors will help trim wax paper and possibly the flowers.
Tweezers. These will be very helpful for placing delicate flowers. The pressed flowers I bought came with a pair of tweezers, which were significantly beneficial.
Step-by-Step Instructions for Pressed Flower Candles:
1. Selecting and/or Pressing Flowers:
- Choose flat and relatively thin flowers. Daisies, pansies, and ferns work well. Although I purchased my pressed flowers from Amazon, you may find them at your local craft store.
- To press your own flowers, place them between the pages of a thick book lined with parchment paper to protect the book. Weigh the book down and leave it for one to two weeks.
2. Preparing the Candle:
- Ensure the candle’s surface is clean and dry. If necessary, wipe it gently with a soft cloth.
- Arrange your pressed flowers on paper to plan your design before adhering them to the candle.
3. Attaching the Pressed Flowers:
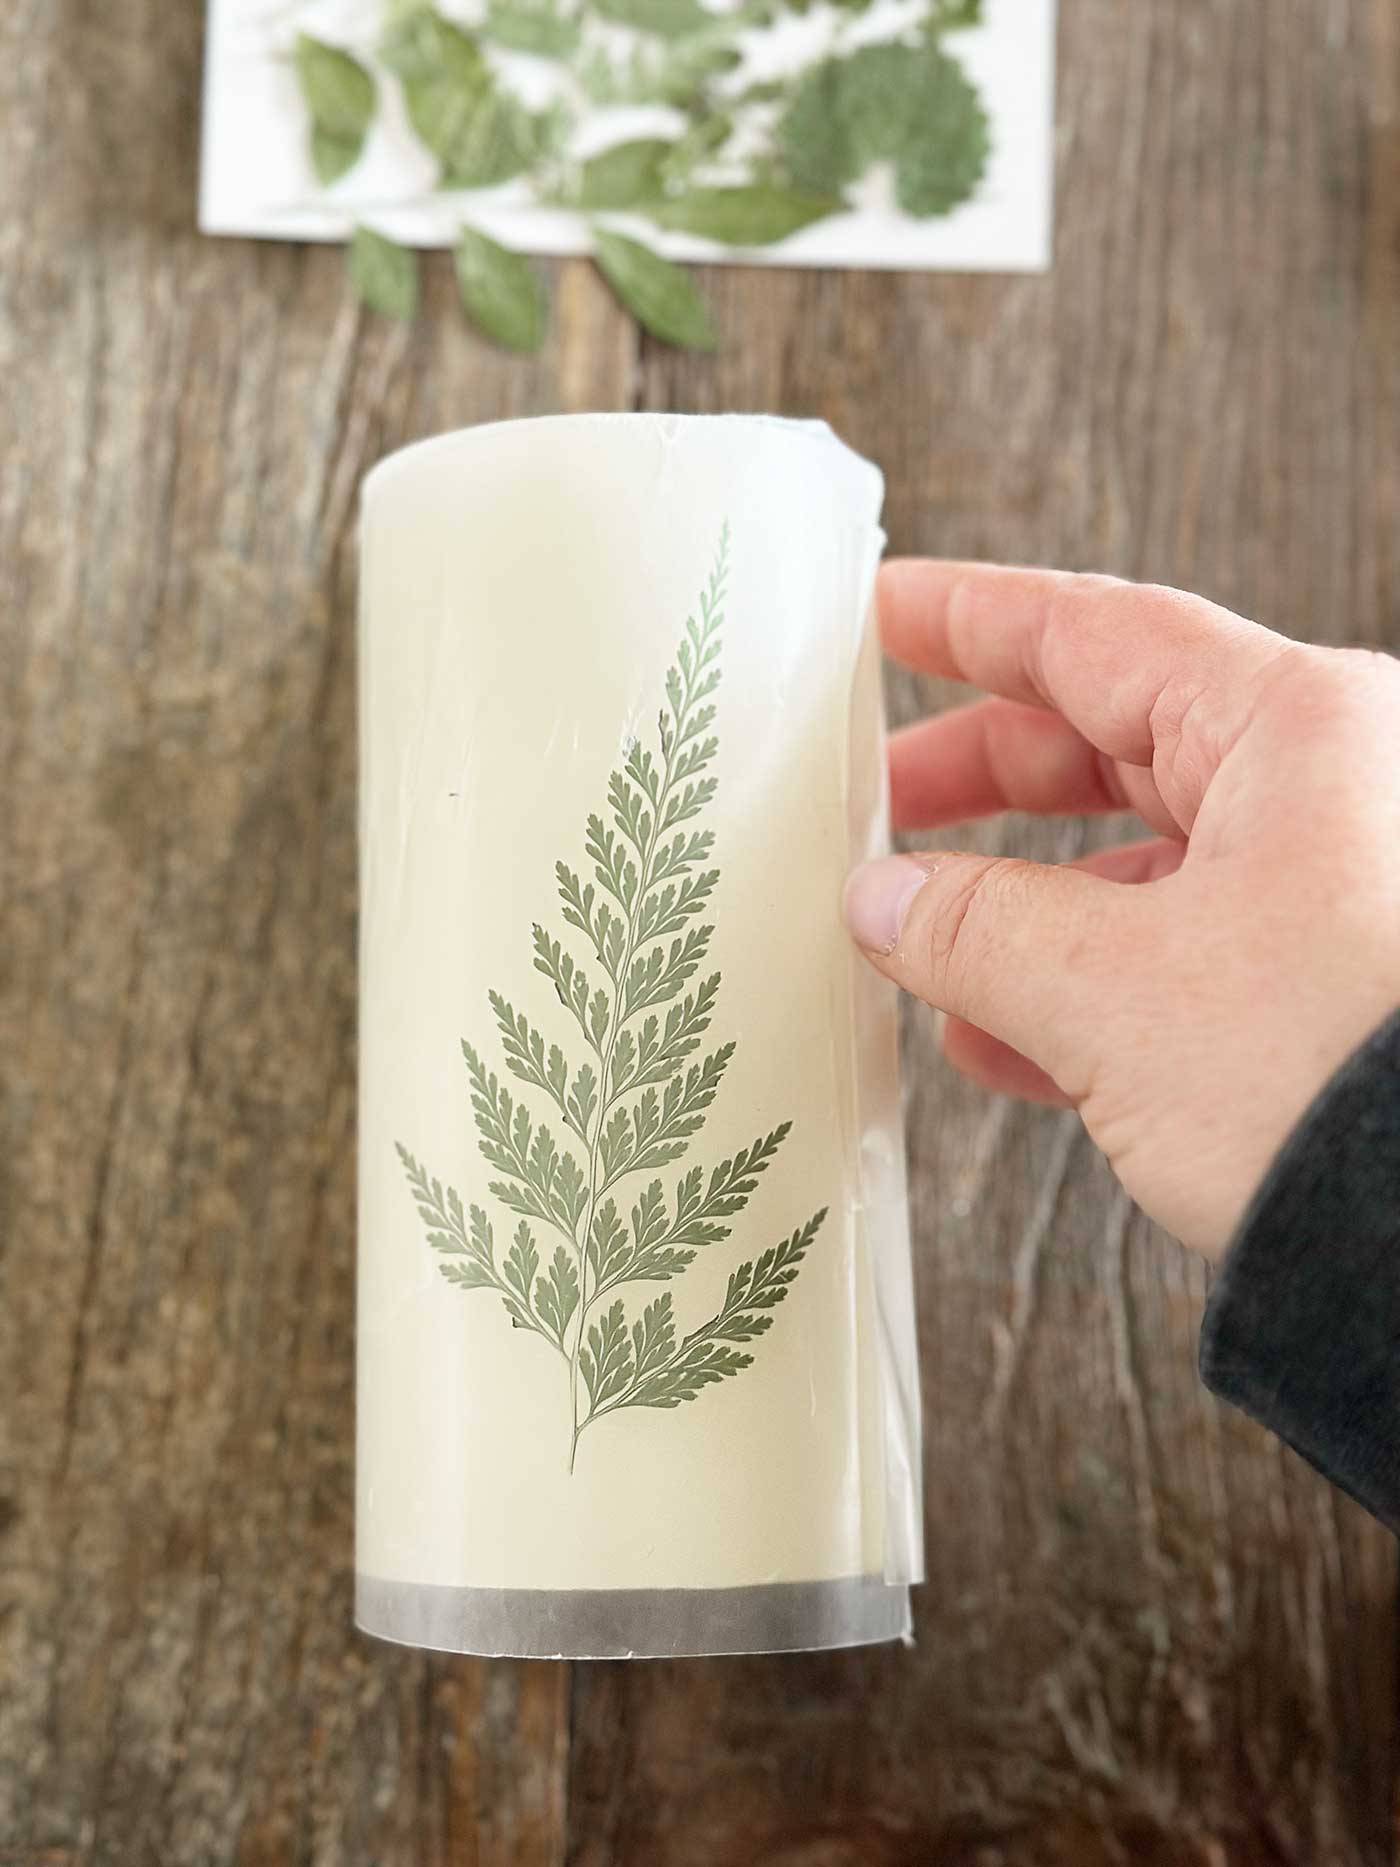
- Lay a piece of wax paper flat on your work surface.
- Arrange the pressed flowers on the wax paper in the desired pattern, ensuring they are spaced appropriately, etc.
- Carefully place the candle on one edge of the wax paper and begin rolling it, pressing the flowers onto the candle’s surface.
- Alternative Application: When using a single stem or a simplified pattern, arrange it carefully on the candle, then place wax paper over the flowers.
4. Securing the Flowers with Wax Paper:
- When wrapping the wax paper around the candle, ensure the flowers stay in place against the candle’s surface.
- Hold the wax paper snugly so there are no gaps between the flowers and the candle.
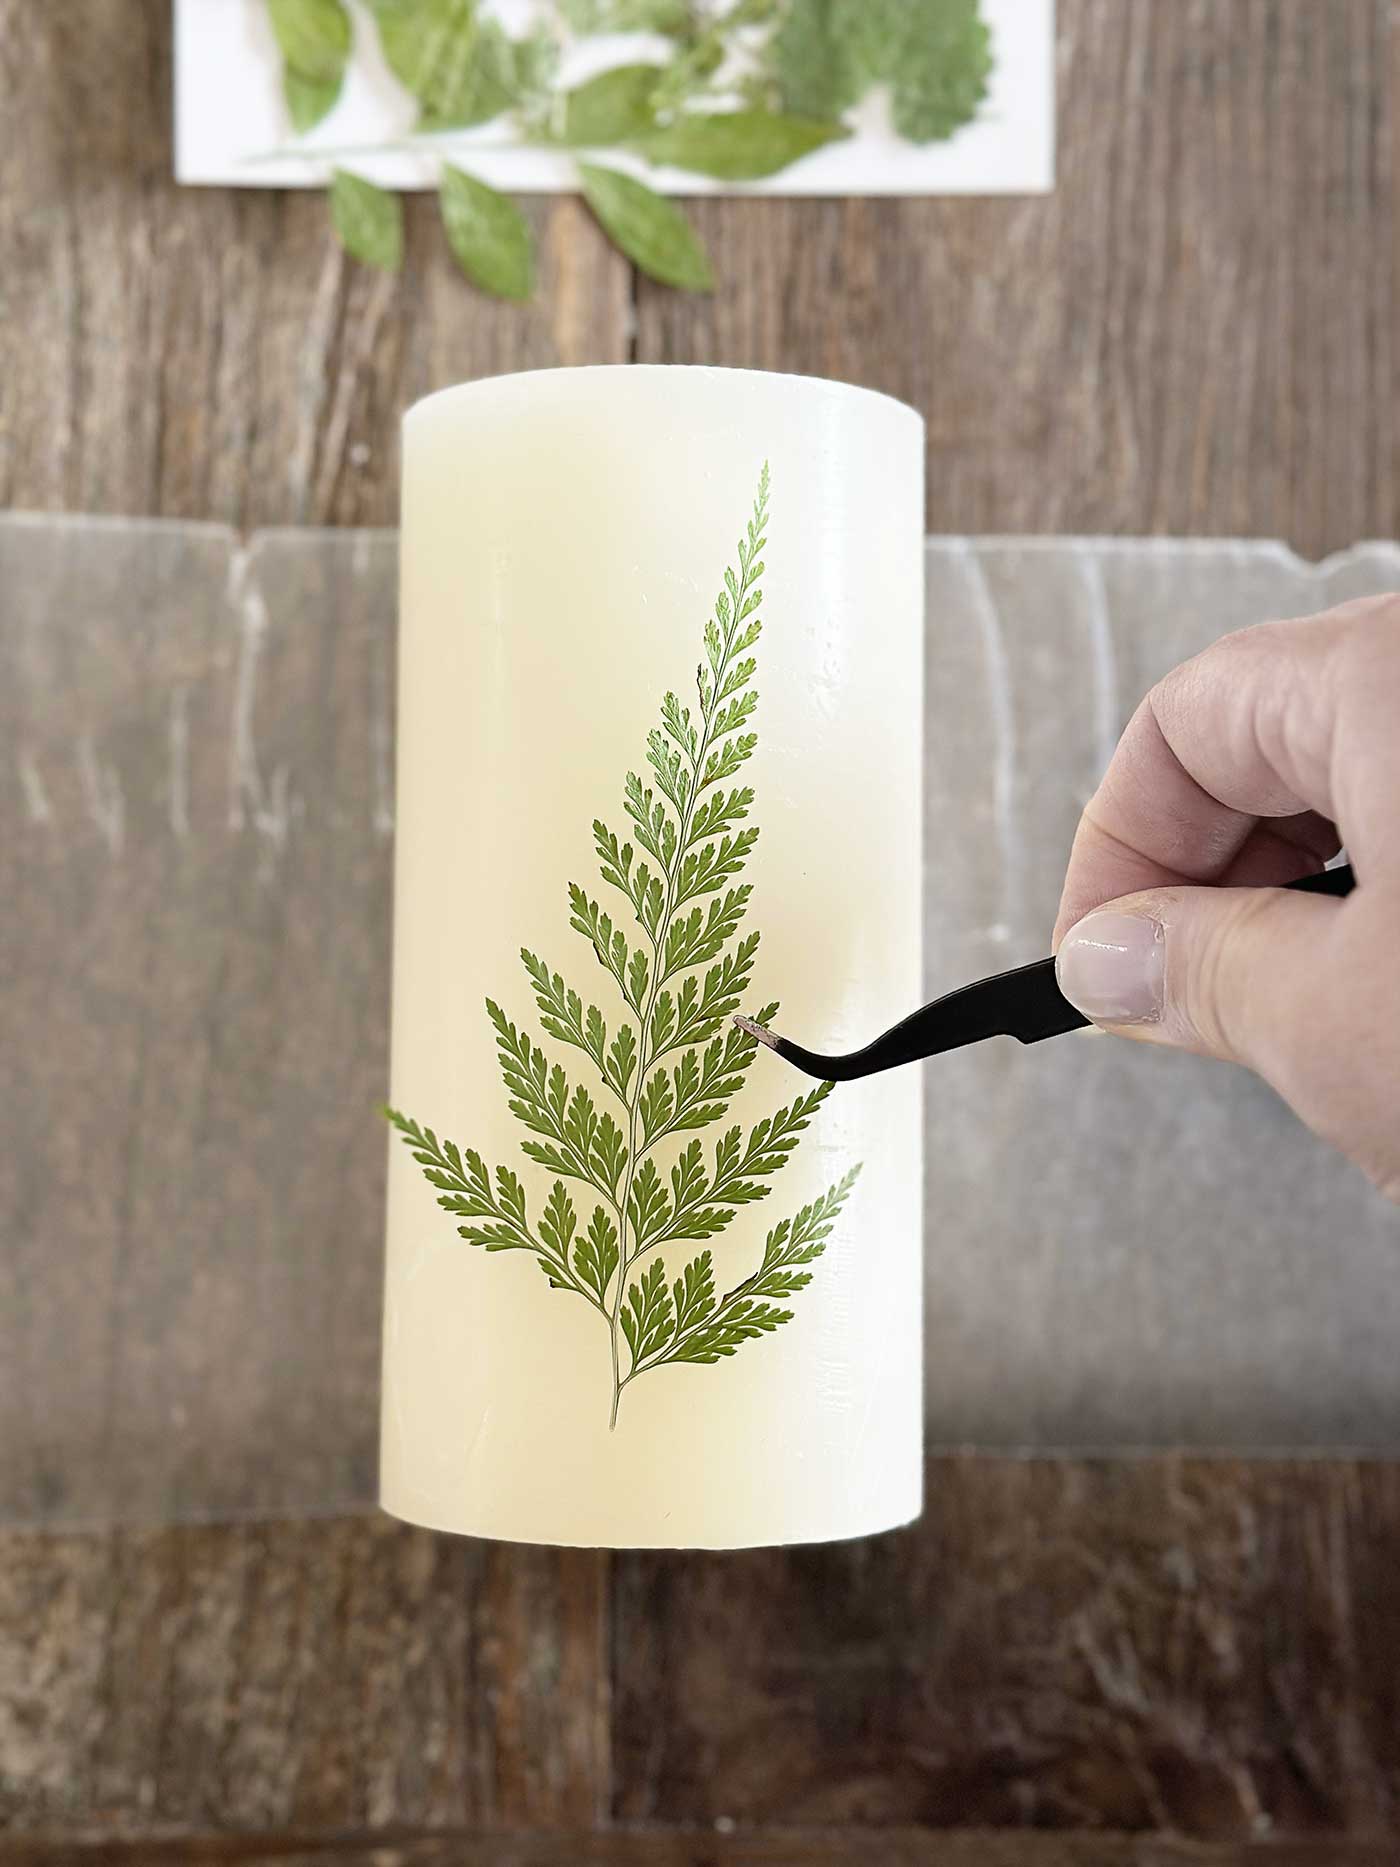
5. Using the Embossing Gun:
- Turn on the embossing gun. If yours has a heat setting option, then be sure to set it to medium heat. Be cautious, as the gun gets very hot.
- Hold the gun a few inches away from the candle and slowly move it back and forth, heating the wax paper and flowers.
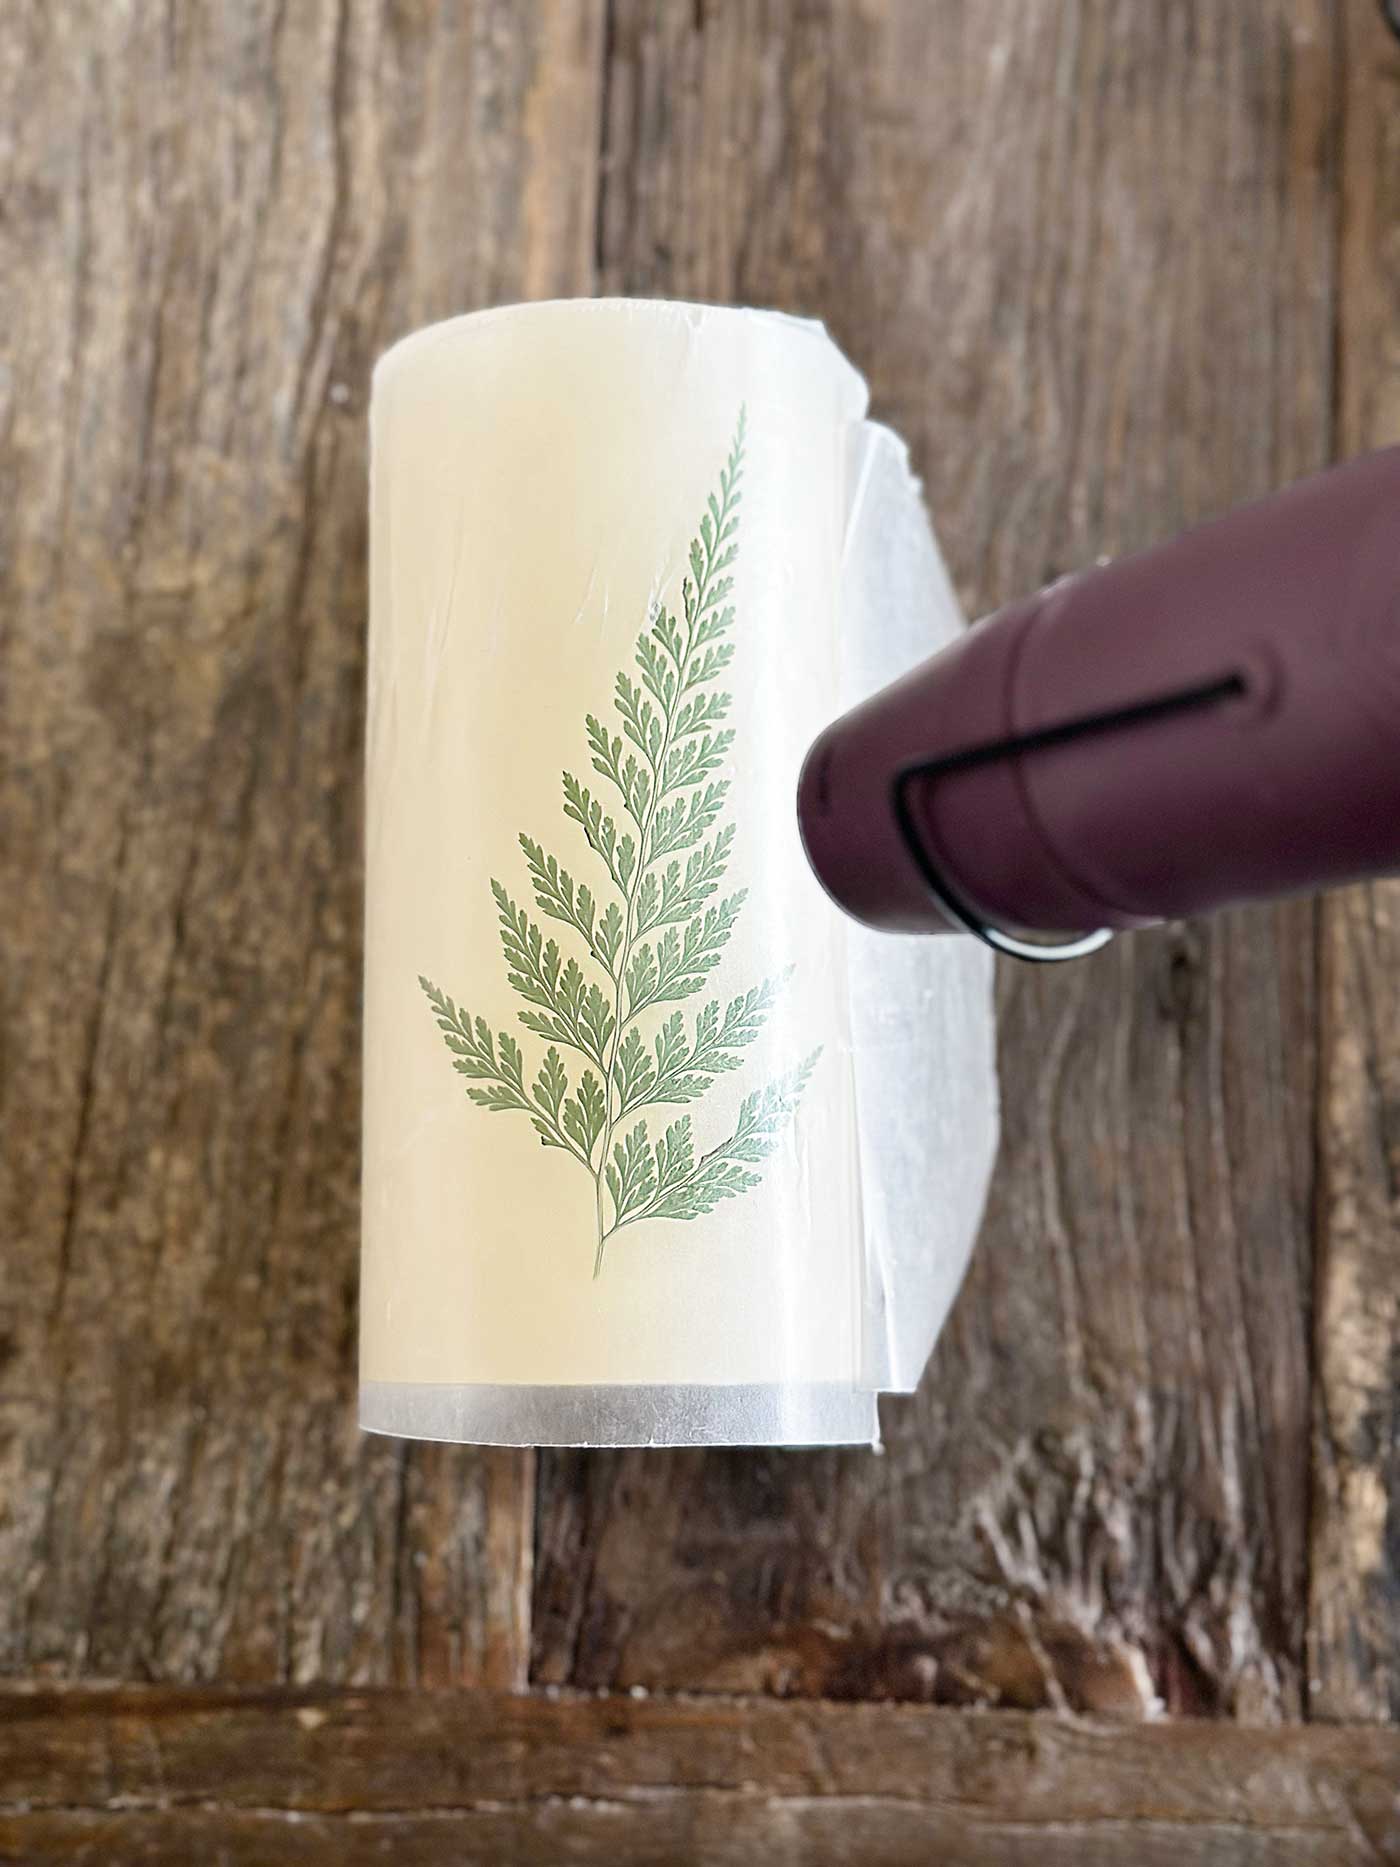
- As the wax paper heats, the underlying wax will begin to melt, adhering the flowers to the candle. In fact, you’ll see the flowers’ colors intensify as the wax melts.
6. Finishing Touches:
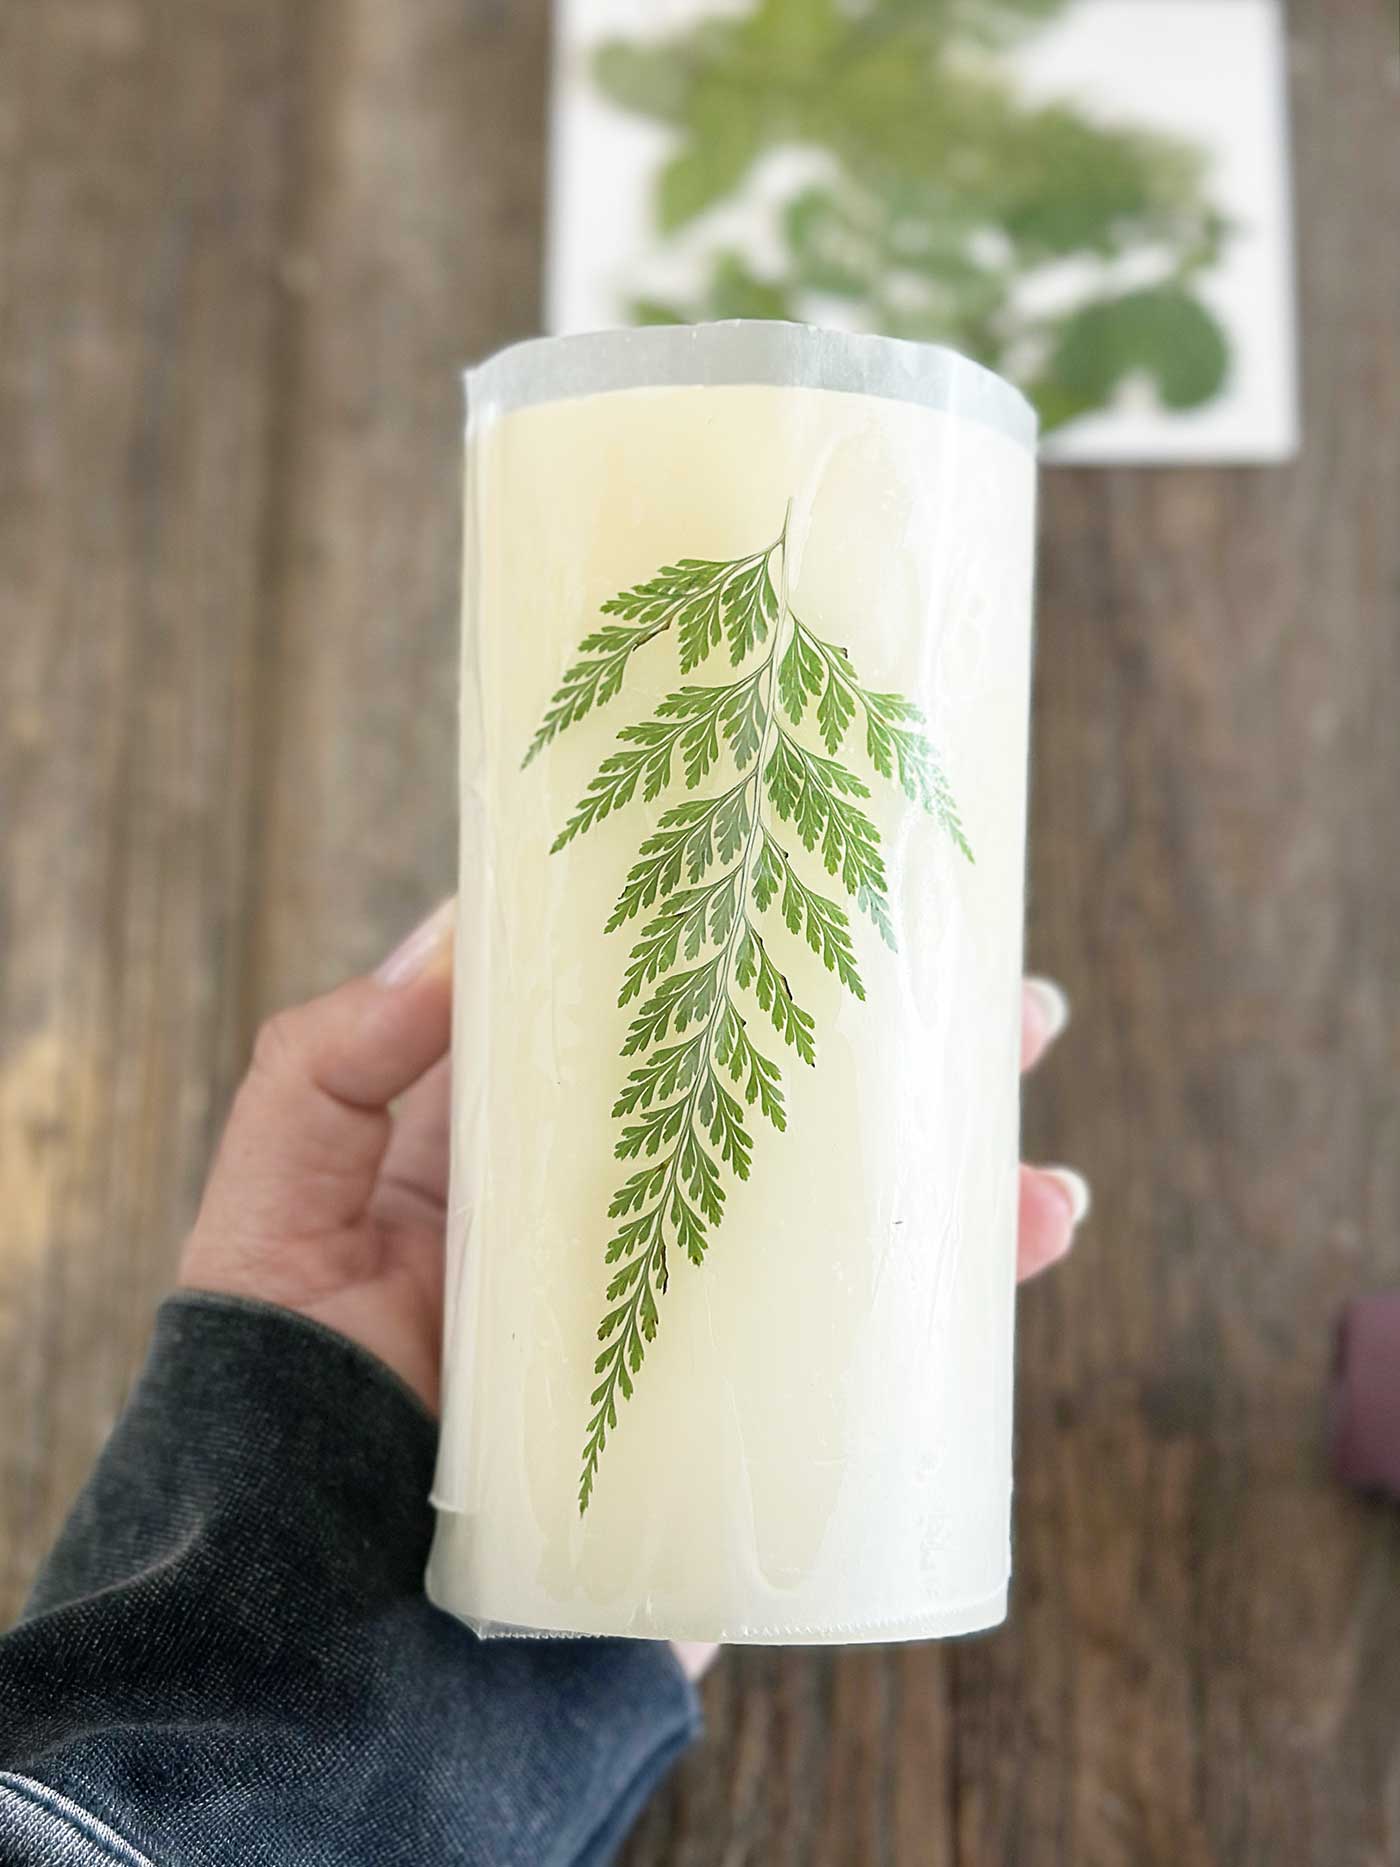
- Once the flowers are adhered, allow the candle to cool for a few minutes.
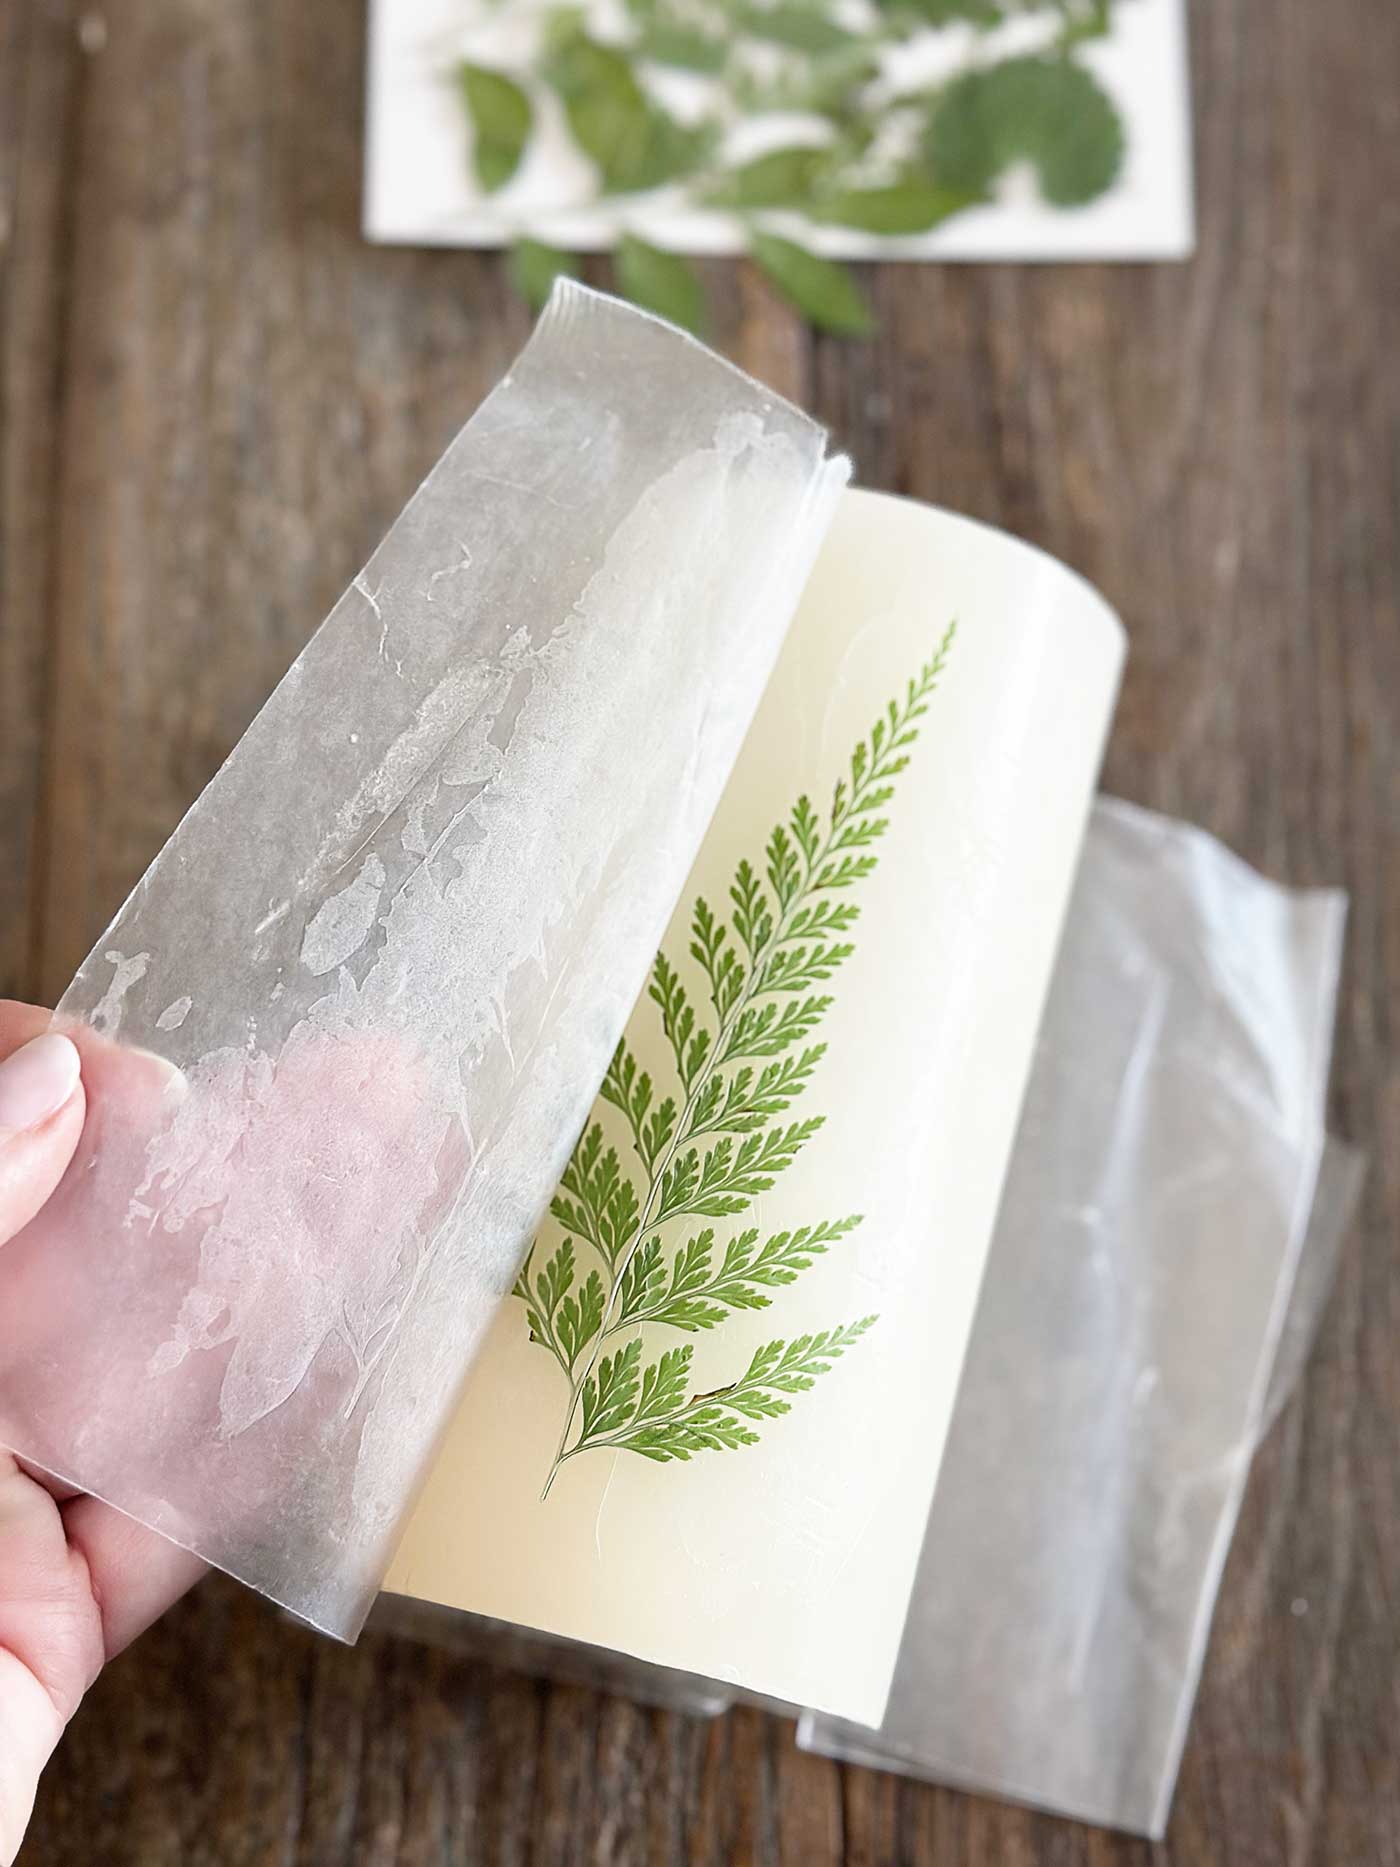
- Carefully peel away the wax paper. The flowers should now be embedded in a thin layer of wax on the candle’s surface.
- Check for areas where the flowers may not fully adhere to the candle. In this situation, rewrap with wax paper and apply more heat.
7. (Optional) Adding a Protective Layer:
- You can apply a final layer of wax for added durability and a glossy finish. Melt some candle wax separately and apply a thin coat over the flowers using a brush.
- Allow this layer to cool completely before handling the candle.
Tips and Tricks:
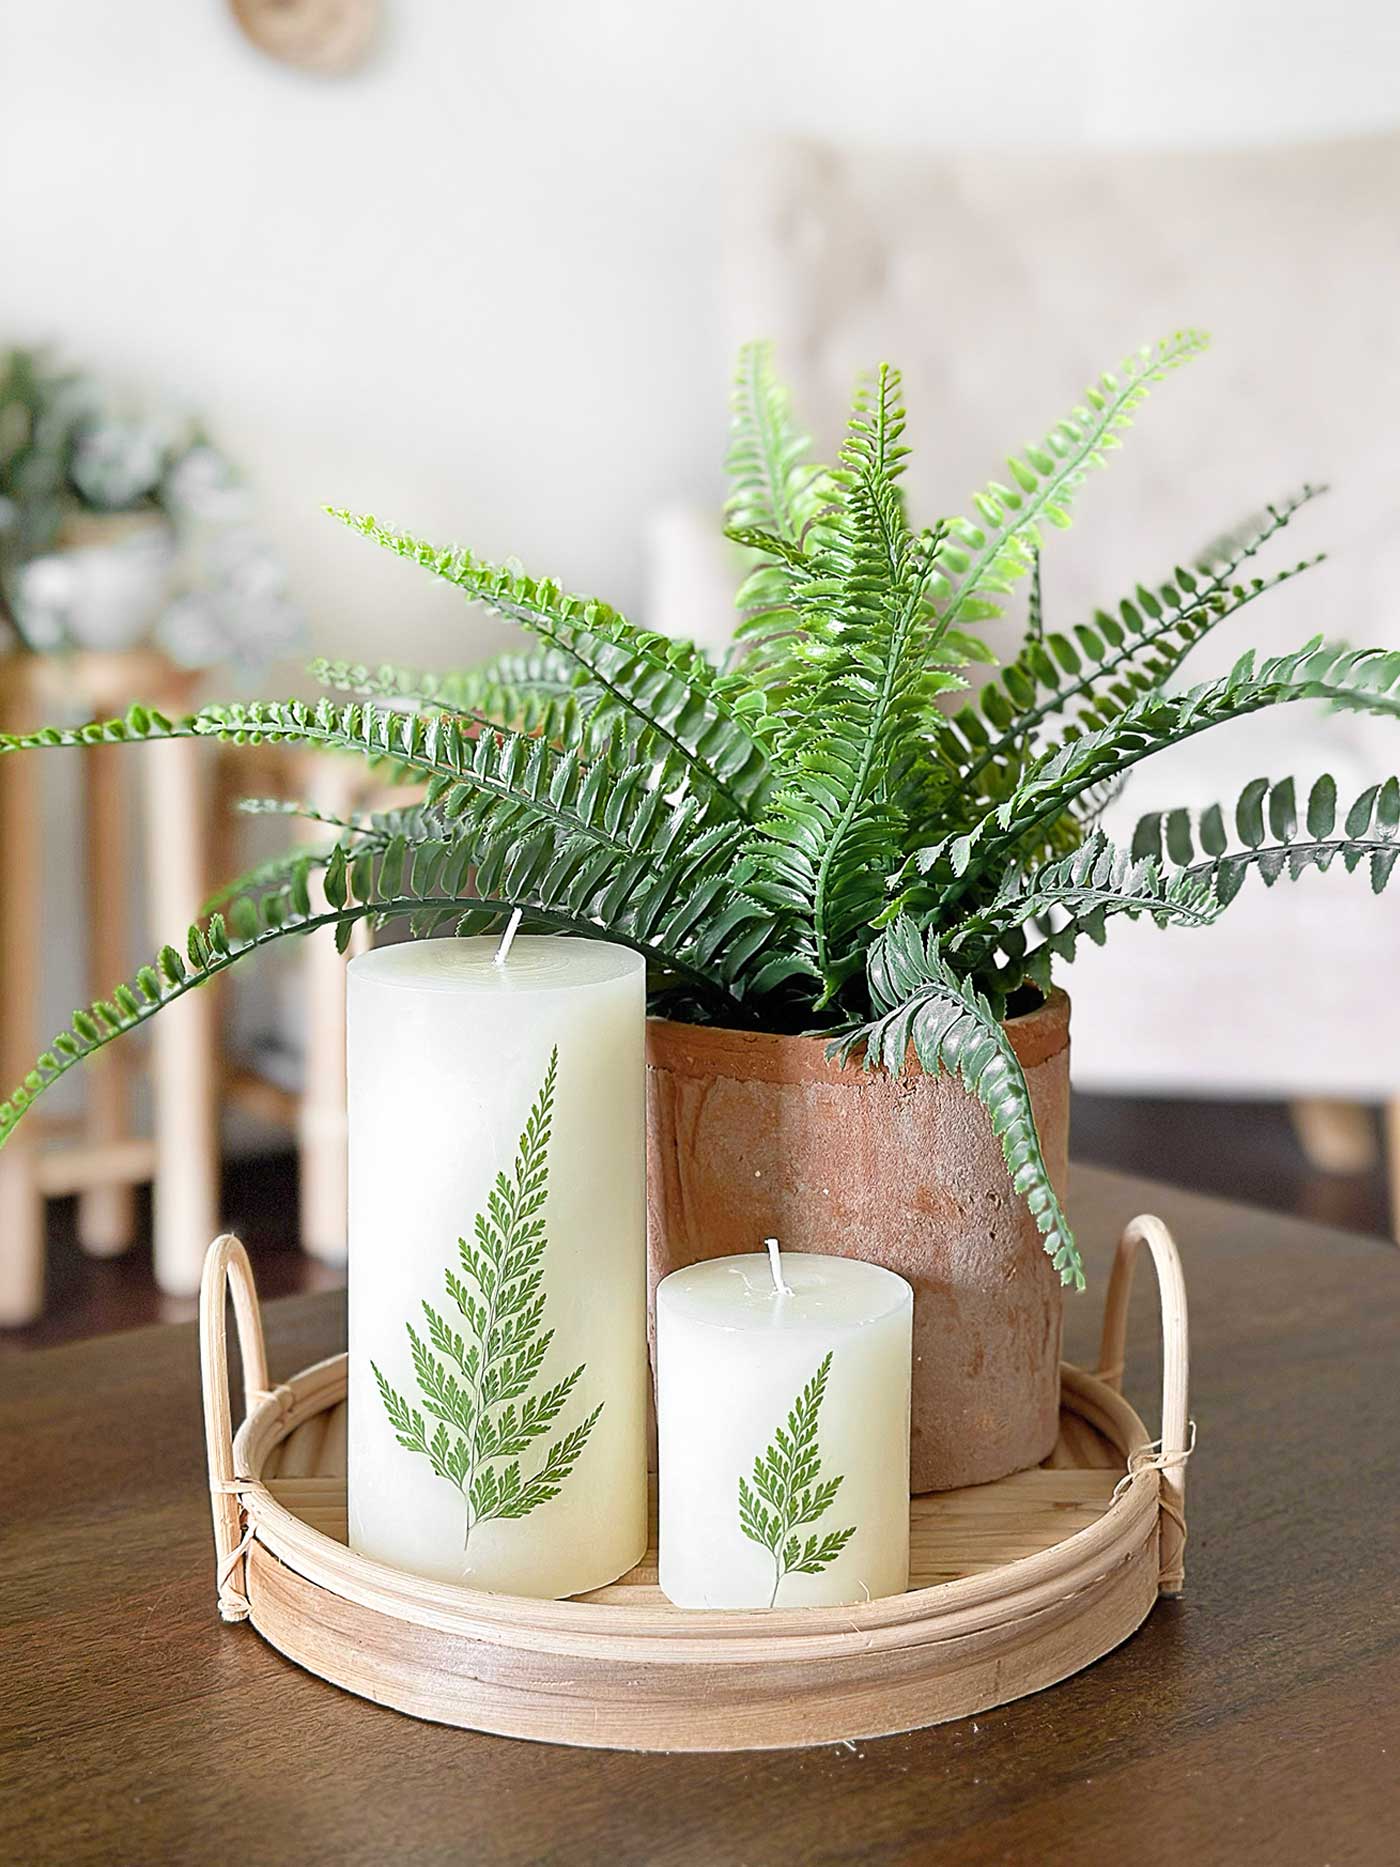
- Flower Selection: Experiment with different types of flowers and leaves. Ferns and delicate leaves create beautiful patterns when combined with colorful flowers.
- Color Coordination: Choose flowers that complement the color of your candle. Light-colored candles work best, highlighting the flowers’ natural beauty.
- Safety First: Always use the embossing gun in a well-ventilated area and handle it carefully to avoid burns.
- Practice Makes Perfect: If you’re new to using an embossing gun, practice on a spare piece of wax paper to get a feel for the tool before working on your candle.
Other Pressed Flower Candle Creative Ideas:
- Seasonal Themes: Create candles that reflect the seasons – vibrant spring flowers, rich autumn foliage, etc.
- Personalized Gifts: Press flowers from special occasions, such as weddings or birthdays, and create candles as keepsake gifts.
- Layering Effects: Try layering different flowers and leaves to create depth and texture on your candle.
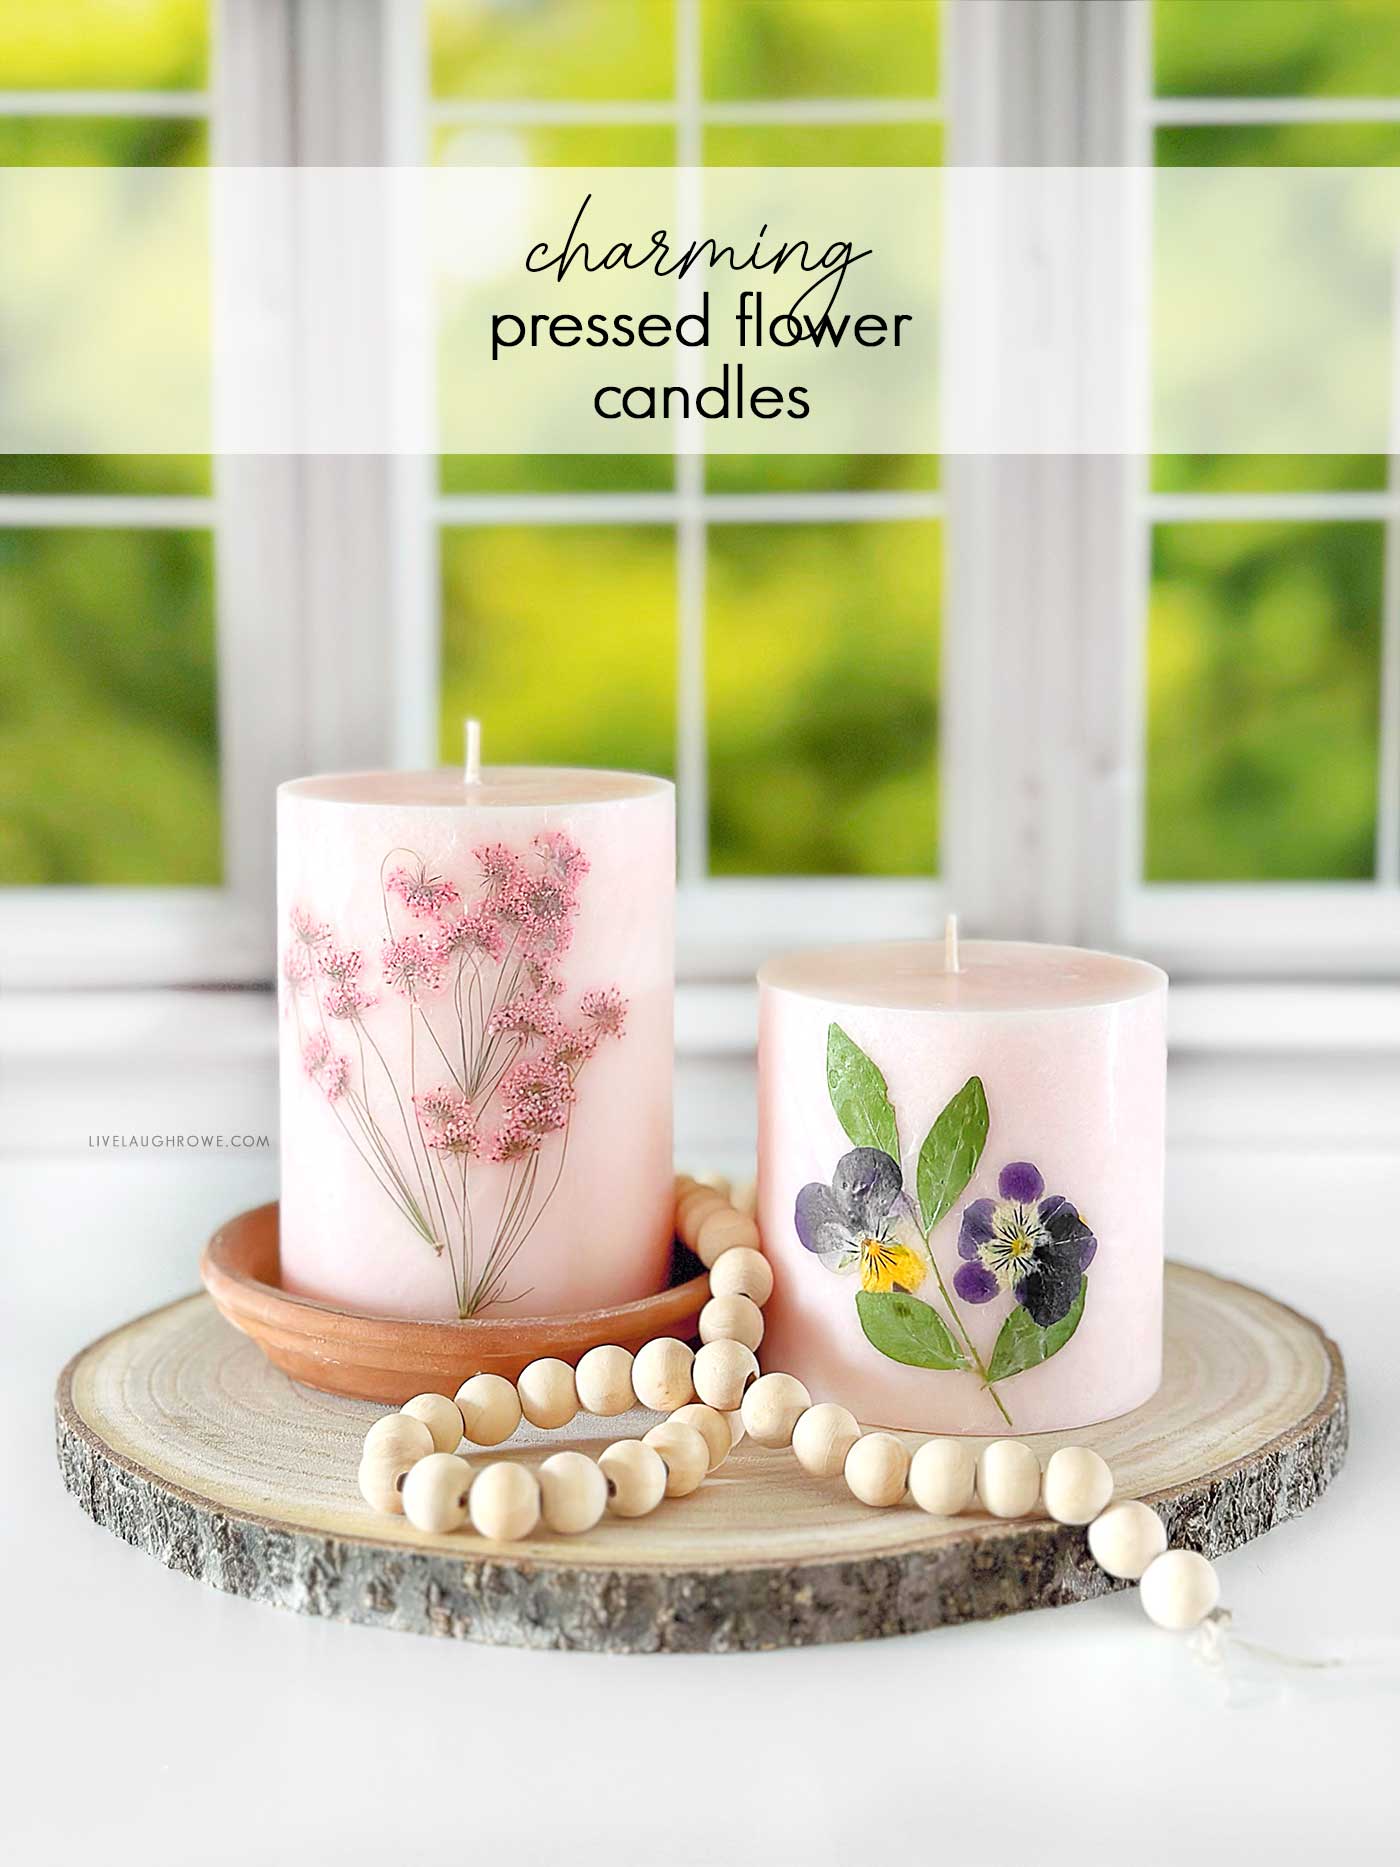
Aren’t the pink candles adorable? I gifted the one with pansies to my mom, they’re one of her favorite flowers.
Making pressed flower candles combines creativity with the tranquility of nature. Whether crafting for yourself or creating thoughtful gifts, these candles bring beauty and a personal touch to any space. Enjoy selecting flowers, designing patterns, and watching your creations come to life with the gentle heat of the embossing gun. Happy crafting!
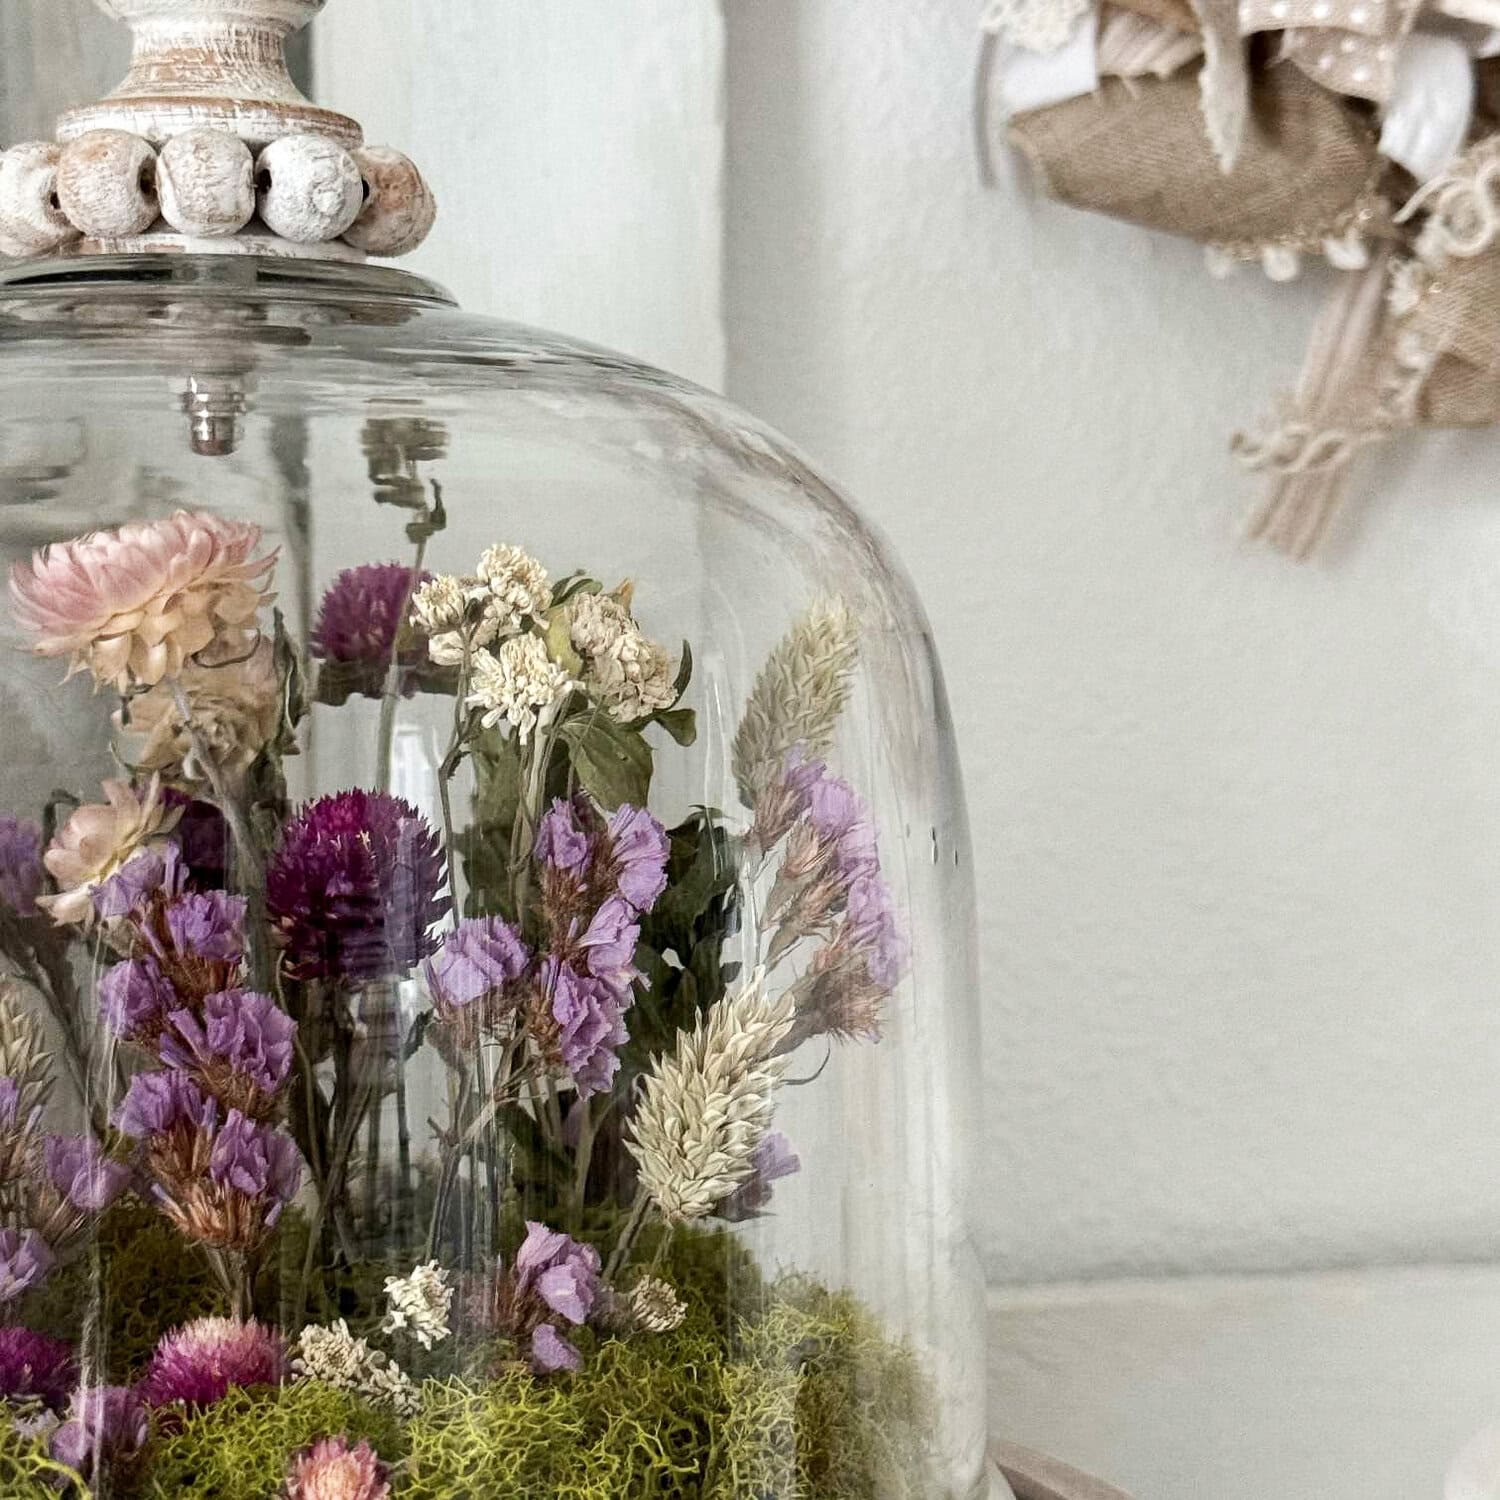
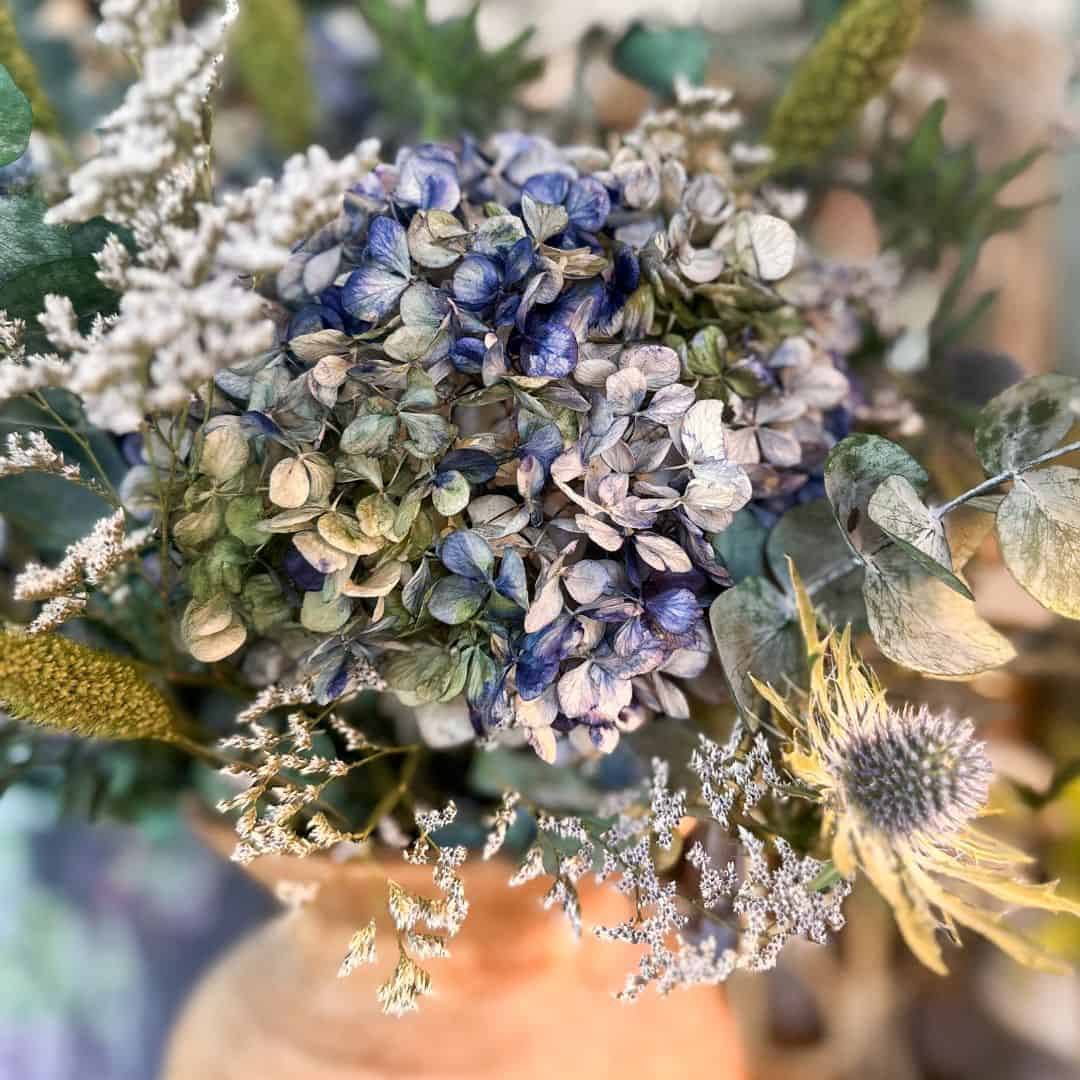
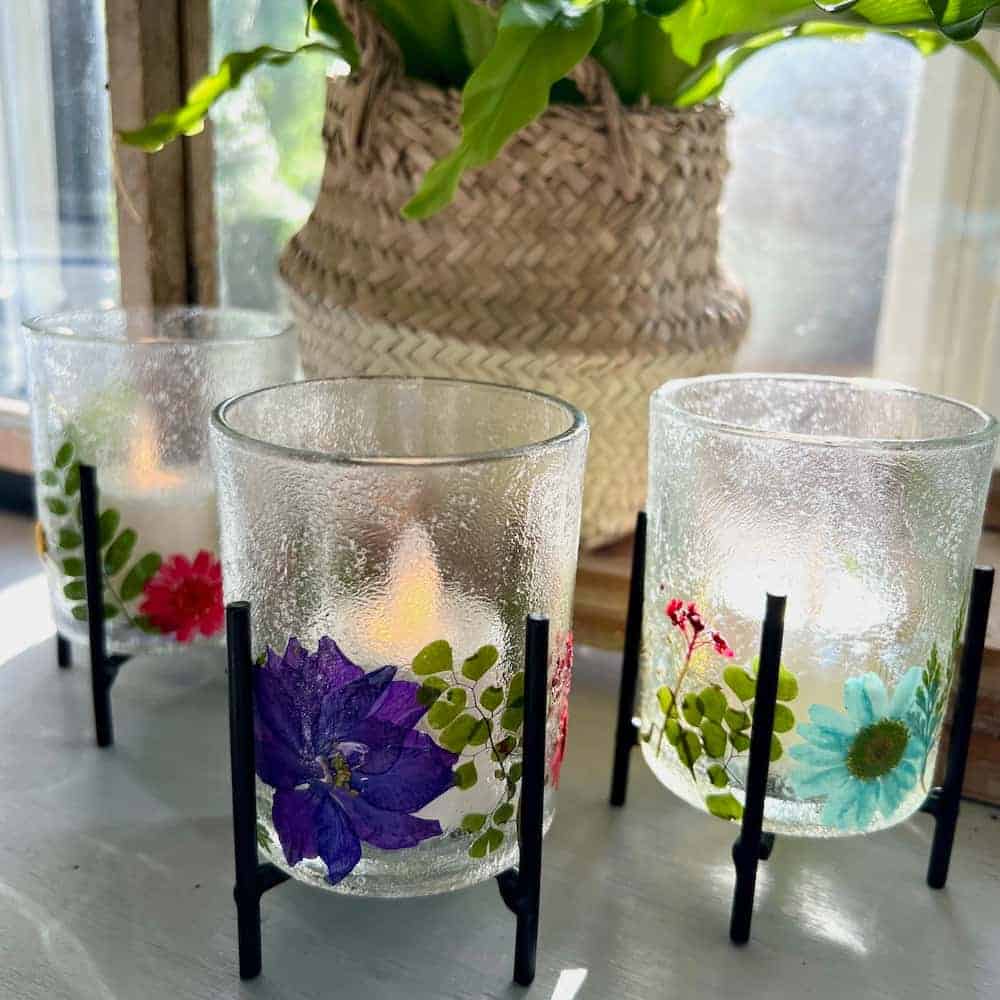
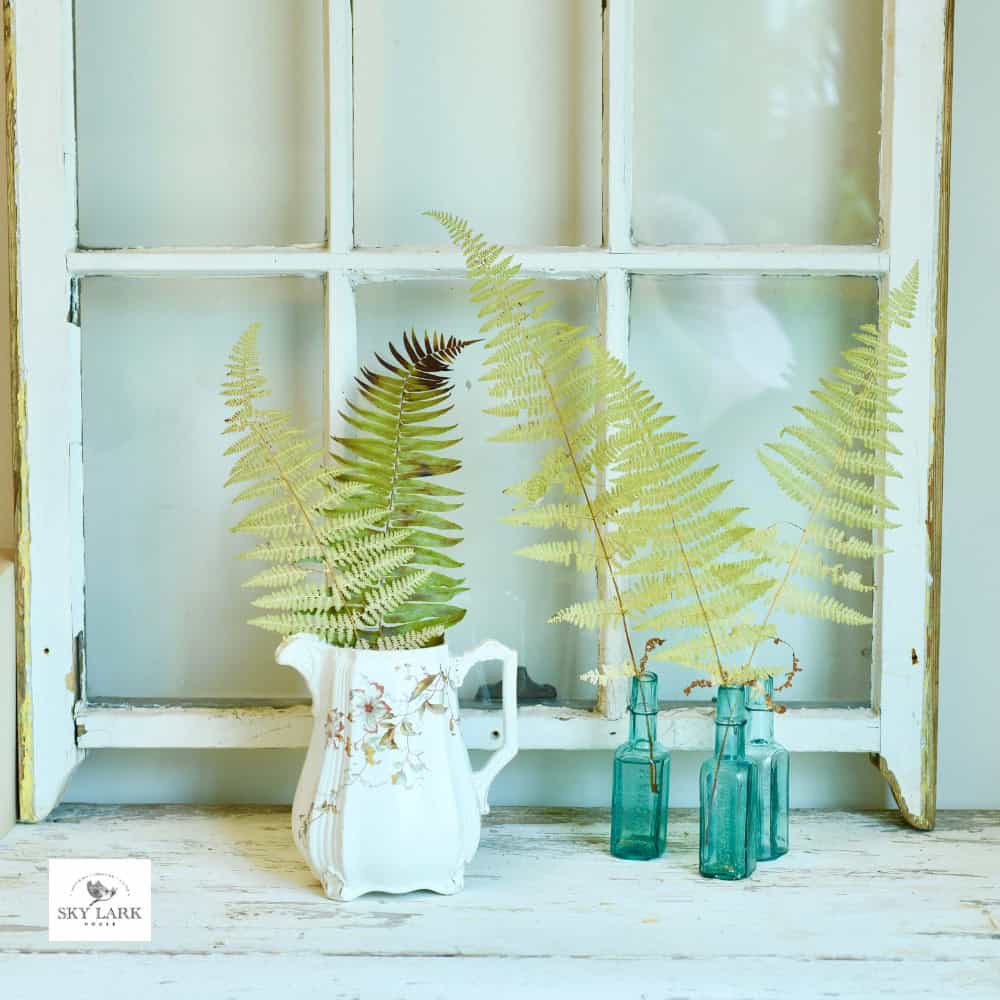
Additional Projects from the Handcrafted Society:
Pssst. Are you enjoying the content? Buying me a coffee or two occasionally is a fabulous way to support all my hard work and the content I provide. Thank you!


Tammy says
Love the ferns on the candles. I have some waxed flicker candles. It would be perfect to dress them up with some ferns.
Missy says
I love this project! I thought the fern would be my favorite and then I saw the florals. Now I can’t choose a favorite! Great post and great tutorial! ~Missy
Anna says
Kelly – I had no idea that there was such a thing as an “embossing gun”. What a game changer! Your flower candles are beautiful. Of course – I love the one with the fern. Yes, you are right – these would make a fabulous gift.
Kim says
Kelly, what a beautiful project! Your pressed flower candles are so pretty! I’ve never done this before, but you’ve definitely inspired me to try it!
Amy says
I love these candles so much! I need to make me some!
Diane says
Kelly, these candles are beautiful!!! I love ferns, so those stately beauties captured my heart. I’m off to dig out my embossing gun — it’s got to be here somewhere, right?
Michelle | Thistle Key Lane says
Your candles are so lovely Kelly! What beautiful gifts they will make, and I’m betting your mom loved hers. I’ll be adding an embossing gun to my crafting tool collection very soon! Thanks so much for the tips on this project!
Donna says
Hi Kelly! Your candles are so pretty and perfect for Spring and Summer! I recently used this technique to transfer a napkin to a candle and had no idea you could use it with dried flowers! Yours look so fabulous so I can’t wait to try this!