This year, I’m incredibly excited (and blessed) to bring on a few contributors to the Live Laugh Rowe team. Katie is super talented and as sweet as can be! I got to meet her for lunch recently and we could have talked the entire day away. Please give her a warm welcome as she shares this lovely DIY Flower Bouquet tutorial with us today!
—————————–
Hello there Live Laugh Rowe lovers! I’m Katie from The Casual Craftlete blog. I am incredibly excited to be with you all today. I am sharing a super easy but very thoughtful DIY Flower Bouquet. One of my favorite things to do is giving caring gifts to my loved ones. Plus, flowers are just so darn pretty.
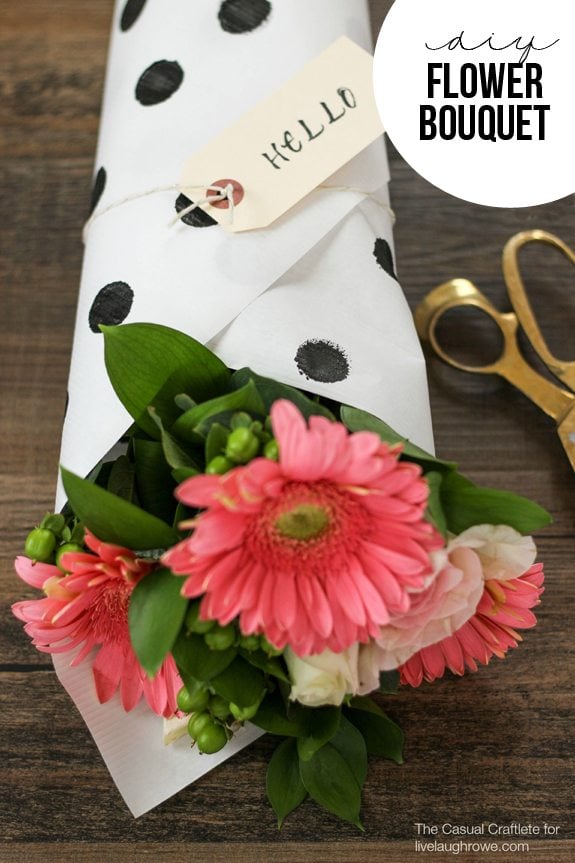 Flower season is upon us. Let’s see, there’s Valentine’s Day, Easter, Mother’s Day, Graduation and they would be darling for springtime in general. I thought that giving a flower bouquet that is wrapped by hand with a little love would be a perfect gift for all of those occasions or if you simply just want to say hello to a friend that you haven’t seen in a while.
All you need are a few supplies that you probably already have on hand, at least I did. This bouquet is very easy and takes little time to make. You just need to wait a bit until the paint dries, but that doesn’t take long.
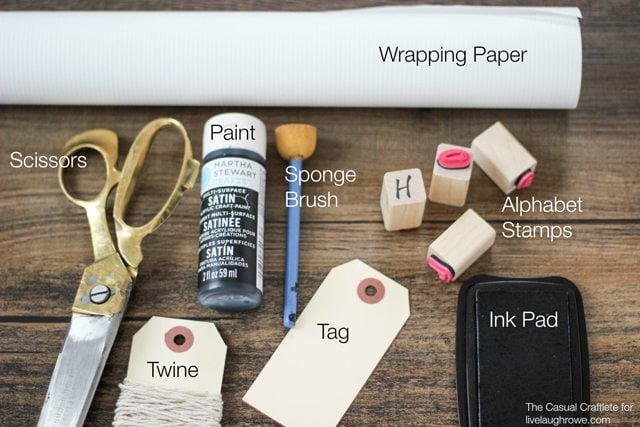 Supplies for DIY Flower Bouquet:
- White wrapping paper
- Scissors
- Black satin multi-surface paint
- Round sponge brush
- Alphabet stamps
- Black ink pad
- Manila tag
- Twine
Here is how I made it:
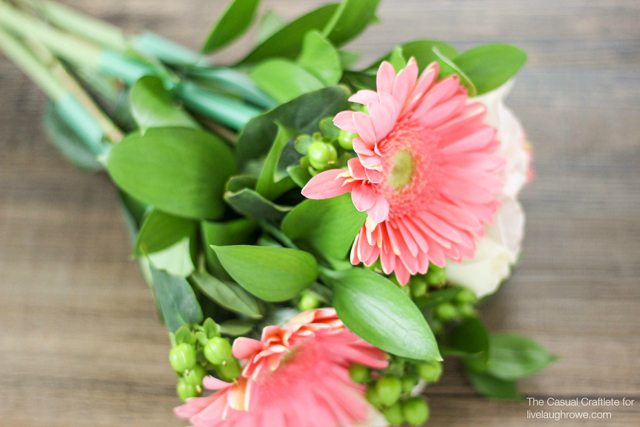 First I started by buying a pretty flower bouquet already arranged. Over the weekend I took a day trip with my mom and daughter to see my sister who recently moved to St. Louis.
We did a little shopping and one of the stores we stopped at was Whole Foods. I found this lovely bouquet of bright and pale pink flowers with lime green flower accents. It is beautiful, don’t you think? Whole Foods has the most lovely flowers and sometimes you can catch them on sale.
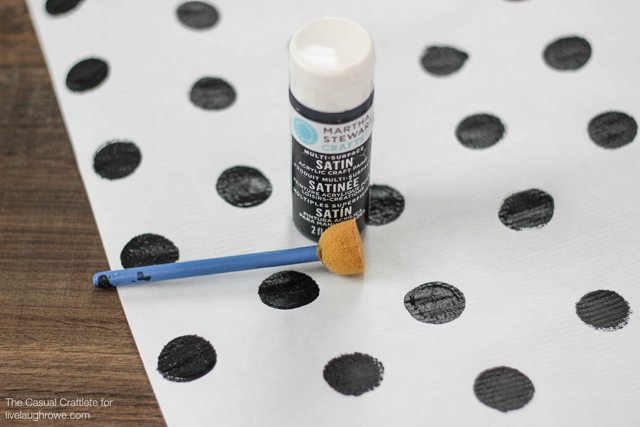 To make the paper wrap I used a textured white wrapping paper that I bought at Christmas time from Michaels.
To add a handmade touch, I used a black satin multi-surface paint and a round sponge brush to make large polka dots all over the paper. You don’t have to make the paint dots perfect. In fact, I didn’t want them to be perfect, I wanted them to look hand-stamped.
I think this pattern looks modern but still classic at the same time. Plus, any color of flowers will go with the black and white polka dots.
 Once the paint dries, gently wrap the flowers with the paper. I found that placing the flowers at one corner made it easier to wrap and it centers the flowers nicely. Then I taped the paper using clear tape. You could also use a pretty washi tape. The colors of the flowers really pop off of the white and black paper.
*Tip: Place a damp paper towel around the stems of the flowers. Then place a plastic Ziploc bag over the damp towel. This will keep the flowers moist and protect the wrapping paper at the same time.
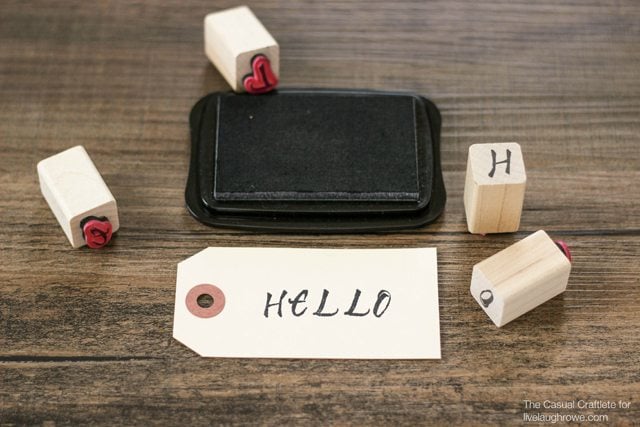 To add a personal note, I made a “hello” tag. Using an alphabet stamp set, black ink pad and large manila hang tag that I purchased from Etsy, a tag comes together in minutes.
I wrapped a piece of ivory and gold baker’s twine which I also got from Etsy around the wrapping paper and tag to secure the tag in place. You can personalize the tag to fit any occasion.
 It’s so easy and so pretty. I hope I’ve inspired you to make your own DIY Flower Bouquet give to someone you love. Looking for more inspiration? Coming right up…
DIY Peek a Boo Bags
DIY Wood Pie Box
You can also find me hanging out here:
Facebook | Pinterest | Twitter | Google + | Instagram
Between Naps on the Front Porch


thecasualcraftlete says
Thanks so SO much for the kind words, Kelly! You are too sweet. I am so thrilled to share today. Thank you for having me! xo
Heather (Woods of Bell Trees) says
This truly makes the flowers much more special!
thecasualcraftlete says
I agree! I love adding personal touches when I can.
Lynn says
I’m pretty picky with flower presentation and how I give them to others, so this is a GREAT idea! Thanks so much for sharing. Look forward to seeing more from you as a contributor for Live Laugh Rowe.
thecasualcraftlete says
Thanks for the kind words, Lynn! You can customize the wrapping and tag for any occasion. I’m a fan of that idea.
TidyMom says
how fabulous is that polka-a-dot paper!! what an adorable idea!!
thecasualcraftlete says
Thank you so SO much, Cheryl! I love polka dots. Hope you are having a fabulous week!
Lisa says
I love this idea. My daughter is starting a new job – I’ll just have to drop by her new office with a bouquet of flowers wrapped in polkadot paper. I agree black and white together is timeless…….. Thank You!
-Lisa
thecasualcraftlete says
Congrats to your daughter, Lisa! I am sure she would love to receive a pretty handmade bouquet from mom. Black and white is my favorite. xo
Jenn says
I LOVE this! Bouquets wrapped in beautiful paper is one of my FAVORITE things!
thecasualcraftlete says
AH! Thank you Jenn. It’s one of my favorites too. Well, anything with pretty paper is. xo
Brenda @ Chatting Over Chocolate says
What a gorgeous bouquet!! So glad I stumbled upon this post via Pinterest! I included it in my “Wednesday PINSday!” blog post this morning (a round up of my favorite pins of the week)! You can find it here: http://bit.ly/17TmHhQ …Thanks so much for sharing!! Have a lovely week!
thecasualcraftlete says
Thanks Brenda! I am thrilled you found my bouquet and thanks for sharing. Have a fabulous week. xo
Ashley D says
Great idea on how to fancy up a little bouquet. How special!
Katie @The Casual Craftlete says
Thank you so much, Ashley! I’m thrilled you stopped by. Hope you have a fabulous week.