
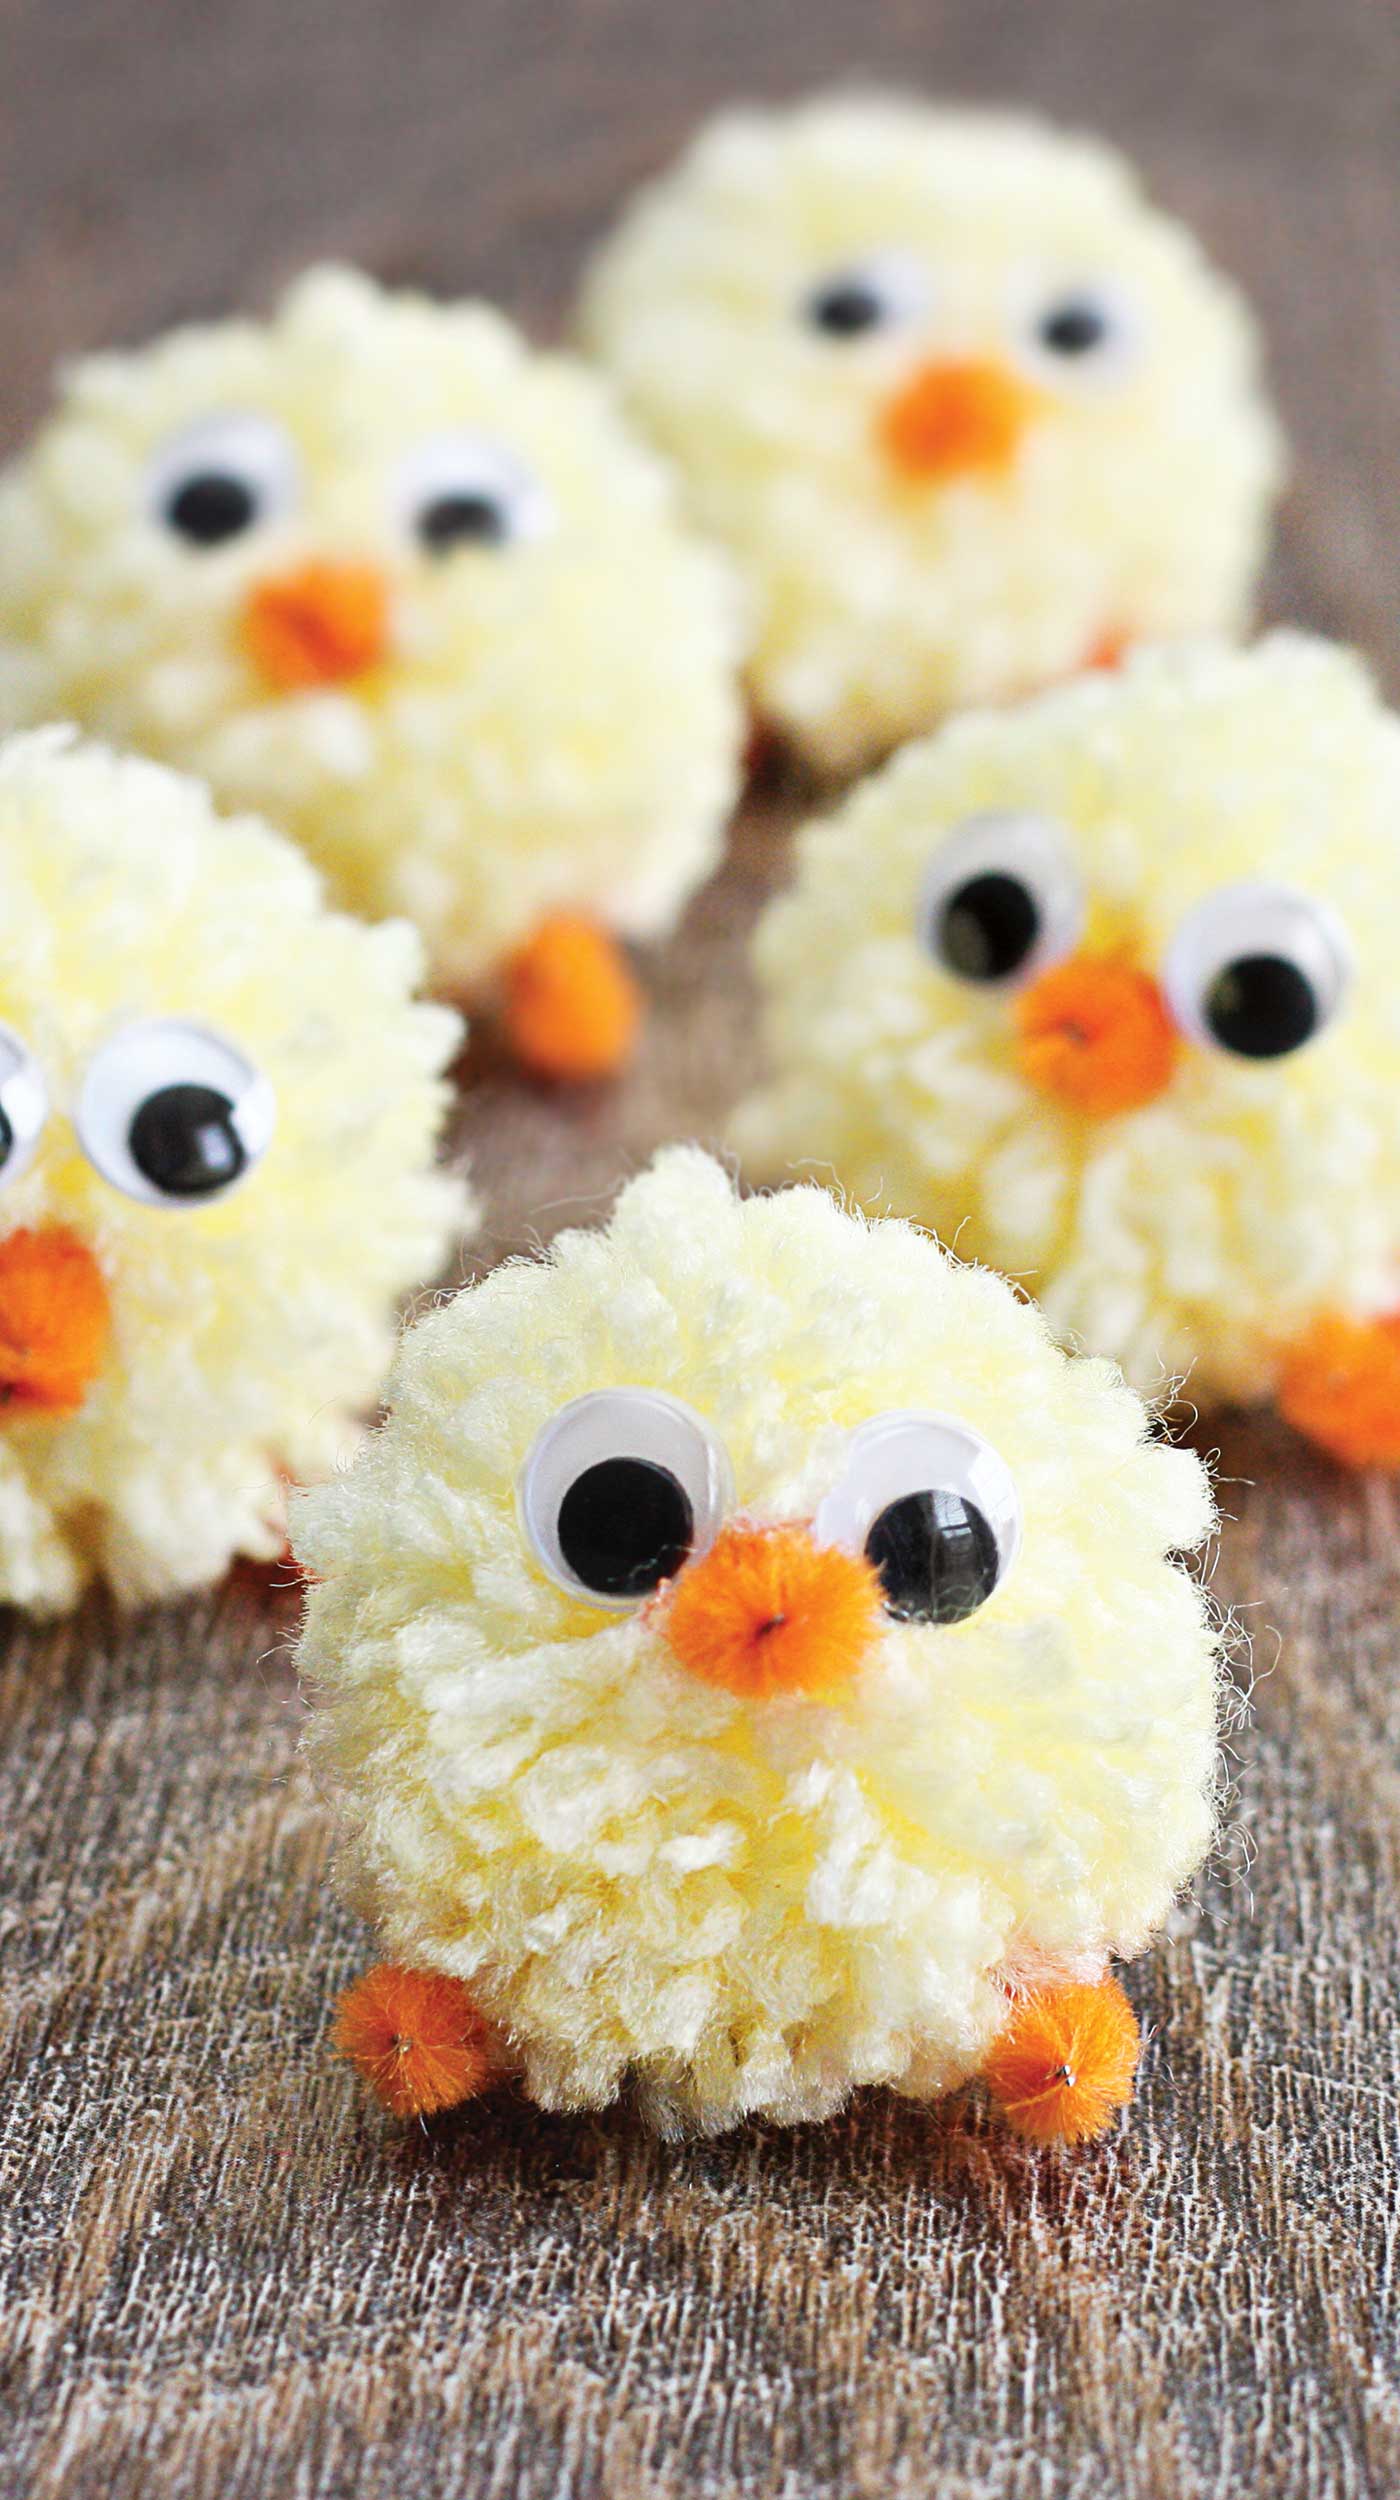
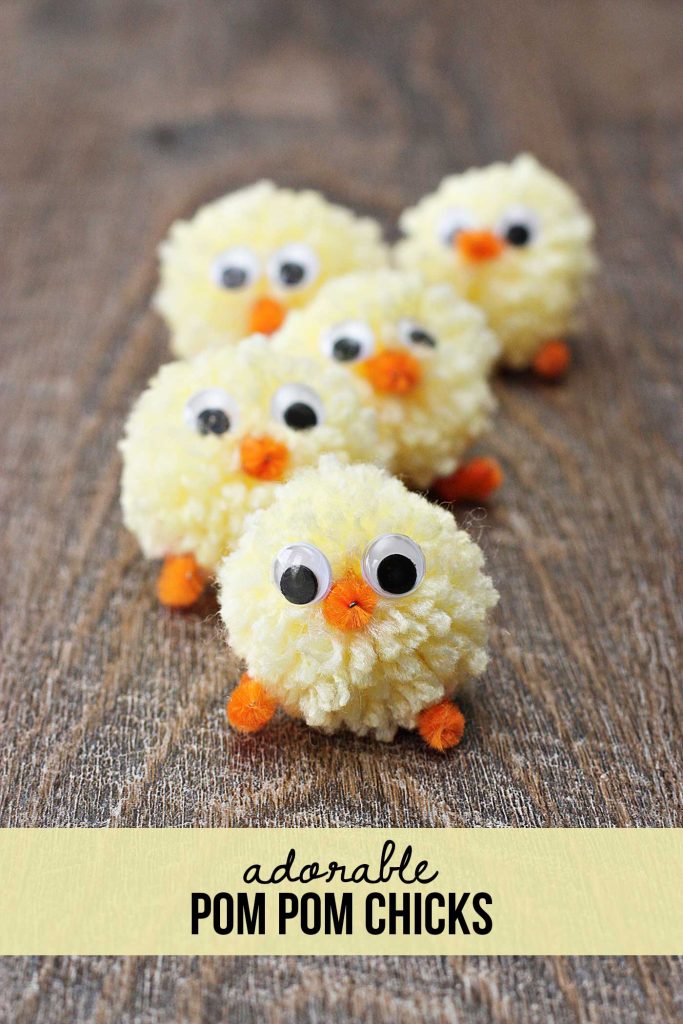
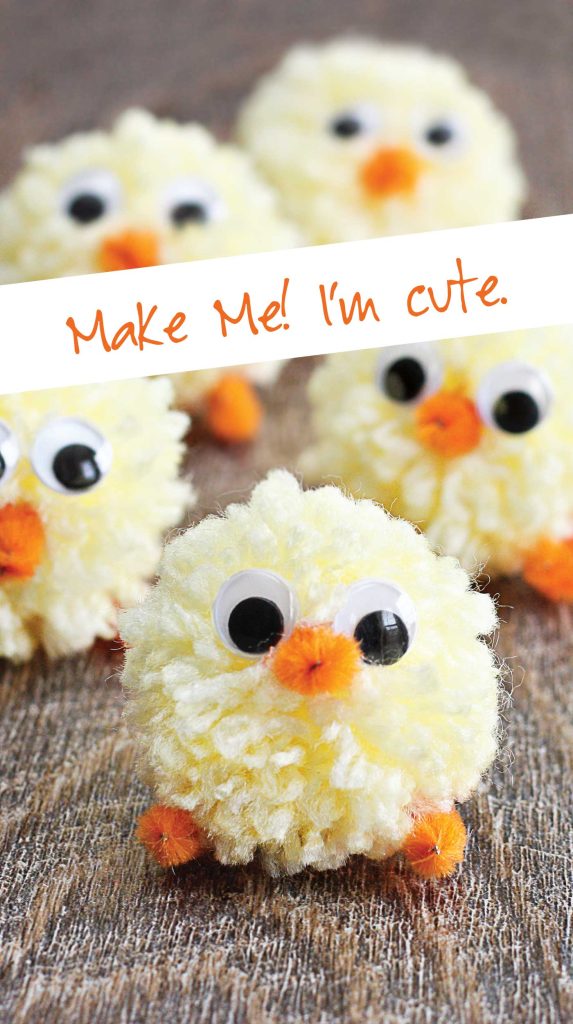
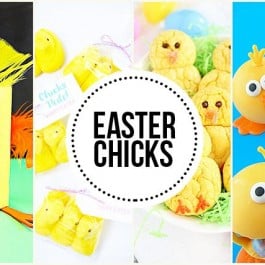
Spring is in the air, and what better way to celebrate than with an adorable, easy-to-make craft? These Pom Pom Chicks are the perfect DIY project for Easter, spring decorations, or just a fun afternoon of crafting. They’re soft, fluffy, and bursting with personality. I mean, look at those wiggly eyes! Whether you’re making them as gifts, Easter basket fillers, or playful springtime décor, these little chicks are sure to bring a smile to everyone’s face.
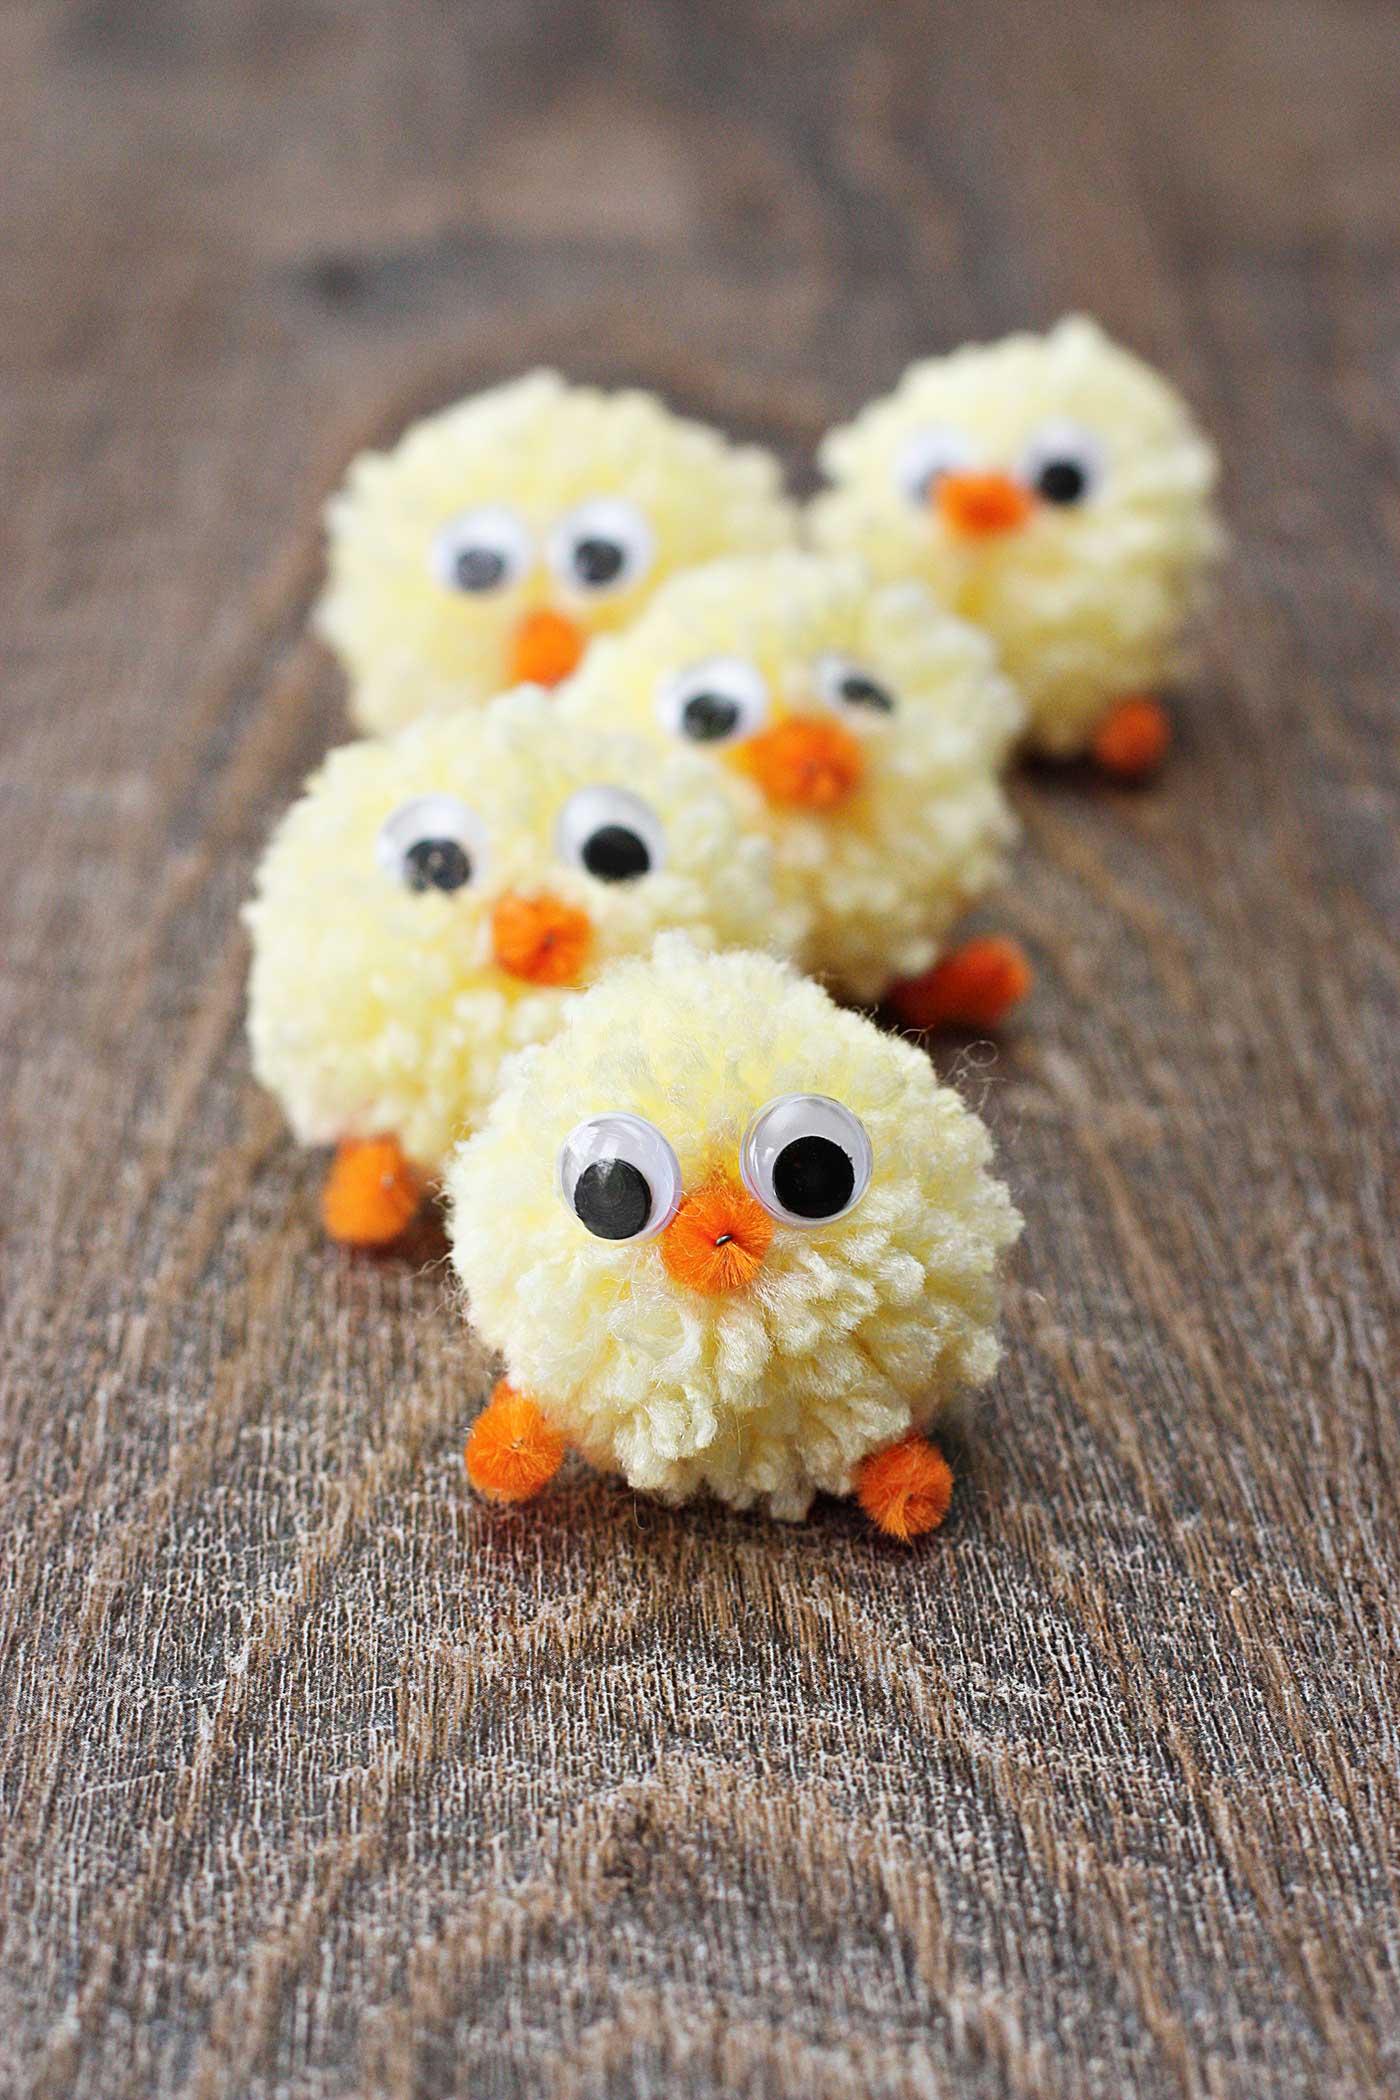
The best part? They require just a few simple supplies and come together in no time. So, grab your yarn and craft glue, and let’s make some fluffy little friends!
Why You’ll Love This Craft
- Super Easy: Even beginner crafters can make these with no trouble.
- No Mess, No Stress: Minimal cleanup means maximum fun!
- Perfect for Easter & Spring: These little chicks make great decorations, gifts, or basket stuffers.
- Kid-Friendly: A great hands-on activity for kids with a little help from adults.
- Customizable: Change the colors, sizes, and accessories for unique little chicks.
Supplies You’ll Need:
Yellow yarn
Wiggly eyes
Orange pipe cleaners
Pom pom makers (or a home-made pom pom maker)
Craft glue or Hot Glue Gun (low temp)
Craft Scissors
Wire Cutters, optional
Tweezers (for placing small details), optional
Step-By-Step Instructions
Step 1: Make the Pom Poms
First, let’s create the fluffy base of your chick. Using your pom pom maker, wrap yellow yarn around both sides of the tool until it’s thick and full. The more yarn you use, the fluffier your chick will be! Once fully wrapped, close the pom-pom maker and cut along the edges with scissors. Tie a piece of yarn around the center tightly to secure it before removing it from the maker.
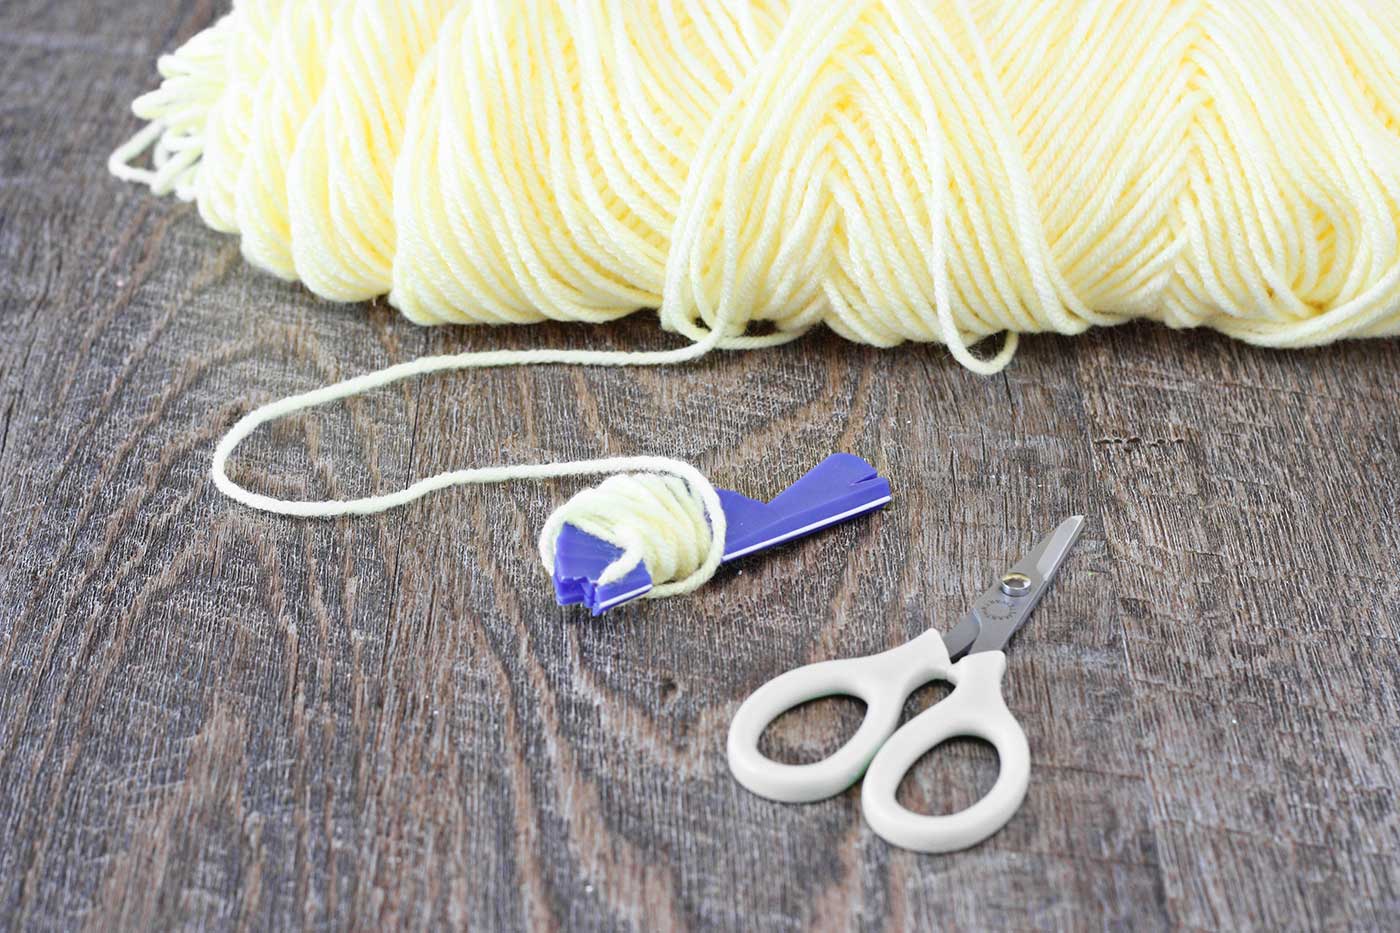
Repeat this process for as many chicks as you’d like to create. If you don’t have a pom pom maker, no worries! You can use a homemade pom pom maker. Yay!
Step 2: Trim and Shape
Once your pom poms are made, give them a little haircut! Use scissors to trim any stray pieces and shape your pom pom into a round, fluffy ball. Don’t worry about making them perfect—fluffy and slightly uneven just adds to the charm!
Step 3: Create the Beak and Feet
Cut a small piece from an orange pipe cleaner for the beak. A tiny dab of craft glue (or hot glue if you’re in a hurry) will hold it in place.
Cut two small pieces of orange pipe cleaner for the feet and bend them into tiny “L” or “V” shapes. Glue them to the bottom of the pom pom, making sure they’re positioned to help the chick stand up on its own.
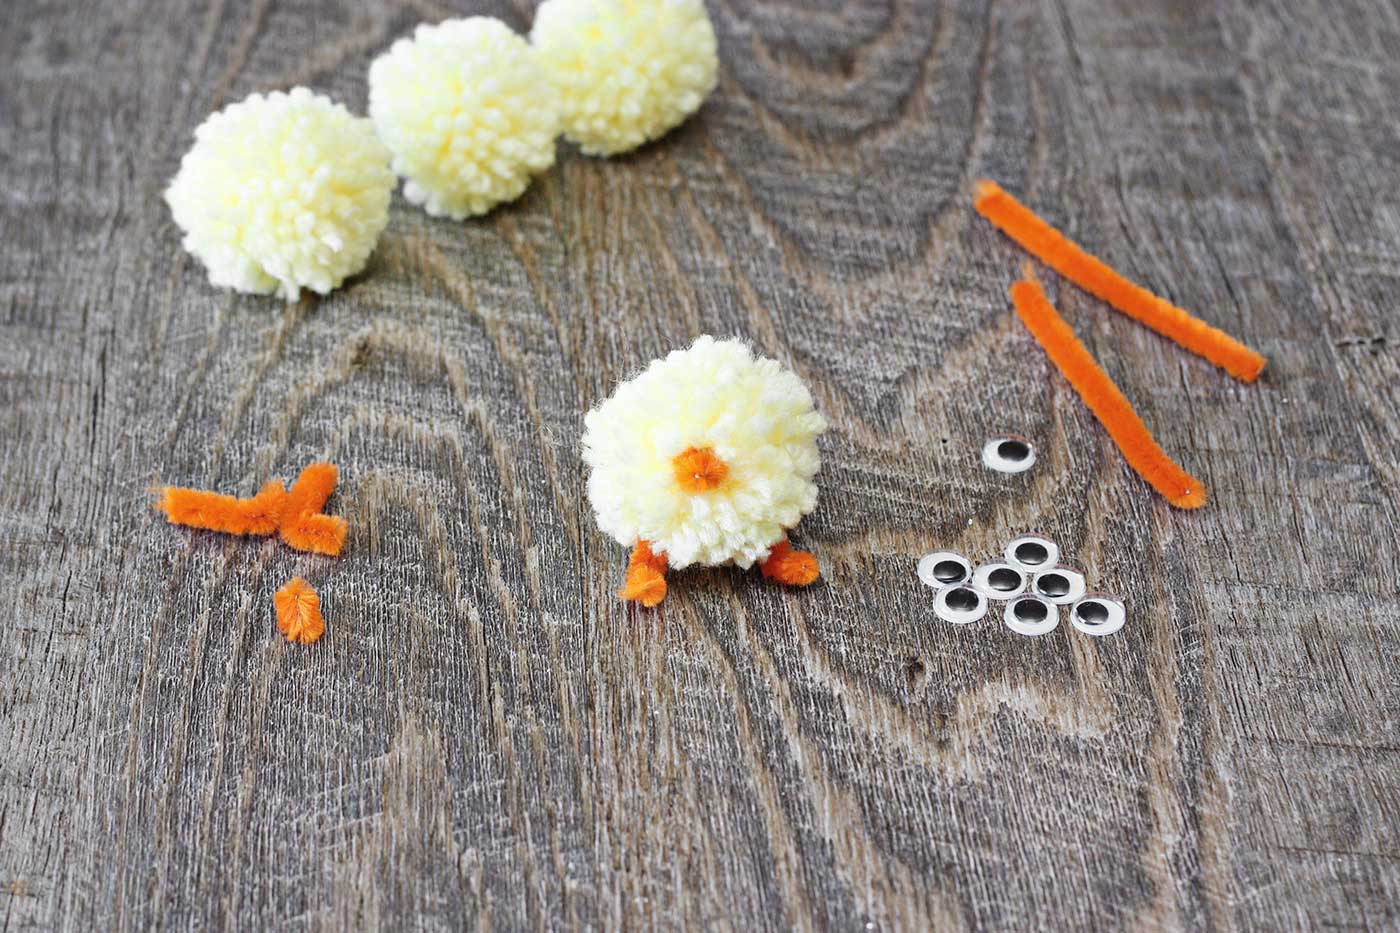
Step 4: Add the Wiggly Eyes
Now it’s time to give your chick some personality! Grab your wiggly eyes and attach them using craft glue. If you’re crafting with kids, let them experiment with eye placement—cross-eyed chicks, wide-eyed chicks, or sleepy chicks all have their own kind of charm.

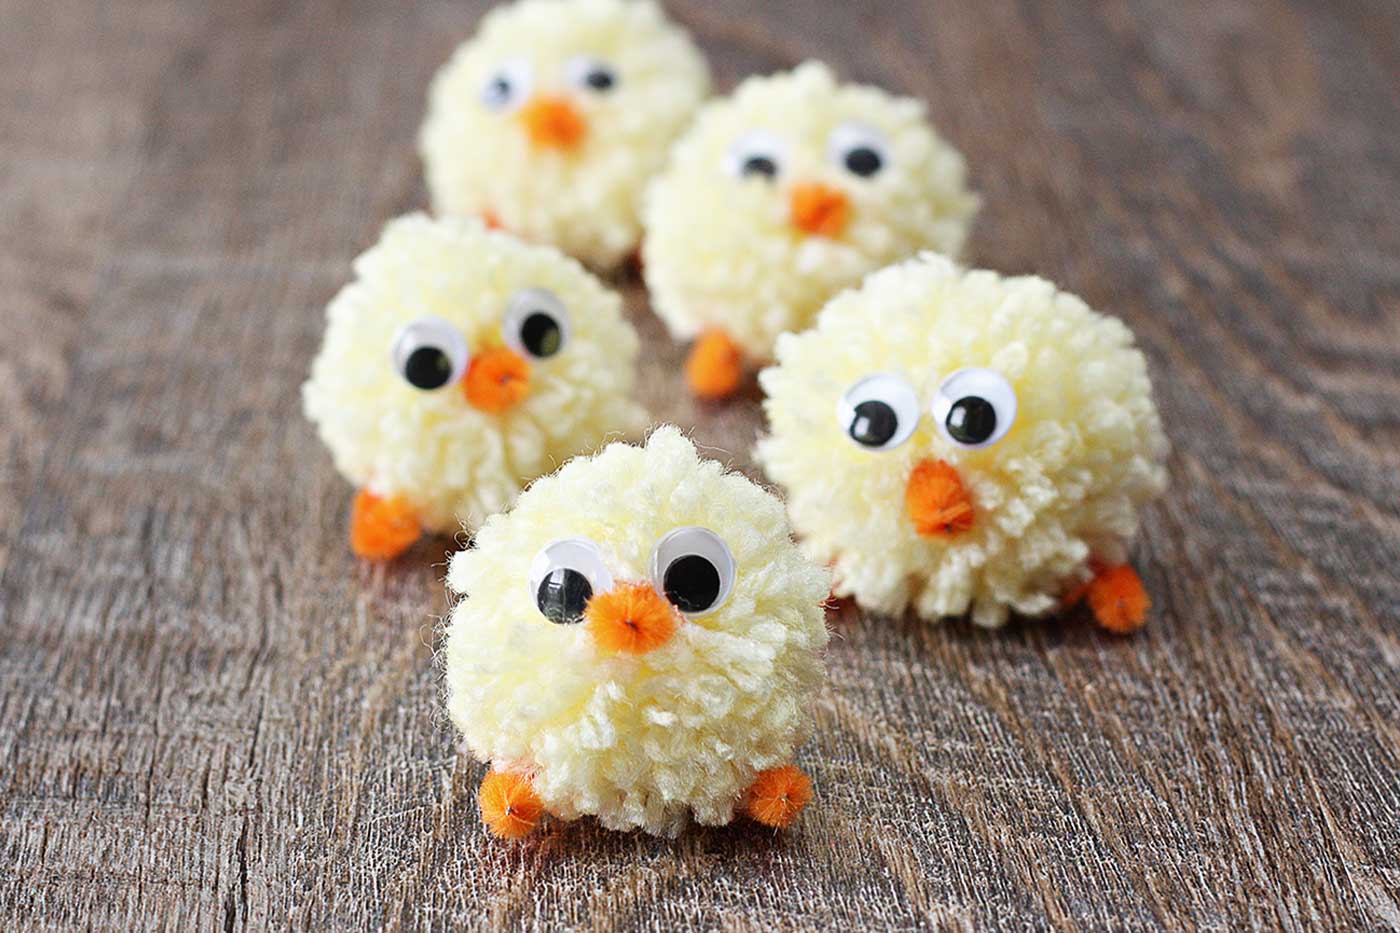
Step 5: Let Them Dry & Fluff Them Up!
Give your Pom Pom Chicks a little time to dry (if necessary) before handling them too much. Once they’re set, fluff up the yarn with your fingers to make them look extra cuddly.
Ways to Use Your Pom Pom Chicks
Once you’ve made a batch of these fluffy friends, here are some fun ways to use them:
- Easter Basket Fillers: Tuck them into Easter baskets for an adorable surprise!
- Table Decorations: Scatter them around your Easter brunch table for a festive touch.
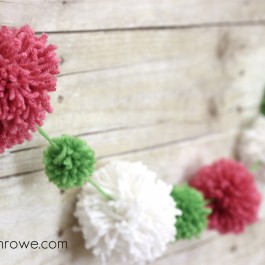
- DIY Garland: String them together with yarn to create a cute Easter or spring garland.
- Classroom Craft: A great springtime activity for kids in school or daycare.
- Gift Toppers: Attach one to a wrapped Easter gift for extra charm.
- Springtime Friends: Kids will love using them for imaginative play!
Tips & Tricks for the Perfect Pom Pom Chicks
- Make different sizes! Use different pom pom makers to create chicks of all sizes—tiny baby chicks and big fluffy mamas!
- Experiment with colors. While yellow is classic, try pastel pink, white, or even speckled yarn for a fun twist.
- Use felt for features. If you don’t have pipe cleaners, small felt cutouts work great for beaks and feet.
- Hot glue dries faster. If you’re in a rush, a dab of hot glue will set in seconds! (Just be careful with little hands.)
- Make them into magnets! Glue a small magnet to the bottom for an adorable fridge buddy.
Fun Variations to Try
Want to take your Pom Pom Chicks to the next level? Here are a few creative ideas:
- Spring Animals: Turn them into bunnies or lambs by adding felt ears and different colors of yarn.
- Dressed-Up Chicks: Add mini bows, hats, or scarves for extra cuteness.
- Glittery Chicks: Brush a little glue on the tips of the yarn and sprinkle with fine glitter for a magical touch.
- Painted Beaks & Feet: Instead of pipe cleaners, paint small pieces of cardboard or felt for extra customization.
Other Easter Crafts you might enjoy:
Scrap Fabric Easter Wreath
Easter Gift Boxes
Printable Easter Gift Tags
DIY Burlap Easter Bags
Pom Pom Chicks: The Cutest DIY Easter Craft
These Pom Pom Chicks are the ultimate mix of easy, fun, and absolutely adorable. Whether you’re making them solo or with a group, these fluffy little friends will bring a touch of springtime joy to your home. Plus, they’re so quick to make that you might find yourself with a whole flock before you know it!
So, what are you waiting for? Grab some yarn, get crafty, and bring these little chicks to life!
I’d love to see how yours turn out—share your creations, and let’s celebrate spring together! Happy crafting! ✂️


Leave a Reply