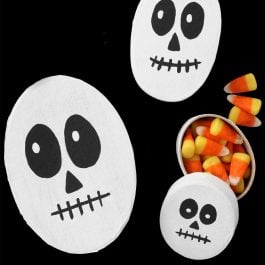
Looking for a fun and unique halloween craft that would make some fantastic Halloween Party Favors (or gifts)? Look no further! These Halloween Peat Pots are darling — and there are no rules other than to have fun!
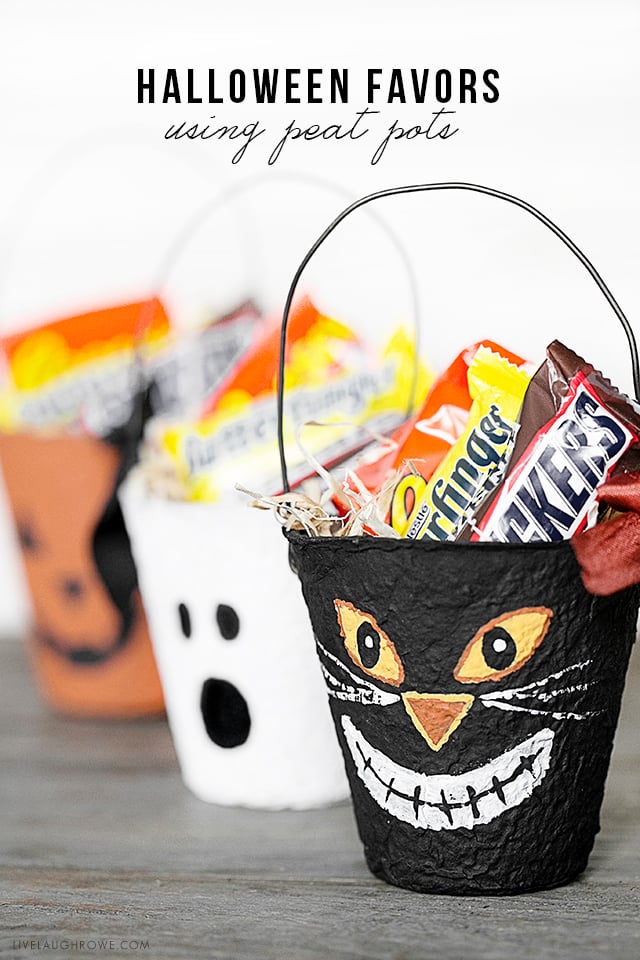 Adorable Halloween Party Favors (or Gifts) using Peat Pots

This past spring, I was shopping at The Vintage Peddler here in Springfield, MO and they were giving all of their shoppers the cutest little buckets with some treats in it. Then I spotted some Halloween paper mache candy buckets over at House of Hawthornes displayed in her vintage Halloween decor. Hmmmm….
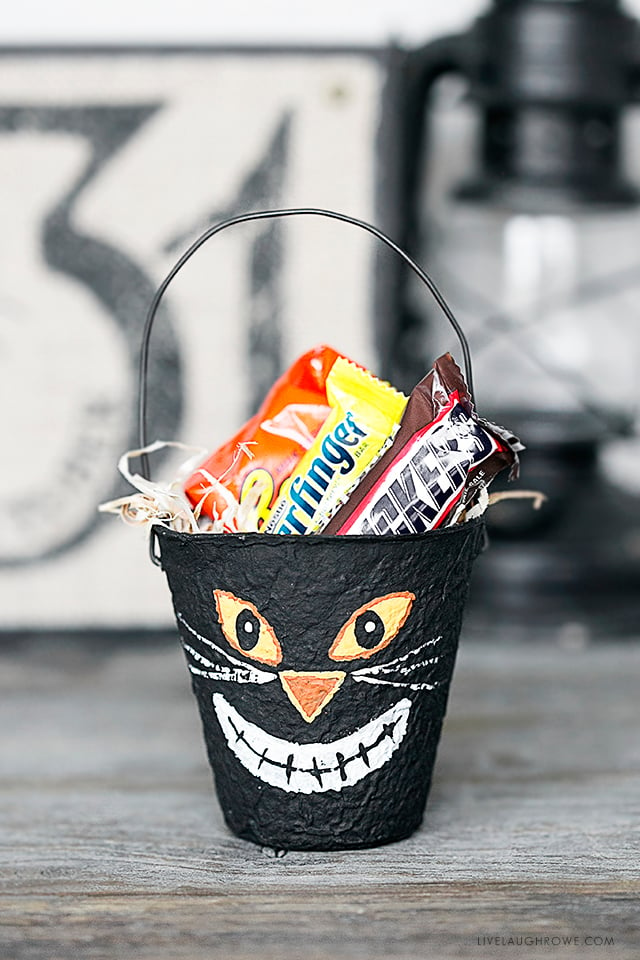
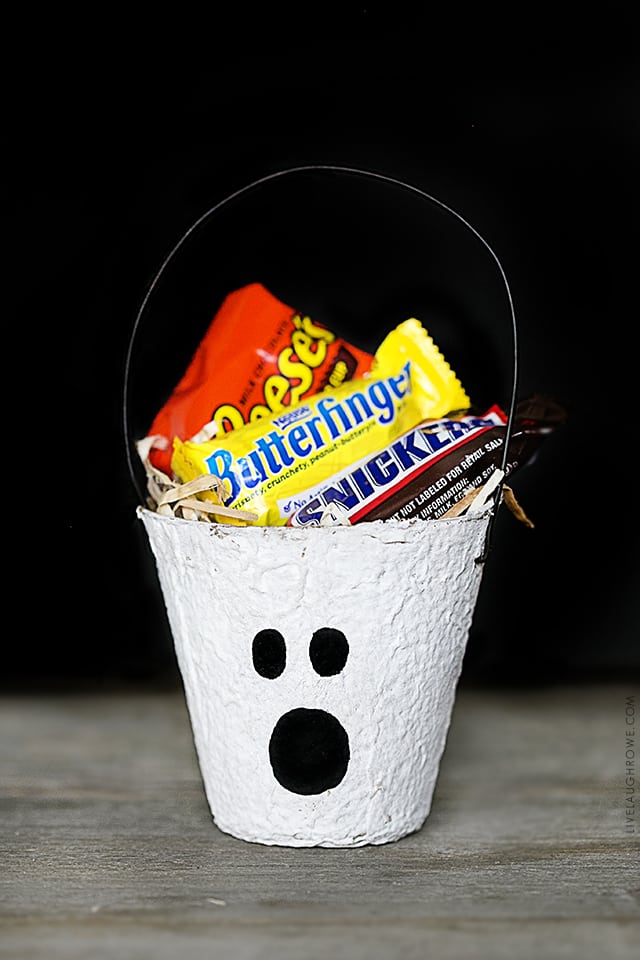
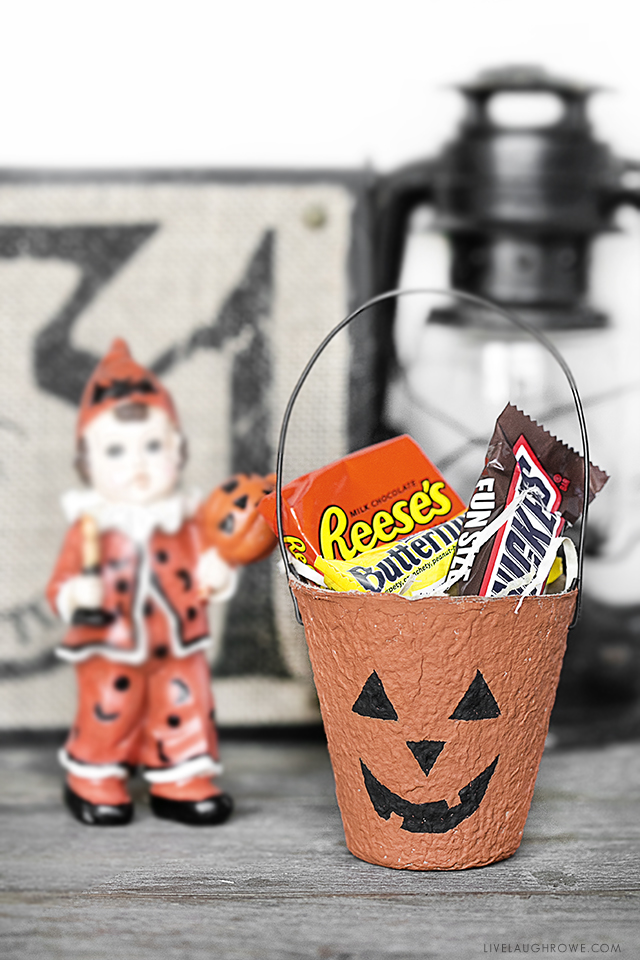
Supplies for Vintage Inspired Halloween Party Favors:
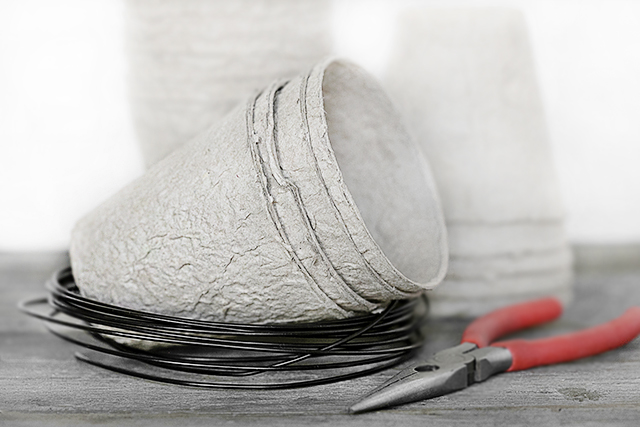
Peat Pots (I purchased these)
16 Gauge Black Tie Wire (purchased mine at local hardware store)
Wire Cutters
Paint Brushes
Round Nose Pliers
Wood Excelsior (basket filler)
Seam Binding Ribbon
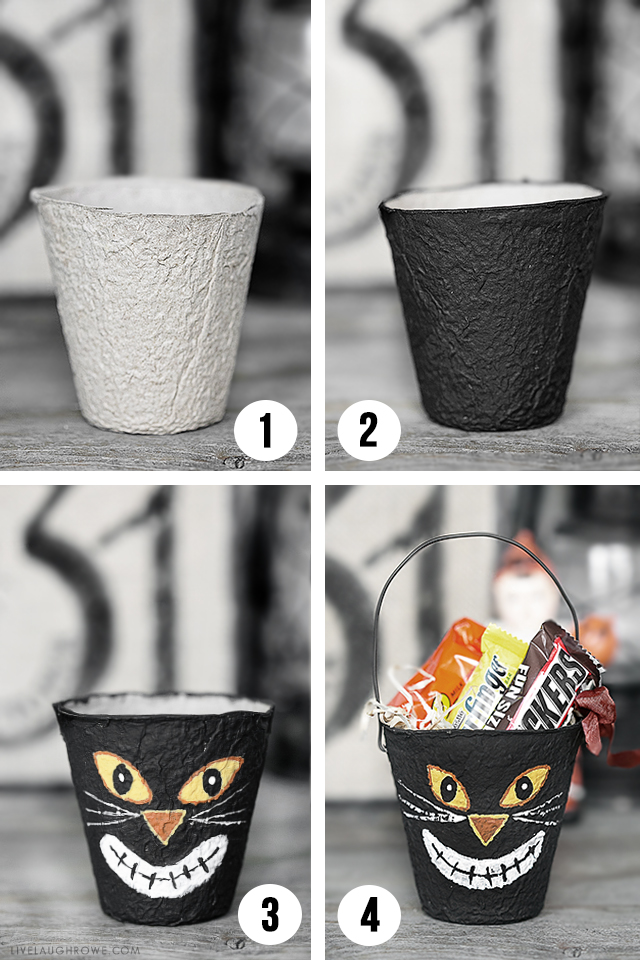
Step One and Two: Preparing the Peat Pot
Grab your peat pot, decide which face you’ll be painting and brush your base color on. Obviously you’ll paint the pot black for the cat, white for the ghost and/or orange for the pumpkin. Allow to dry completely.
Specific colors I used: Apple Barrel 20504 Black, FolkArt 2249 Pueblo, Americana Snow White and Craft Smart Mustard Yellow.
Step Three: Face Painting
Painting on the faces. Due to the bumpy nature of the peat pots, using a stencil or template seemed useless. So, I painted mine freehand. The good thing with this type of a project is that you can fix any boo-boos with more paint (woo-hoo).
Step Four: Add Wire Handle
Cut an eleven to twelve inch piece of wire. Using the wire, poke small holes in either side of the peat pot. Again, I just eyeballed it. Using round nosed pliers, I twisted up the wire on the inside of the pot.
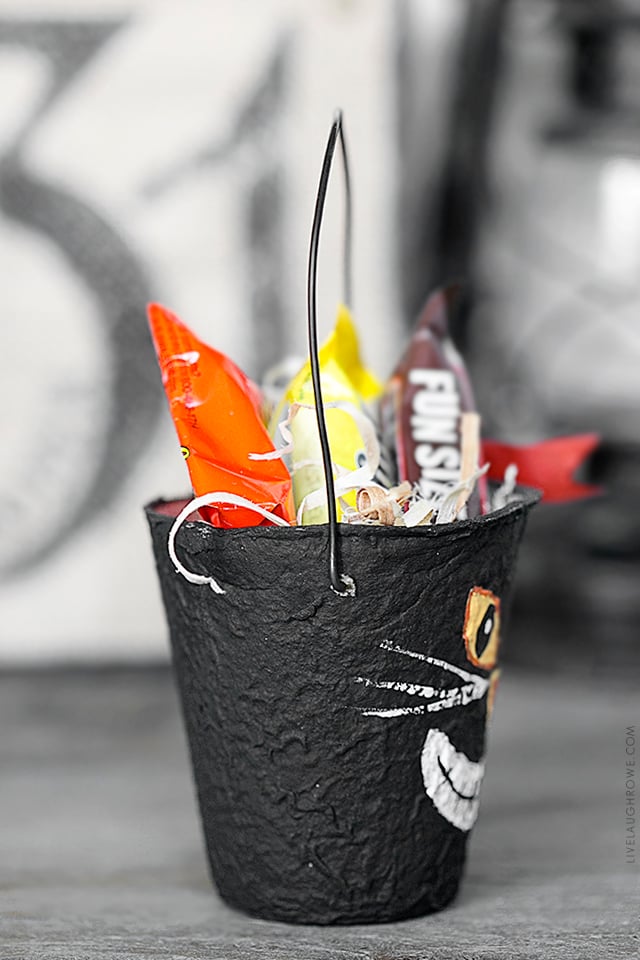
 Halloween Peat Pots

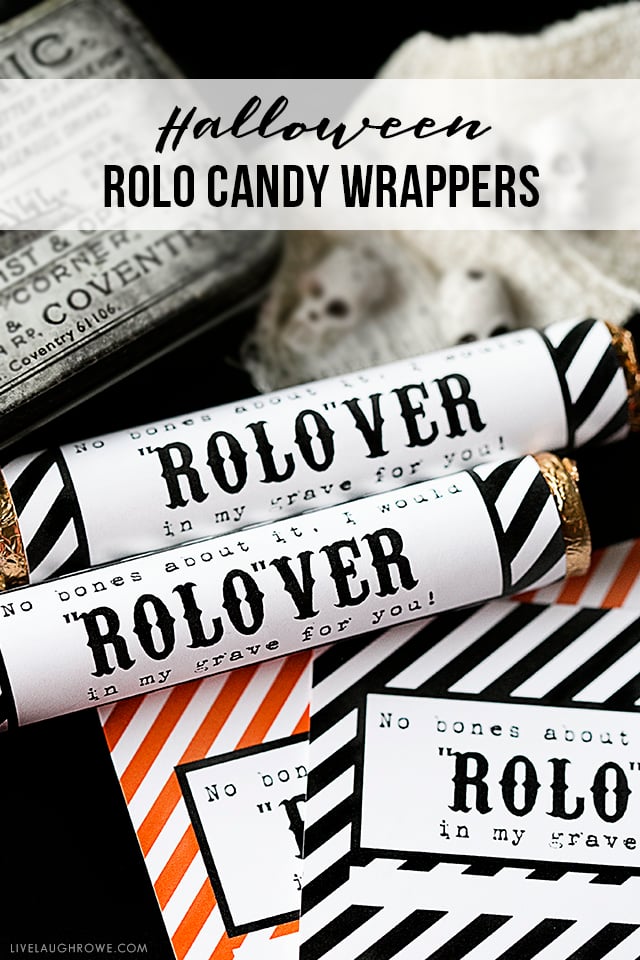
Guess what? I happen to be sharing a fun Halloween Printable over at Eighteen25 today too. No bones about it, I would “ROLO”EVER in my grave for you.
Looking for some more Halloween inspiration?
Countdown to Halloween Printable
Rest in Pieces Halloween Printable Treat Tags
Halloween I Spy Printable | Game for Kids
Eat Drink and Be Scary Printable

Facebook | Instagram | Pinterest | Twitter | Google+
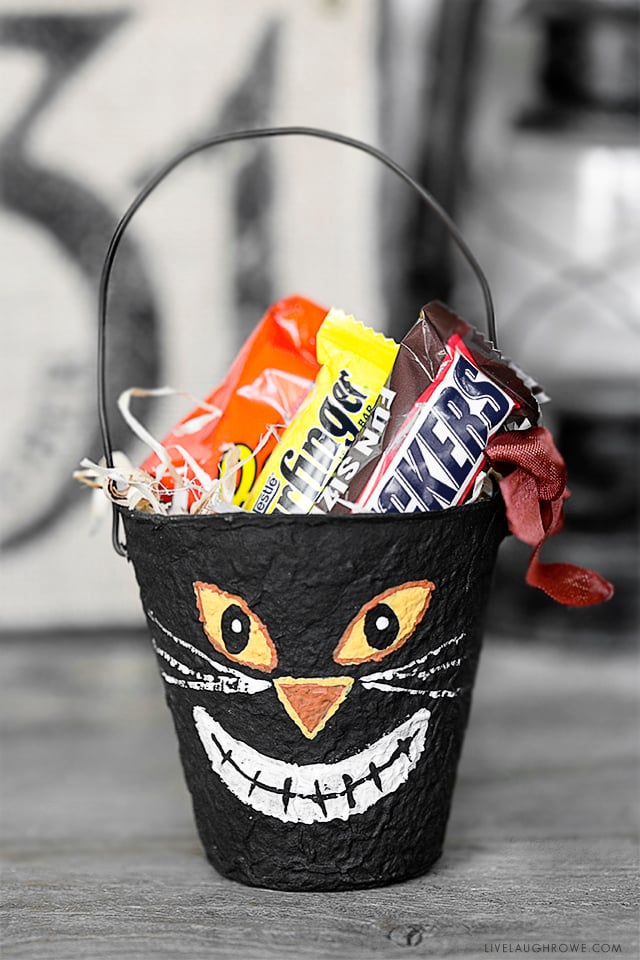 Halloween Peat Pots


cookie17 says
Hi. It’s been while and I usually don’t write anything but had to on these little peat pots. They are darling. I may have try them. One idea is to paint around the bottom of them put little flowers around bottom for spring. Thanks so much.
Christine says
These are so cute! The kids will love to help make these for Hallween, just the idea we were looking for, thanks!