
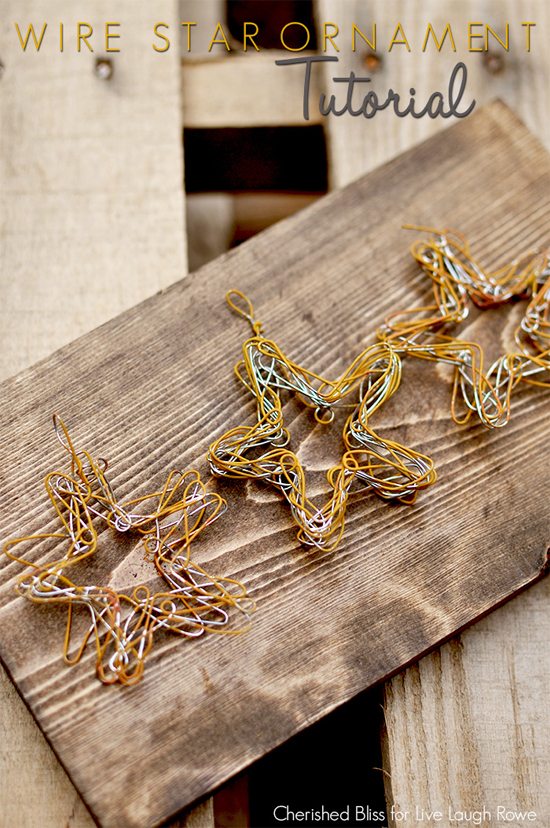
Happy Tuesday Live Laugh Rowe Readers! I’m Ashley from Cherished Bliss, and I am SO excited to be here today. This fun little Wire Star Ornament I’m sharing with you today marks the first craft of the Christmas season for me! I always have big plans for making a Christmas tree full of handmade ornaments and then BAM, Christmas time is here and I’ve barely made any ornaments. This year I’m really hoping to get my handmade tree! Let’s kick things off with these little guys shall we!
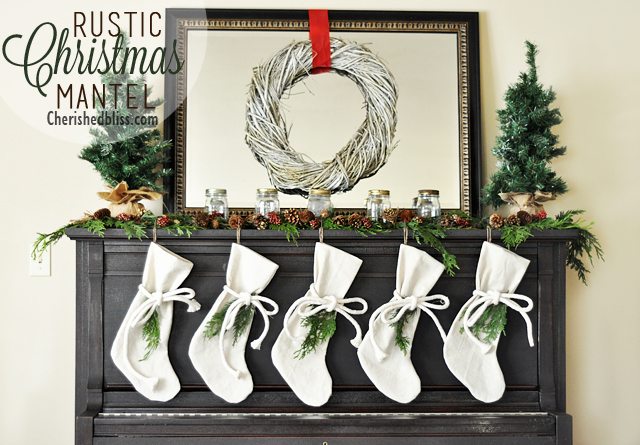
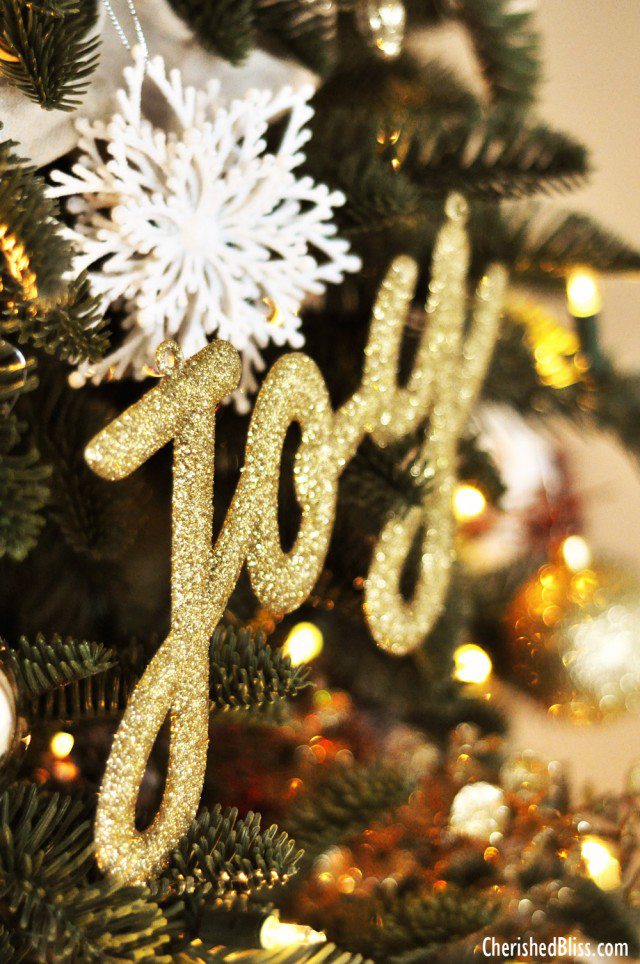
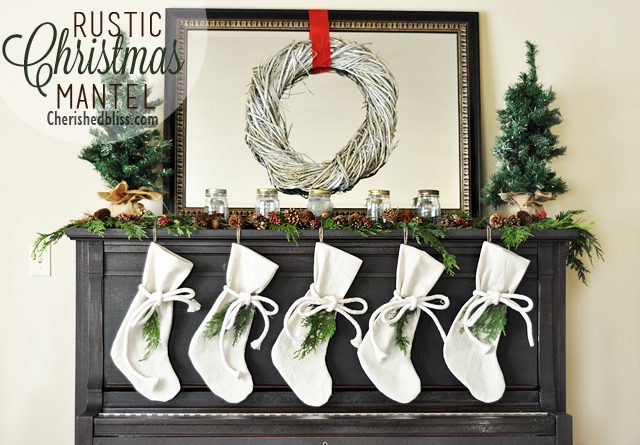
 I have always enjoyed changing up my theme for Christmas each year. Maybe it’s because I have a very eclectic style and I like lots of different things. A few years back I did a very whimsical and bright tree, I’ve done the whole “burlap” theme, and last year I went Rustic with a little bit of glam in there (you can see my tree and my mantel). Rustic is definitely more “me” so I think I will go that route again this year, but I’m thinking a little more cozy this year instead of the glam. And if you know me then there will definitely be some white thrown in the mix along with some vintage flair ; ).
But let’s talk about these cute little ornaments and what you will need to make them.
Supplies:
Craft Wire (20 gauge)
Scrap piece of wood
Drill or Impact Driver
10 wood screws
Star Template
Wire Cutters
Paint
How to Make Wire Star Ornaments:
These are actually quite fun to make! Each one comes out a little different and you can totally have fun with it! For the actual template, I just printed off a star sized to 3 inches x 3 inches. If you have even the smallest amount of drawing abilities, you could probably just draw it, but I have ZERO. Needless to say, this is why I decided to print it out.
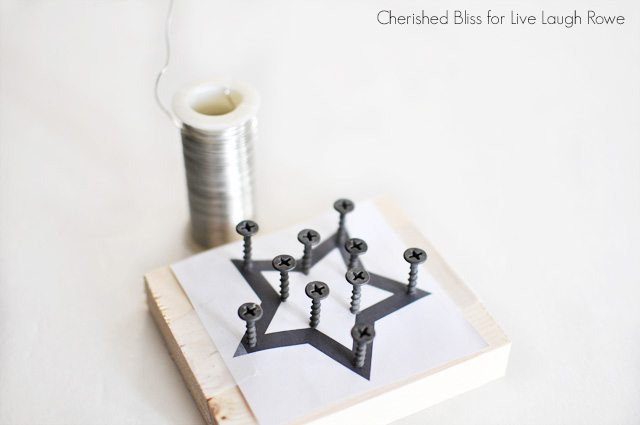 Once you tape your star onto your wood (or draw), drill your screws into each peak of the star. And then we will begin wrapping the craft wire around.
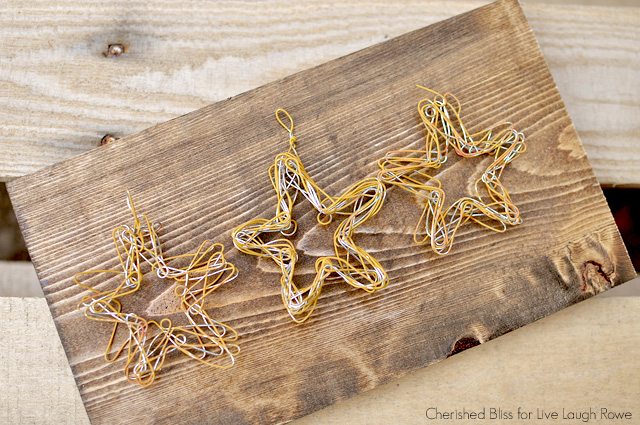
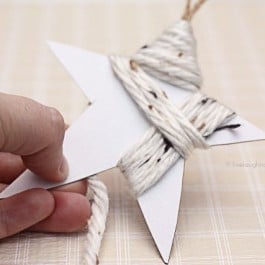
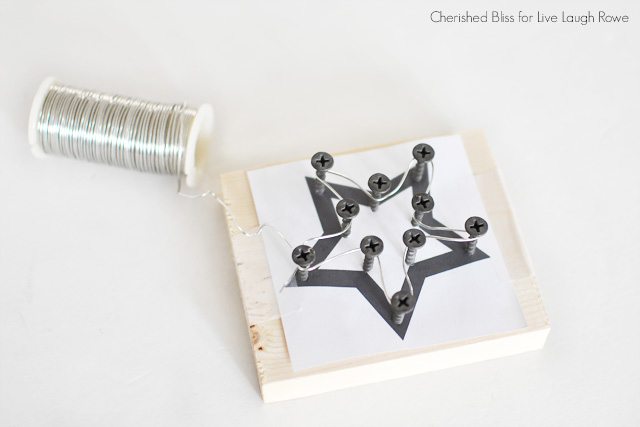 To start you will need to wrap the end of the wire all the way around one screw to keep it in place. Then weave it around the screws as pictured above. This will create your base for the stare. After this you can start wrapping the wire all the way around one screw head before moving on to the next in order to create little circles. You can weave it in different directions (still following the shape of the star) until you get the thickness you want. I probably made about 6 full paths around the star.
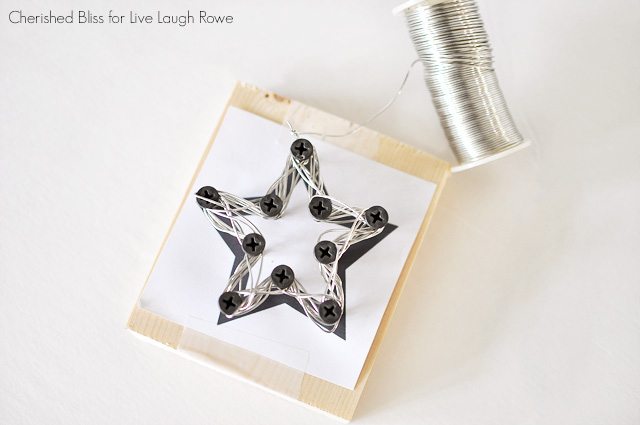 Once you are done wrapping the wire, leave some excess at the top to create a loop for your ornament hook, and use your wire cutters to cut the wire.
I decided I wanted mine to look a little “rusty” so I went digging through all my craft paint and the closest thing I could find was a dark gold color. It turned out better than I thought it would! From a distance it actually looks rusty since I didn’t fully coat the star. To paint it, I used a small sponge dauber, which worked really well for me.
 I hope you enjoyed this little ornament tutorial. I had so much fun being here while Kelly is soaking in her fabulous vacation! I would love to stay connected with you! You can stop by my blog and say HI or connect with me on social media, I’m kinda addicted to Instagram (wink).
You can find some of last years decor below!


Janelle @ Wholly Healthy says
I love how these look!
Ashley+Thurman says
Thank you so much Janelle! I am having so much fun with handmade ornaments this year!
Vicky says
You talked about paint and I didn’t see paint. Also, did you remove screws every time?
Ashley+Thurman says
Hi Vicky. I talk about the paint right above the last ornament picture. All the craft wire is silver, and I just used some gold paint and a paint dauber to apply some paint to the wires. I wasn’t trying to paint the whole thing, but rather give it a “rust” look. I did remove the screws after I finished each star in order to get the wire off without messing up the shape. I reused the same piece of wood each time though, I just went right back into the same screw holes : ) Hope that helps! Let me know if you have any other questions! : ) Thanks for stopping by!
Agata says
How much is the diameter of the wire?