It’s here! A couple of weeks ago I shared my DIY iPhone case that I customized to brand my blog on Facebook and Instagram. A lot of you asked for the tutorial, so here we go. YAY! Now, let me first say that this tutorial is for an iPhone case; however, with the right supplies, this could be done for any phone if you can find a case that has a clear back.
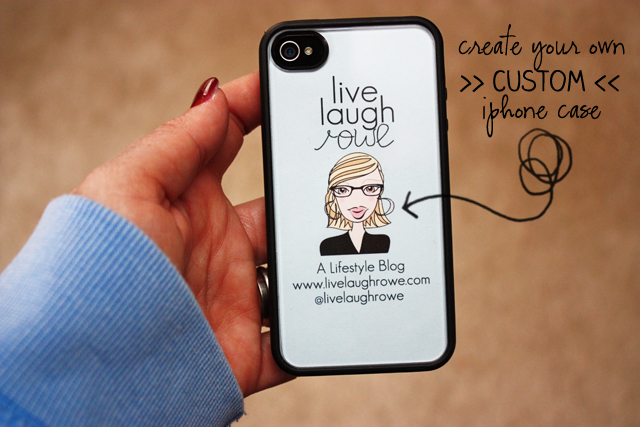 Blissdom was the first time I used my new case and it was a hit! Thee perfect conversation starter, so imagine how much attention you could get carrying that with you wherever you go! Just be sure to have your business cards on-hand too {wink}
So, without further ado — let’s personalize an iPhone case and brand your blog or shop!
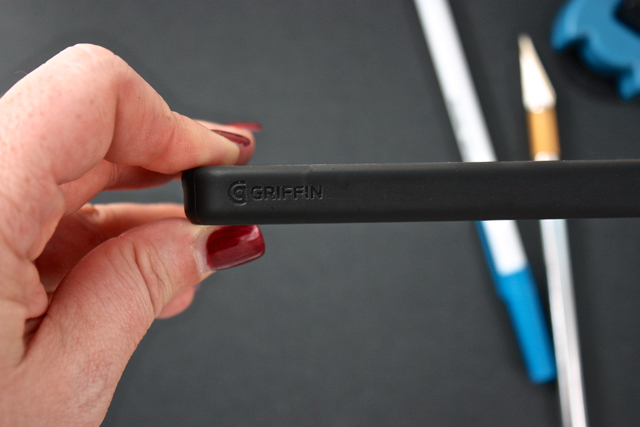
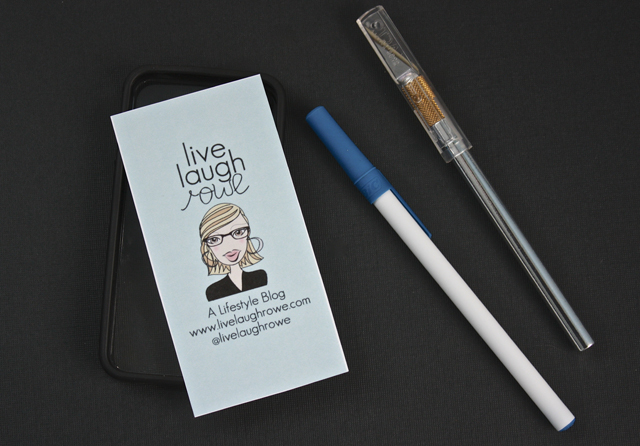
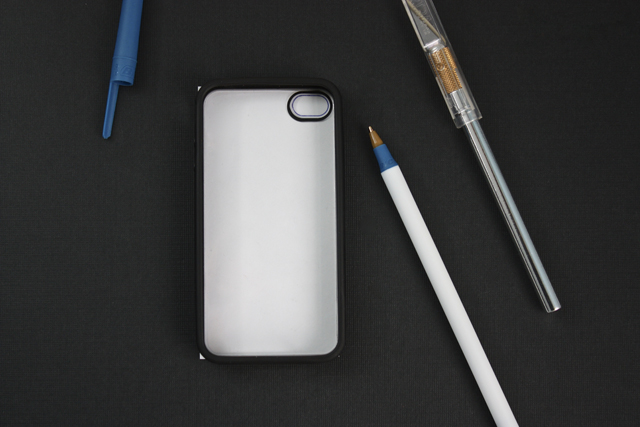
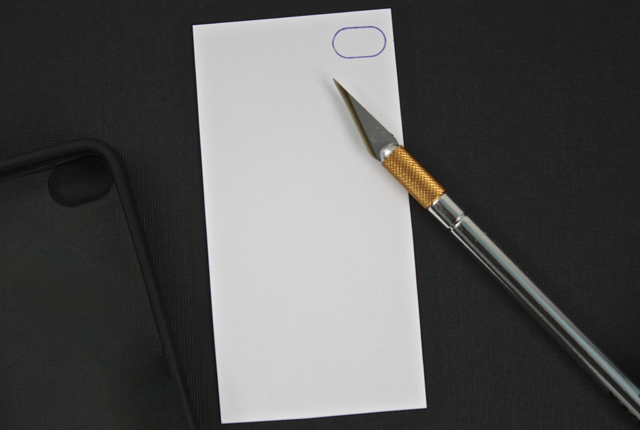
Supplies needed: computer program to design your insert (I used Adobe Photoshop), clear back phone case (mine is the Reveal by Griffin – pictured below), printer, card stock/paper, scissors, and an X-ACTO knife.
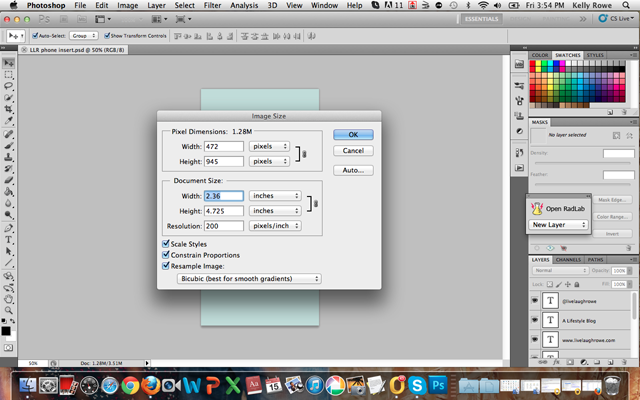
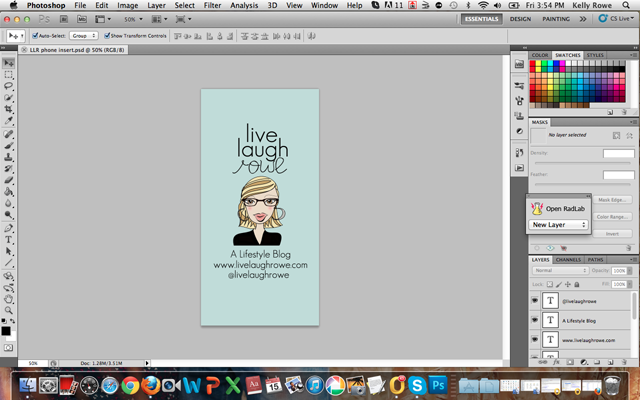
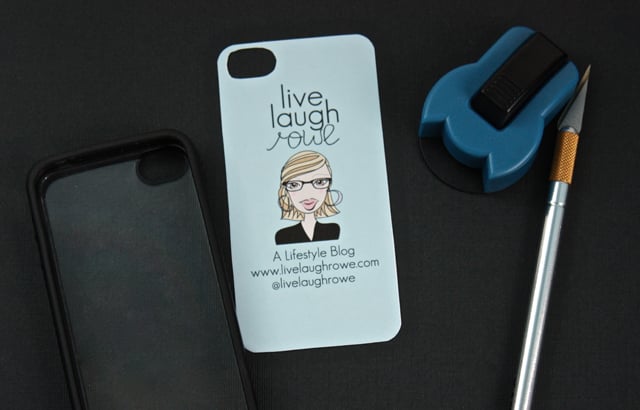
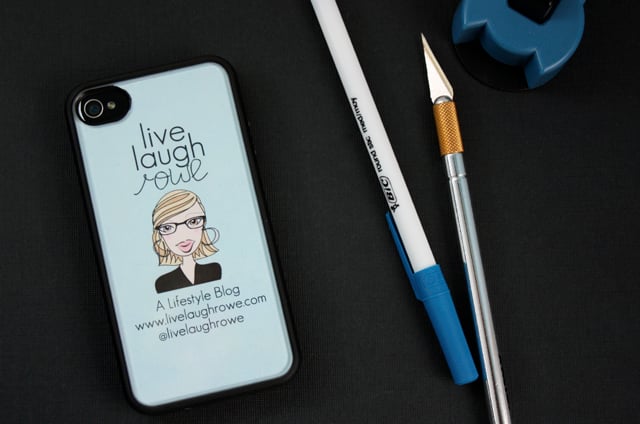
What’s even better is that it’s interchangeable! Fabulousness.
Now it’s your turn to create your own DIY iPhone case
Happy Crafting and marketing yourself! xo
I’ll be partying {here and here}.
Subscribe to Updates | Like on Facebook | Follow on Pinterest





Jenn says
That is awesome Kelly! I love it!
Melissa B says
Love it, thanks!
nest of posies says
clever girl!!!
Jeannine @ The Concrete Cottage says
This is so freakin’ cute!! Love the idea. Thanks!
Cheryl @ That's What Che Said... says
I love it!!! Super, super cute!!
Cindy Eikenberg says
Thanks, Kelly, this is awesome! This is a wonderful idea and thanks for sharing the step-by-step. Have a great week!
Claire @ A Little Claireification says
You know I love this!! (and it looks amazing in person too!) 🙂 Thanks for the tutorial!
xo, Claire
Mary Beth|Cupcakes and Crinoline says
What an awesome idea, Kelly! I need to work on branding myself and this would be a nice start.
Have a lovely week.
Hugs, Mary Beth
Debbie says
What a great idea, Kelly! 🙂
Angelina says
So So COOOL!!! love this 😉
xo
Angelina
Lisa | With Style and Grace says
this is so awesome! love the idea of putting your logo on the back of the iphone.
Jen Goode says
What a fabulous idea, thank you for sharing!
Sarah @ Alderberry Hill says
Wow! How chic – this rocks!
Thanks for sharing!
Leslie says
Such a unique idea! I love my case too much to do this right now, but it’s definitely on the radar for when I’m ready for an upgrade. Thanks for the tutorial!
Shannah @ Just Us Four says
This is awesome! Now I have to locate a clear case for my Android phone 🙂
TidyMom says
Such a fun idea Kelly!! I’ve seen tons of people do this with scrapbook papers, I love the idea of customizing one!!
melanie says
Newest follower here! I found you through the blog hop. You have a super cute blog, I can’t wait to read more. You can find me at meandmr.com
-Melanie @meandmr.com
Michelle Houde says
I LOVE this idea!
Hmm…now all I need is an I-Phone! Lol!! 😀
Have a great day!
Wade says
Pretty cool…I’ll have to try this!
Emily says
Love it!! You’re so clever 🙂
Rachel (Lines Across) says
So cute and fun! I’m sure it was a hit at Blissdom!
Randi - Dukes and Duchesses says
That’s just brilliant … I love that you’re marketing your blog every time you hop on the phone!
Gloria says
Amazing! I’ll have to get a case like that for my iPhone! Cuteness!
Gloria @ resourcefulgals.blogspot.com
TidyMom says
Thanks for linking up Kelly! I featured your post in my wrap up http://tidymom.net/2013/top-14-diy-projects-to-make/
Have a fabulous weekend in NJ!
Neath says
Love it 🙂
Kelly Rowe says
Thanks so much!! xo
Andi Saputra Siahaan says
Its amazing idea, i want to make it