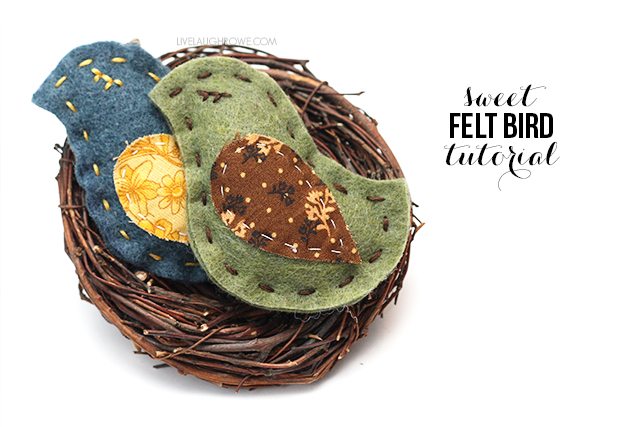
Crafters rejoice, I have a fun felt and fabric project for you. I LOVE felt. So, I thought I would share a project that I’m super familiar with because I used to make and sell them in my store, House 129. This little felt bird is super sweet and versatile.
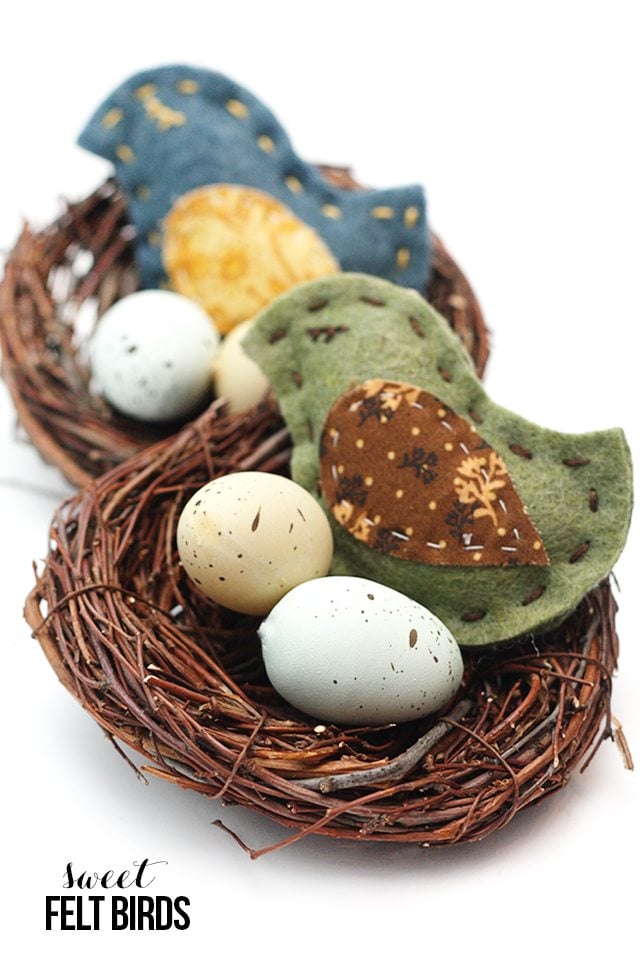 Hang these felt birds on your Christmas tree, add as a gift embellishment or use as favors. They can also be made in all shapes, sizes and colors. The sky is the limit!
Read to get started?
Supplies for Felt Bird:
Felt
Fabric
Embroidery Floss
Needle
Thread
Scissors
Glue Gun
Hemp Twine
Poly Fill
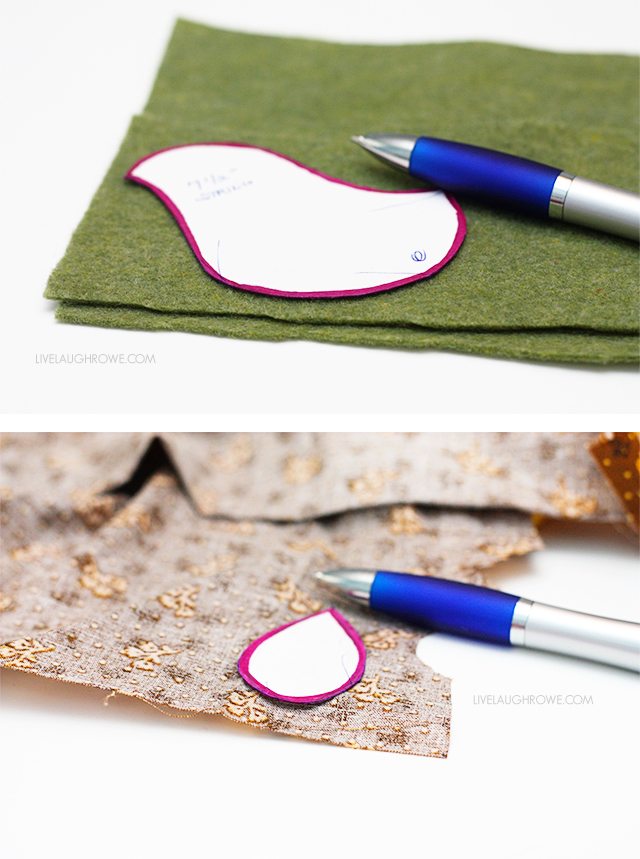
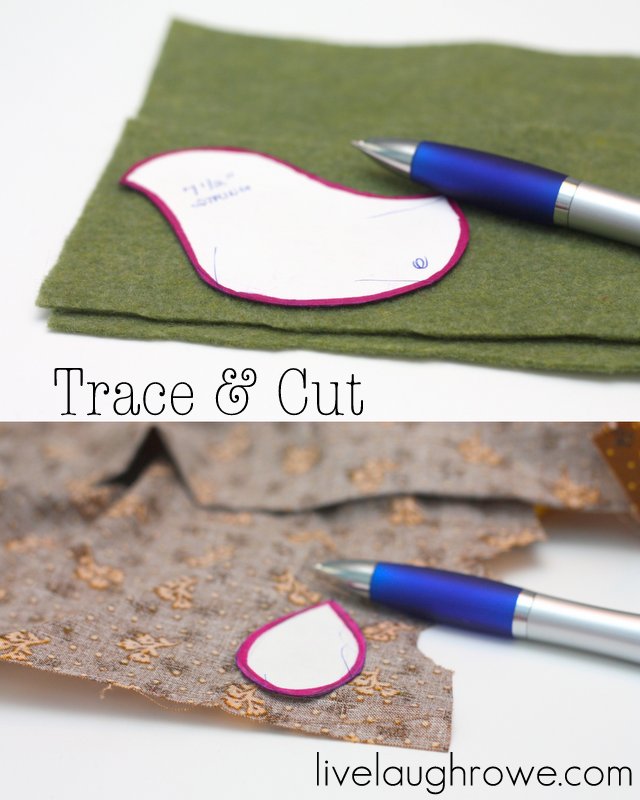
Grab a piece of paper and pen/pencil as well. Let’s start by tracing out the bird and wing in the size of your choice. Once you’ve done that, cut your patterns out. Trace the bird outline on your felt and the wing outline on your fabric, then cut!
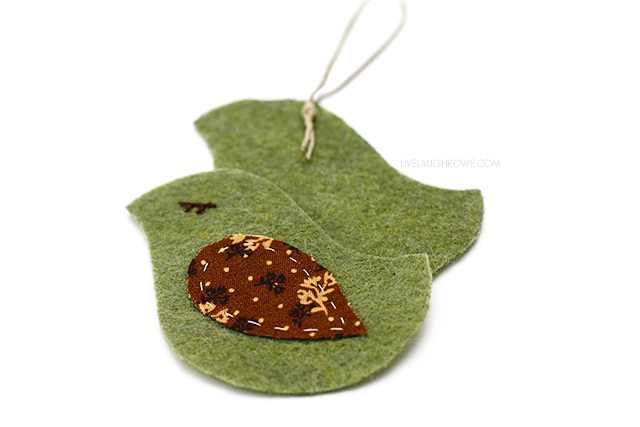
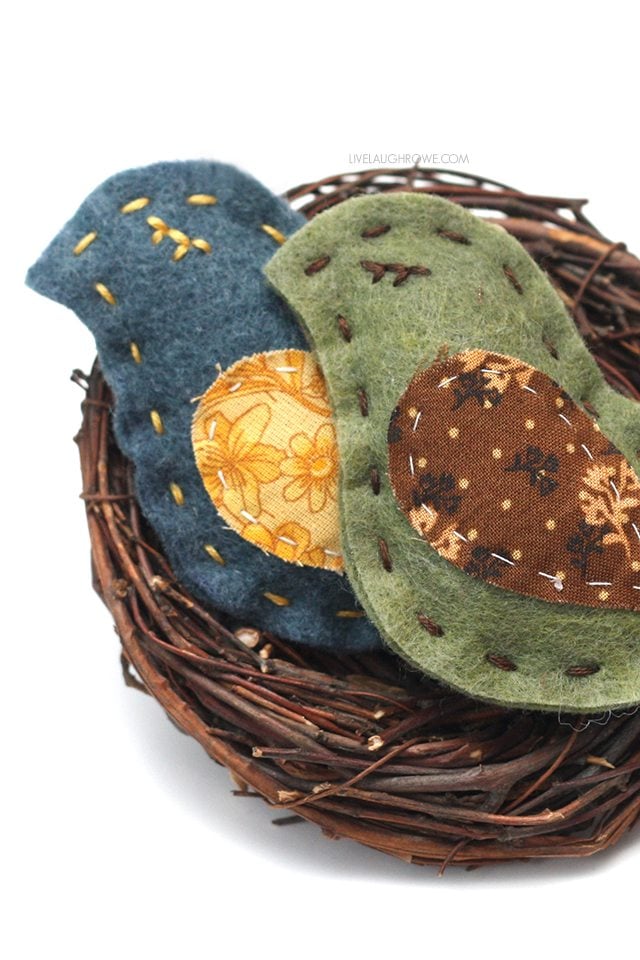
 Okay, now that we’ve cut out our pieces, first go ahead and hand stitch* the wing on one side of the felt bird. You’ll also want to decide if you want your bird to face left or right. For me, the bird facing left seemed most natural. Once you’ve stitched on the wing, you’ll also want to sew on an eye. Use your creativity here as well — you can do a stitch, an X, a knot or whatever your most comfortable with. I like to stitch mine so that they look like they have eyelashes…. sassy little birds {wink}.
*Side note: You could also sew the wing on with your sewing machine. That’s what I typically do, but I didn’t want to assume everyone has a sewing machine.
Let’s cut our hemp twine, use a piece about 7-1/2″ in length, fold in half and knot at the one end. Hot glue that knotted piece onto the inside of what would be the back of the bird.
 We’re now ready to sew our felt bird together. Grab a needle and embroidery floss of choice. You’re going to want to start sewing from the inside to ensure you can hide your knot. Then stitch all the way around the birdie.
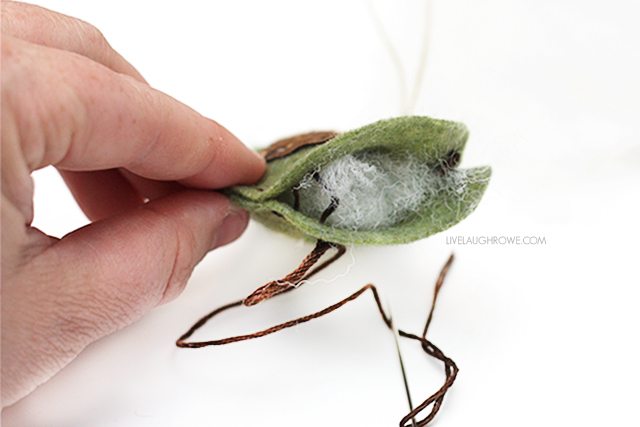
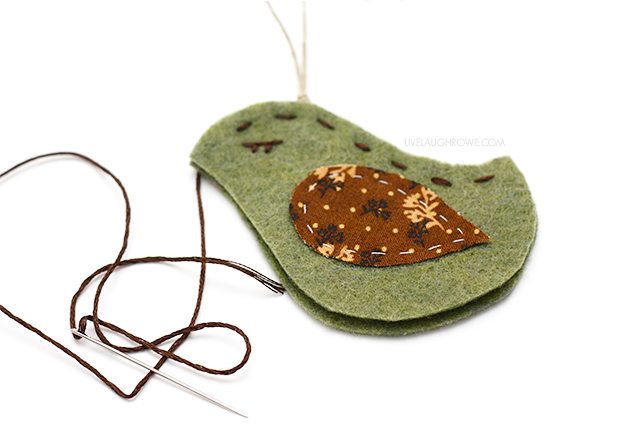 You’ll want to leave an approximate 1-inch opening to lightly stuff the bird.
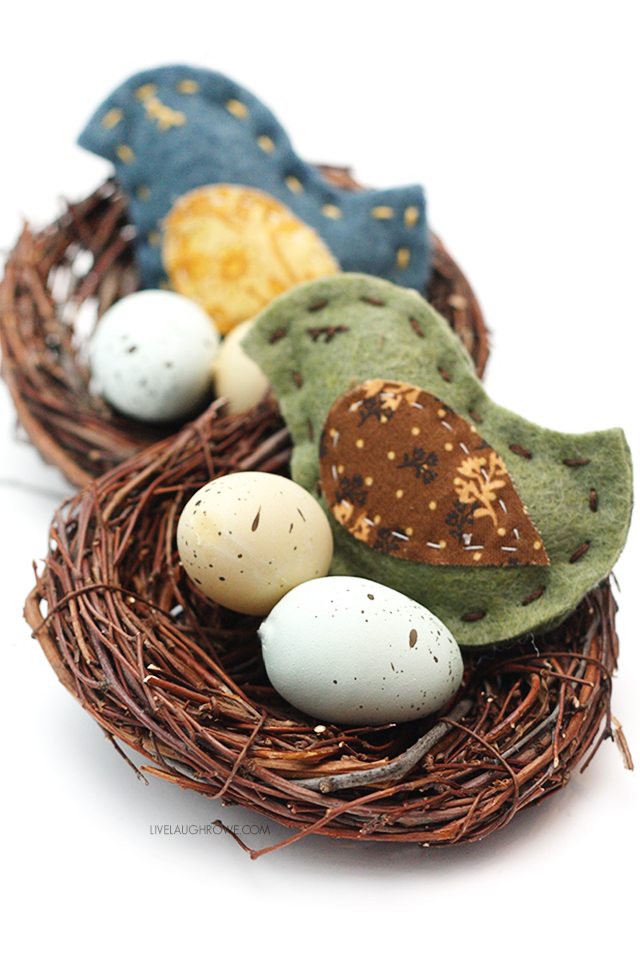
 We’re almost done. Once you finish stitching up the bird, add a dot of hot glue to seal where you started and finished and to be sure your knots are hidden and sealed. A cute little felt bird is born!
 Use for gift embellishments, but used both felt for the body and wings. A few were used in my Get Your Kraft On post. Like I said earlier, they’re super versatile — just let those creative juices flow.
 Be sure to visit with me here too:
Facebook | Instagram | Pinterest | Twitter |Google+


Danni Baird says
Kelly, these are adorable! I love how they just have a little stuffing in them!
Jenny says
So sweet! They would make great ornaments at Christas time!
Bonnie and Trish @ Uncommon says
these are just precious kelly!! love the hand sewing!! 😉
{Adventuresindinner} says
Adorable! I might actually have to pull out a needle and thread. C:
Vonae Deyshawn says
Aww these little birdies are so cute! I just recently learned how to stitch so these may be a possibility for me. : ) They’d go great on a musical mobile for a crib.
Vonae Deyshawn
http://www.myvirtueplace.com
Maureen says
Love these! I have a feeling mine might now turn out quite as cute or sassy as yours, but I love the idea!
Angie says
Just stopped in from SITS! Great tutorial!
Ashley @ Cherishedbliss says
How adorable are these!! Love them girl! : )
Cheryl @ That's What Che Said... says
These are so stinking cute! Love them!
Kelly says
Thanks so much, chica! Hugs.
Emily says
What a great spring idea! I would have to steal them back from my girls as they would be loving on them.
Debra Kapellakis says
tiny, cute, sweet, pretty
Judy says
Just adorable. I have to make one of these. Thanks for sharing at DIYbyDesign’s Swing into Spring party.
Four Sisters says
These little felt birds are so adorable!
-Four Sisters
andie says
those are so stinking cute! i love birds! and those are just the tiniest things. thakns for linking up to tip-toe thru tuesday!
Lulu says
How cute, how simple. Just my kind of thing!
Kim says
Love the eyes! I think they winked at me!
Kim@reposhture.blogspot.com
Donna Wilkes says
There are never enough birds! I might just have to start sewing again.
Distressed Donna Down Home
Trish - Mom On Timeout says
Adorable! I can even do this 🙂 Thanks so much for sharing at Mom On Timeout!
–Trish
Belle says
Cute!! I’d love for you to add it on my link party at: http://printabelle.com/?p=3717 Thanks!
six sisters says
These birds are so cute! We are so happy that you linked up to our “Strut Your Stuff Saturday” and we hope you see you back next week!! -The Sisters
Belle says
Thank you for linking up this sweet project!
Angie R says
So CUTE!!!! Thanks for sharing at C&I! 🙂
Kelly says
Thanks,Angie! Hugs.
Erika says
I made today a felt bird for a necklace ! Embroidery
http://www.etsy.com/shop/Sweetcreationss
Karen Farley says
WOW – These birdies are GREAT!!!!! I am going to make some now. They seem to be easy enough even for a dummy like me. Thanks so much for sharing.
Kelly says
HaHa! Karen, you are too funny… and I’m sure you’re no dummy! Thanks for loving on my birdies. Have a super great day!