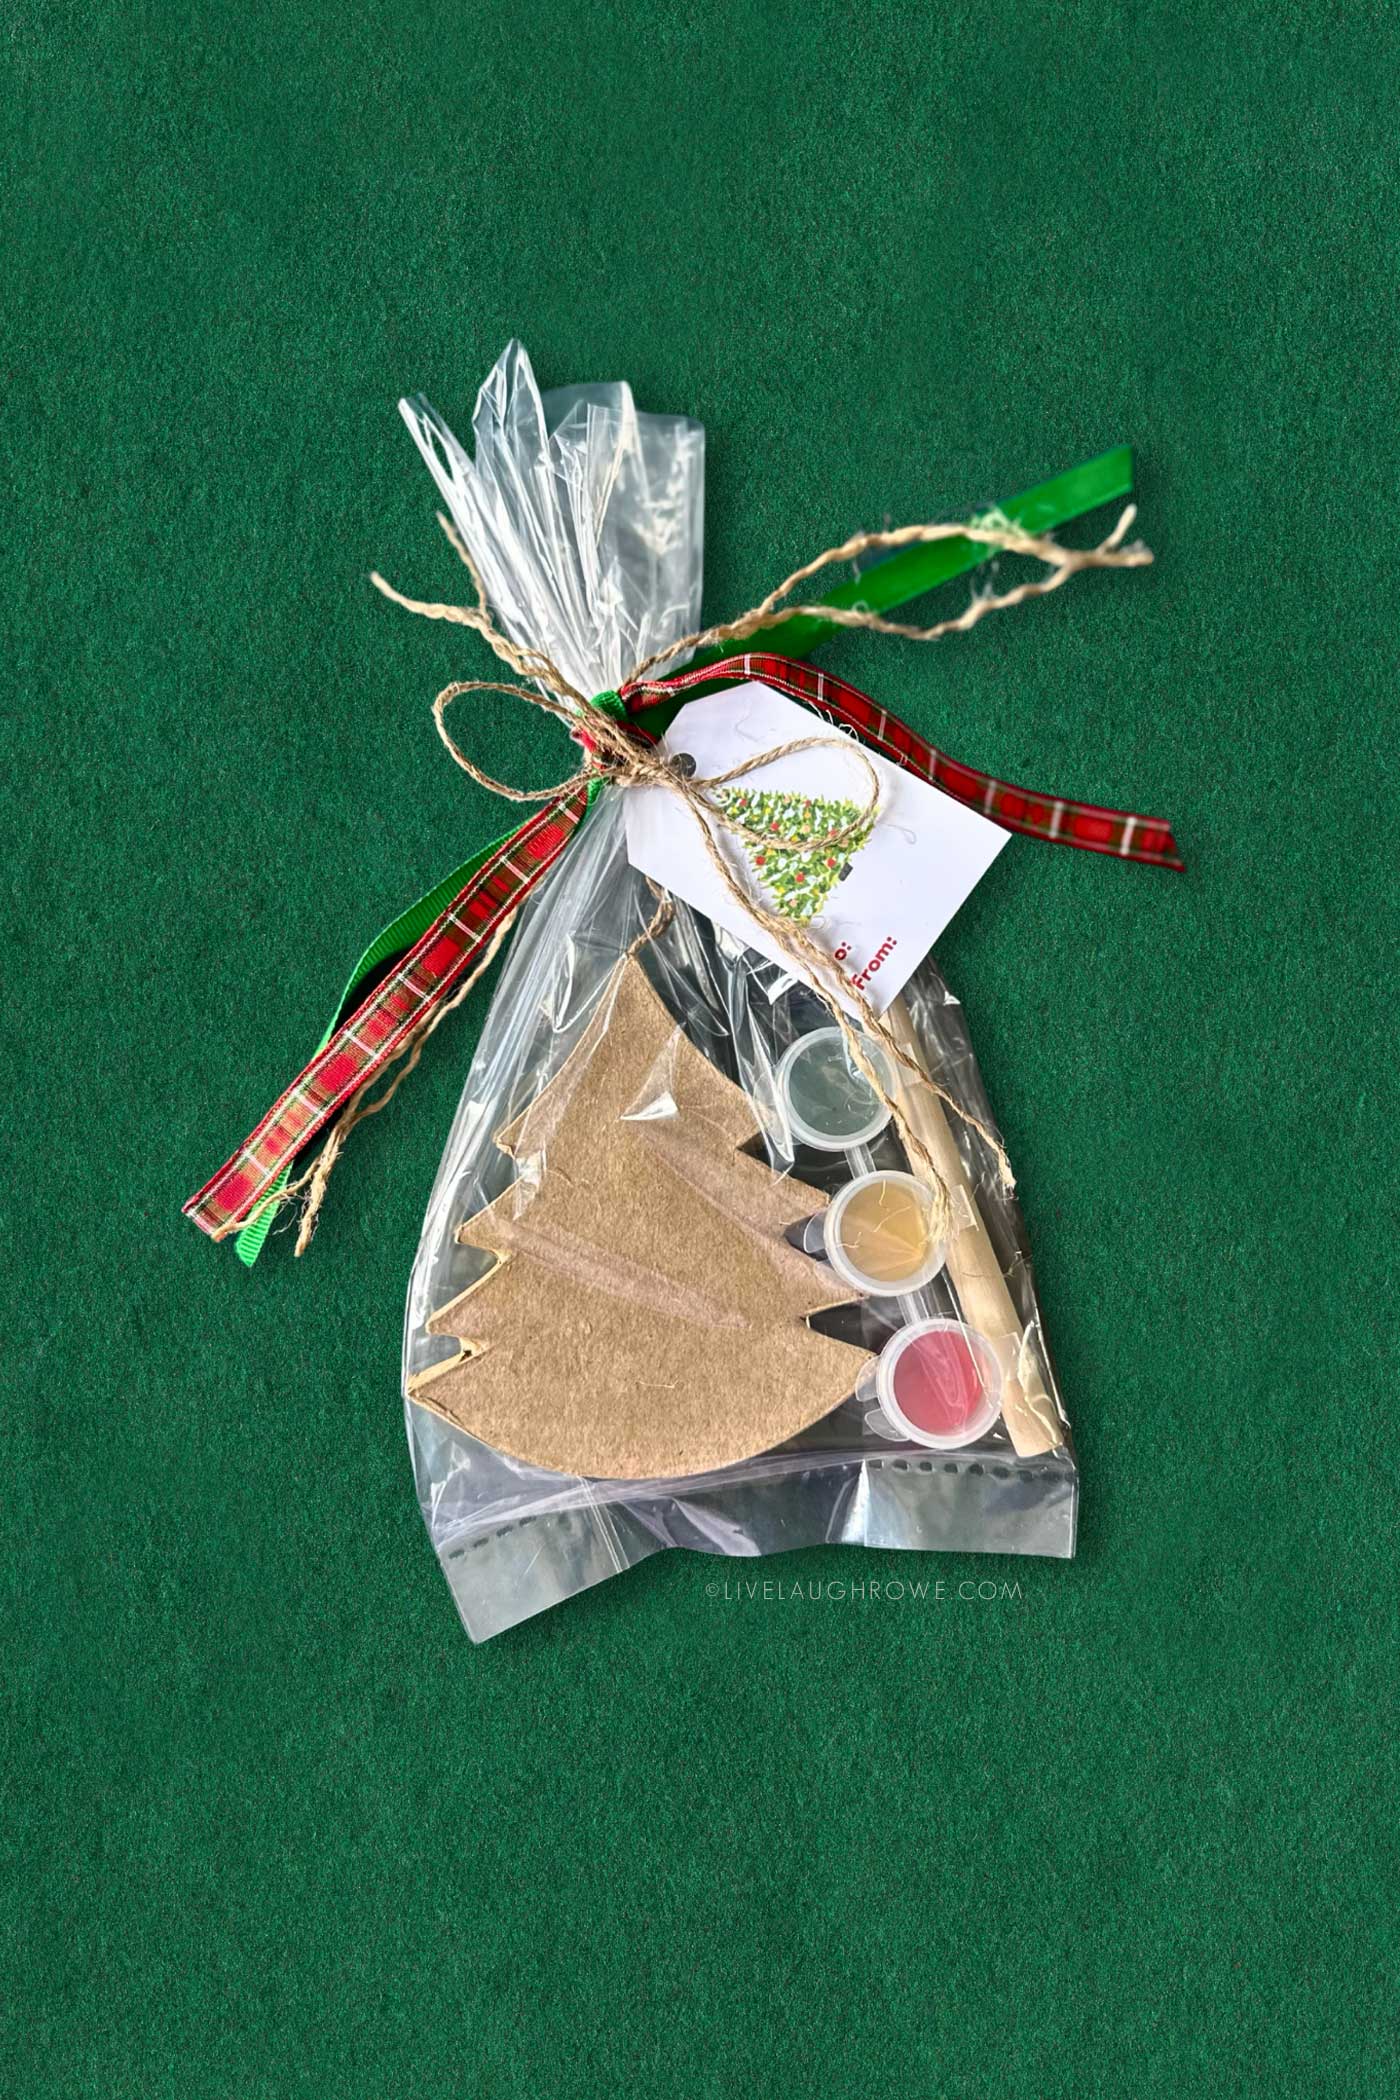
The holidays are the perfect time to celebrate creativity and connection. Creating a Holiday Craft for Kids is a simple yet heartfelt way to spread joy this season with simple ornament kits. These kits are easy to assemble and fun to give, allowing recipients to enjoy their crafting experience. Best of all, kids can help create these kits, making it a meaningful holiday activity.
Let’s see how we can put together a sweet Holiday Craft for Kids featuring one customizable ornament—perfect for gifting to teachers, friends, and family.
Why DIY Ornament Kits Are a Hit
DIY ornament kits are a unique gift idea that stands out for several reasons:
- Interactive Fun: The recipient gets to enjoy a hands-on holiday activity.
- Thoughtful and Personal: Handmade kits carry a touch of care and love.
- Perfect for All Ages: Simple enough for kids, yet enjoyable for adults.
Holiday Craft for Kids: Assemble and Gift
You can craft gifts that brighten the holidays with just a few supplies and a bit of assembly.
What You’ll Need
Here’s your go-to list for creating the kits:
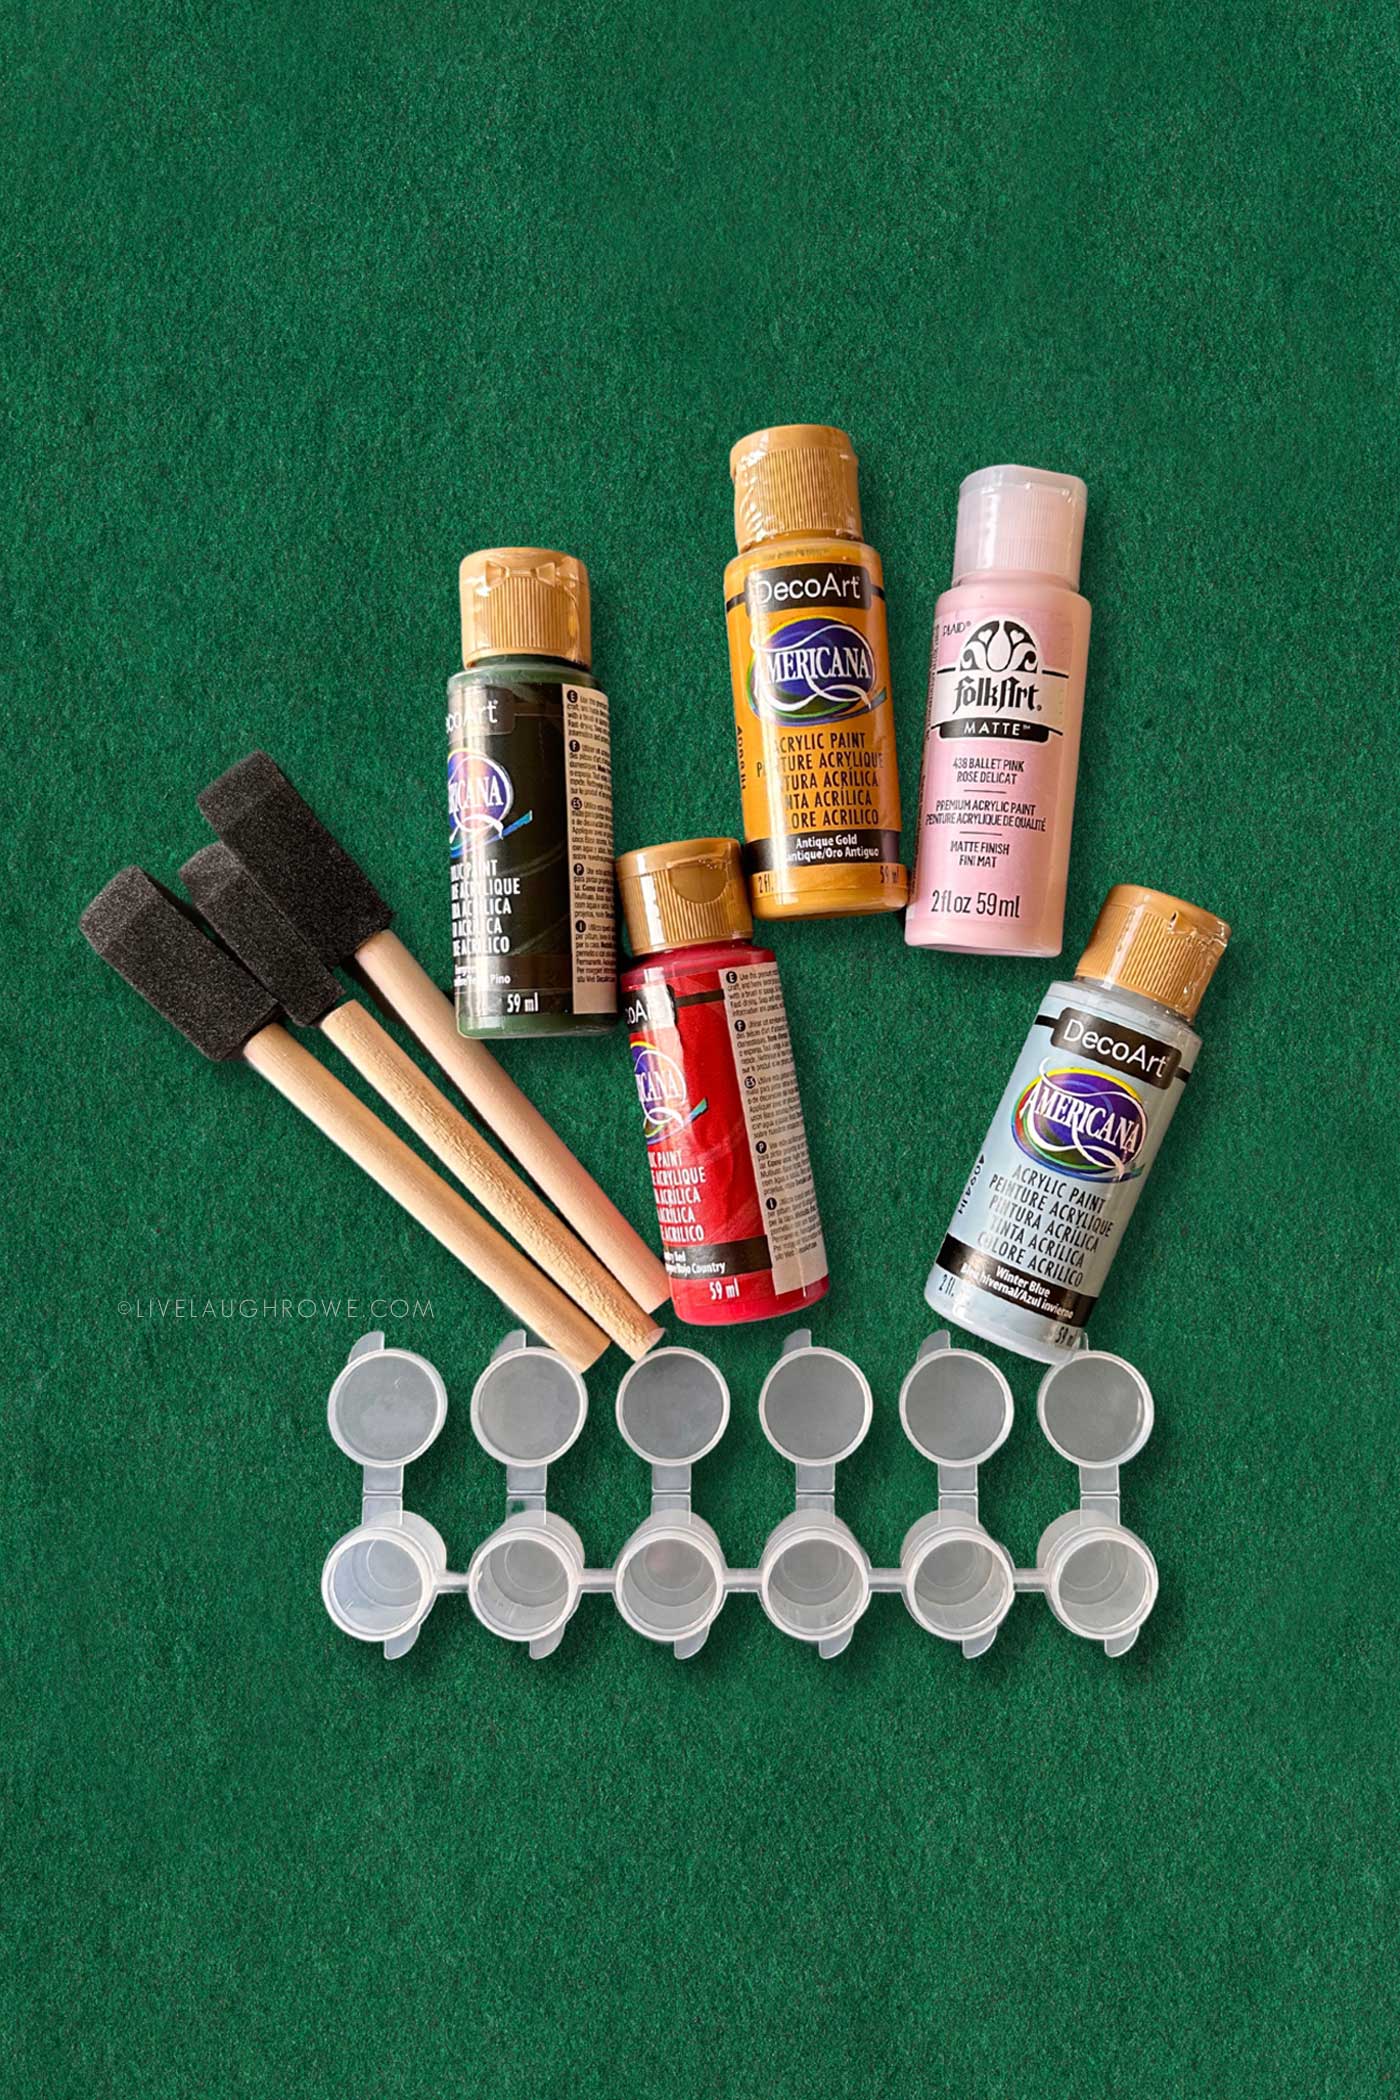
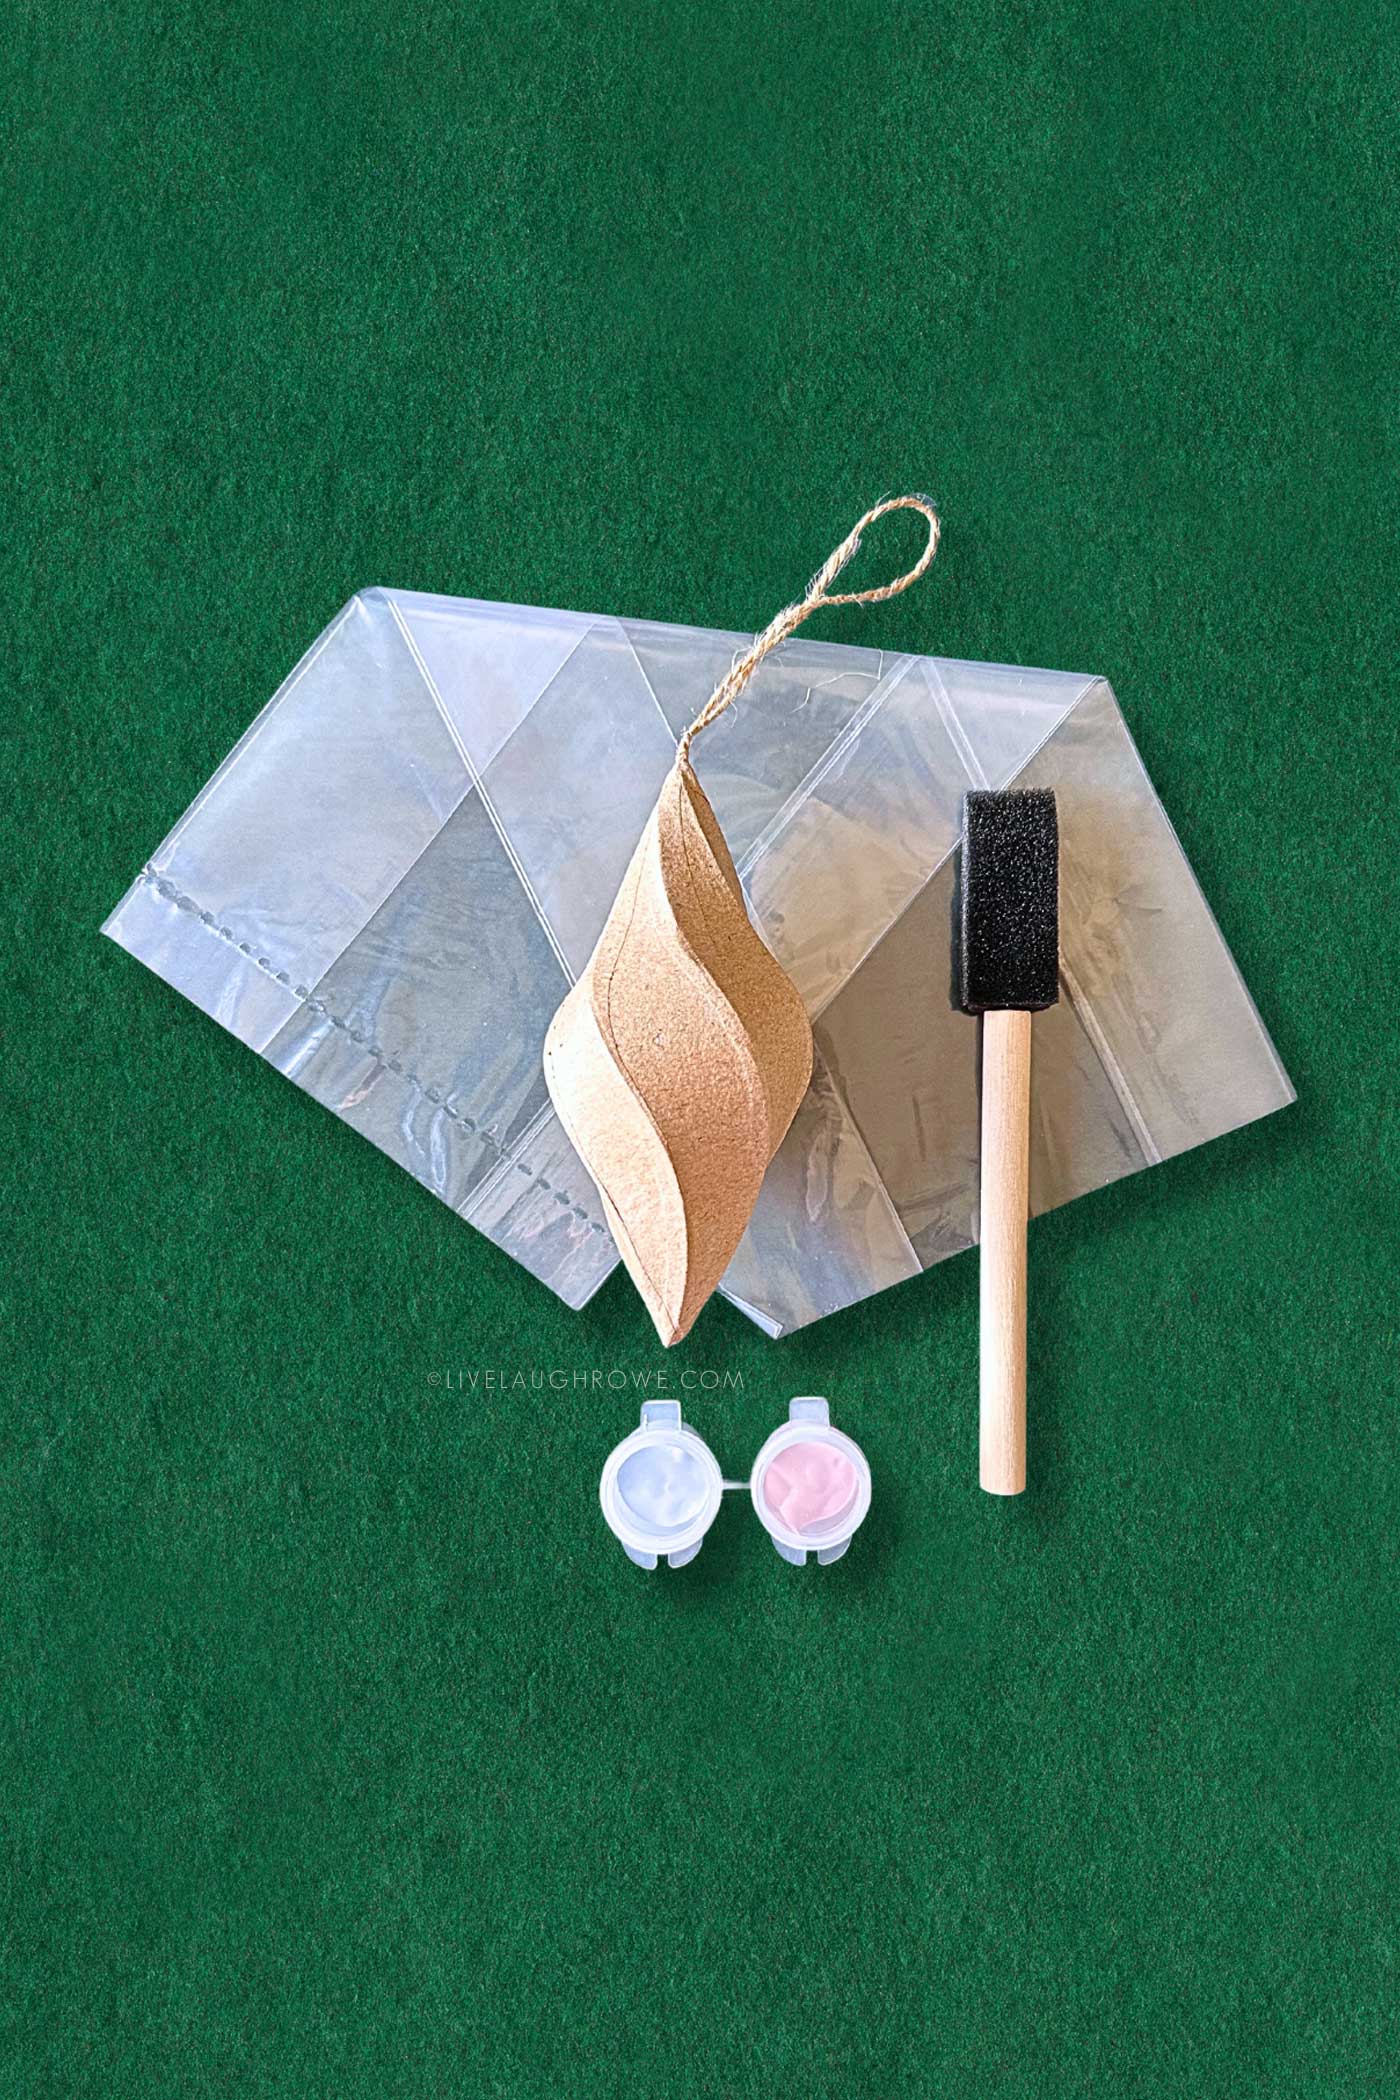
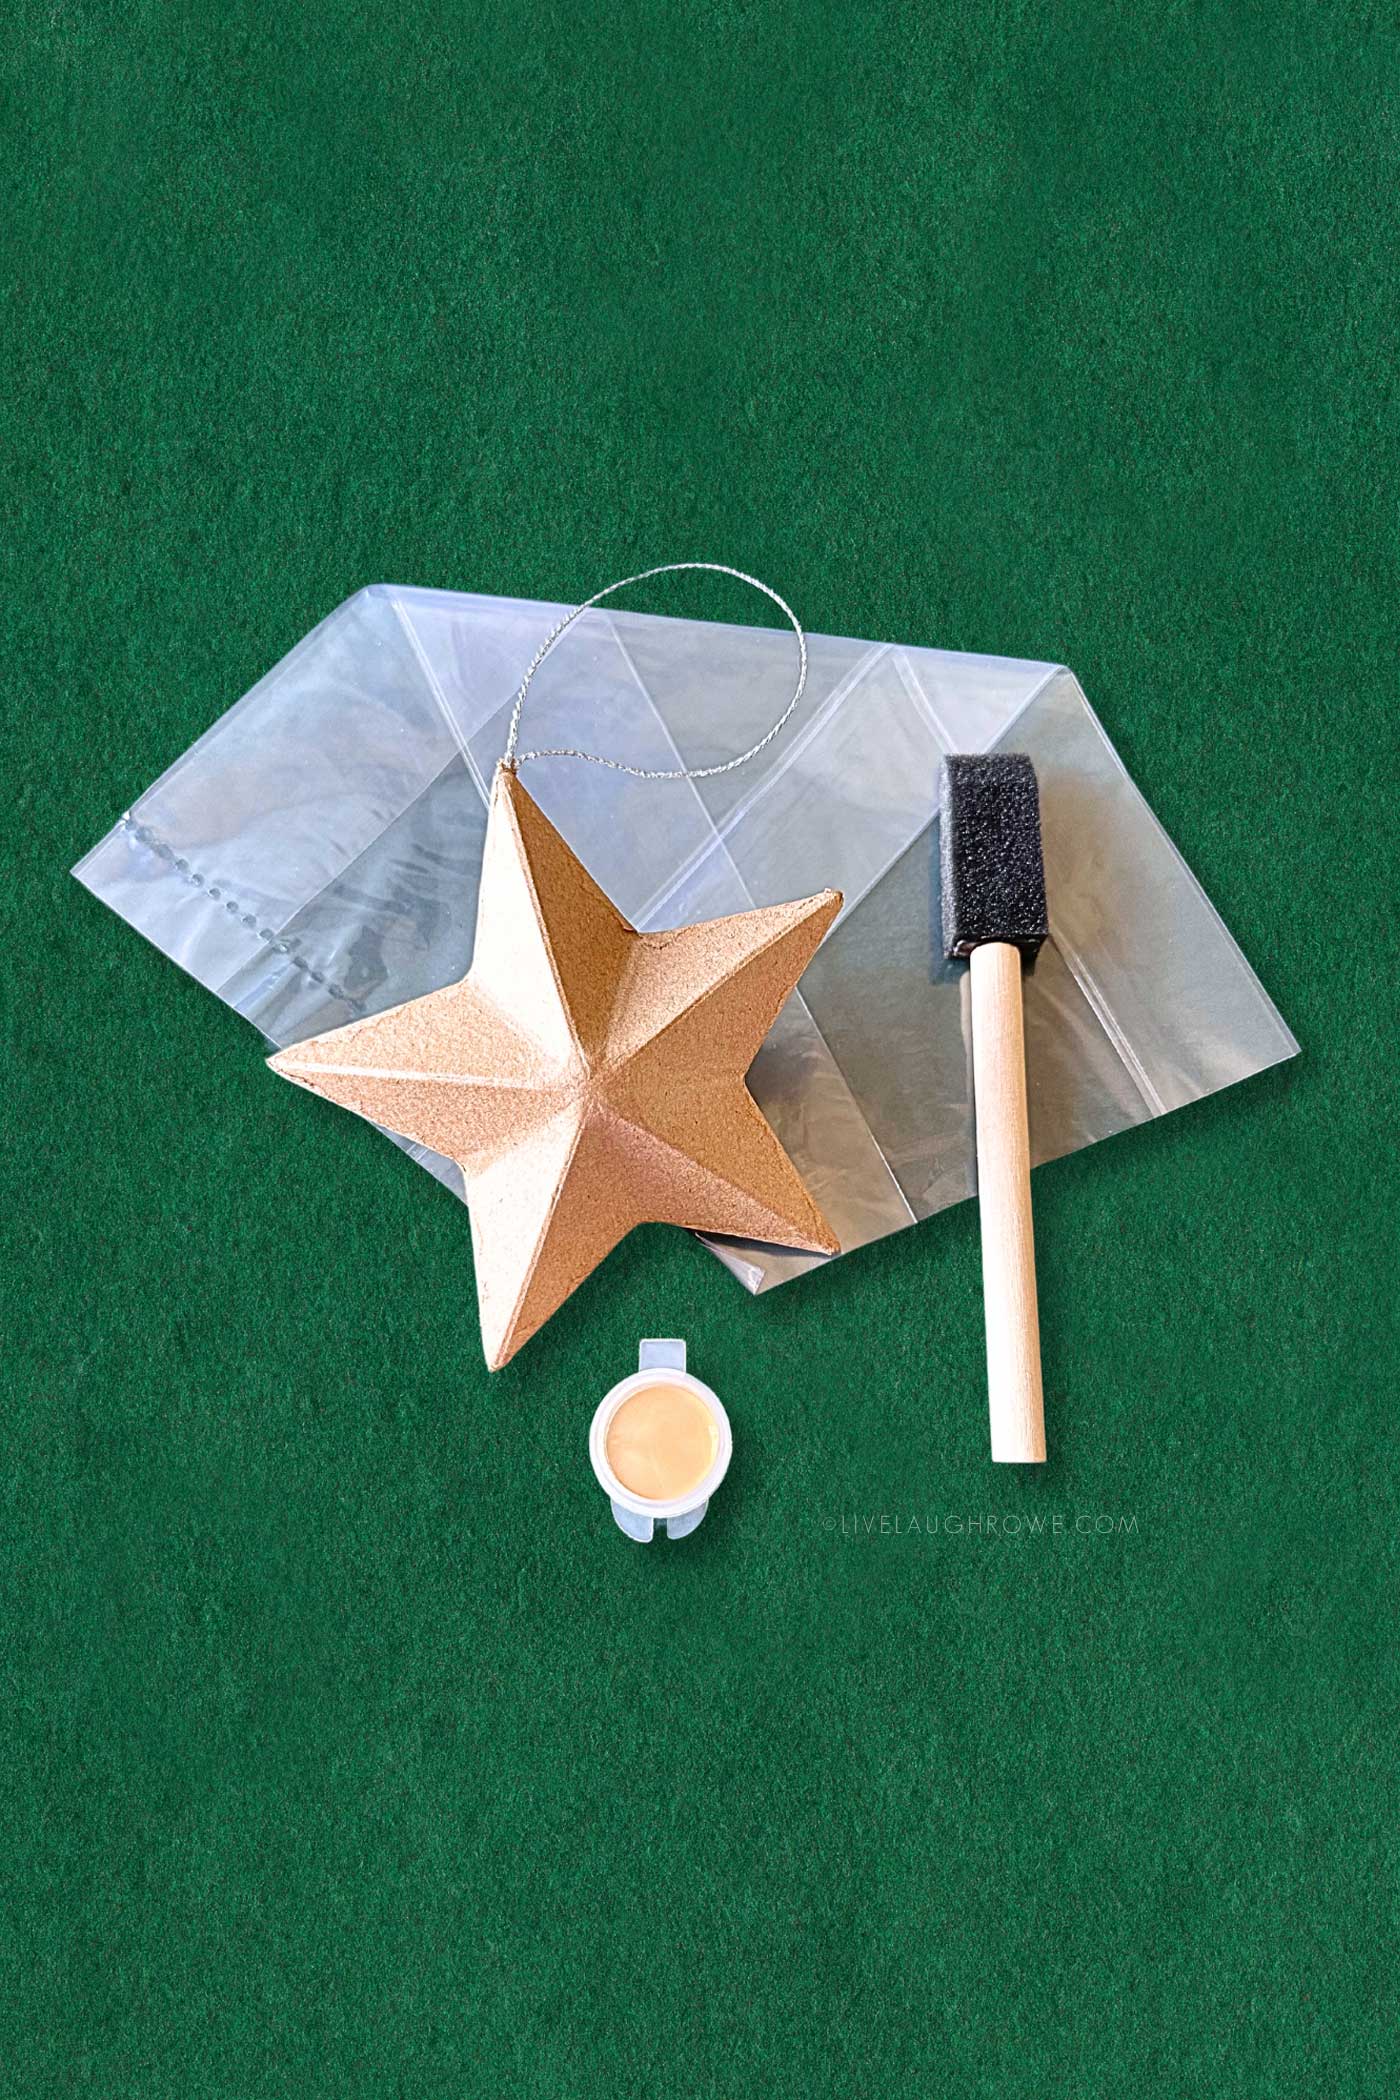
- Paper Mache Ornaments: Available in festive shapes like stars, snowflakes, or baubles.
- Acrylic Paint: For variety, choose an assortment of colors, such as red, green, gold, or even pastel colors.
- Sponge Brushes or Paint Brushes: Include a small brush to make painting the ornament easy.
- Paint Pot Strips: Cut into smaller sections of two or three colors for a neat and compact option.
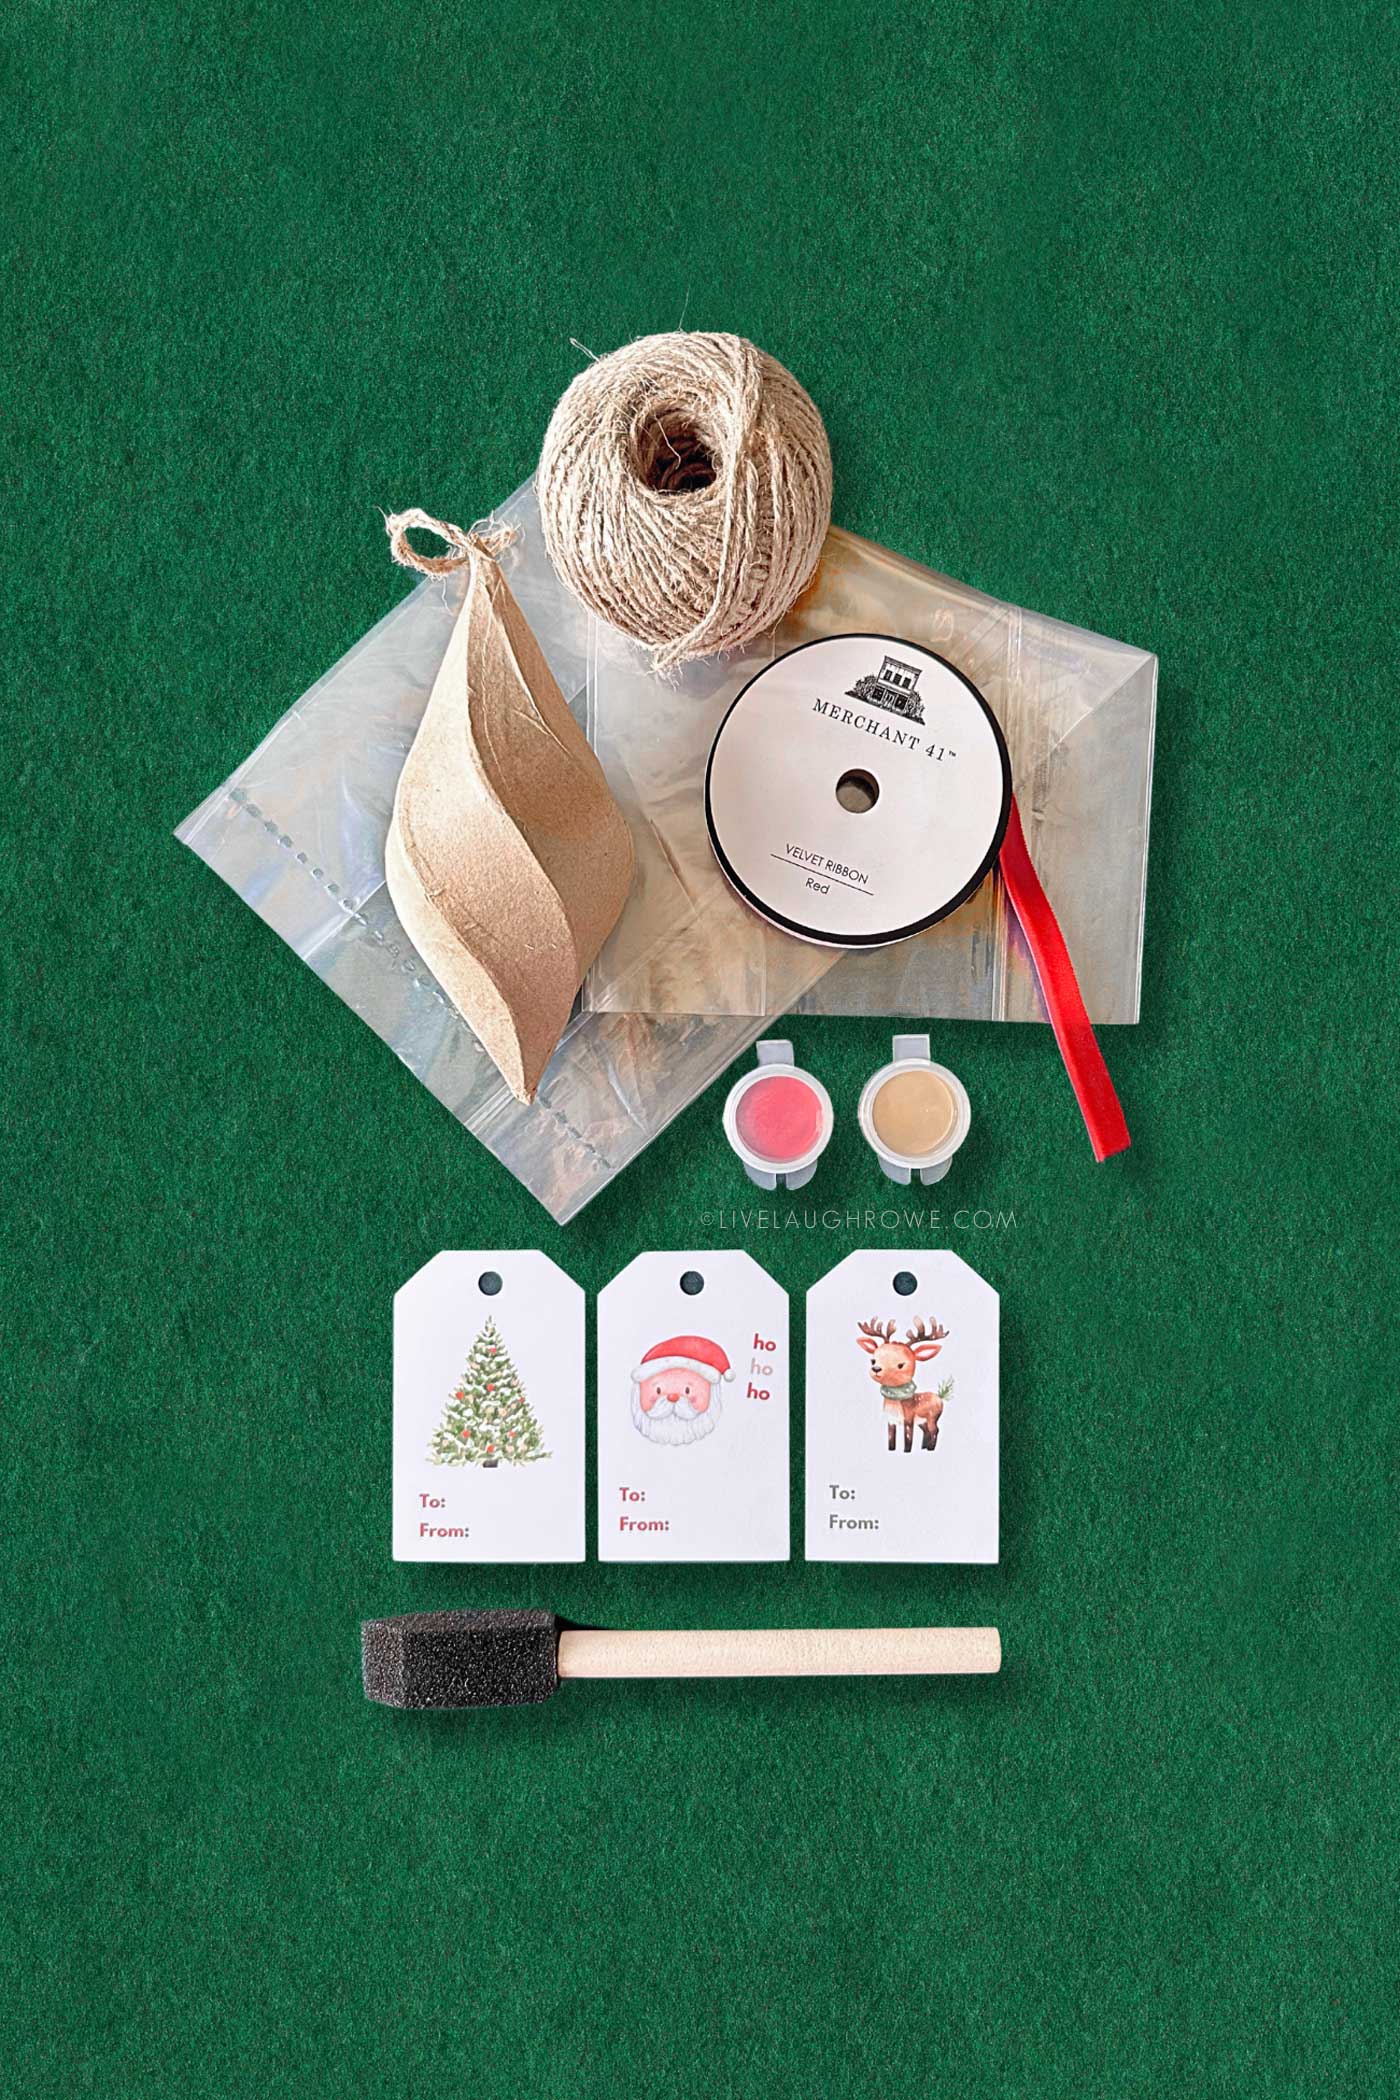
- Treat Bags: Clear or decorative bags to hold the kit (not pictured).
- Ribbon: Festive ribbon to tie the bag and add a finishing touch (not pictured).
Optional:
- Glitter Glue or Stickers: For those who love extra sparkle.
- Gift Tag: Add a personal note or label (optional since instructions aren’t included). Printable gift tags are provided below.
How to Assemble DIY Ornament Kits
Follow these simple steps to put your kits together:
Step 1: Prepare the Ornaments
Select one paper mache ornament per kit. If the ornament doesn’t come with a string or hook, attach it beforehand to keep things simple for the recipient.
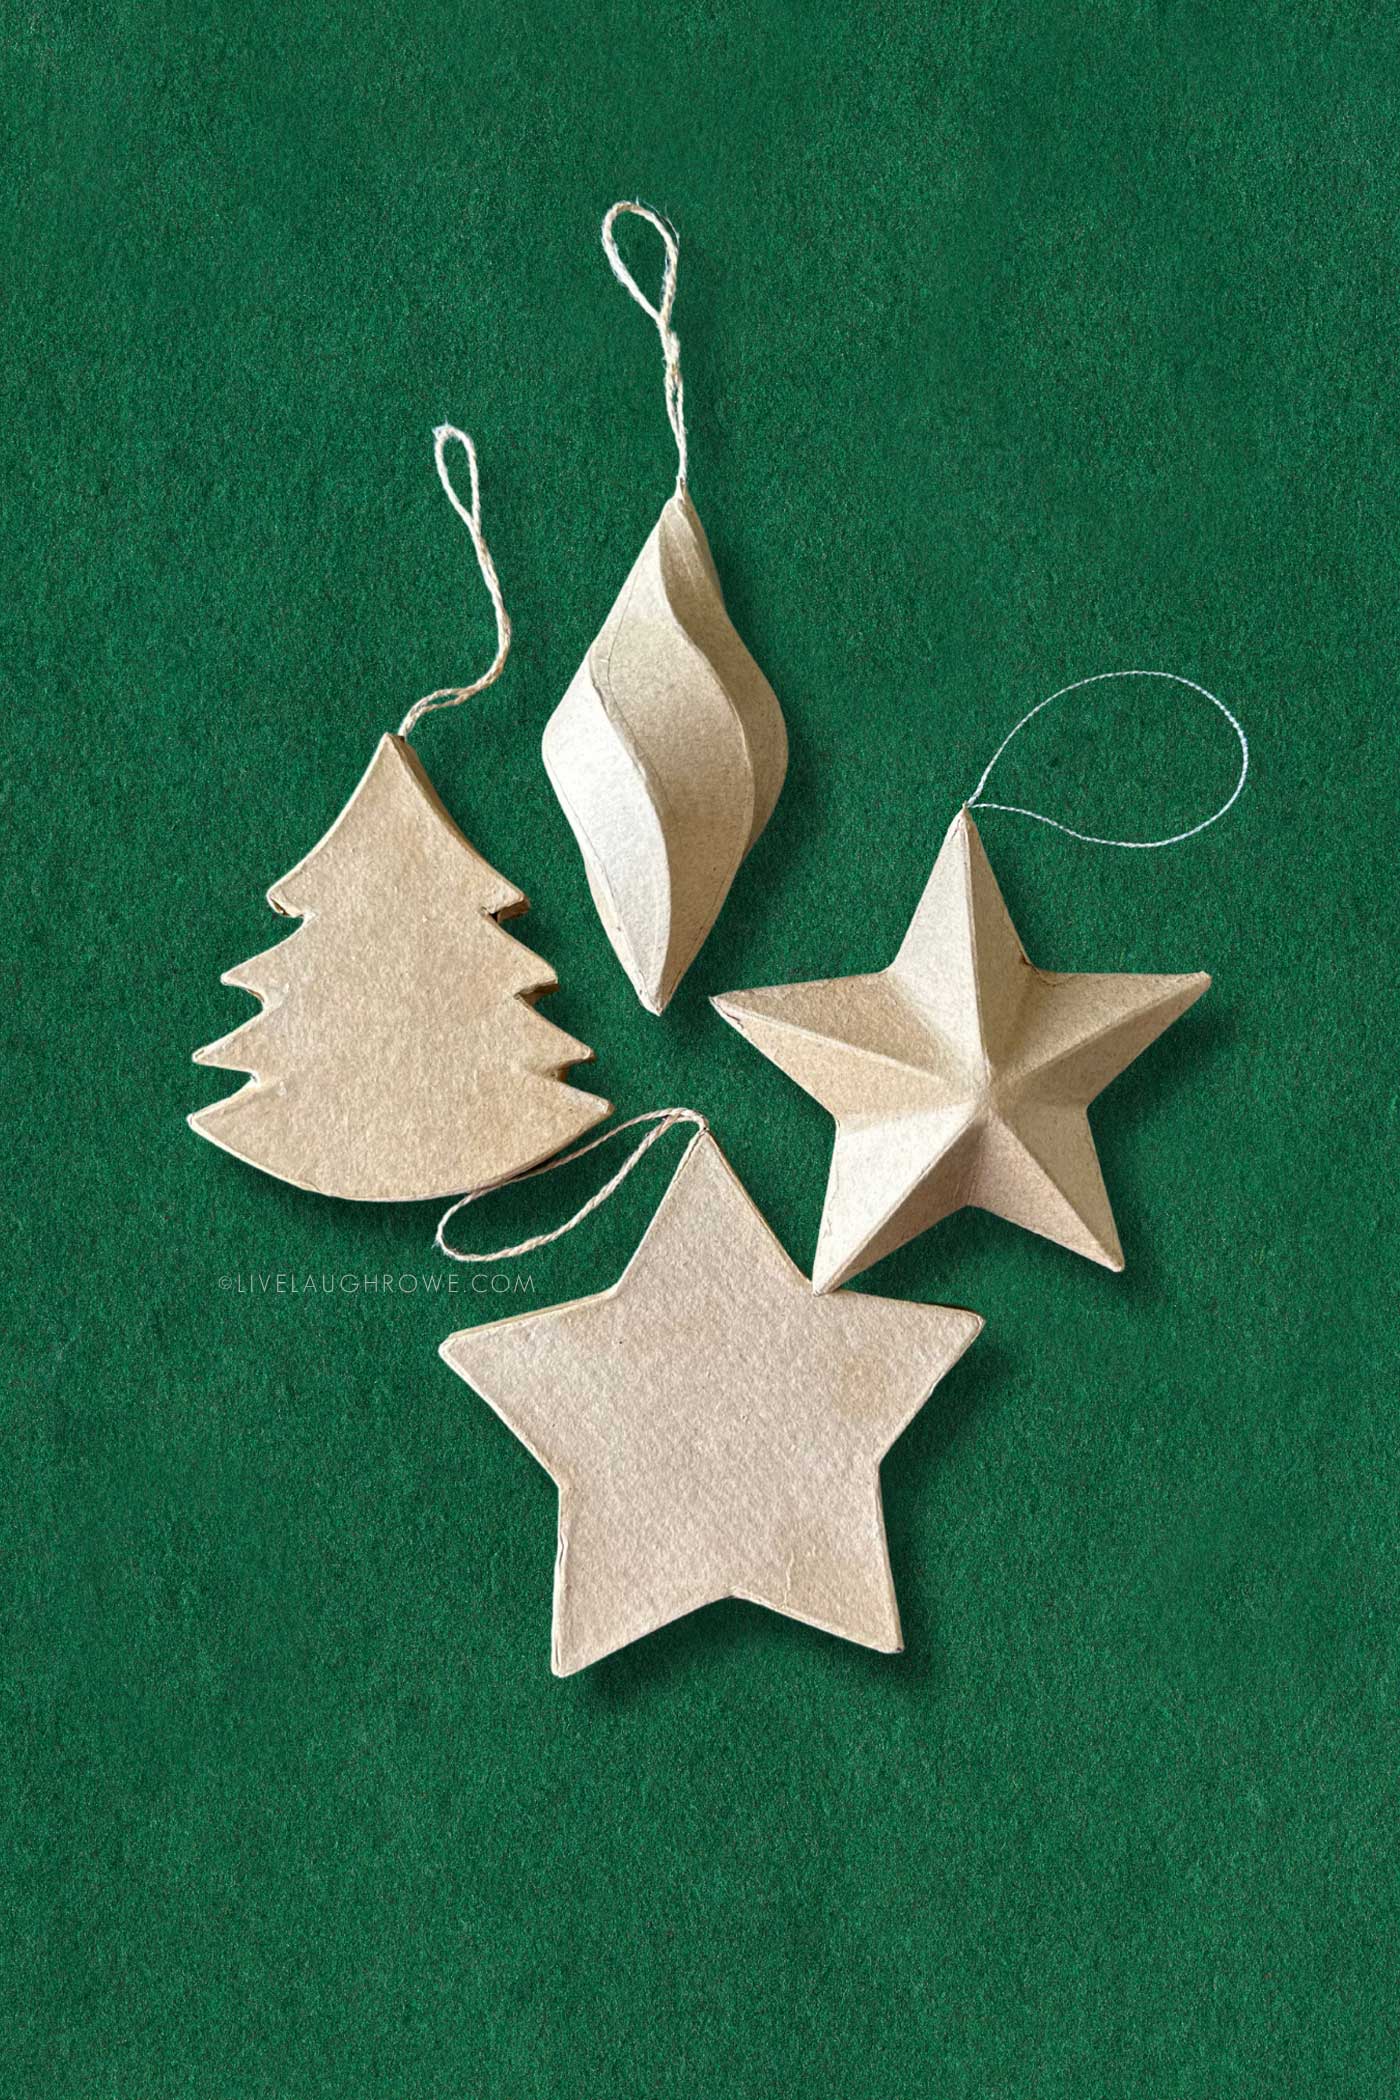
Tree/Spiral/Flat Star: Joann | 3D Star: Hobby Lobby
Step 2: Organize the Paints
Secondly, use a razor or scissors (adults only!) to cut paint pot strips into smaller sections of two or three colors. Create different color palettes for variety:
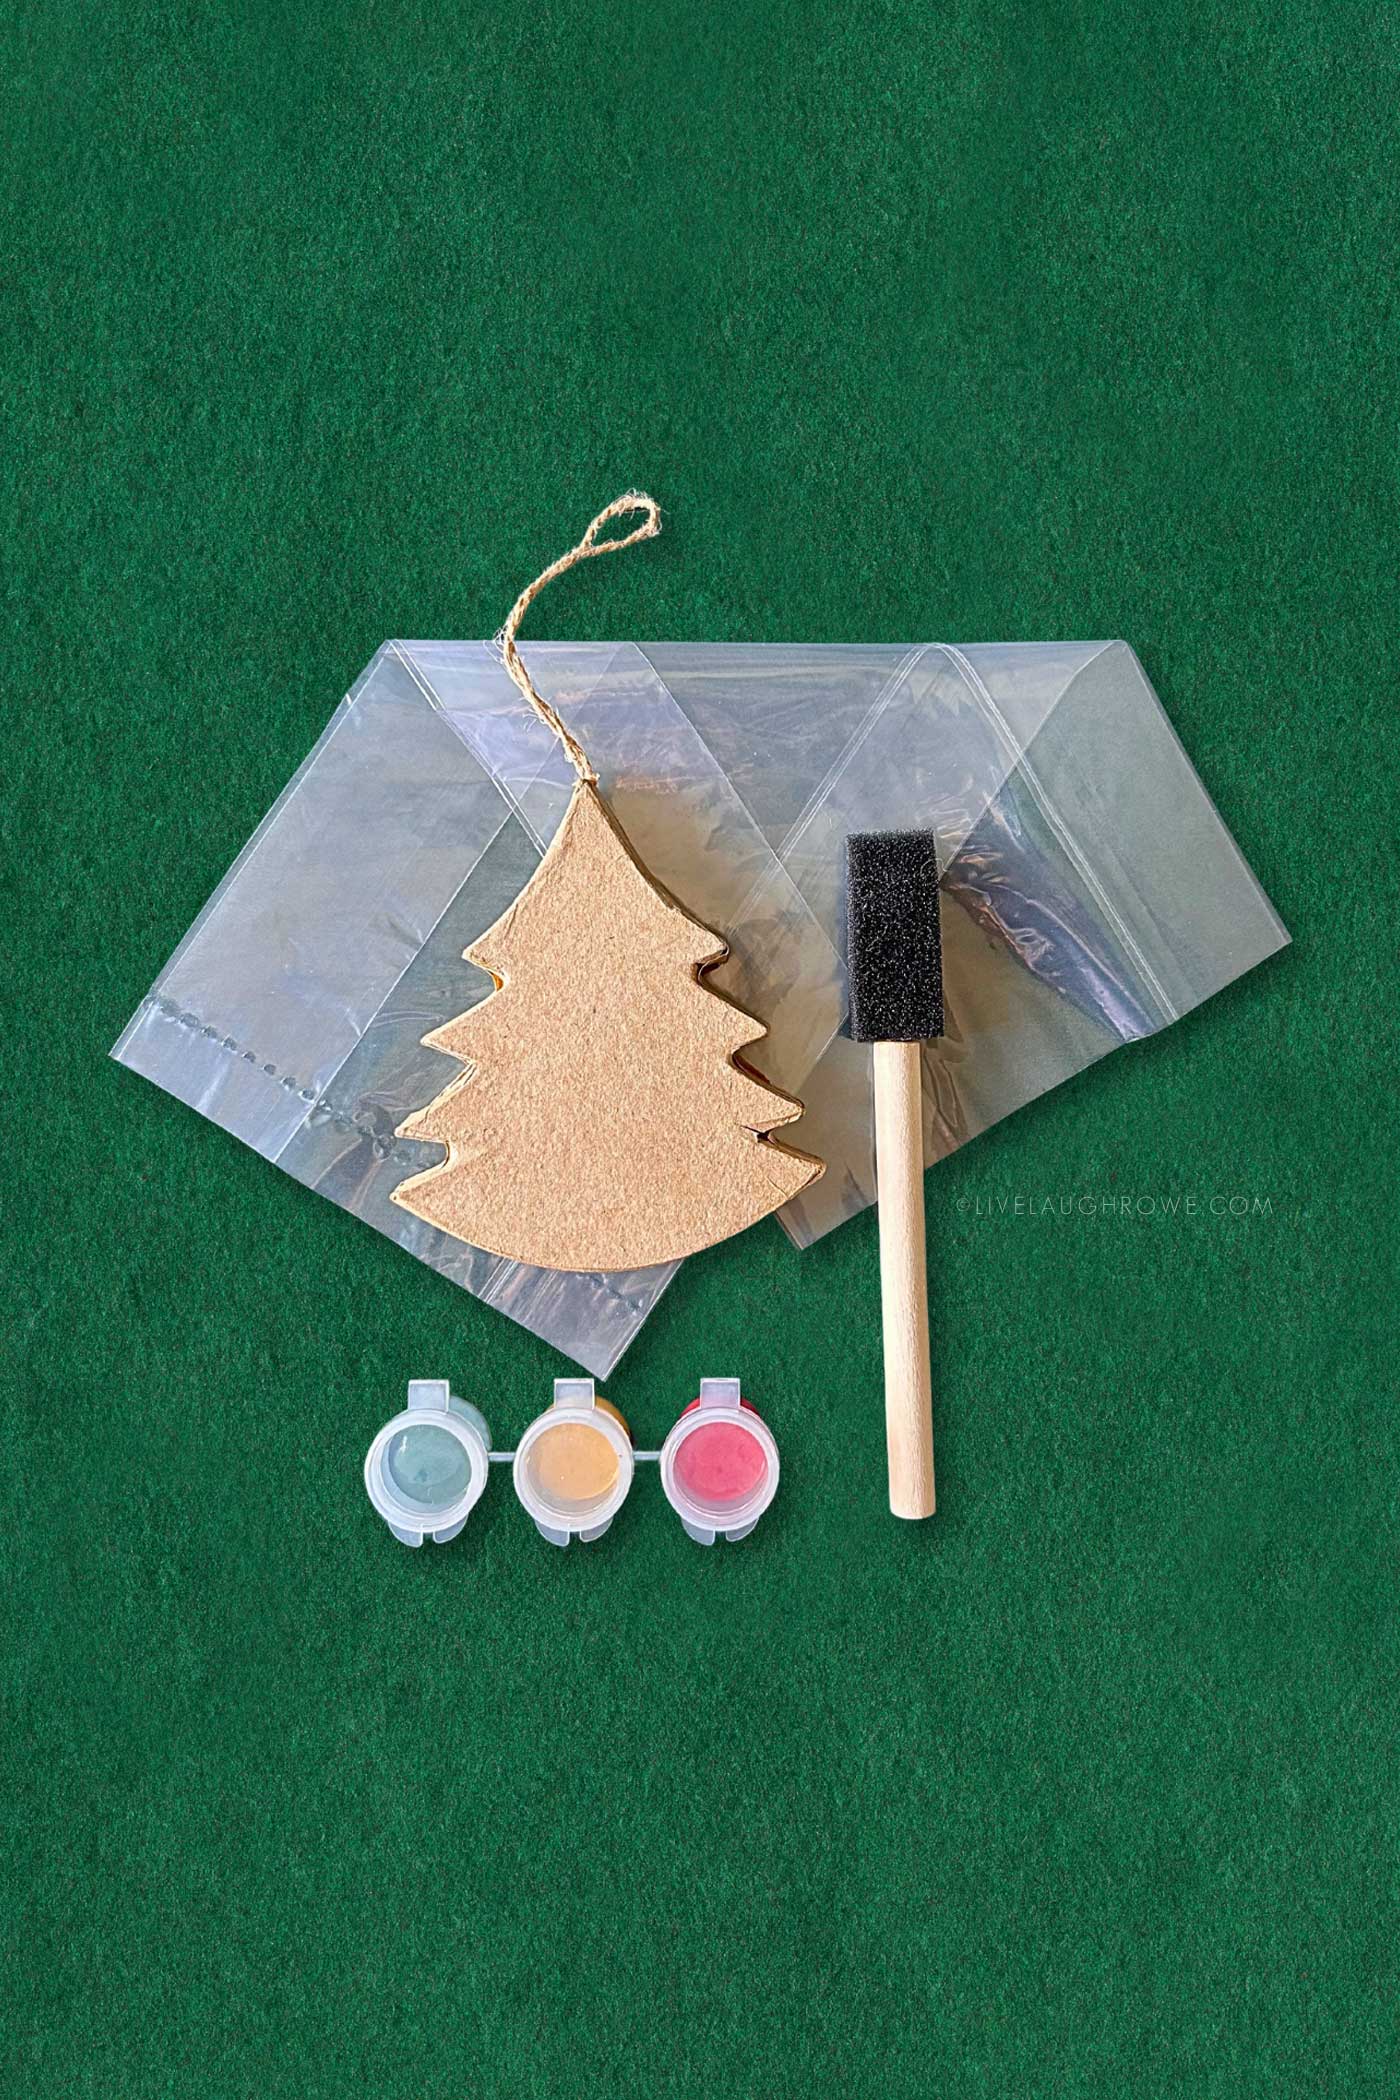
- Red, gold, and green for a traditional Christmas vibe.
- Silver, blue, and white for a wintry feel.
- Custom combinations like pink, gold, and silver for a modern twist.
TIP: You could place the paint pots in a small resealable plastic bag for extra protection in case of a spill, but it’s not necessary.
Step 3: Add a Brush
Each kit includes one small paintbrush or sponge brush. These are essential for painting the ornament and are the perfect size for little hands.
Step 4: Package the Kit
Carefully place the ornament, paints, and brush into a treat bag. Arrange them neatly to make the kit visually appealing.
Step 5: Tie It Up with a Bow
Close the treat bag with a festive ribbon, tying it into a cheerful bow. If desired, attach a gift tag with a short holiday message.
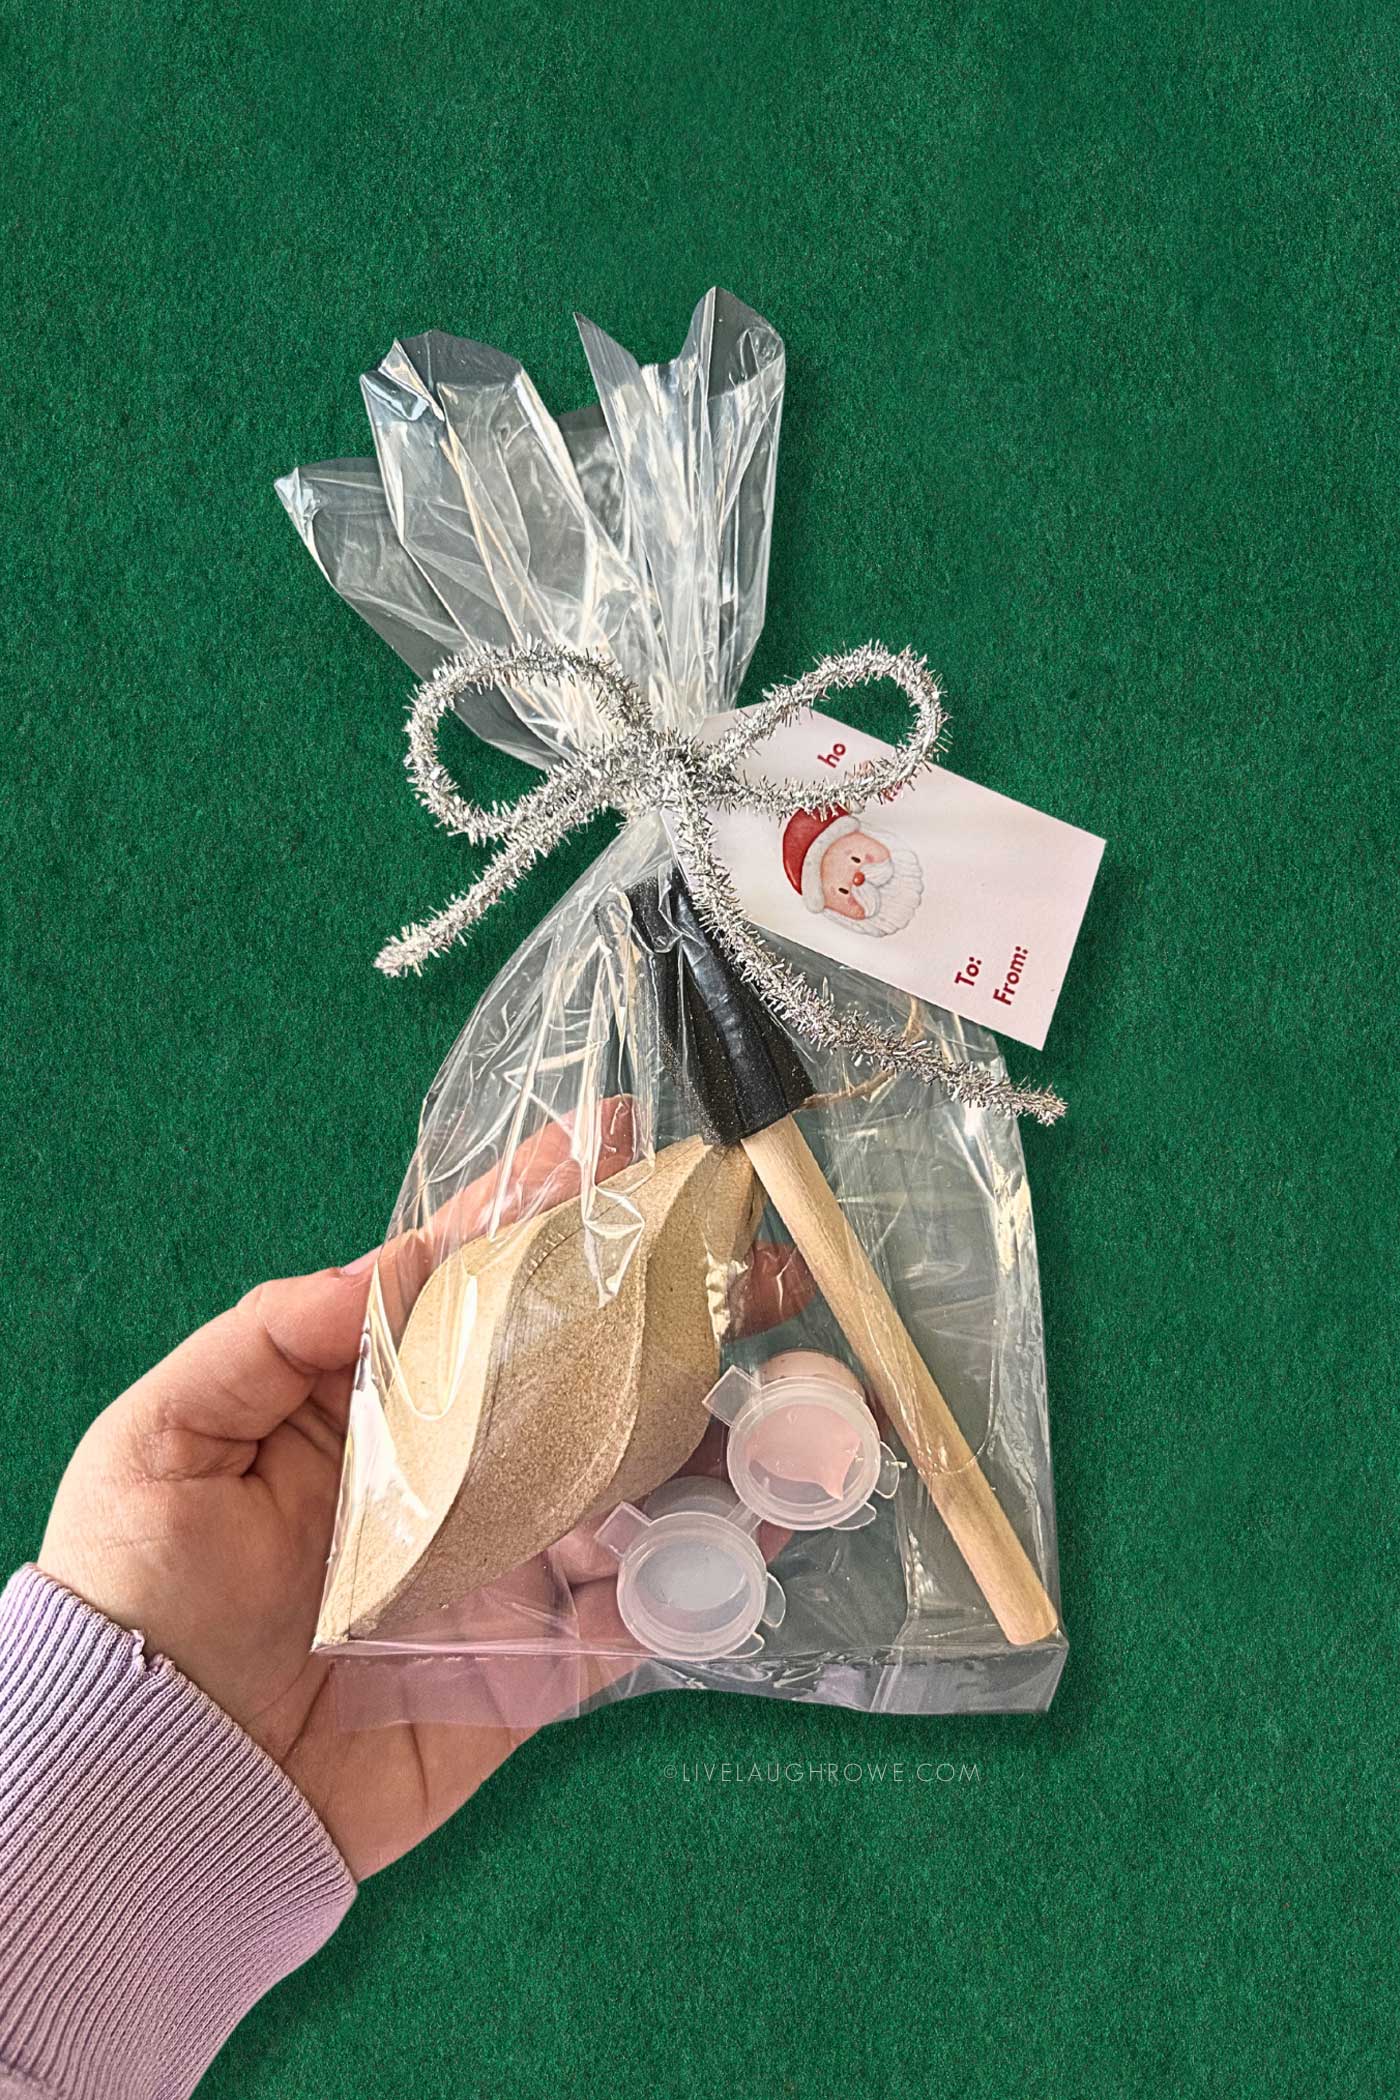
Creative Variations for Your Kits
To make your kits even more special, try these creative twists:
- Sparkle Extras: Include a small tube of glitter glue or a handful of adhesive rhinestones.
- Colorful Themes: Tailor the paint colors to the recipient’s personality or preferences.
Other Uses for Holiday Craft Kits for Kids?
These Holiday Craft Gifts are thoughtful gift ideas that are outside the box. Here are just a few examples of different uses:
1. Classroom Gifts
2. Your Kids’ Friends
3. Party Favors
4. Use as an Advent calendar activity
5. Grandchildren
6. Stocking stuffer
7. Christmas gifts for Preschoolers
Why Kids Will Love These Holiday Crafts
Kids love hands-on activities, and assembling these kits is an opportunity for them to:
- Practice creativity by choosing colors and ribbons.
- Learn about thoughtfulness by creating gifts for others.
- Have fun while crafting with minimal mess.
This project also doubles as quality family time, making it a win-win for the holiday season.
Tips for Success
- Choose Durable Supplies: Opt for sturdy treat bags and high-quality ornaments to ensure the kits look polished.
- Keep It Simple: Limit each kit to essentials—one ornament, a brush, and a small palette of paints.
- Plan Ahead: Assemble the kits early in the season for stress-free gifting.
Other fun holiday crafts:
Scrap Fabric Christmas Tree
Christmas Coloring Advent Countdown
Simple Christmas Wreath
Twine Wrapped Christmas Trees
Printable Tags for Holiday Craft
Add the perfect finishing touch to your holiday craft for kids with these festive printable gift tags! Below are three delightful designs, each with a simple “To” and “From” section, making it easy to personalize the DIY ornament kits.
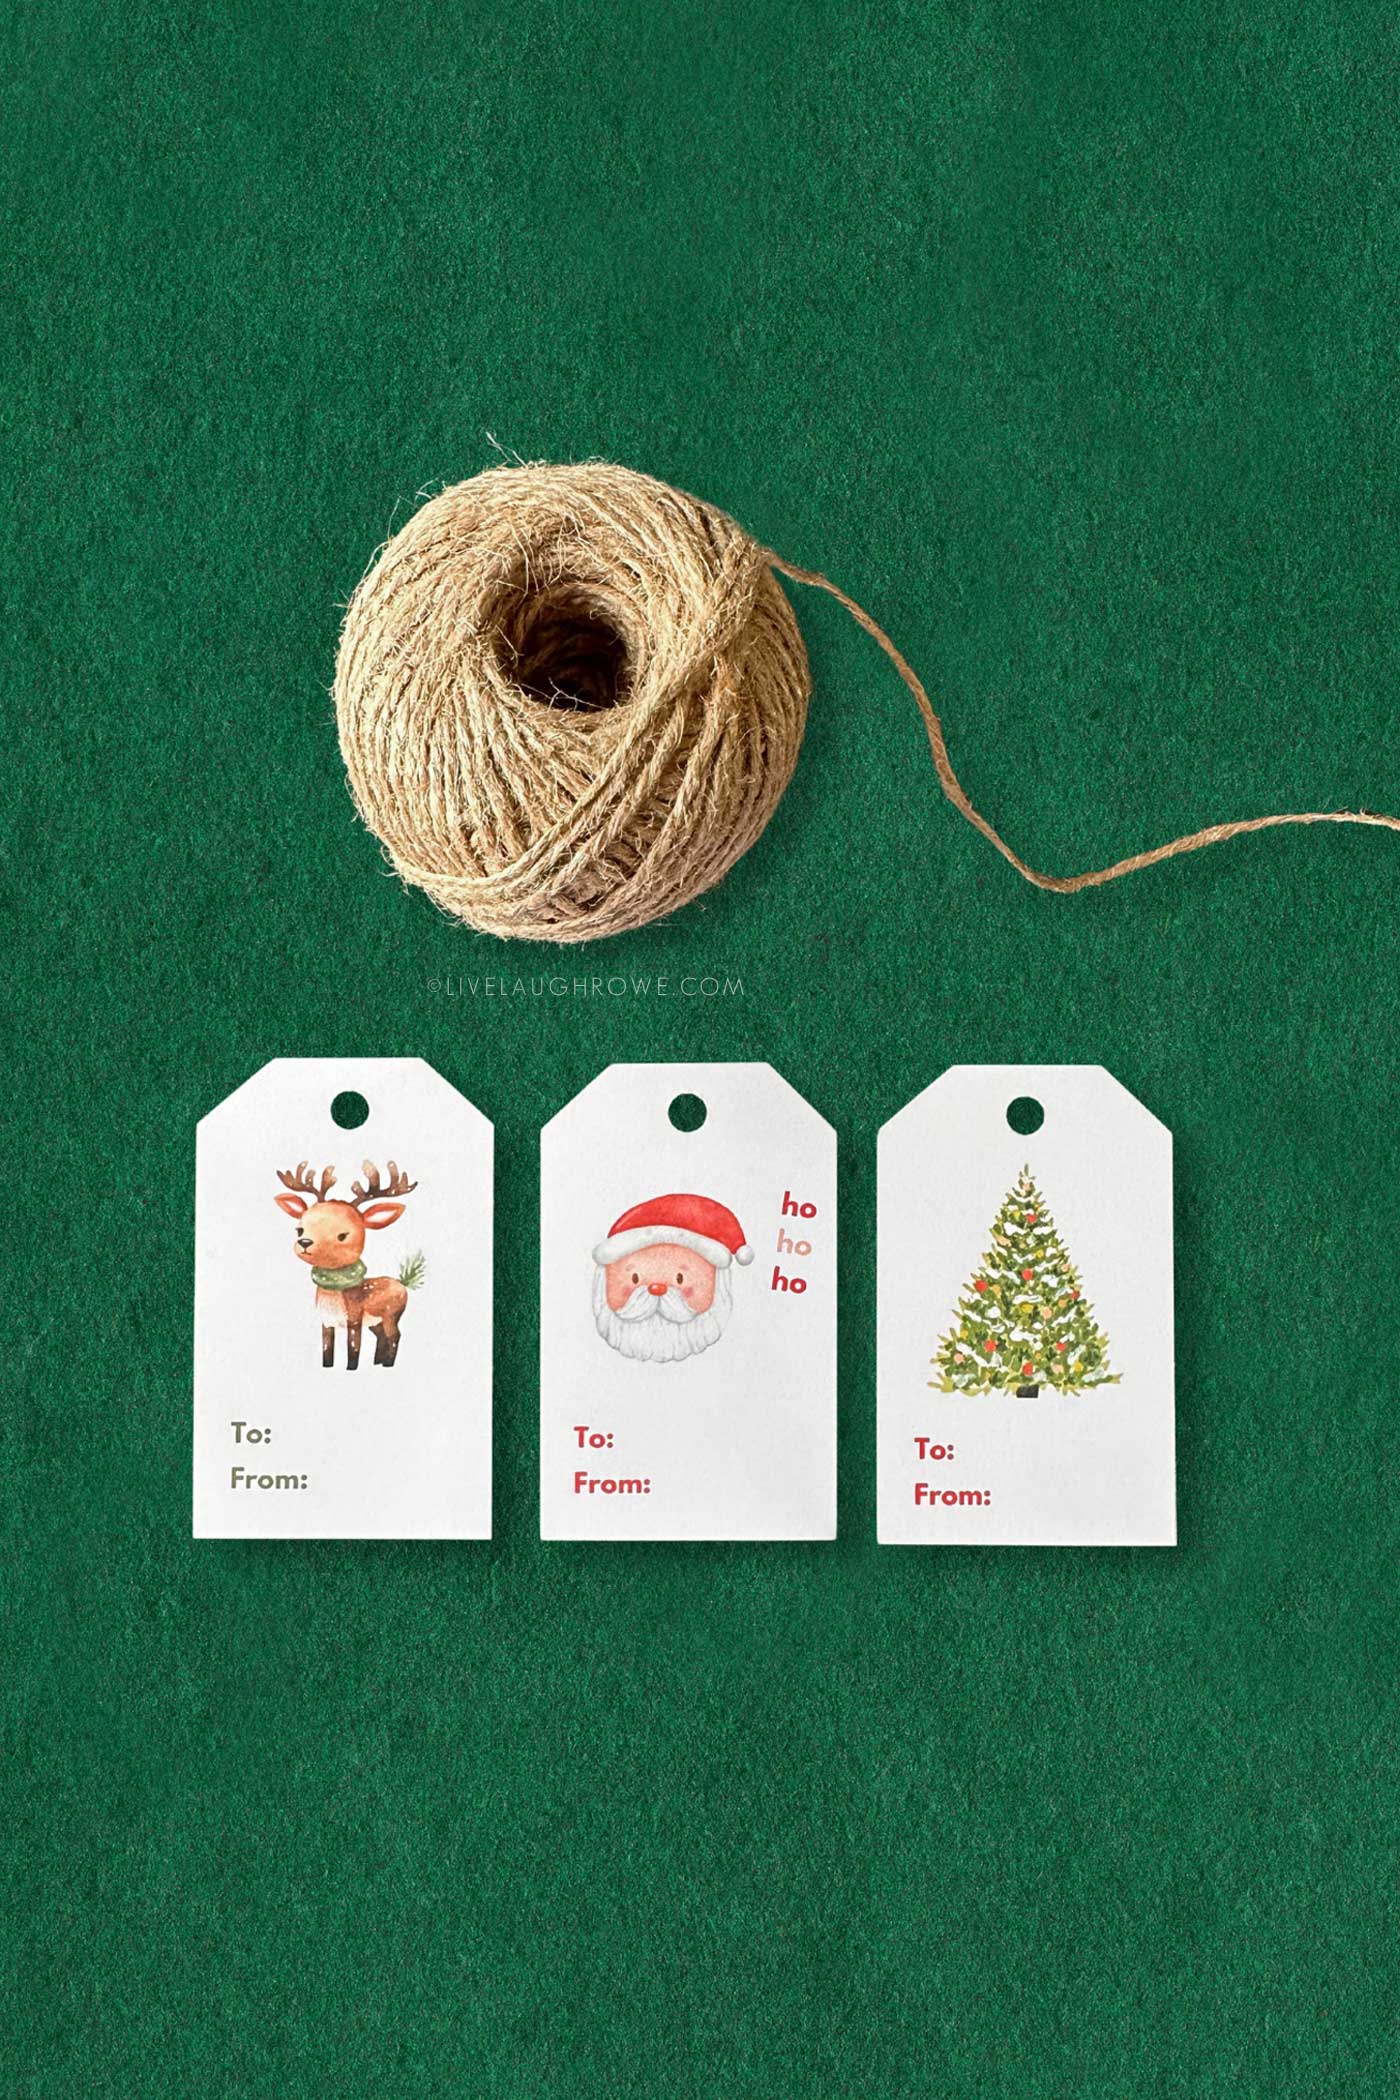
These tags come in cheerful holiday patterns and colors, perfect for adding a polished look to your handmade gifts. Simply print, cut, and attach to the kits with ribbon or twine for a thoughtful and creative touch that matches the spirit of the season!
Please Note: All printables and downloads from Live Laugh Rowe are for personal use only. Modifying the files or claiming them as your own is not allowed. Selling digital or printed versions is prohibited.
SAVE OR DOWNLOAD GIFT TAGS:
Santa Tags | Reindeer Tags | Christmas Tree Tags
*TIP: I recommend that you use the Scale to Fit when printing so the tags are printed at the intended size.
The Joy of Sharing Creativity
These kits are more than just supplies for a Holiday Craft for the kiddos. Turn a holiday craft for kids into a heartfelt gift! Learn how to assemble festive DIY ornament kits. You’re giving the recipient a chance to create, connect, and celebrate the season in a meaningful way. It’s a gift that encourages joy and creativity, making it truly unforgettable.
So grab your crafting supplies, enlist the kids, and assemble these delightful kits. Together, you’ll spread holiday cheer one ornament at a time.
Happy Holidays and Happy Crafting!



Leave a Reply