Hello Live Laugh Rowe friends! My name is Cheryl and I am so pleased to meet you! I am a mommy of two wonderfully cute boys and I was a chemical engineer before turning a stay at home mom! I am giving my analytical side of my brain a break and letting my creative side run wild! I live over at That’s What {Che} Said… My blog is a bit of everything! I dabble in lots of crafts, recipes, photography, mommy rants, home décor and so much more! You are sure to find something you love!
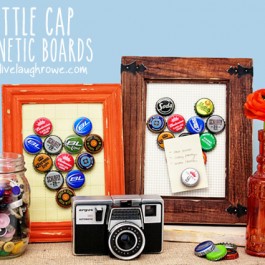
I am so happy to be here today to share with you a fun way to up-cycle a frame into a magnet board! Magnet boards can be used for so many different things! Let’s get started!
Items Needed:
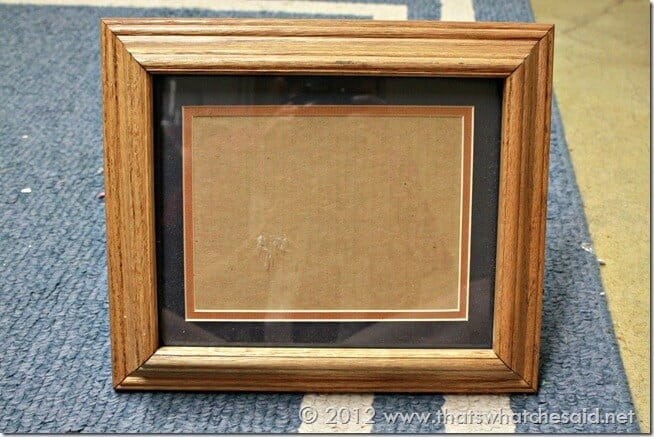
- Frames (I found mine at my local Salvation Army Thrift Store)
- Paint/paintbrushes
- Fine Grit Sandpaper
- Magnetic sheet. I purchased mine from Mindy Mae’s Market!
- Magnets
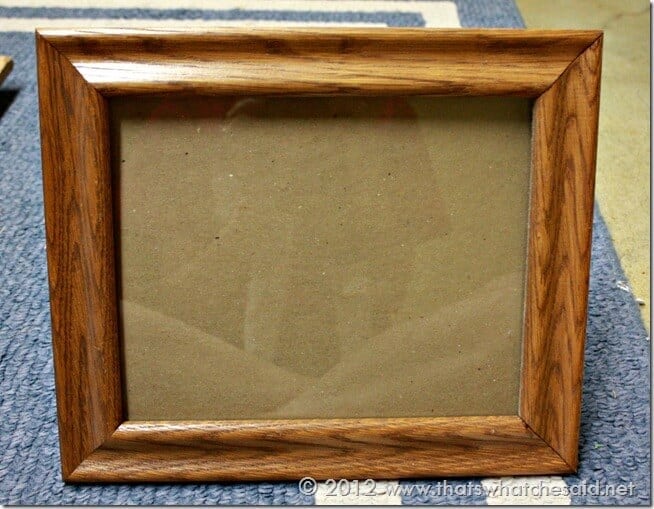
I stated out by removing the glass and mats from my thrift store frames!
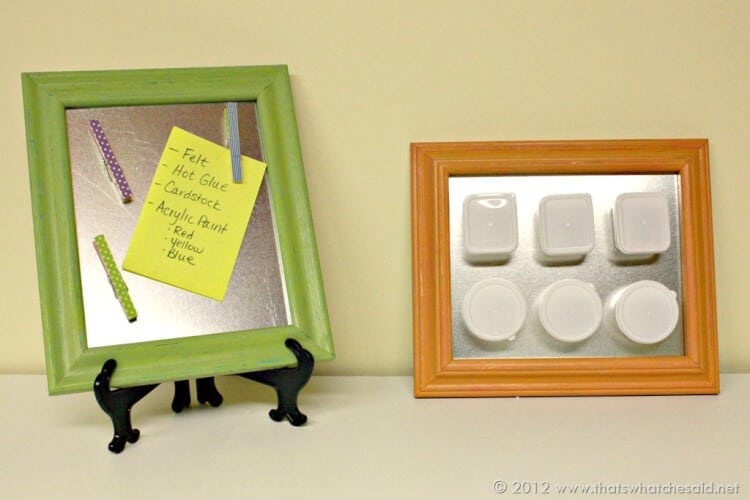
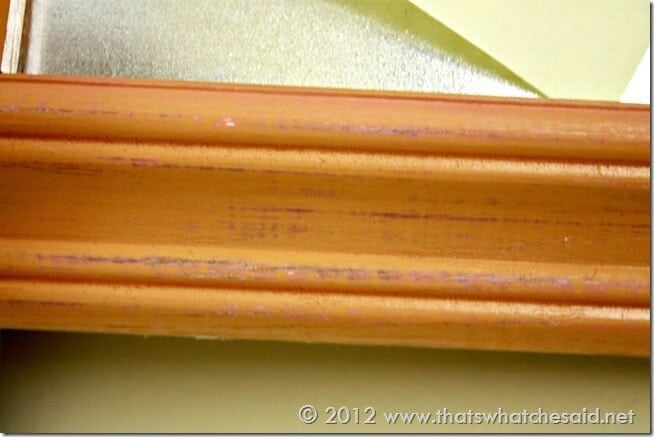
Next I added 2 coats of my under-colors (teal and pink). Once those dried, I applied two coats of my top colors (orange and green). I paired the teal and green together and the orange and pink with each other!
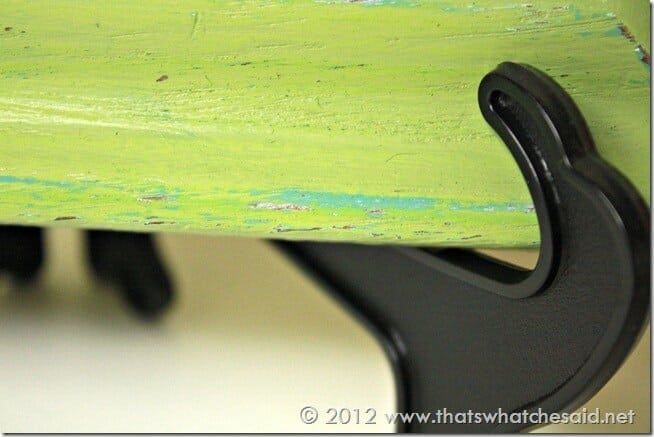
I waited again for them to dry and then took some fine grit sandpaper to the frame’s edges. Just distress them a bit to add some character!
I am a “less is more” type of gal, so these are perfect for me! Want to add more dramatic effect?? then keep sanding! Or maybe even dry brush your colors on after the final coat! Options are endless on how you paint/finish your frames!
Next insert your metal sheets as you would your photo, mat and glass! Mine were sized to 8 x 10 when I purchased them. Otherwise cut your sheet metal using sharp clippers and gloves!
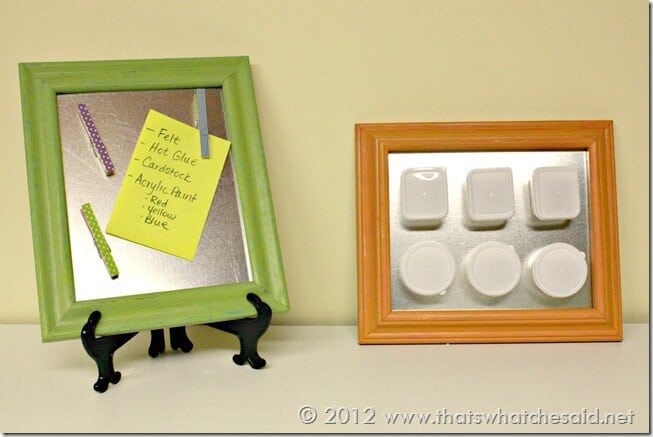
Adorn these guys with washi tape magnets or craft storage! I am using them to hold tiny plastic-ware containers of my smallest crafting supplies! I found these great containers at my local Dollar Tree and then added some strip magnets to the back with Gorilla Glue. I used strip magnets instead of disc ones so that the bins could still sit flat when I needed to use what was inside!
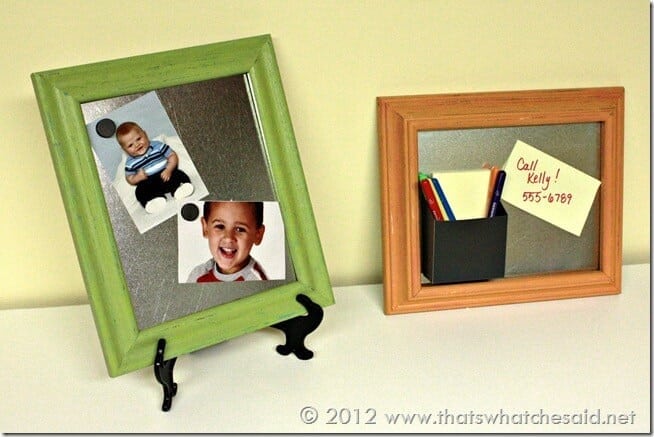
Again….you can use these for so many things! How about a Message Station or just to hold pictures of your loved ones?
Options are endless! I love projects that yield many different uses! Be sure to come on over to my blog and grab your recipe for some Frozen Lemonade Mini-Pies or stop over to download one of my many FREE printables!
I appreciate Kelly having me today and hope you love your new magnet boards! I sure love mine! You can also find me on Twitter and on Facebook! Leave me a note telling me you are visiting from Live Laugh Rowe!







Elena says
Love these magnet boards! I pinned something very similar to this! I definitely have to try this one for myself!
Kelly says
Thanks so much for stopping by and loving on Cheryl’s project 🙂 Hope you’re having a great week, Elena!
Jessica @ Mom 4 Real says
Cute, cute…may have to grab up some of those metal sheets!
Kelly says
They’re super cute, right? Thanks for stopping by, Jessica! Hugs.
Melissa B says
Love this idea! =)
Im visiting from Live Laugh Rowe!
Have a great day!
Kelly says
Melissa! Thanks so much for stopping by and loving on Cheryl’s DIY magnetic boards. You’re the bestest!!
Jennifer says
Love the magnet boards. Very clever!
Jennifer @ Decorated Chaos
http://decoratedchaos.blogspot.com
Kelly says
Thanks so much for stopping by, Jennifer! Cheryl shared such a great and easy project, right? HUGS!