This post is sponsored by The Home Depot. See full disclosure below regarding DIH Workshop.*
It’s time for another #DIHWorkshop project? This months is focused on fall and I couldn’t be more excited! Plus, I asked four of my blog buddies to join the fun, so you’ll be getting all kinds of fabulous inspiration! How about we build this Rustic Pumpkin with Mason Jars?
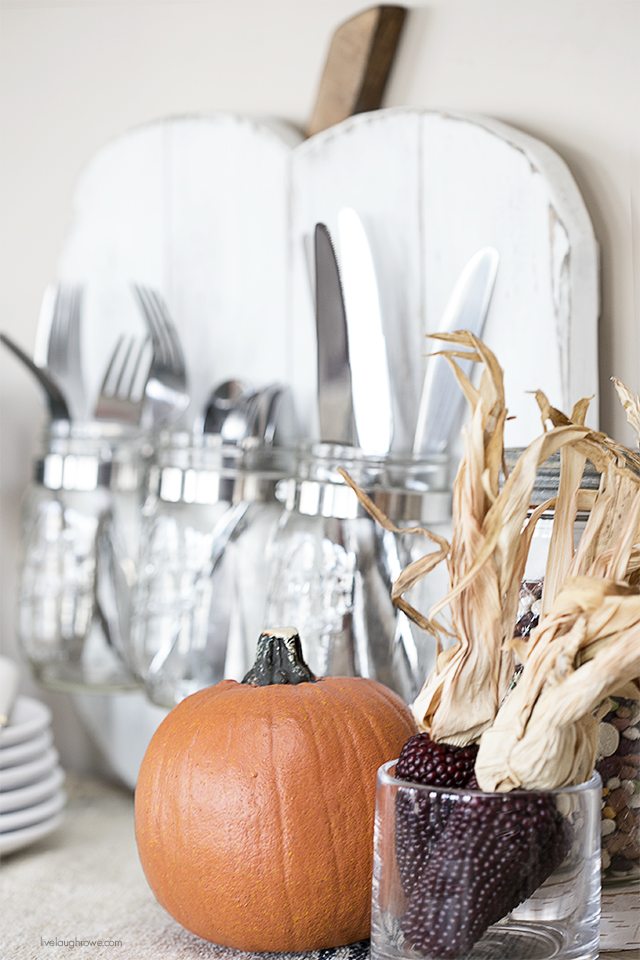
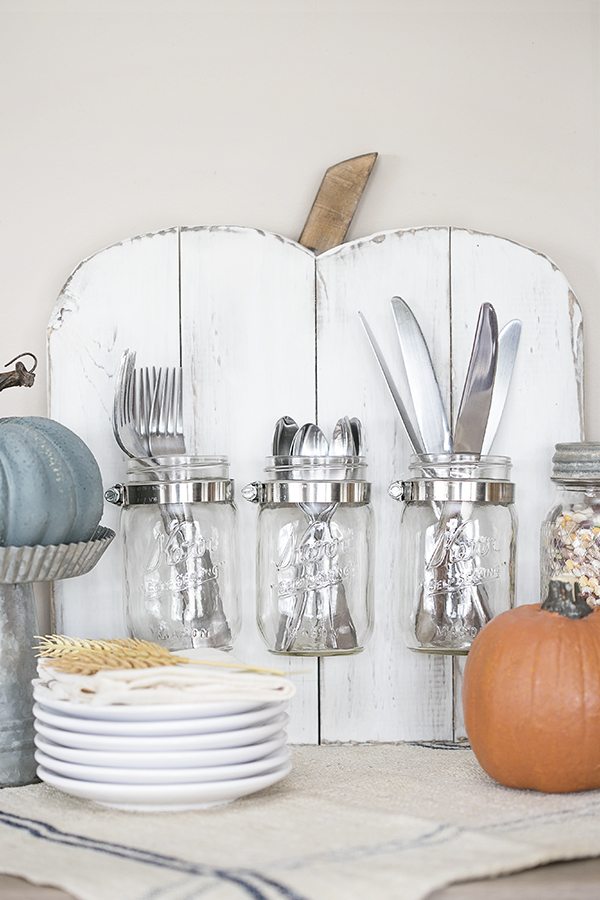
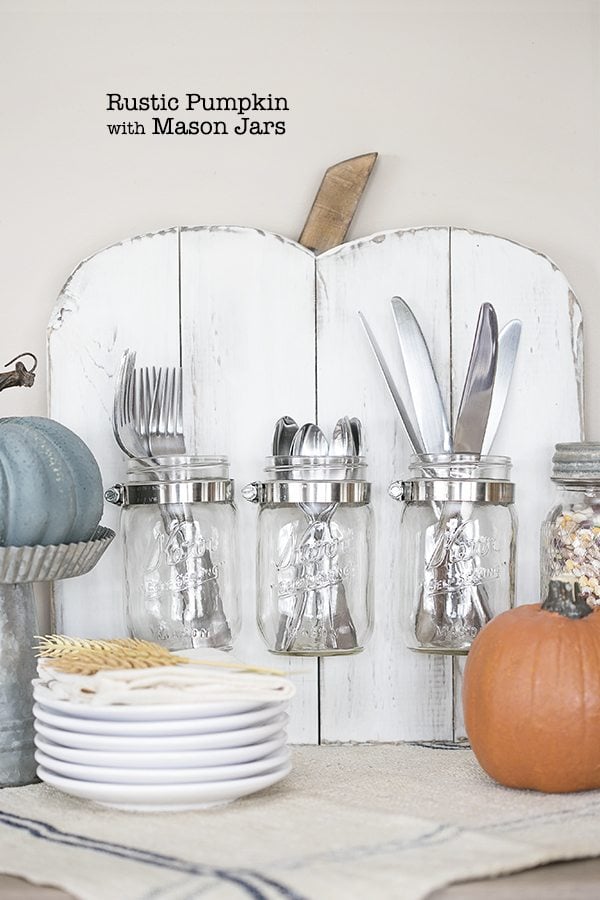 DIY Rustic Pumpkin with Jars

It’s a perfect addition to your fall decor and would be great to use while entertaining. Here’s a detailed list of the supplies you’ll need.
Materials:
2 – 1×4 common boards
1 – 1 x 2 x 4 feet long
1″ staples
Wood Glue
Tools:
Measuring Tape
Circular Saw (or miter saw)
Jig Saw
Staple Gun
Pencil
Let’s do this…
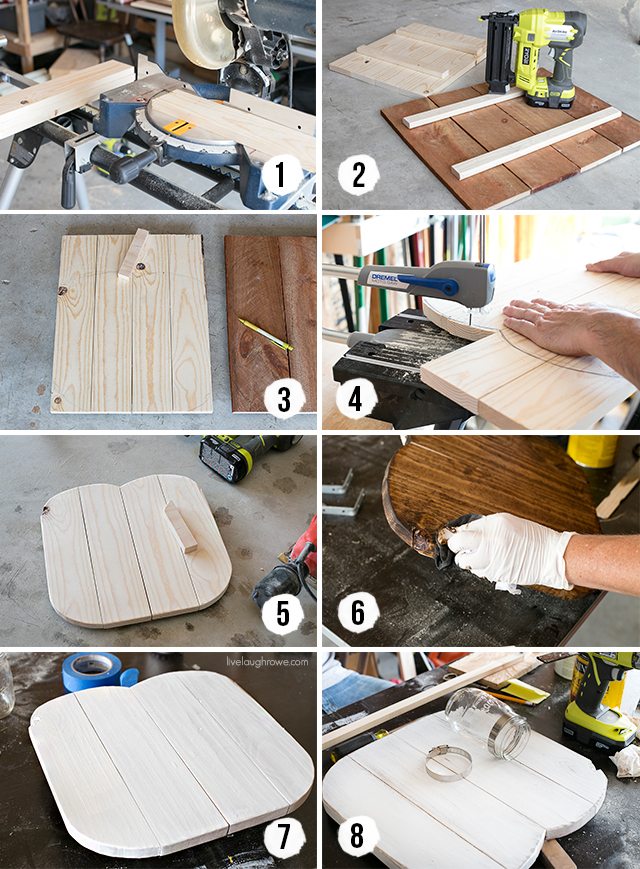
STEP ONE: Cut all your boards.
Cut four 18″ long pieces of wood from the 1 x 4 and two 20″ long pieces from the 1 x 2. I used a scrap piece of wood from other projects; however, cut one 8″ long piece from your 1×2 as well if you don’t have scrap wood on hand. So, you’re making SEVEN cuts total.
*Note that you can use any size wood and cut your pieces to any length, there is a great deal of flexibility with this project.
STEP TWO: Attaching boards for Pumpkin.
Lay the four 18″ pieces on your work surface (for me, that it my garage floor). The overall width is approximately 14″. Place 13″ long 1x2s on top, with about 1-1/2″ gap on either end. Use wood glue and staple gun to secure the 1x2s to the four pieces that will create the body of your pumpkin.
Flip your project over and add additional staples for extra security.
STEP THREE: Sketch your Pumpkin.
Sketch your a pumpkin shape on the front of your boards. Avoid drawing where your supports are. Have fun with the shape and remember that pumpkins aren’t usually perfect in form — so make it as fun and unique as possible. For mine, I went for the tall and slender.
STEP FOUR: Cut your Pumpkin Shape and Sand.
Use jigs saw or tool of preference to cut out your full pumpkin shape. I used my Dremel Moto Saw, it worked perfectly. I also cut my stem so it wasn’t so square (see image #5).
Once my pumpkin shape and stem were cut out, I sanded any rough edges with my sander.
STEP FIVE: Attach Stem.
Place stem in center of pumpkin and attach with glue and staple gun.
STEP SIX and SEVEN: Stain and Paint.
I decided to start by staining my pumpkin with Minwax Provinicial Stain. I let that dry overnight, then applied a couple coats of white paint. The final touch was sanding it a bit using a sanding block so the stain would peek through.
STEP EIGHT: Attach Mason Jars.
I decided on three mason jars and attached them using hose clamps. Most people attach the hose clamps to their surfaces by drilling through the metal. I’m not sure why, but I happened to have THREE fence nails that worked perfectly. Random, I know….
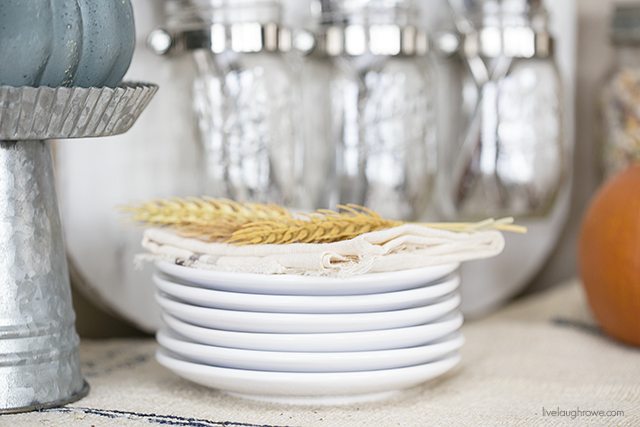
That’s it — now you can add fresh flowers, use for silverware while doing some holiday entertaining, etc.

 Guess what?? I have four other versions of the Rustic Pumpkin to share with you. YAY!
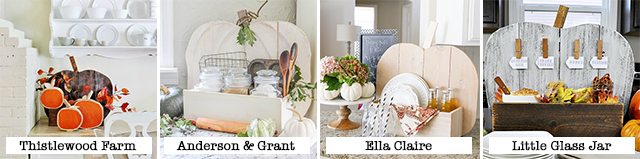
Thistlewood Farms | Anderson and Grant | Ella Claire | Little Glass Jar
So much inspiration, right? What do you say? Ready to make your very own Rustic Pumpkin Stand?
 Be sure to visit with me here too:
Facebook | Instagram | Pinterest | Twitter |Google+
Linking up to Between Naps on the Porch


Jamie | anderson + grant says
Love your idea, Kelly! Thank you so much for including me in this group. I can’t even tell you how much your support means to me!
Kelly Rowe says
Aw…thanks so much Jamie! I’m thrilled that you were able to join me in this great Fall project. 🙂 HUGS!
alissa@33shadesofgreen says
I just love how your pumpkin stand turned out, Kelly. Your idea to add mason jars is brilliant! Happy Fall!
Kelly Rowe says
Thanks so much Alissa! I appreciate it…and appreciate you stopping by. Have a GREAT day. xo.
Karen @ Dogs Don't Eat Pizza says
I love this! Oh, and that teal pumpkin!!! I need that in my kitchen!
Kelly Rowe says
Thanks so much Karen! 🙂 The teal Pumpkin is from Michael’s in case you want to pick one up for your Fall Decor. Have a great day. HUGS.
Angie @ Knick of Time says
This is totally adorable, and useful too! I love decor that “earns” it spot in my house,and this projects fits that bill!
Kelly Rowe says
Thanks so much Angie! 🙂 You will LOVE it! Have fun making it your own. xo.
Krista @ the happy housie says
So cute, Kelly! What a fun workshop!!
Kelly Rowe says
Thanks Krista! I appreciate it. Have a great day. HUGS.
ange says
What a great idea, I love the mason jars! Yours turned out fabulous and what a great way to utilize it in the kitchen!
Kelly Rowe says
Thanks Ange! I appreciate your kind words. 🙂 You should give it a try! You will love it’s functionality. xo.
Karen Pope says
This is a must do project for me – perfect for our new home. Heading to Home Depot this morning!
Thanks for sharing, Karen
Kelly Rowe says
Thanks for stopping by Karen! I’m thrilled to hear that you are going to make one! You will LOVE it!! Have fun making it your own. 🙂 HUGS!
Jenn says
LOVE how this turned out!!!
Kelly Rowe says
Thanks Jenn! Appreciate it. 🙂 HUGS!
Kristi says
Oh my gosh! SO, SO cute Kelly!!!
Kelly Rowe says
Thanks Kristi! 🙂 Enjoy the rest of your day. xo.
Holly M says
Such a nice idea. Thanks for sharing this. They’re so cute!