This post is sponsored by The Home Depot. See full disclosure below regarding DIH Workshop.*
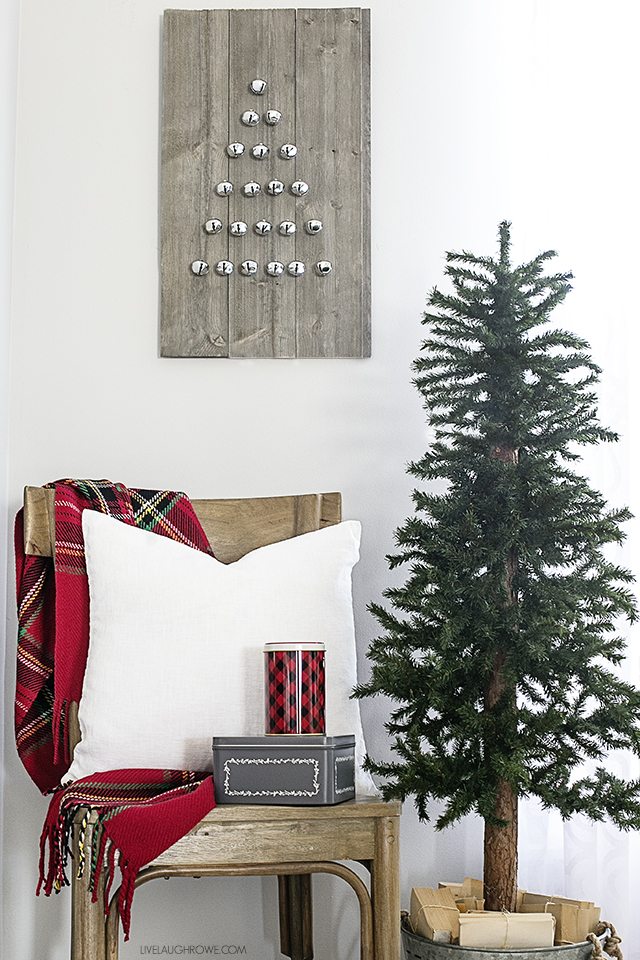
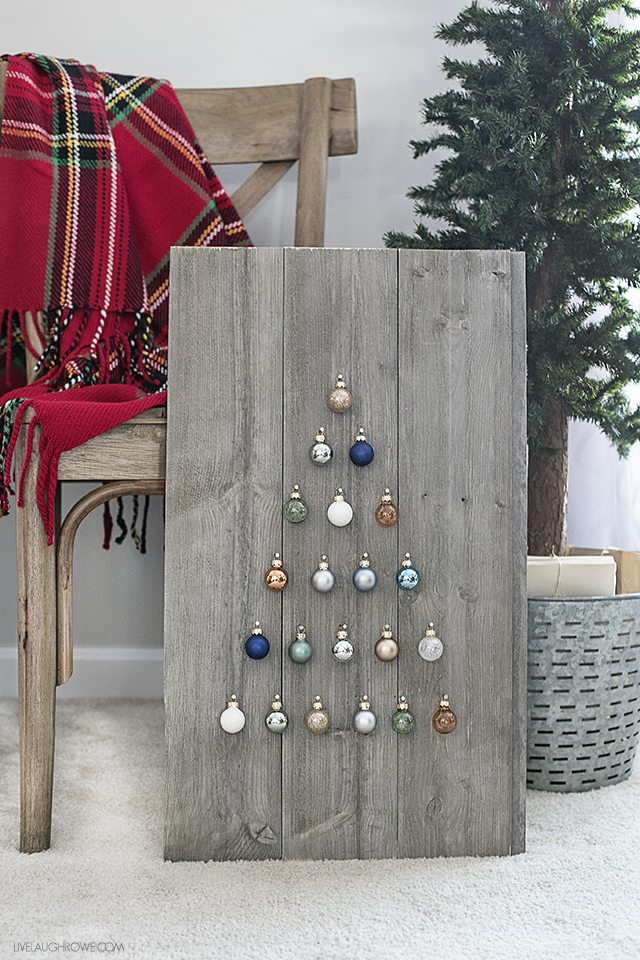
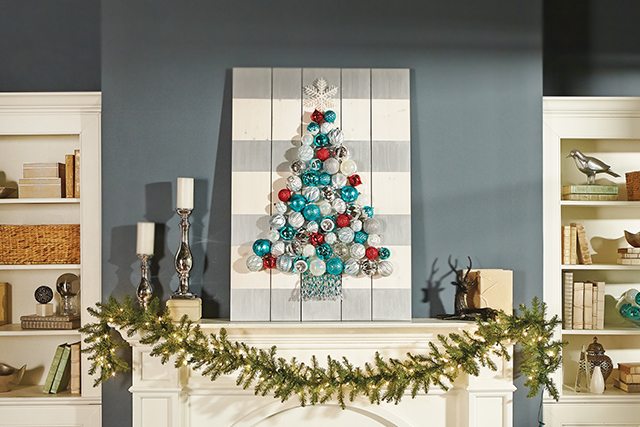
It’s time for the BIG reveal (hee-hee). I’m sharing my version of the November Do-It-Herself (DIH) Workshops project, an ornament display. Of course I stayed true to my style and kept it simple and rustic. However, I couldn’t be more thrilled as to how my Shiplap Ornament Display turned out.
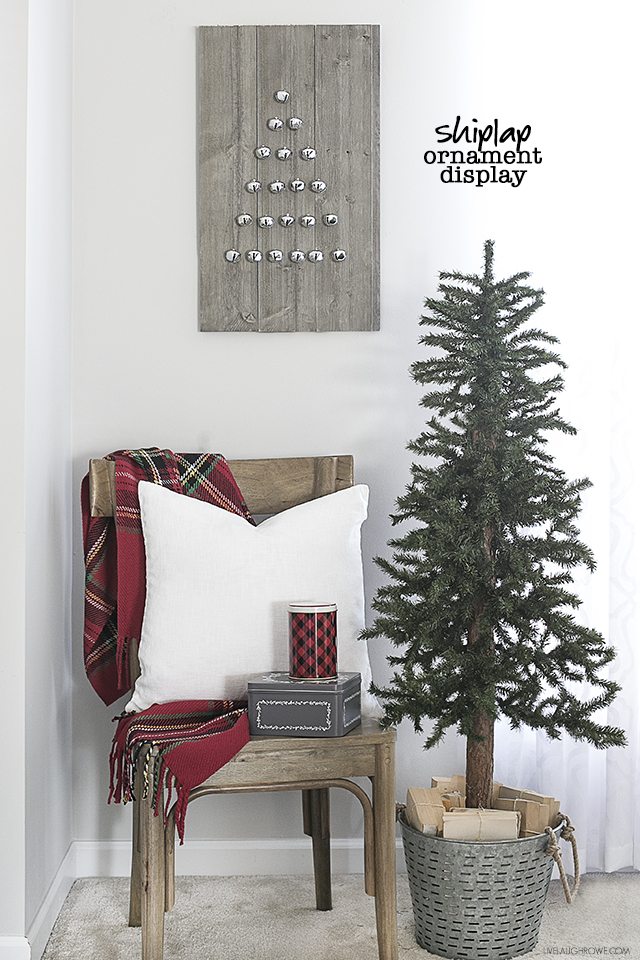 Shiplap Ornament Display

Let’s be honest here — at first I didn’t know what I was going to do. As I walked through the aisles of Home Depot, I knew that all of the glittered ornaments were out of the question. See, glitter gives me EXTREME anxiety. So, I had to think a little outside the box. Let’s take a look!
Supplies for Shiplap Ornament Display:
1 – 1x6x8 Wood Barn Grey Shiplap Siding
1 – Yardstick
Wood Glue
Staple Gun
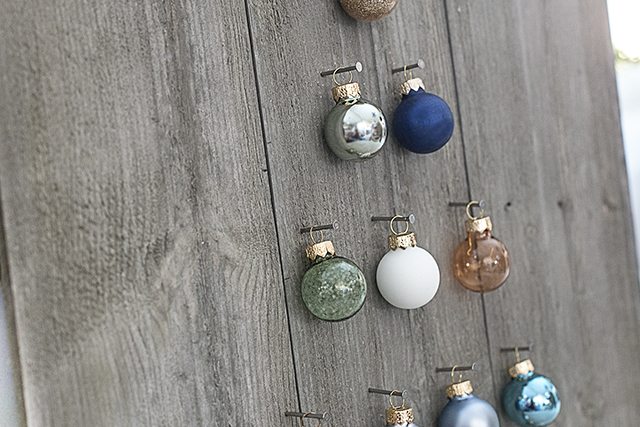
1″ Flat Head Nails
2 boxes, Metal Silver Bell Christmas Ornaments
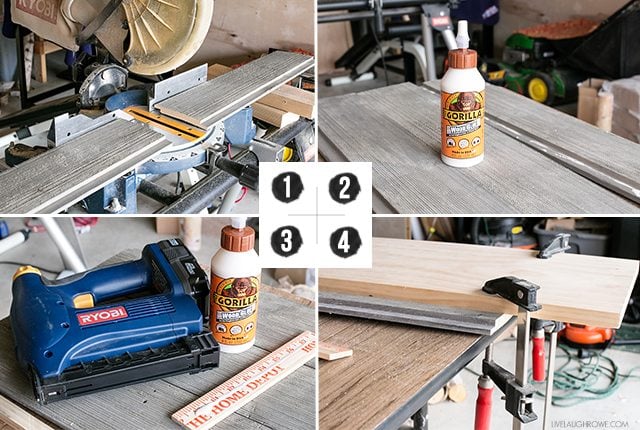
Cut shiplap into three 2′ long pieces.
Step Two:
Place boards face down and run a bead of wood glue along tongue of board to connect. Wood glue is for additional bonding.
Step Three:
Secure with braces. I cut two 9″ pieces to place along the three boards to secure them together. Again, apply a bead of wood glue, place down on boards and use your staple gun to complete attaching the braces.
Step Four: (optional)
The boards were a wee-bit uneven, so while drying I placed a piece of scrap wood on top of the shiplap boards and used clamps to tighten it down and even out a bit more. Being this is a rustic piece, that is completely optional and at your discretion.
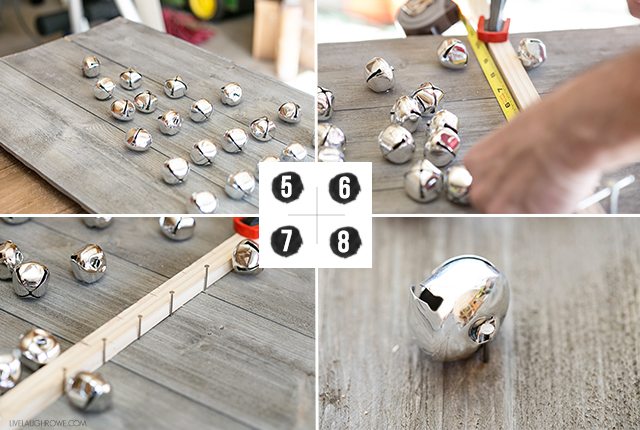
Lay out your ornaments to get an idea of how you’ll be placing them.
Step Six:
Measure accordingly to ensure that your ornaments will be centered and straight. We use a t-square to and a piece of wood to measure the top and bottom rows.
Steps Seven and Eight:
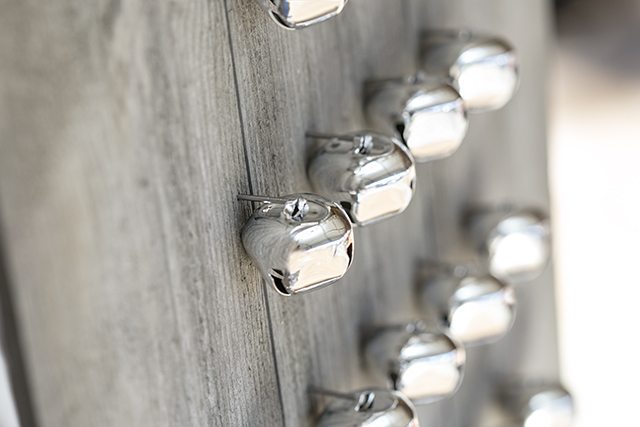
Attach nails — and ornaments!

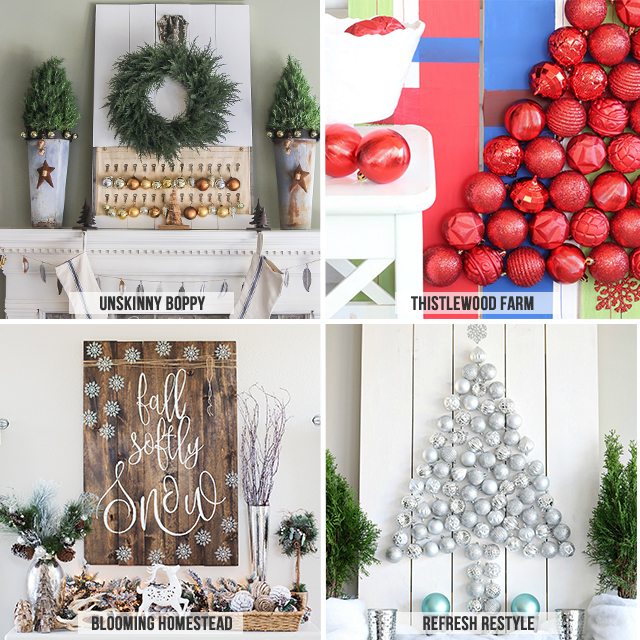
Blooming Homestead | Refresh Restyle
Here’s a reminder of the original project, a fun and colorful Ornament Display Holder.
I bet y’all are feeling super inspired to make your own Shiplap Ornament Display (or any of the above). If you do make one, please be sure to tag me or e-mail me. I’d love to see your version!
Just a quick reminder, The Home Depot’s Workshops are designed to provide a mix of associate-led instruction, demonstration, and some hands-on learning. The workshops are also for do-it-yourselfers of all ages and experience levels! Materials can be purchased to make your own project too. For more information, contact your local Home Depot store.

Facebook | Instagram | Pinterest | Twitter | Google+





Kimm at Reinvented says
I haven’t seen them all, but I’m pretty confident that yours is my favorite! Love love love both versions.
Kelly Rowe says
Aw, thanks so much Kimm! I appreciate it. Hope you’ll give it a try. 🙂 xo.
Jeanne says
I love this – it’s perfect in a rustic imperfect way. 🙂
Kelly Rowe says
Thanks so much Jeanne! I appreciate it. Have a great day. HUGS.
laura {not a trophy wife} says
Looks great! How Fun! Home Depot is my version of a grown up field trip.
Kari Wagner Hoban says
I had no idea that “shiplap” was an actual thing until Joanna Gaines told me so. Shiplap is the Chevron of 2016. I love this idea!
Kelly Rowe says
Thanks so much Kari! I appreciate it. 🙂 Shiplap is awesome and can be use to do so much. Have a great day. xo.
Cathy Curry says
Love this but have an idea for an advent tree. Why not in the middle at the bottom add two rows with two bells that would form a trunk. That would be 25 bells which is perfect for an advent tree. The nails would already show the shape while the ornaments are added each day.
Kelly Rowe says
What a fantastic idea, Cathy! Love it.
Roxy says
Love this! I have some mini vintage bulbs that I’m going to use!
Love it with the bells too!
Kelly Rowe says
Yay! I’m so glad you like it — and I think the vintage bulbs will be perfection.
Susan Ide says
I love the wreath made with the olive yarn. Could not find it anywhere online. I guess a lot of people who read your blog bought it and it sold out in a flash :o)!