Today, I’m thrilled to welcome Jill of Create.Craft.Love to Live Laugh Rowe. Jill will be joining us every so often sharing her crafty-nesss. Jill is local here in St. Louis. We met a few weeks ago and spent 4-1/2 hours chatting the afternoon away. I was tickled silly when she accepted my offer to be my crafty contributer here at Live Laugh Rowe. Be sure to extend a warm welcome and visit with her over at Create.Craft.Love. Without further ado — let’s take a look at what Jill has been up to!
 Hello Live.Laugh.Rowe readers! Jill here from Create.Craft.Love. Create.Craft.Love. is a craft/DIY blog catered to Pinterest addicts, craft junkies, DIY fanatics and busy mamas. I am so honored/thrilled/excited that Kelly asked me to contribute some of my crafty goodness with all of you! My Pine Cone Wreath creates a warm winter welcome for any front door!
Here’s what you need to make your own!
Foam wreath form
Roll of burlap (found in the floral section at Michaels)
Bag of pine cones
Hot glue gun
Ribbon
Begin by wrapping your wreath form with the burlap. Next, cut the extra burlap and set aside (I’ve used one roll on three wreaths now.) Hot glue the end of the roll in place. Arrange your pine cones, seed pods and greenery (or whatever comes in the bag). Play around with it until you like how it looks. Once you have a feel for how it looks, break out that hot glue gun again and start gluing everything in place.
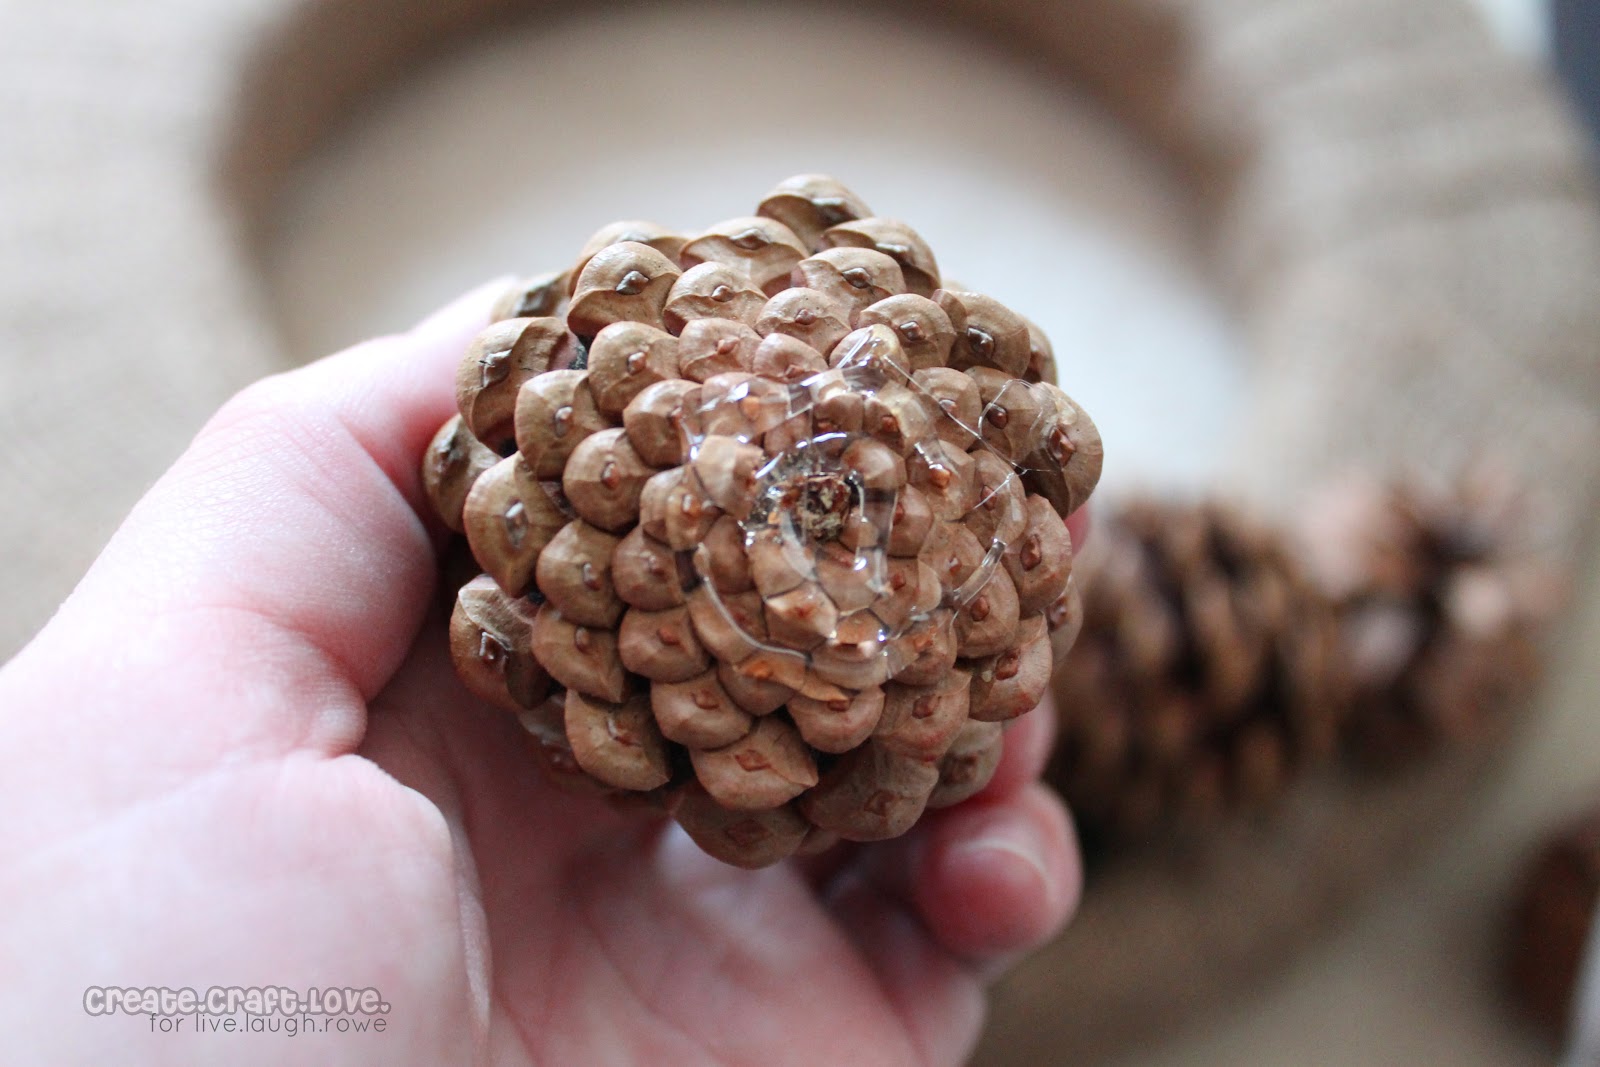
Tip: Larger pine cones usually have a flatter side which is great for gluing in place. On the smaller pine cones, the bottom is flat.
 Add some ribbon and hang on your door to greet all of your holiday guests!
Tip: I use a hanging method from Pinterest where you apply a Command hook upside down on the back of the door. Click here to go to the source.
The other great thing about the Pine Cone Wreath is it is interchangable! I used the same wreath that I used on my Simple Burlap Fall Wreath and my Moss Monogram Spring Wreath. Simply remove the old floral and hot glue the pine cones in the same spot!


.
Happy Holidays!


Aleksandra says
Wow, the Christmas is here 🙂 Great job!
Adrianne at Happy Hour Projects says
It’s gorgeous! Love this!
Laura @ Our Prairie Home says
Beautiful wreath, Kelly! I love the combination of pinecones and burlap!
Kristy Life-n-Reflection says
Simply Beautiful!!
Gina says
LOVE this- so rustic. Will look great with our new cabin.
nest of posies says
love the rustic look of this, but the pop of red is so festive
Kelly says
Jill did a fabulous job. Thanks so much for stopping by, Kellie!
Shaina says
Love the rustic look of this.