Sometimes we just need have a few friends over and do a little crafting! It’s fun, therapeutic and we get to put our creative juices to work! So, that’s what I did. I decided to hold a Mason Jar Painting Party.
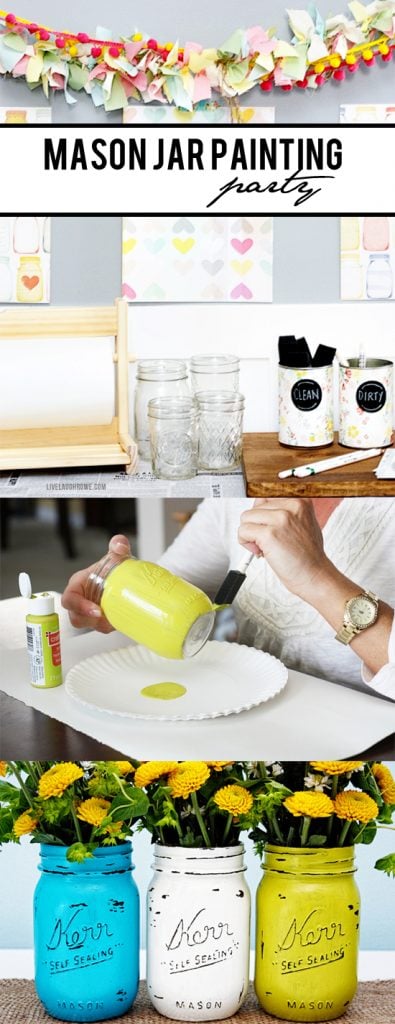
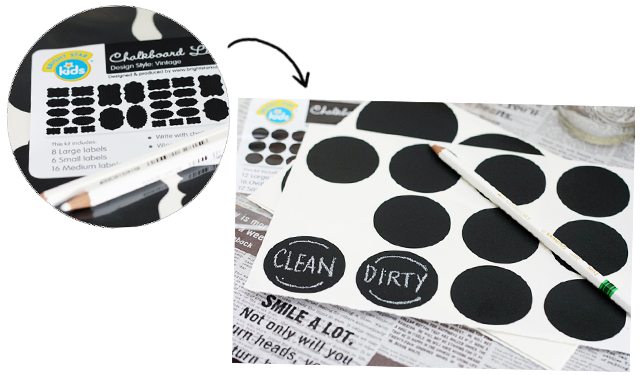
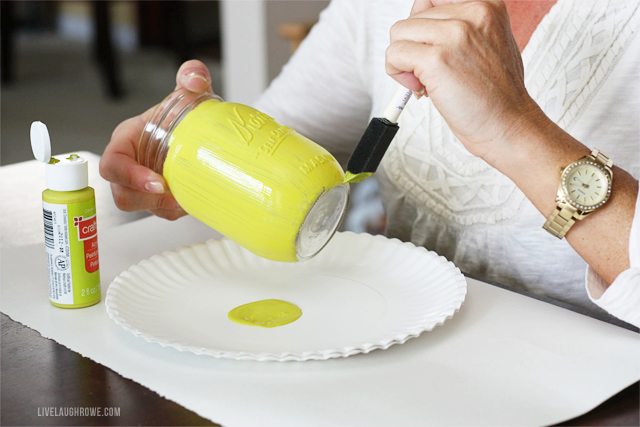
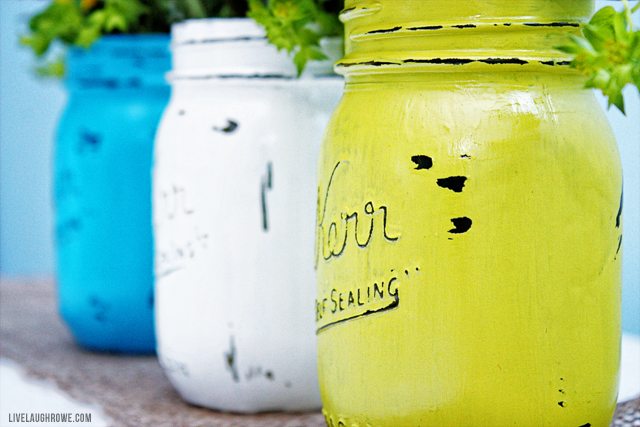
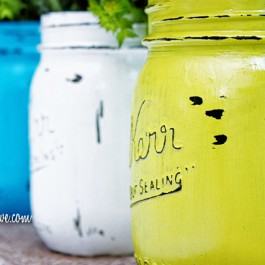
One of my all time favorite projects was the Painted Mason Jars. They’re pretty easy to make and I think they’re super functional. They can be used for flowers, pen jar, gift giving, etc. I thought those would be the perfect project for crafters of all levels! I had recently received some chalkboard tags and chalk pencils from Bright Star Kids and using them for this party seems to be a perfect fit! I got both the vintage inspired labels and the circles, but decided to use the circles for labeling.
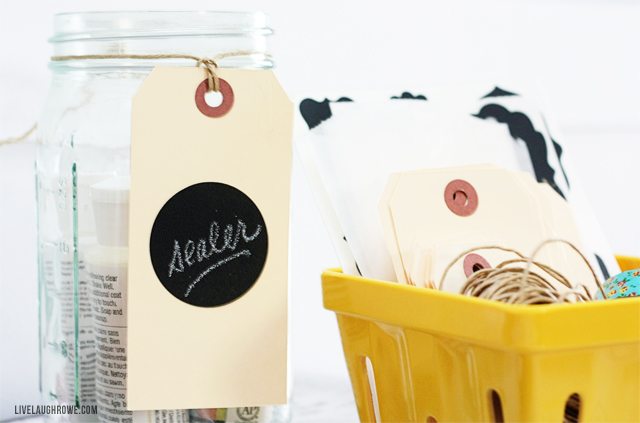
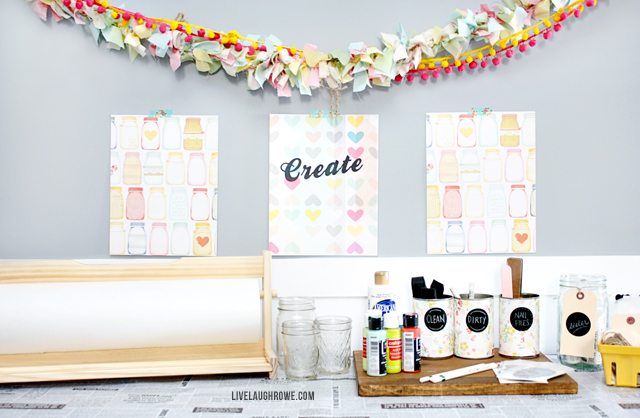
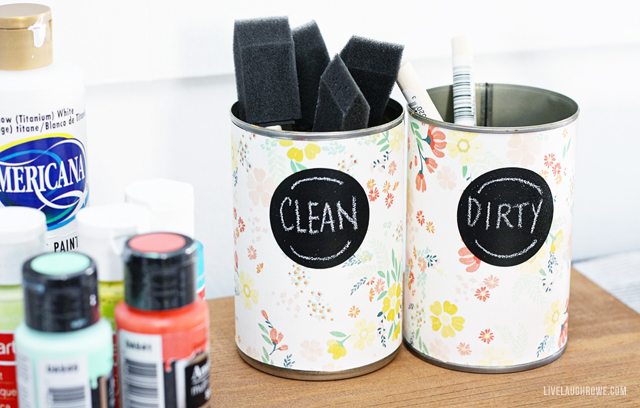
To put the super cute chalkboard labels to use, I wrapped soup cans with scrapbook paper (attached with double sided tape) and placed washi tape over the seams. I then placed added my chalkboard labels for the finishing touch. One for clean brushes and one for dirty. I also used one for the nail file can! You know that’s the secreat weapon to these painted mason jars, right? Anywho, using soup cans makes clean up super duper easy!
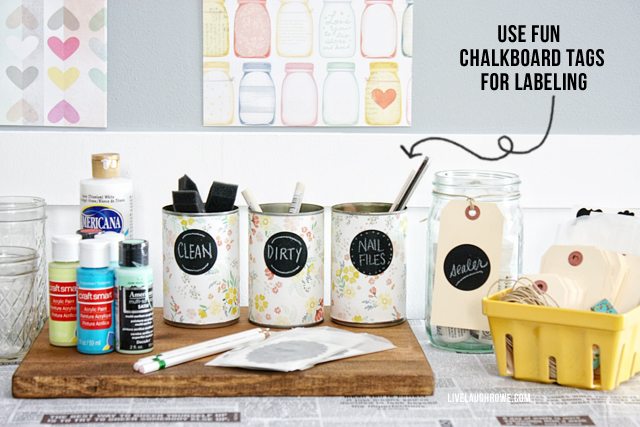
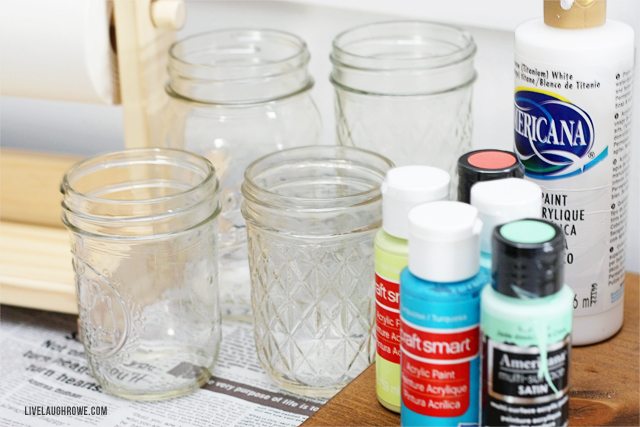
Other supplies needed are jars and acrylic paint. Provide different style jars of all shapes and sizes, giving your girlfriends choices.
I love to see all your projects too! Happy party planning and crafting.
Be sure to check out all of the fun chalkboard products at Bright Star Kids too!
Care to stay in the loop? I’d love to have you!
Catch me snapping + sharing pictures over on Instagram.
Subscribe to Updates | Like on Facebook | Follow on Pinterest
This is a sponsored conversation written by me on behalf of Bright Star Kids. The opinions and text are all mine.
https://betweennapsontheporch.net/



Leave a Reply