This post is sponsored by The Home Depot. See full disclosure below regarding DIH Workshop.*
If you love jewelry, then today is your lucky day! I’m sharing this fantastic jewelry organizer with you today — and the best part is you can attend the May DIH Workshop this Thursday night at your local Home Depot to learn how to build one yourself. More details at the bottoms of this post (wink).

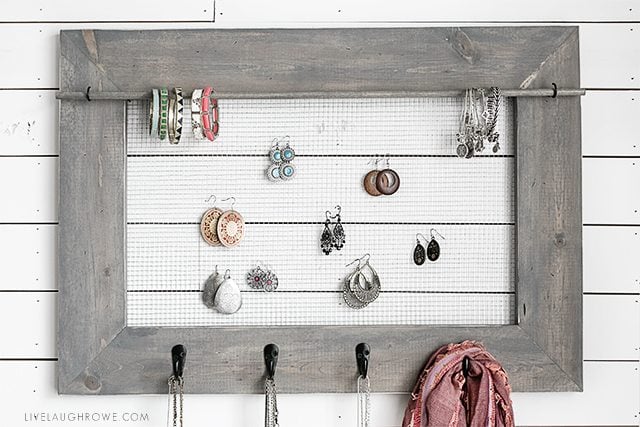
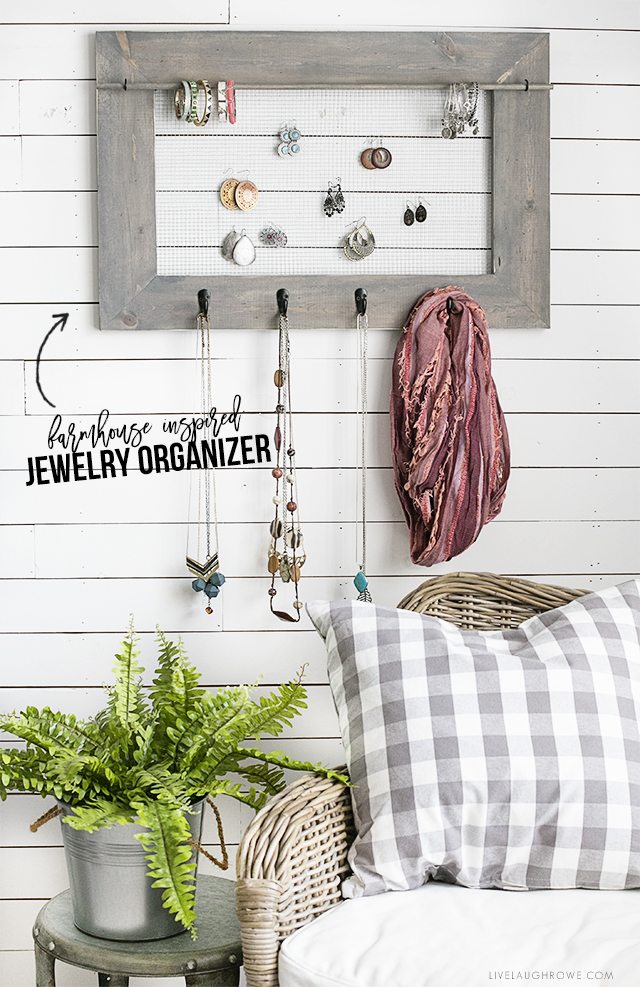
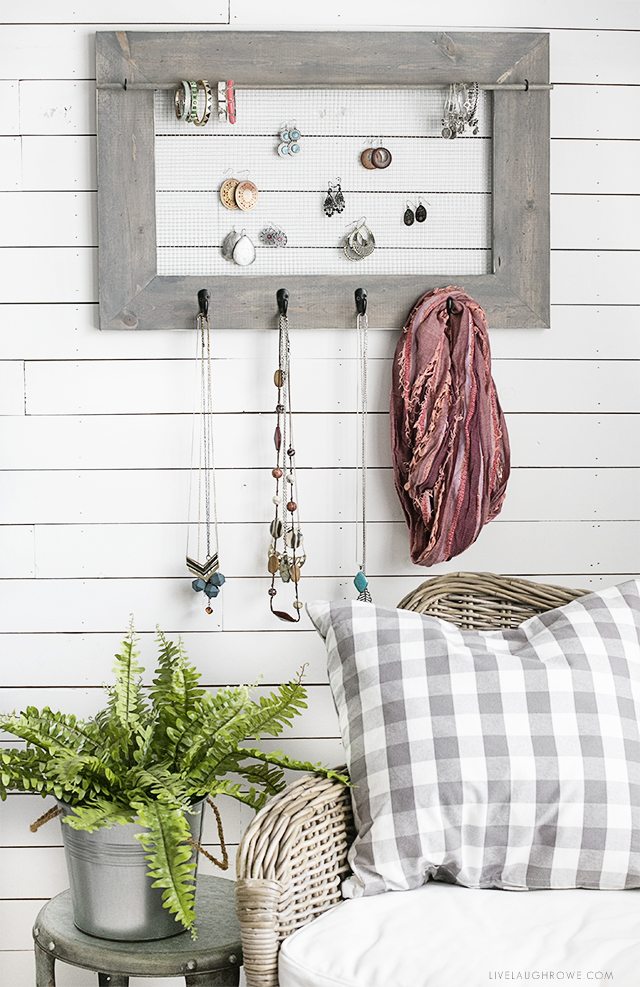
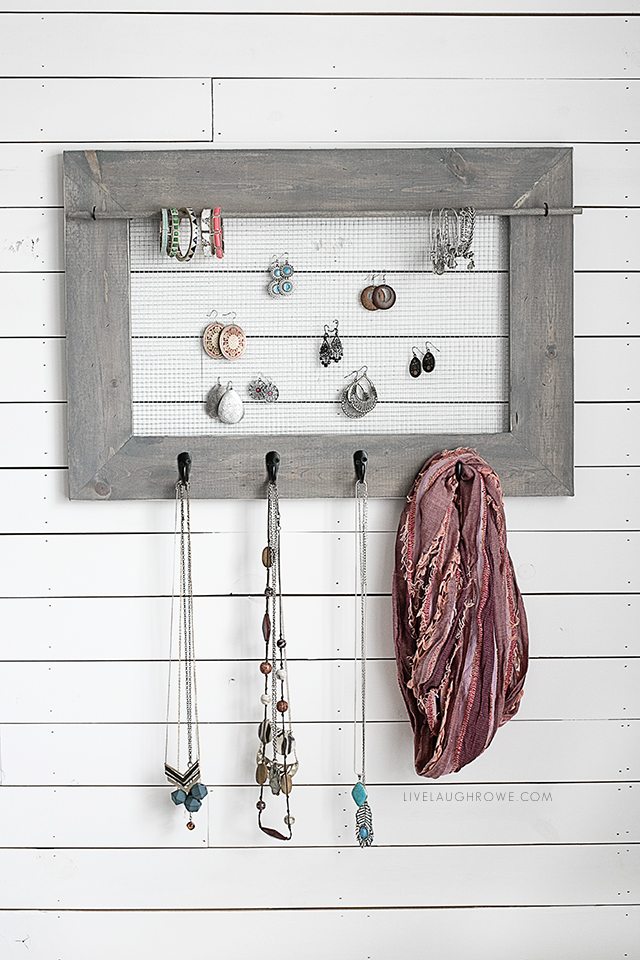
Jewelry Organizer with a splash of Farmhouse Charm

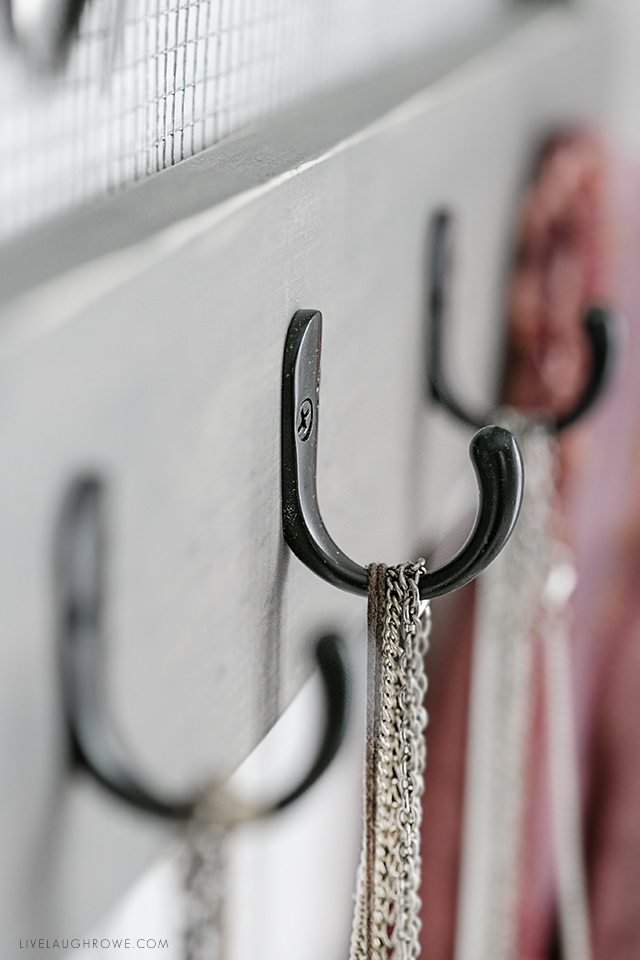
I added a little farmhouse charm to this organizer using a gray stain and black hooks — plus I adore how the hardware cloth looks. Here’s how you can make on similar to mine.
Supplies for Jewelry Organizer:
One 1″x 4″x 8′ common board
1/4 in. x 2 ft. x 5 ft. 23-Gauge Galvanized Steel Hardware Cloth
1-13/16 in. Flat Black Single Prong Robe Hook Value Pack (6-Pack)
Compound Miter Saw with Laser
Kreg Jig Master System*
Wood Glue
Stanley Heavy-Duty Staple Gun
Minwax Stain, Classic Gray
T-Shirt Knit Rags, White (for staining)
10 lb. Sawtooth Hanger Small (3-Pack)
Hammer
Screwdriver
Measuring Tape
Ryobi One+ 18-Volt Lithium-Ion Starter Drill Kit
Dowel
1 in. Brass-Plated Steel Cup Hook (3-Piece per Pack), I bought these and spray painted them black.
*If you don’t do 45 degree angle cuts, you can simply use a butt joint (butting the boards together) and use 3″ corner braces to assemble.
HOW TO BUILD THE JEWELRY ORGANIZER
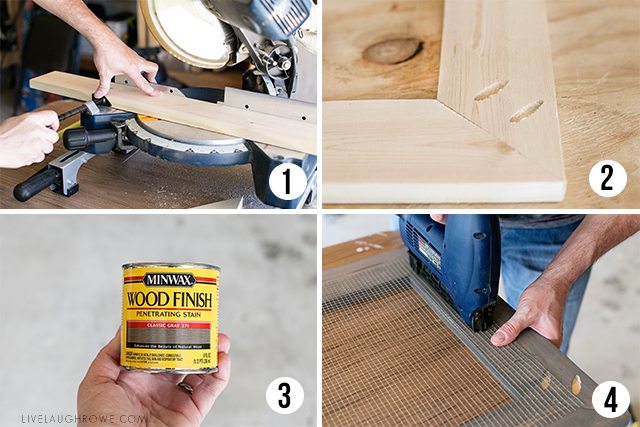
Using your handy dandy measuring tape, you’ll want to measure and mark: two 27″ boards and two 19″ boards. Cut each piece at a 45 degree angle.
STEP TWO: Assemble the Frame.
Using a Kreg Jig, you’ll create pockets to assemble the frame together using the appropriate tools. Before final assembly, add a small bit of wood glue to the joints.
STEP THREE: Stain (or Paint)
Using a rag, stain sponge or brush, you’re now going to stain your piece. I only did one coat; however, do as many you’d like to achieve the color you’re going for.
STEP FOUR: Attach the Hardware Cloth.
First you’ll want to measure the hardware cloth to fit within the frame. Continue to cut the cloth using wire cutters. Attach the hardware cloth to the frame using a staple gun.
STEP FIVE: Attach Hardware.
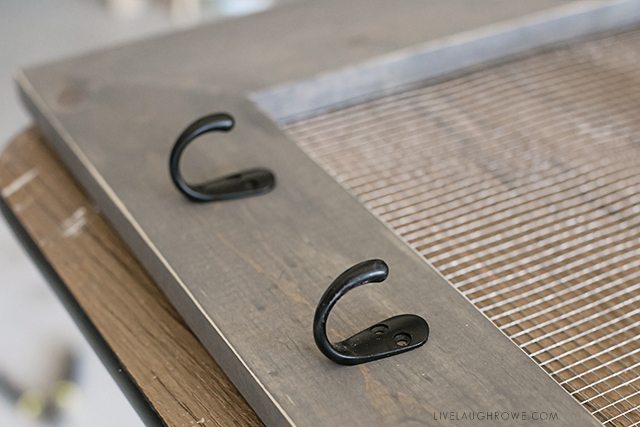
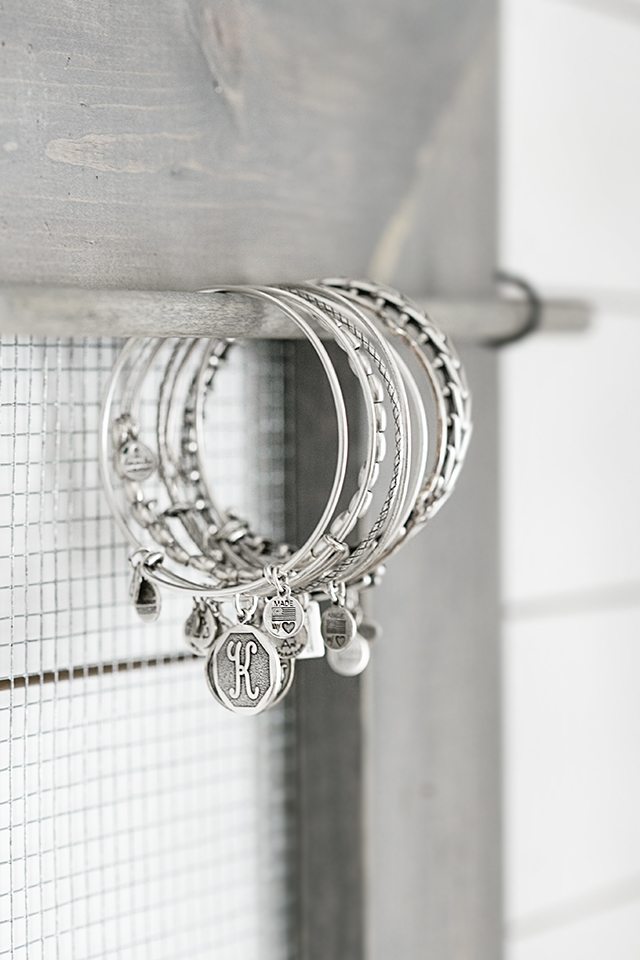
Add your knobs, hooks, cup hooks, dowel (or what hardware accessories you’ve decided to use). Attach sawtooth picture hangers as well.
 Check out these versions of the May DIH Jewelry Organizer too!
Domestically Speaking | DIY Huntress | The Turquoise Home
Cherished Bliss | Inspiration for Moms | Petticoat Junktion
Remodelando La Casa | Sawdust 2 Stitches | Shades of Blue Interiors
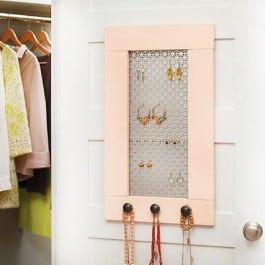
Here’s the original DIH project, which inspired mine: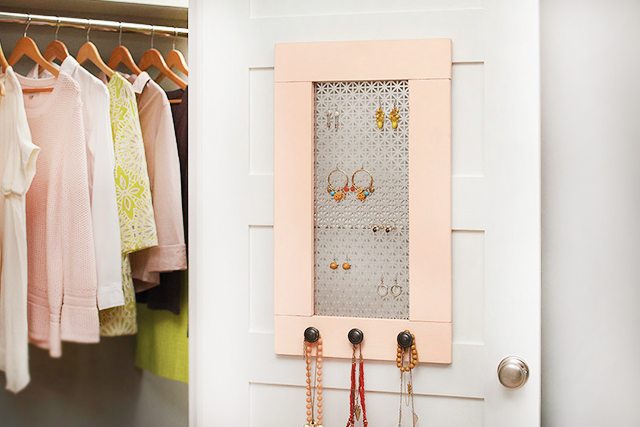
Take a look at all of my other DIH Projects too! They’re great for all levels of DIH-ers (wink).

Facebook | Instagram | Pinterest | Twitter | Google+
 Check out these versions of the May DIH Jewelry Organizer too!



Maryann says
Love the finish & the chicken wire Kelly – so cute!
Laura says
I love the dowel addition to your jewelry organizer! It turned out so great, Kelly!
Kathy Owen says
I love it Kelly! I think I like the horizontal look is my fav.
Sharon aka Mom says
Totally awesome Kel! Love it and it so
Versatile!!????????????
Bird says
This is such a clever idea! I love how chic it looks! 🙂
Leah says
What a great idea! Love this project.