I love burlap! It can be a bit messy to work with, but the end results are always fabulous. So, I thought why not make some of my own Halloween treat bags using — wait for it — burlap! They’re perfect for giving some Halloween treats to friends, co-workers, neighbors and more! Oooo, classroom goodies too. I originally shared this tutorial on Crafts Unleashed, but I’m super excited to share it with all of you today!
DIY Halloween Treat Bags — easy, festive and fun!
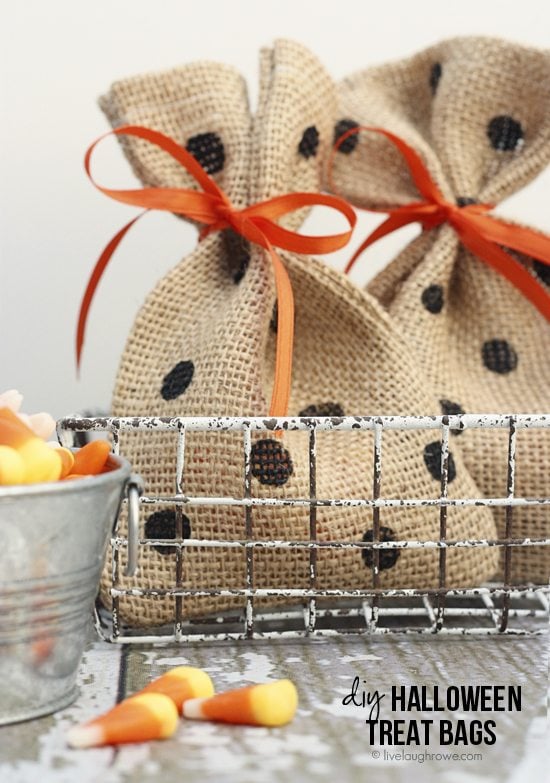 DIY Halloween Treat Bags

Supplies:
Natural Burlap
Needle and Thread (or Sewing Machine)
Black Acrylic Paint
Paint Dabber
Orange Ribbon
Treats of Choice
Reclosable Plastic Bags (if using edible treats)
In five easy steps, you can whip these bags together in no-time!
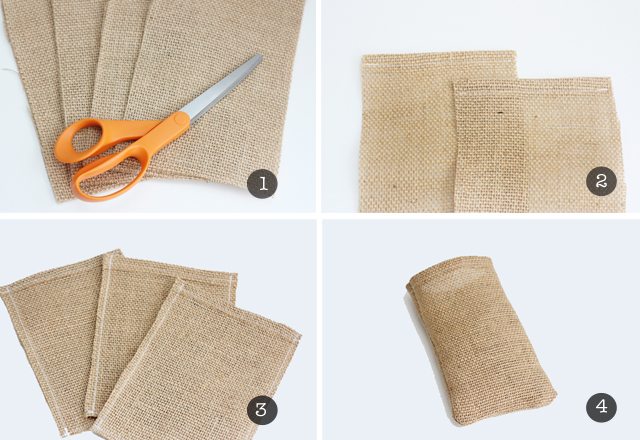
Step One: Prepare the Burlap
First and foremost, we need to cut the burlap to the appropriate size. I cut mine into sheets of 8-1/2″ x 5-1/2″.
Step Two and Three: Sew
Start by sewing the top hem of the burlap bag. Now, I have to confess, I often wing it. However, if you like to be a little more accurate, feel free to pin and iron your hem. My hem was about 1/4″.
Continue to sew both sides and the bottom hem of your bag as well. Be sure that you are sewing the bag inside out. I would encourage you to sew your stitch twice for a little extra support on the hem. Burlap can fray easily, so having a little extra support in the hem is ideal {wink}.
Step Four: Finishing Touches on Burlap Bag
Once your bag is stitched, you’ll want to turn the bag right side out and iron it flat. If you don’t iron it, the bag is a little ‘poofy.’ {hee-hee}.
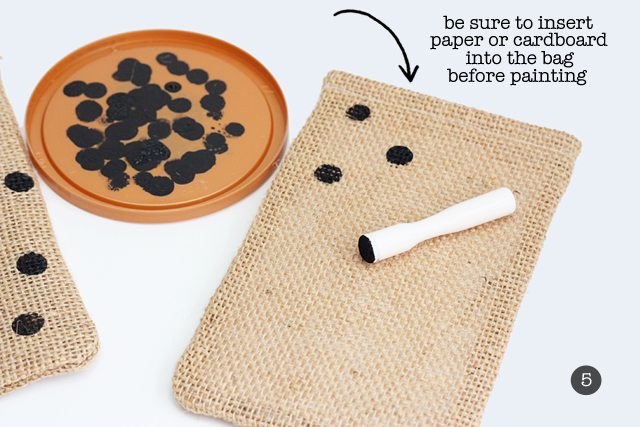
Step Five: Embellish the Treat Bag
Here’s the fun part — embellishing your Halloween treat bag with some festive black polka dots. Before you start painting, be sure to place paper/cardstock/cardboard inside the bag to ensure your paint doesn’t bleed through.
Grab your black acrylic paint and dabbers. You’ll want to paint each side individually, allowing each side to dry before moving on to the other. And you’re done!
It’s time to fill the bags with treats! If you are adding edible and/or unwrapped treats to your bags, make sure to put them in a re-closable plastic bag, then place inside the burlap bag.
I thought the orange ribbon fit the bill perfectly for these festive DIY Halloween treat bags. All kinds of fabulous! I think orange dots with black ribbon would bet great too! Oh the possibilities.
 I used candy corn — aaaand a few had candy corn and peanuts! #nomnomnom
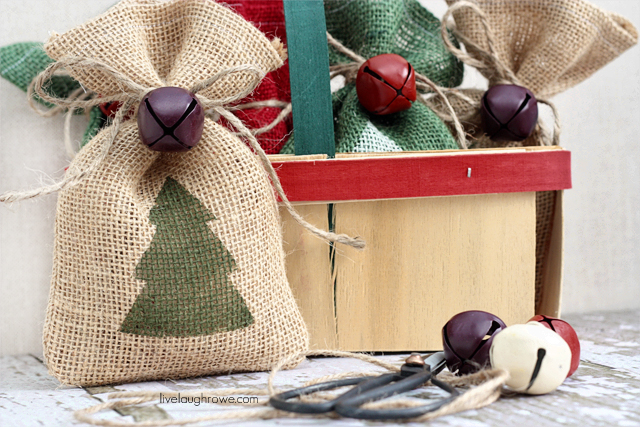
 No tricks here — all treats {smile}. Be sure to check out my Christmas version of these burlap bags too!
 Happy creating, friends!
 Be sure to visit with me here too:
Facebook | Instagram | Pinterest | Twitter | Google+


Amy W says
Ah, how cute. I love that they could be used for other holidays or occasions, too! Pinning.
Kelly Rowe says
Thanks Amy! 😉 Appreciate it. These bags are very multi-functional. You’ll have to make some. xo.
Alyssa @ModernHues says
These are too cute!! Do you wash your burlap before using? I’ve found that washing can sometimes make the fabric turn a bit yellow….probably user failure!
-Alyssa
Kelly Rowe says
Thanks Alyssa! No, I’ve never washed burlap before using it, but I guess everyone approaches how they use it differently. If it turns the burlap a little yellow…I would avoid washing it. Have a great night! HUGS!
Shaina says
I love how cute these turned out!
Kelly Rowe says
Thanks so much Shaina! Appreciate it. Have a great evening! xo.