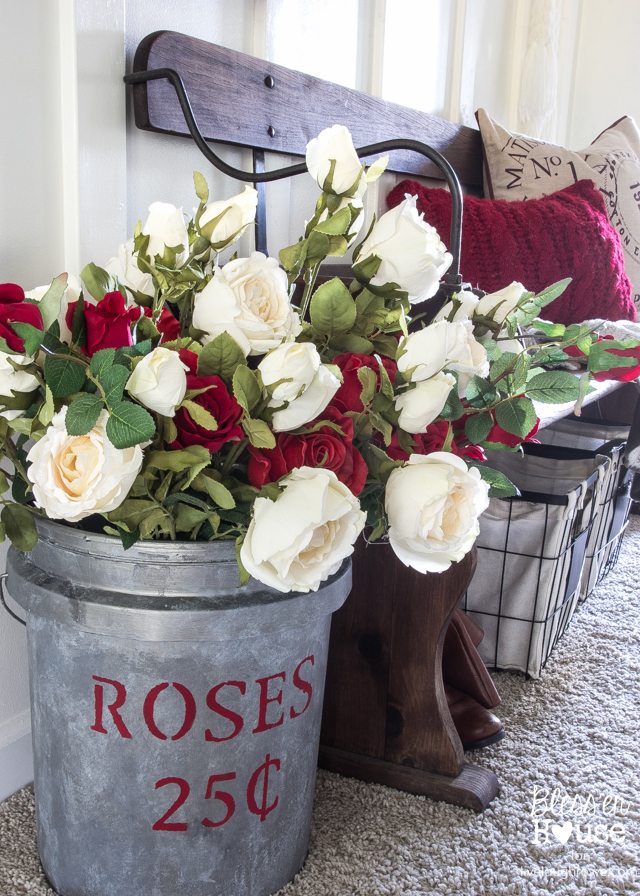
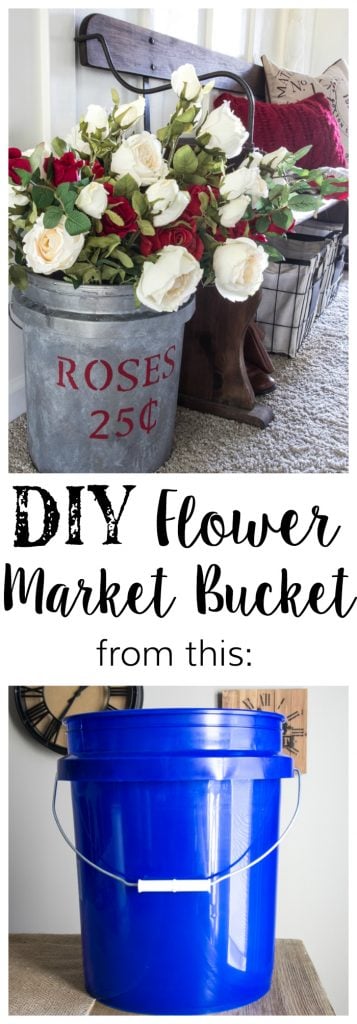
Try your hand at this awesome DIY Flower Market Bucket. Take a bucket from blah to fabulous! Affiliate links are included for your convenience (wink).
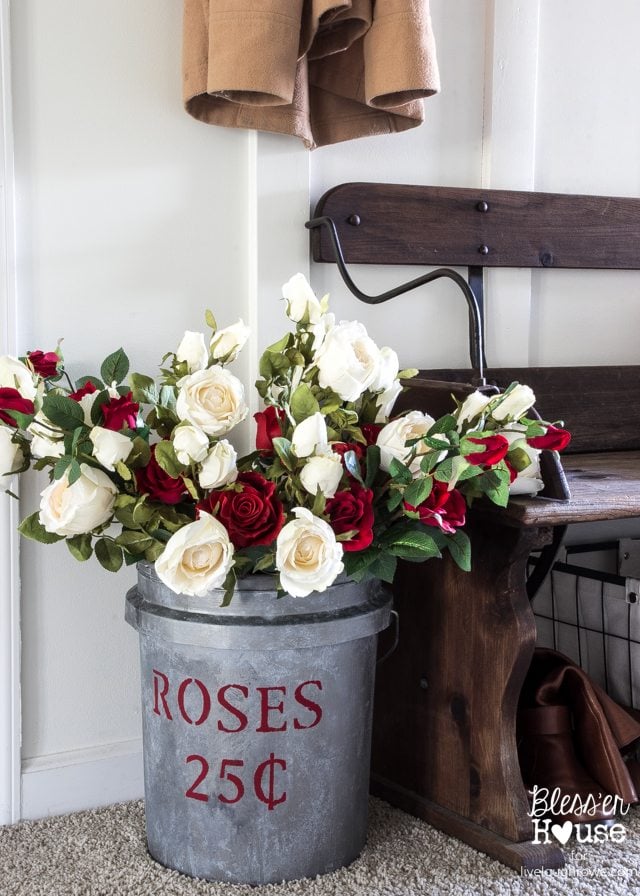 Hey y’all! I am so honored to be here as my sweet friend Kelly takes some time off.
I’m Lauren and I have a little blog called Bless’er House where I share my DIY and decorating adventures with my hubby and spunky three year-old girl.
I’ll be real with y’all. I have never ever ever decorated for Valentine’s…that is until this year. Now that my daughter is getting older and more aware of different holidays, I’m finding it more exciting to celebrate all of them. And it’s always sweet to celebrate the people you love, right? (That and have an excuse to devour chocolate like it’s your job).
So then with Valentine’s coming up, I had a plan for this plain 5 gallon bucket:
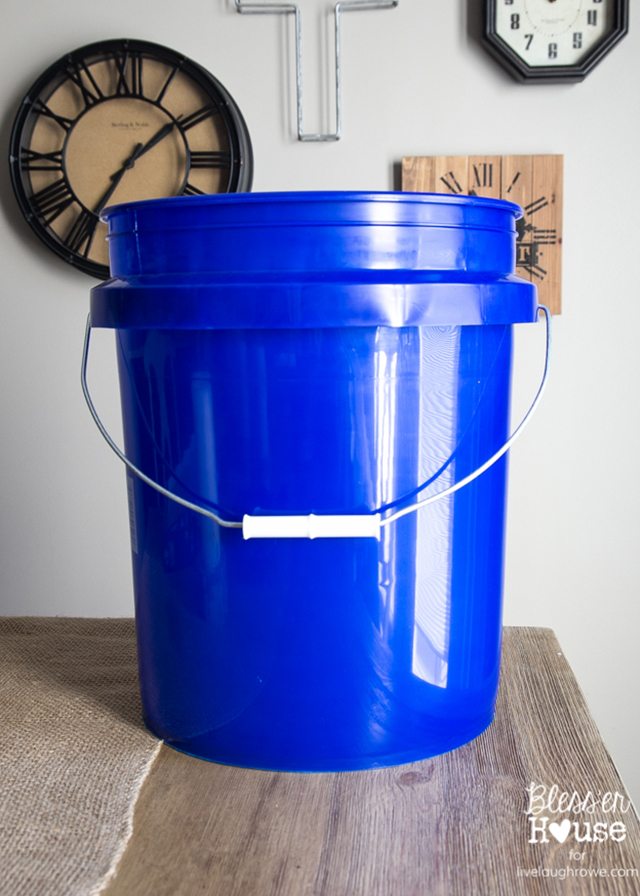
And since I already had some paint that Fusion Mineral Paint was so kind to give me and the itch to get crafty, I had nothing to lose in trying out a DIY version.
Supplies for DIY Flower Market Bucket:
- 5 gallon bucket (a metal popcorn tin could work great too)
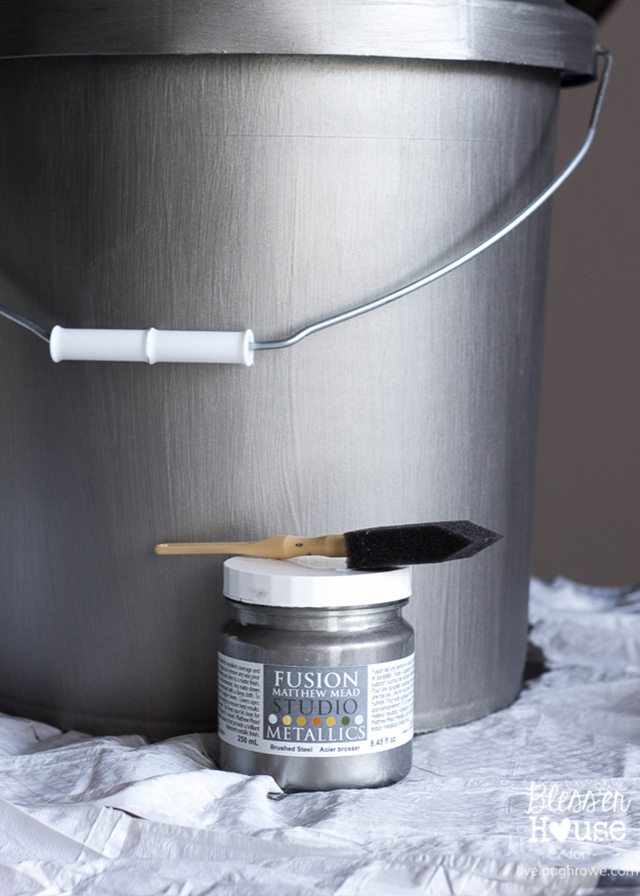
- Matthew Mead Studio Metallics Paint in Brushed Steel
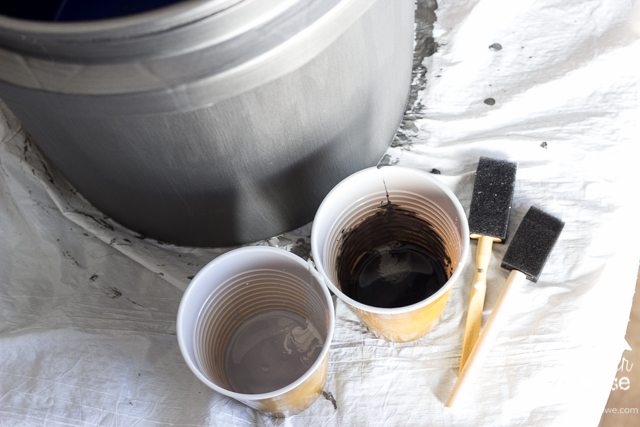
- Fusion Mineral Paint in Sterling
- Fusion Mineral Paint in Soapstone
- 3 sponge brushes
- Spray bottle with water
- Roll of paper towels
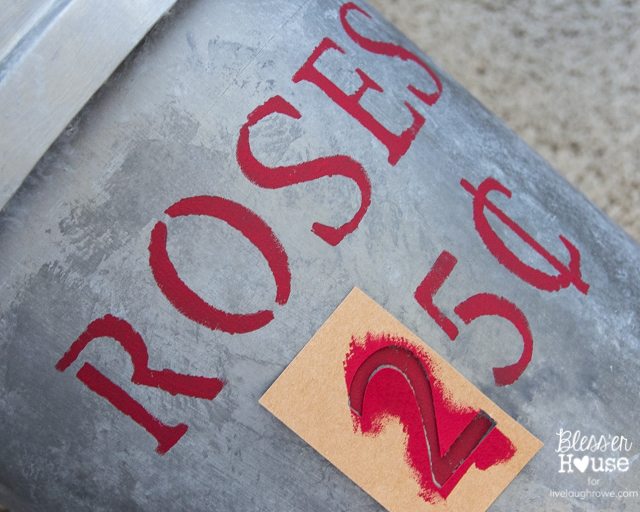
- Letter and number stencils
- Red craft paint
I got the idea for the galvanized finish from Danielle at Finding Silver Pennies who made a table over with it. So I figured a bucket was a good trial run before I attempted any furniture projects.
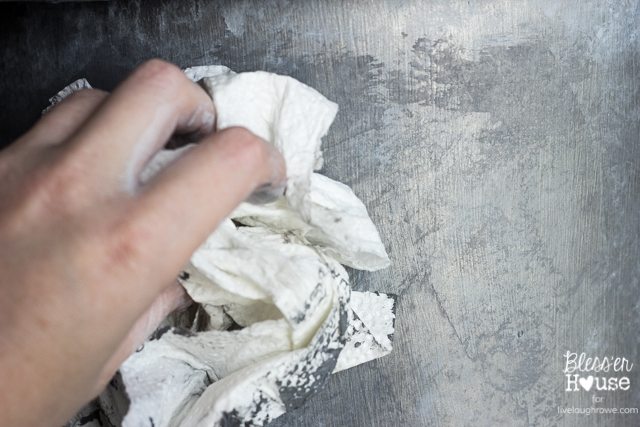
I painted the entire bucket with a couple of coats of the brushed steel paint using a sponge brush. I later painted the white bucket handle the same way.
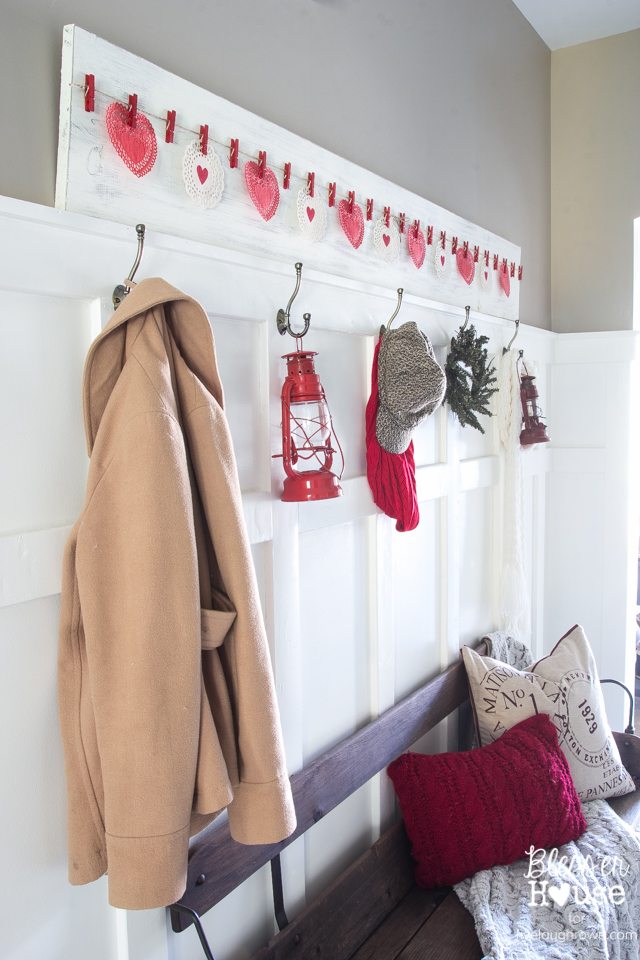
Thanks so much to Kelly for having me over today!
Let’s stay social!
Facebook | Pinterest | Instagram
Twitter | Google+ | Hometalk
Linking up to Between Naps on the Porch







Lauren says
Thanks so much for having me, Kelly! Hope you’re on the mend!
Dani says
Where did you get your beautiful artificial roses??? They look real!!
Sharon Kuert says
Love this idea and will definitely do this for my house in Springfield. Would have definitely ne era thought of a 5 gallon plastic bucket. WOW!!!
Mary - The Boondocks Blog says
Well you fooled me, I thought it was a real bucket! You are so crazy talented Lauren!!
Kim says
Can you tell me where you found the bench… I LOVE it!