Springtime is all about fresh blooms, warmer days, and, of course, Easter crafts! If you’re looking for a creative way to decorate Easter eggs, why not try decoupage? This simple yet elegant craft uses Mod Podge, delicate paper napkins, and a little patience to transform plain papier-mâché eggs into stunning decorative pieces.
Whether you’re crafting for Easter brunch, a spring centerpiece, or simply for fun, decoupage Easter eggs will add a touch of handmade charm to your seasonal decor.
Back in 2013, I shared a set of decoupaged paper mache eggs using Easter-themed napkins. Recently, I was hoping to create a version with a boho vibe. While decoupage remains a timeless craft, I wanted to bring you an updated tutorial with a fresh twist. My hope? That you feel inspired to create your own.
What is Decoupage?
Decoupage is the art of decorating an object by gluing paper cutouts onto it and sealing it with layers of varnish or glue. It’s a great technique for giving everyday objects a fresh and artistic look. When applied to Easter eggs, it creates a vintage, delicate aesthetic that’s truly breathtaking.
Supplies You’ll Need:
Before getting started, gather the following materials:
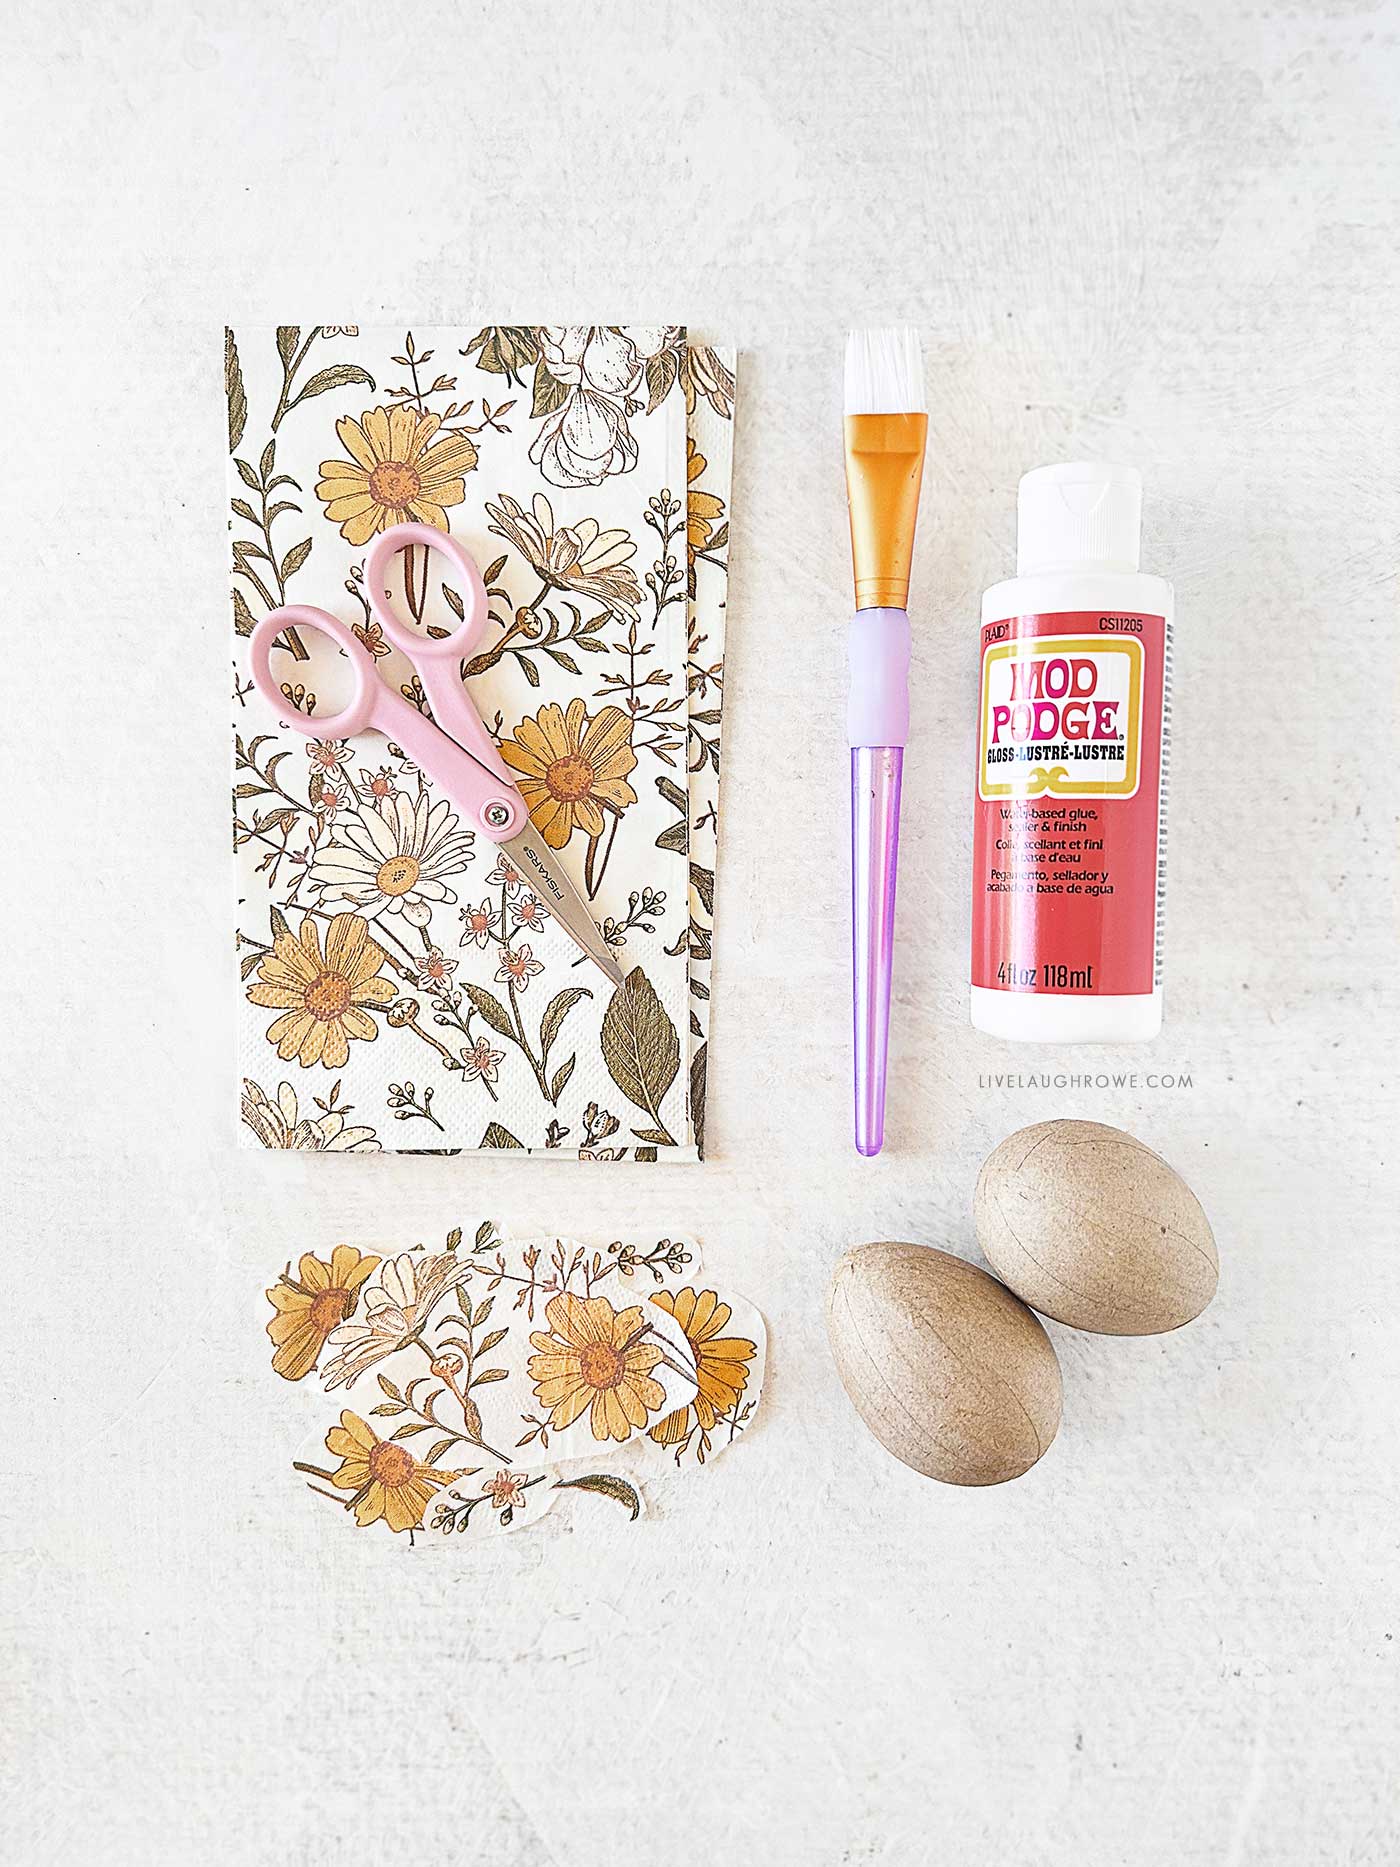
- Paper mache eggs – These are sturdy and easy to work with. You can find them at most craft stores.
- Paper napkins with floral or vintage patterns – Choose designs that complement your spring decor. These are the Daisy Napkins I used.
- Mod Podge (Matte or Glossy) – This all-in-one glue, sealer, and finish is the magic ingredient for decoupage.
- Soft paintbrushes – A soft brush will help smooth out the napkin without tearing it.
- Craft Scissors– For cutting out napkin designs.
- Acrylic paint (optional) – To create a base color on the eggs.
- Fine sandpaper (optional) – To smooth out the eggs if needed.
Step-by-Step Guide to Making Decoupage Easter Eggs
Step 1: Prepare Your Eggs (optional)
If your paper mache eggs have a rough surface, lightly sand them with fine sandpaper to create a smooth base. You can leave them in their natural color or paint them with white acrylic paint to make the napkin designs stand out more vibrantly. Let the paint dry completely before proceeding.
Step 2: Prepare the Napkins
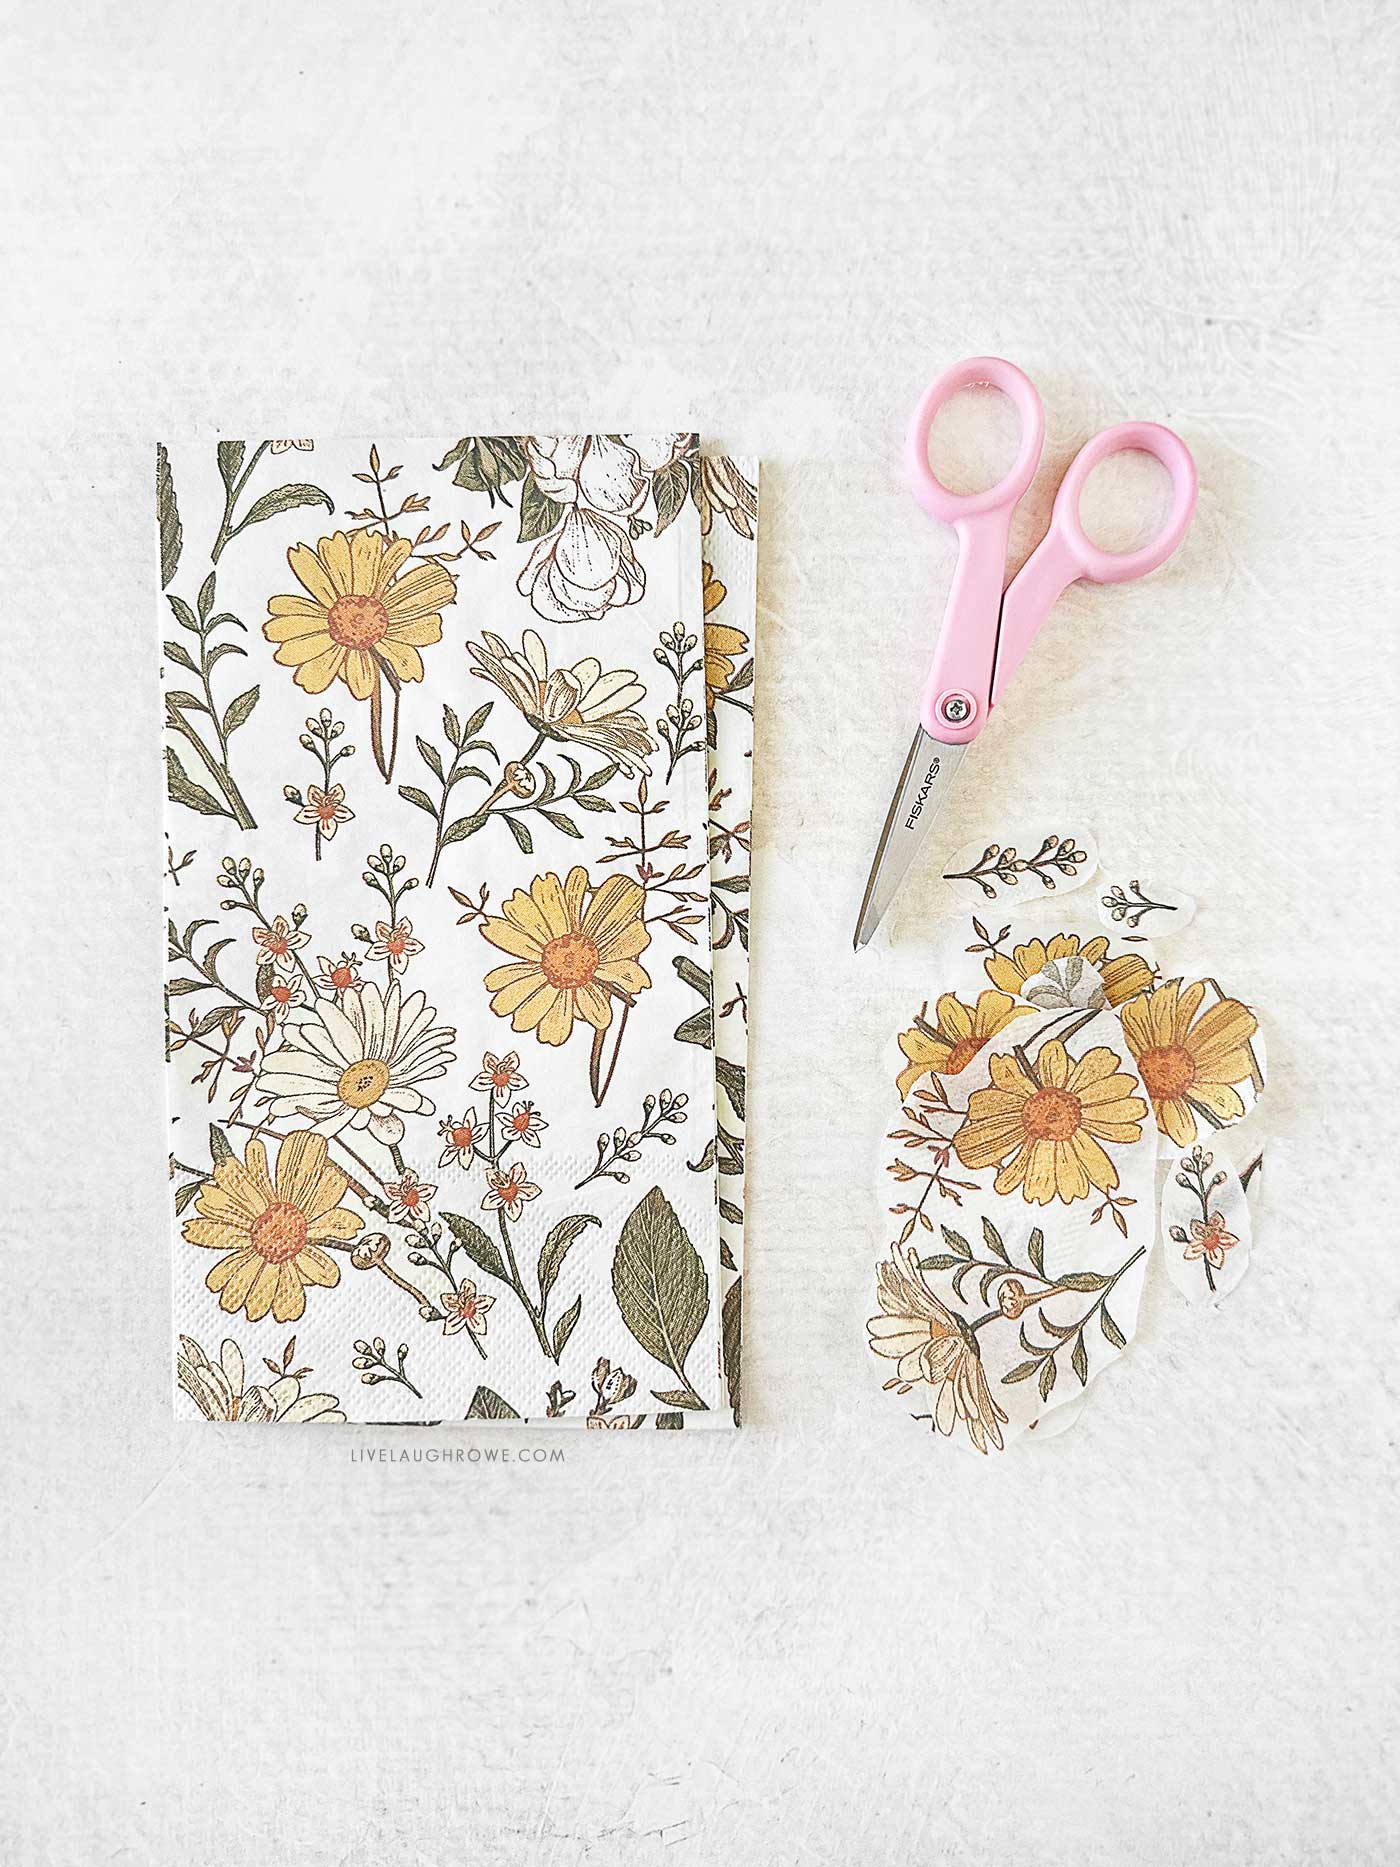
Carefully separate the printed layer of the napkin from the white backing layers. You’ll only use the top layer. My napkins were three-ply (three layers), so be sure you only have the top layer.
Cut out or gently tear the designs you want to use. Tearing the edges slightly can help blend the pieces more seamlessly onto the eggs. (Note: I chose to cut my pieces).
Next, we’ll grab the Mod Podge, paper mache eggs, and a paint brush. It’s time to start creating.
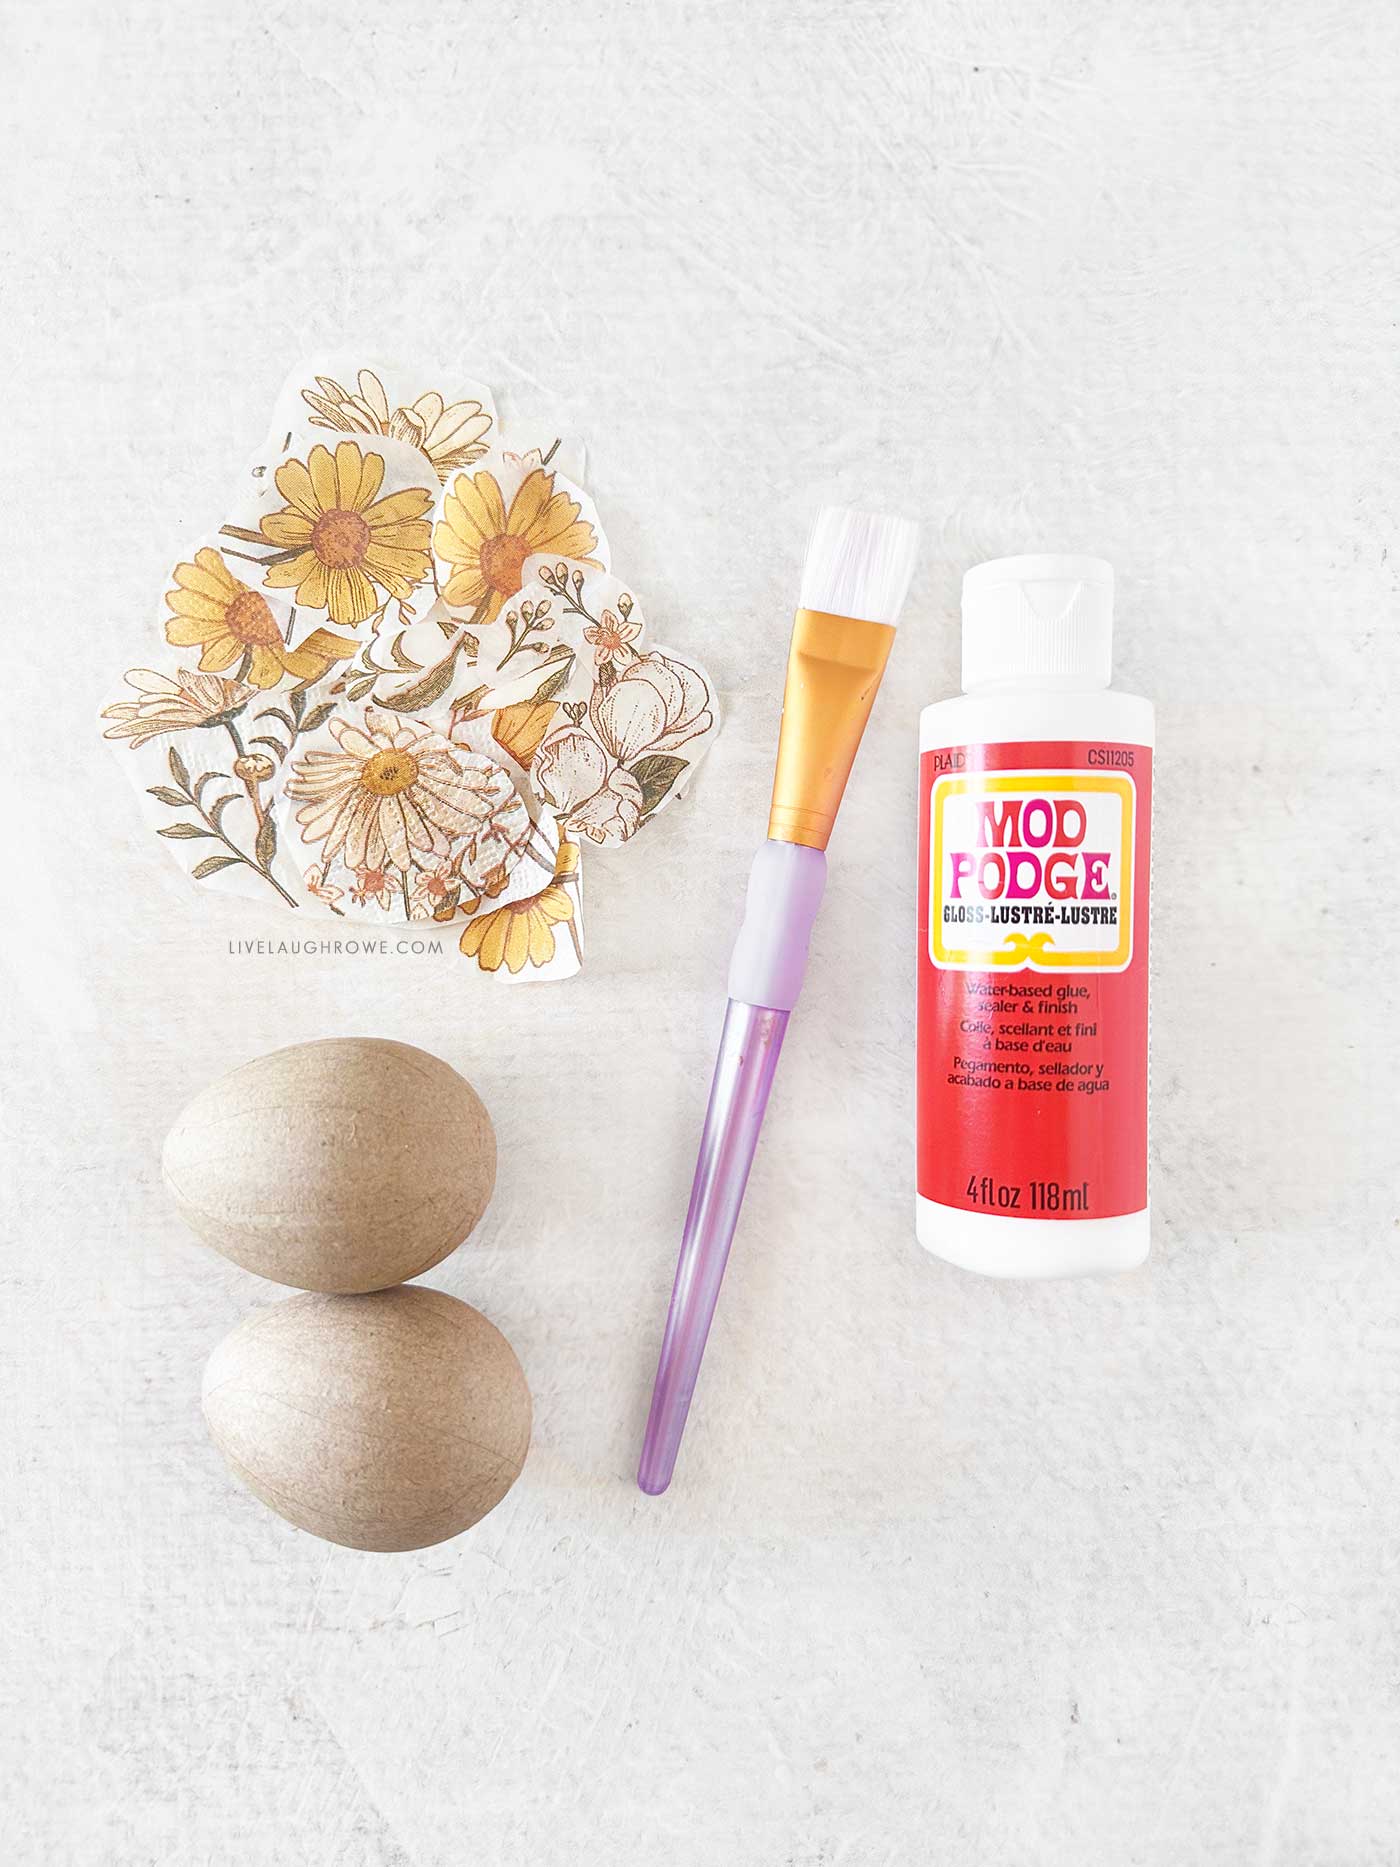
Step 3: Apply Mod Podge
Using a soft brush, apply a thin layer of Mod Podge to a small section of the egg. Be careful not to use too much, as excess glue can cause wrinkles.
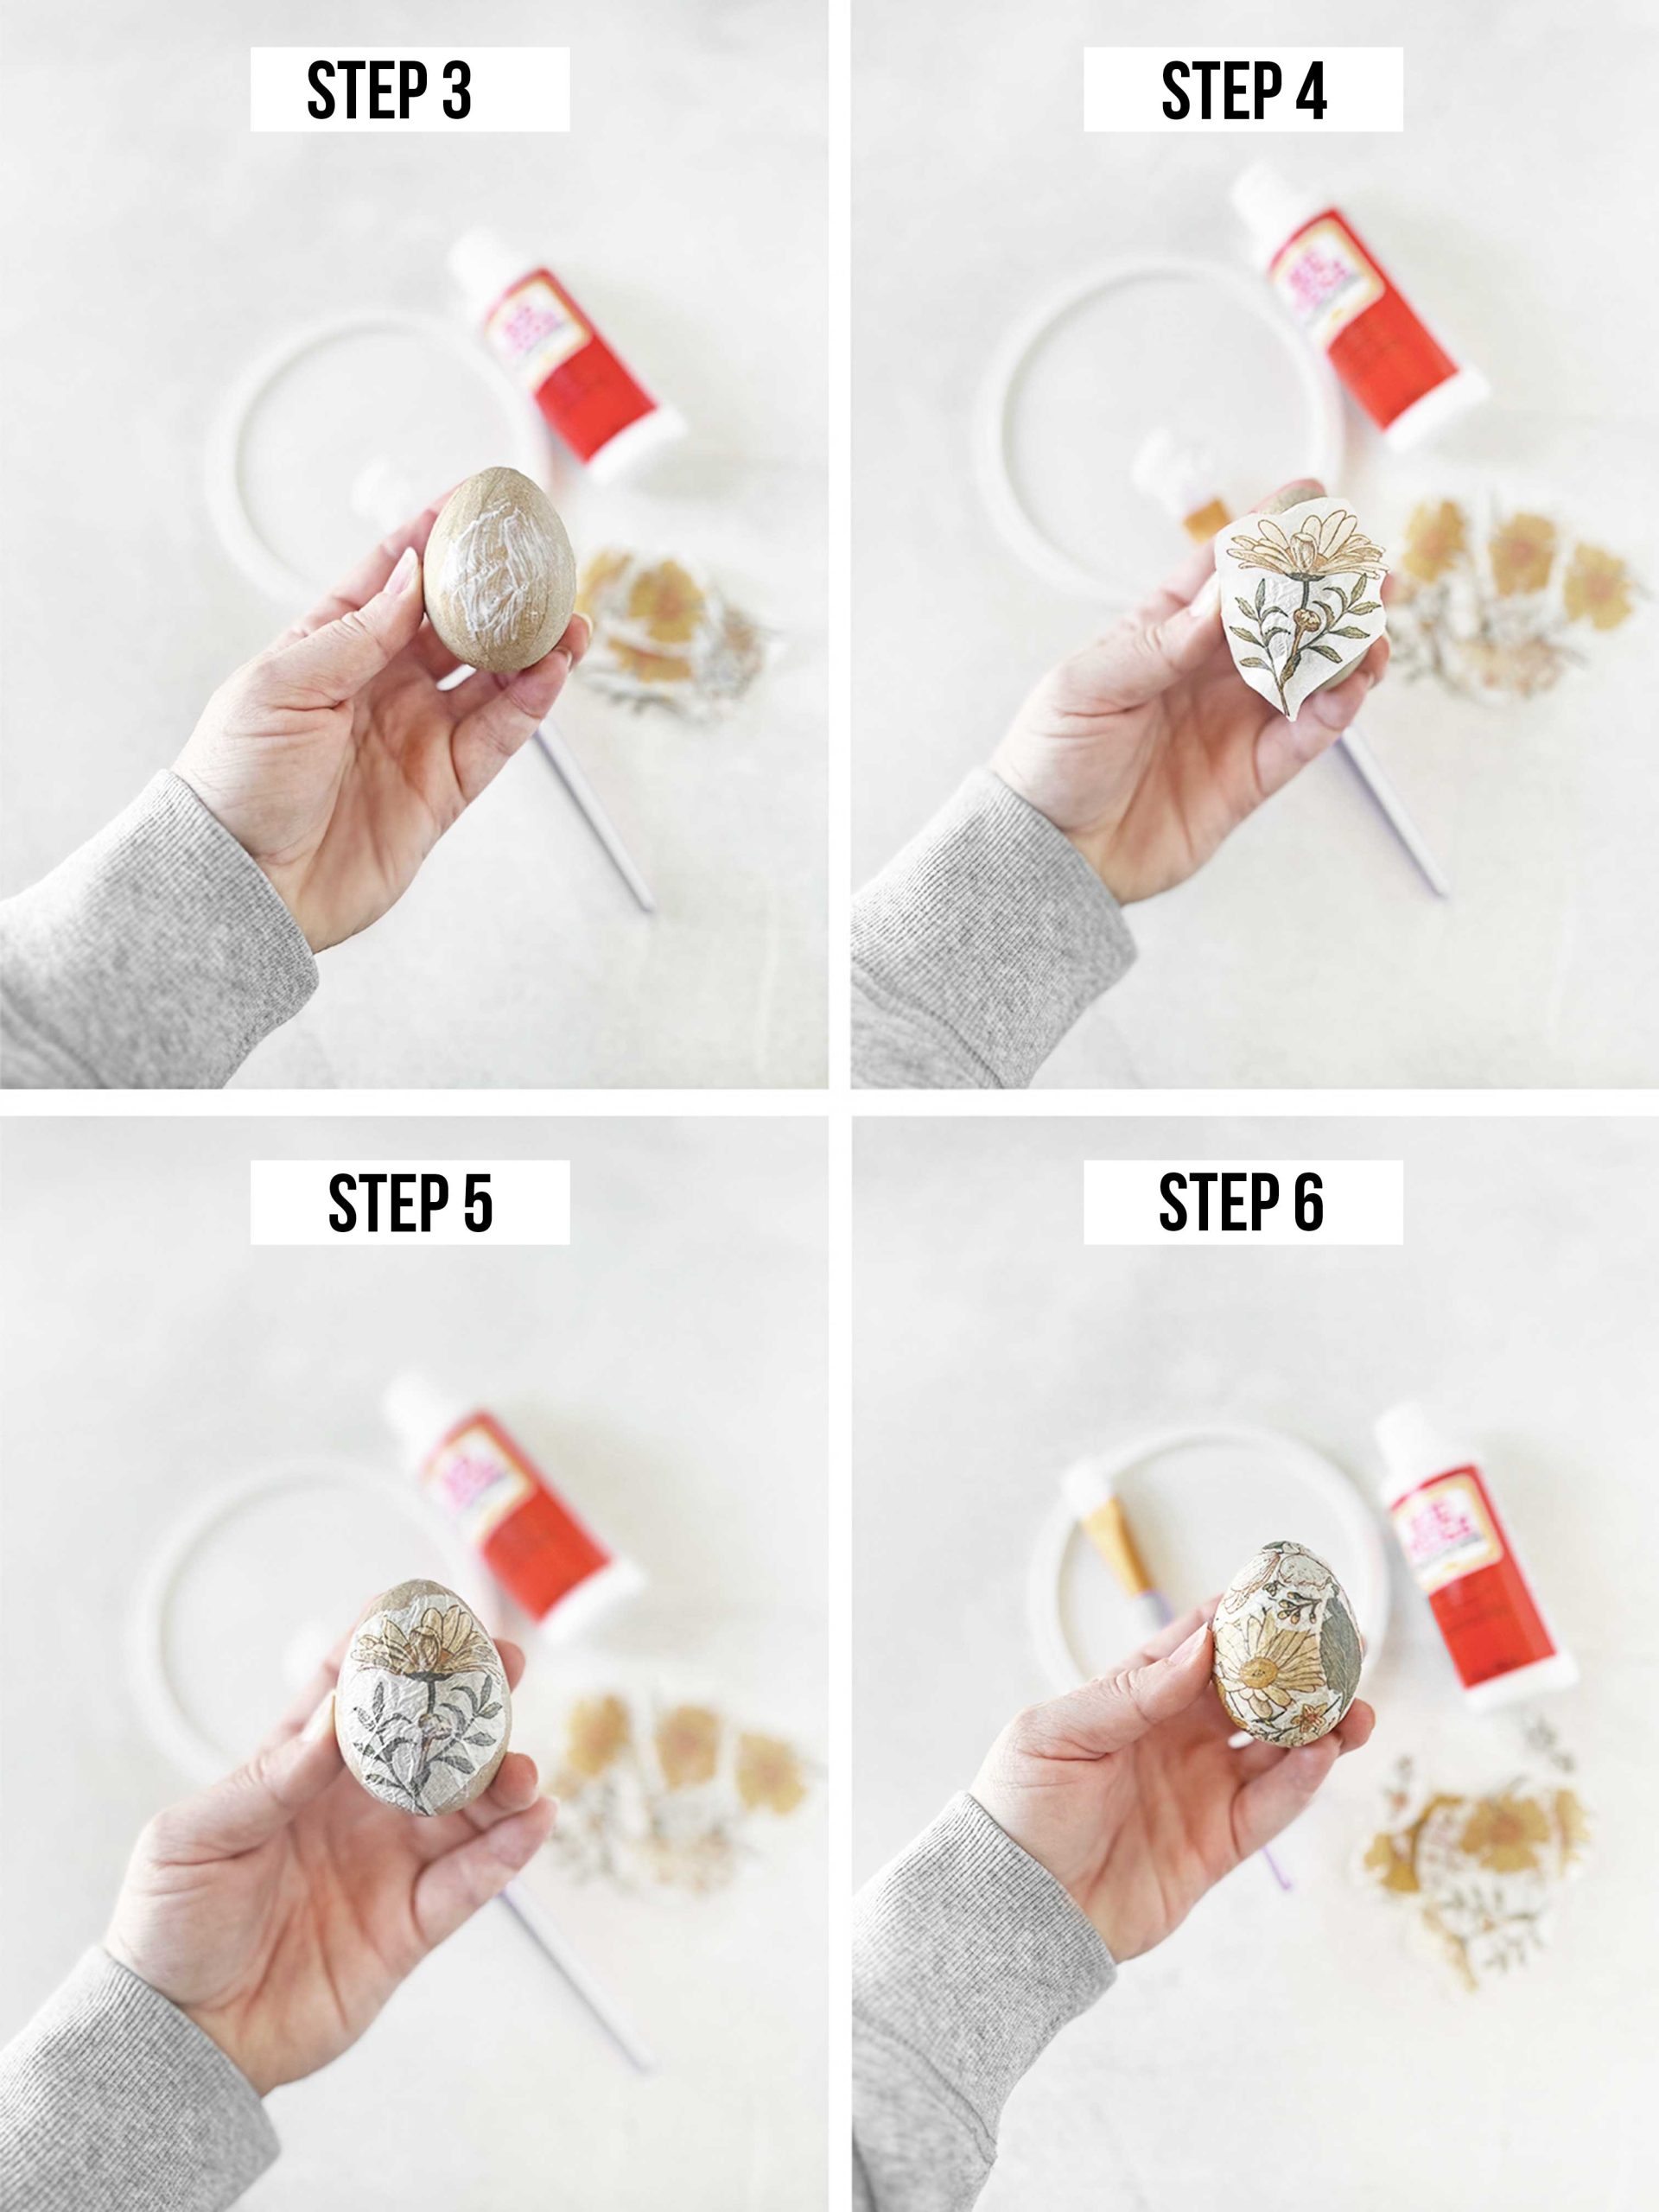
Step 4: Attach the Napkin
Place your napkin piece onto the glued section and gently press it down with your fingers or a dry brush. Work slowly, smoothing out any wrinkles as you go. If the napkin tears, don’t worry – you can overlap another piece to cover it up!
Step 5: Seal with More Mod Podge
Once the napkin is secured, carefully brush another thin layer of Mod Podge over it. Work from the center outward to avoid creating bubbles or creases.
If possible, let the layers dry completely before moving on.
Step 6: Repeat the Process
Continue adding napkin pieces until the entire egg is covered. You can layer different patterns for a unique look or stick with one cohesive design.
Step 7: Let It Dry and Seal
After all the napkin pieces have been applied, let the eggs dry for at least an hour. Then, add one final coat of Mod Podge to seal everything. This ensures longevity and prevents the napkin from peeling over time.
Tips for Perfect Decoupage Easter Eggs
- Use a dabbing motion instead of brushing – This helps prevent tearing the delicate napkin.
- Work in sections – Trying to cover the whole egg at once can lead to wrinkles and air bubbles.
- Choose lightweight napkins – Thicker napkins don’t adhere as smoothly.
- Let each layer dry completely – Rushing the process can cause smudging and tearing.
- Experiment with metallic accents – Gold or silver leaf can add an elegant touch.
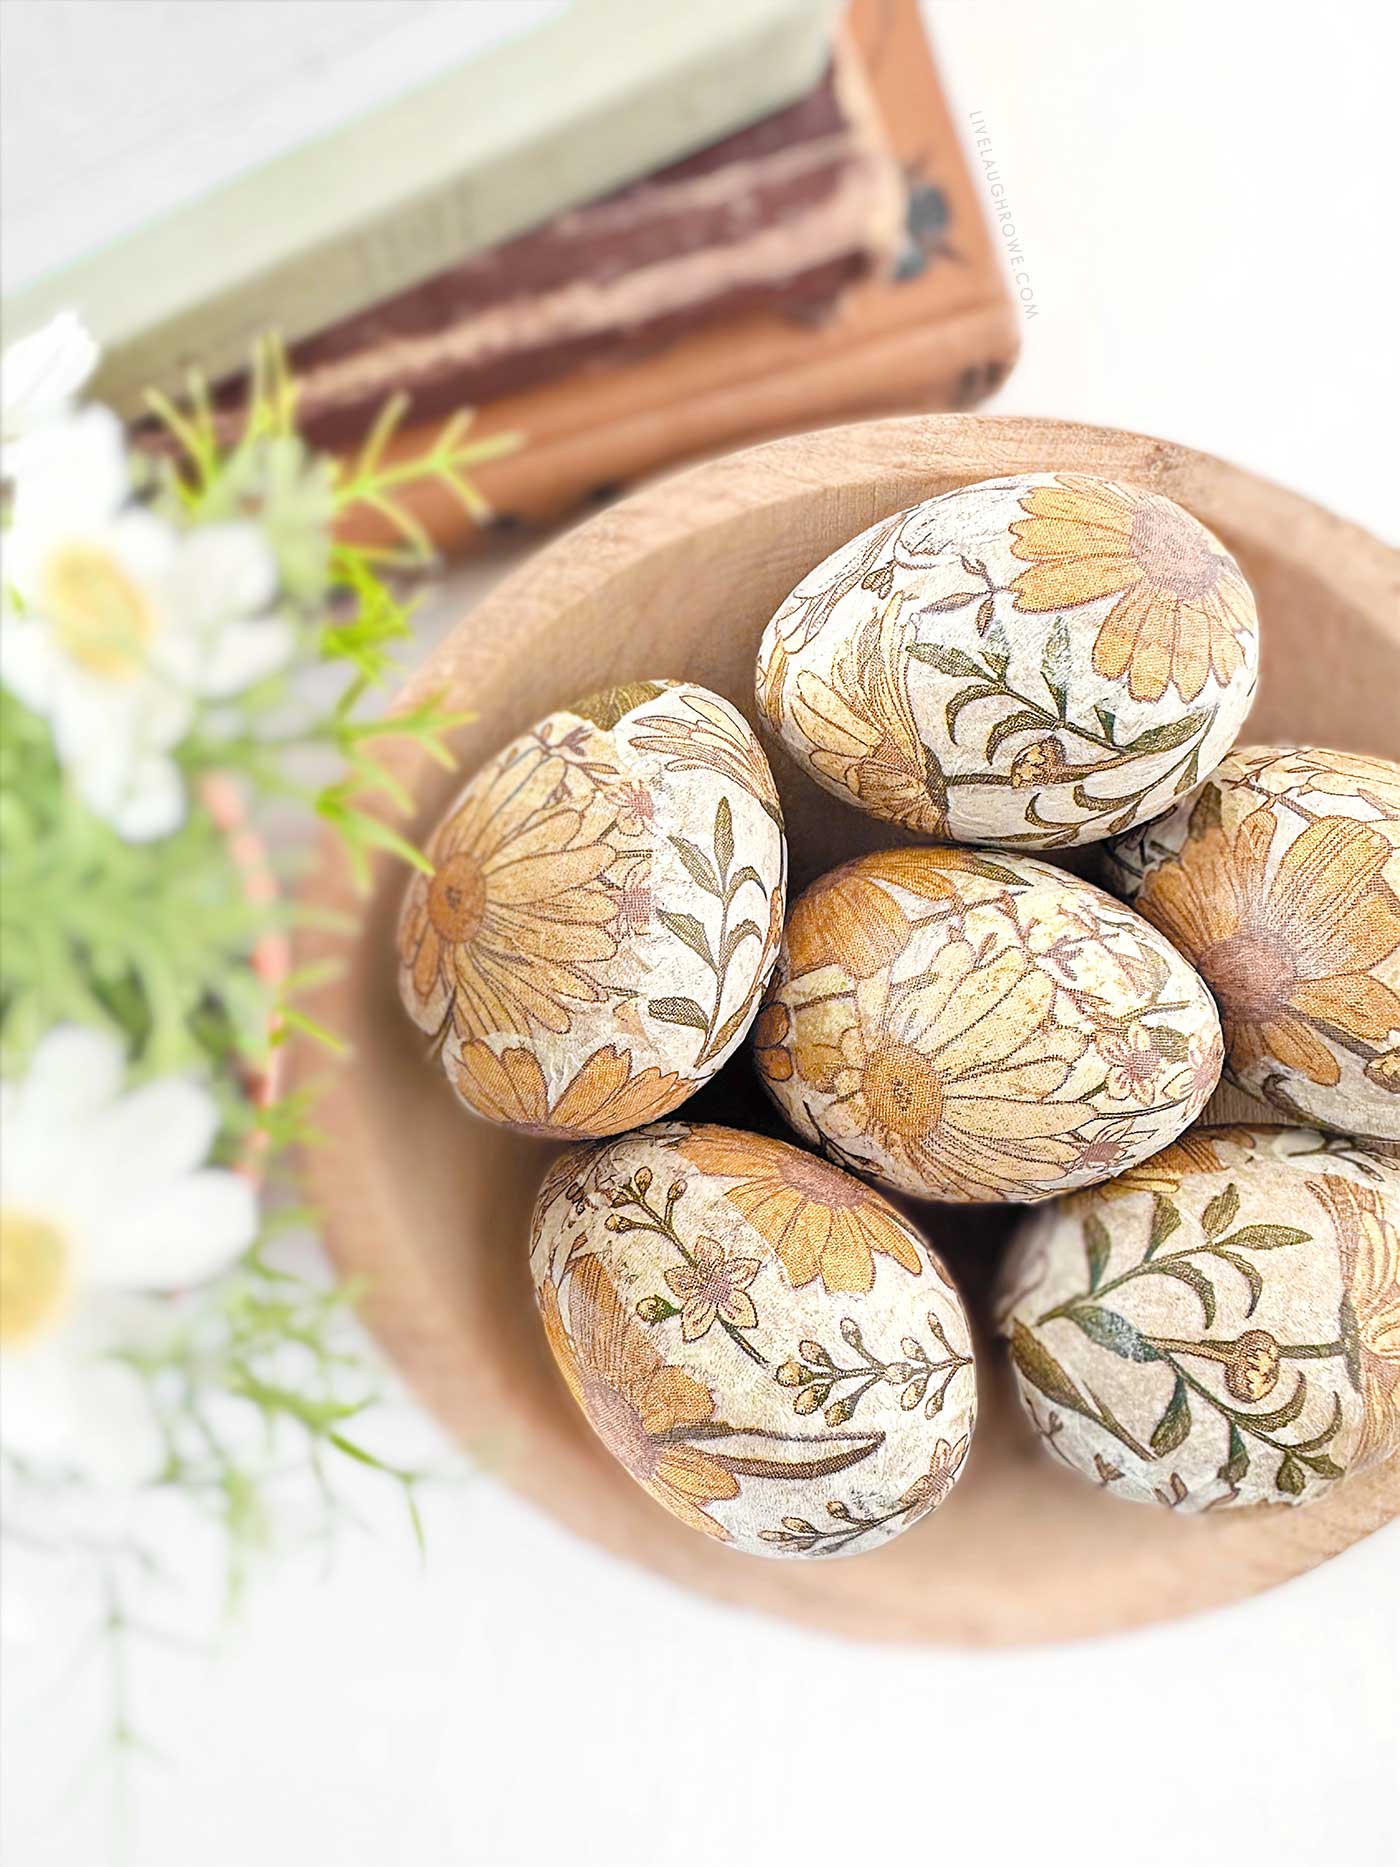
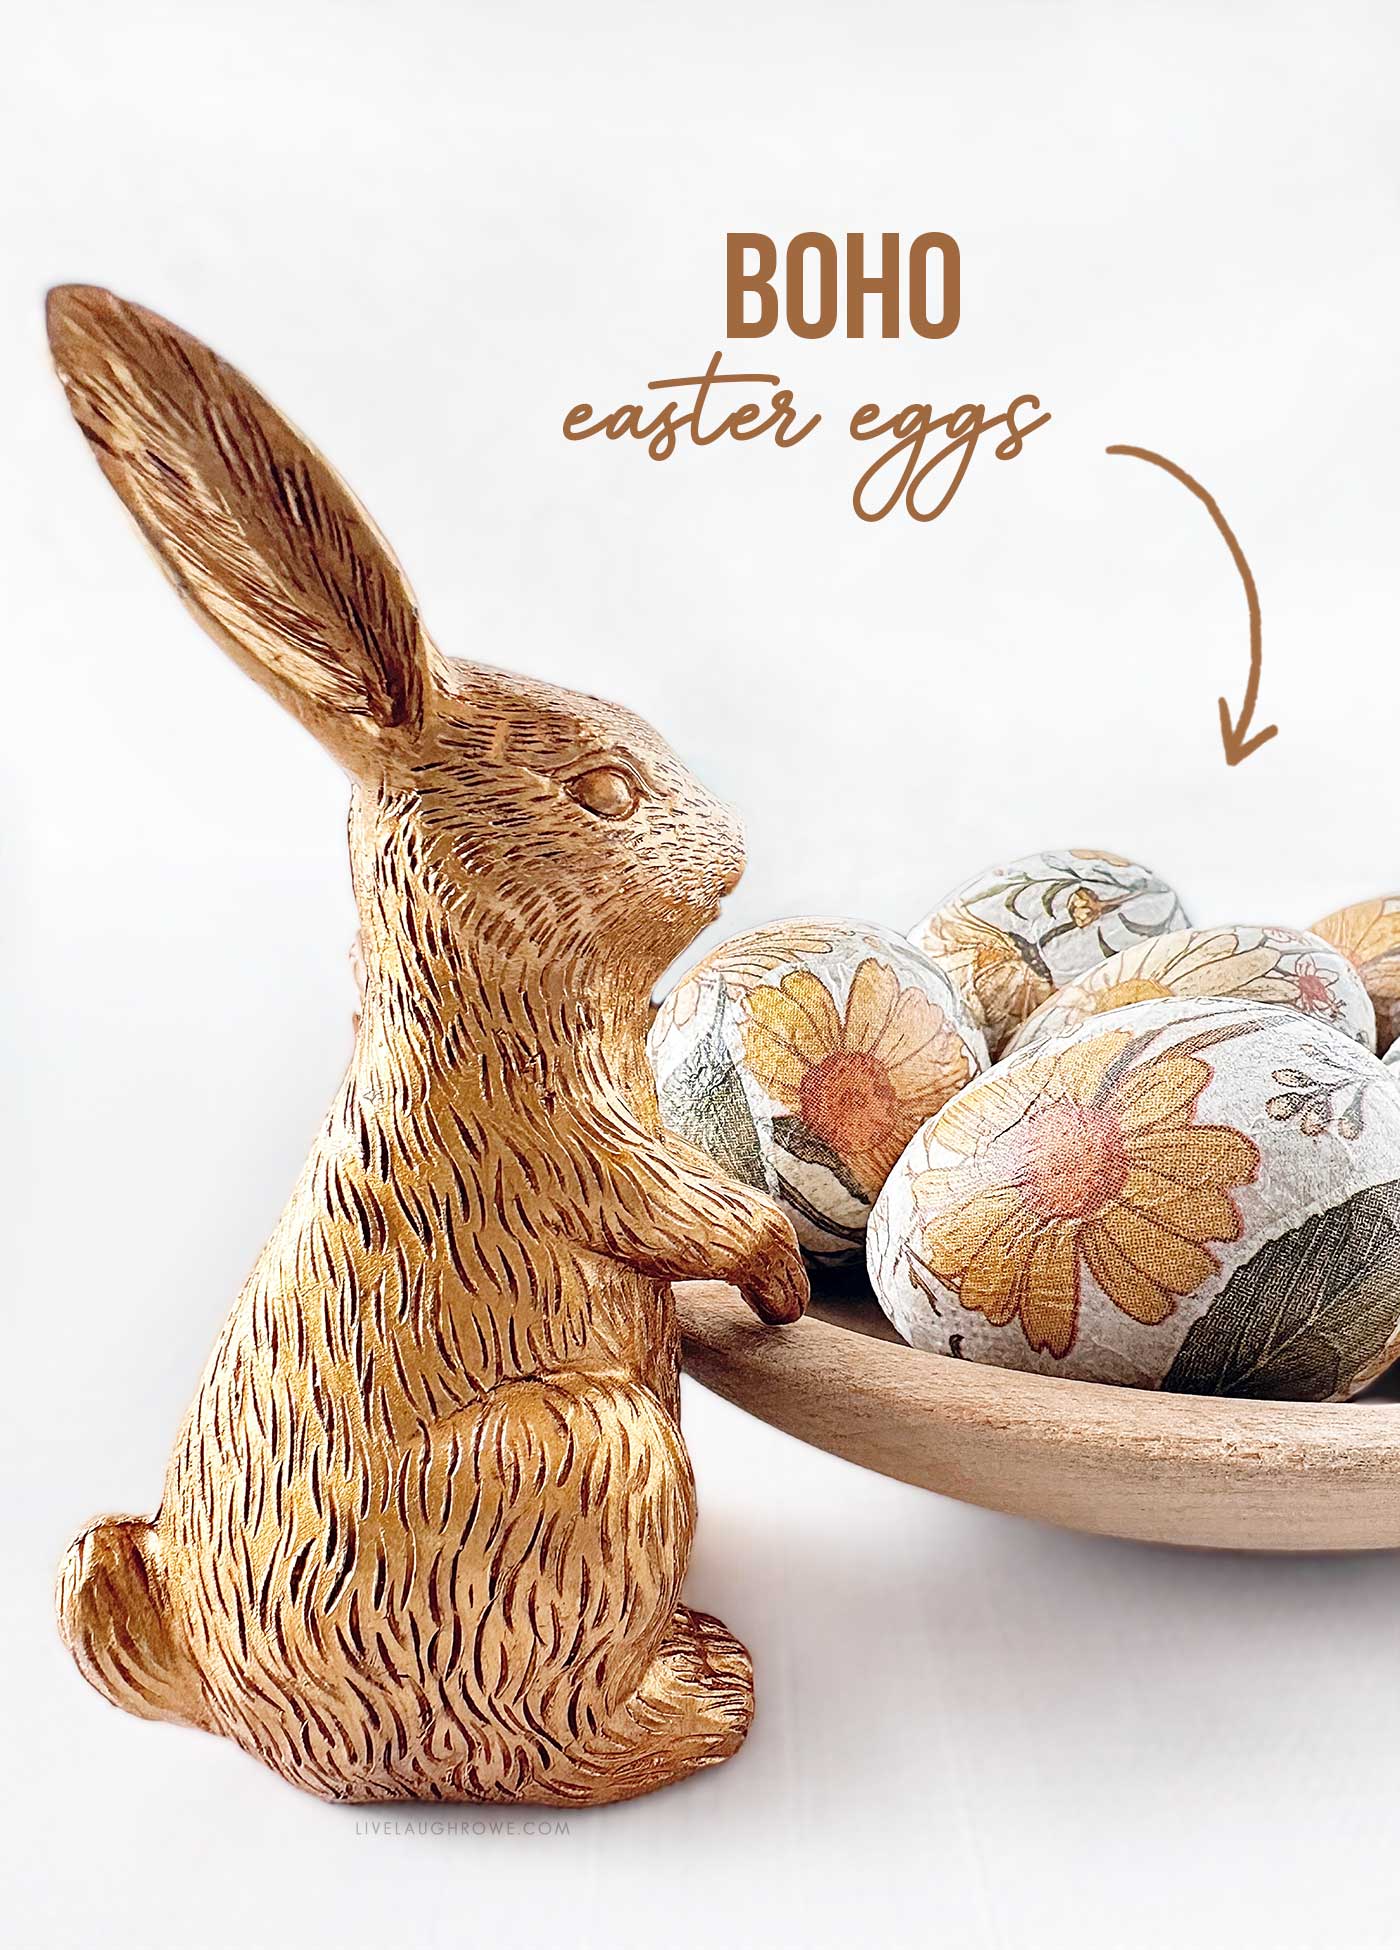
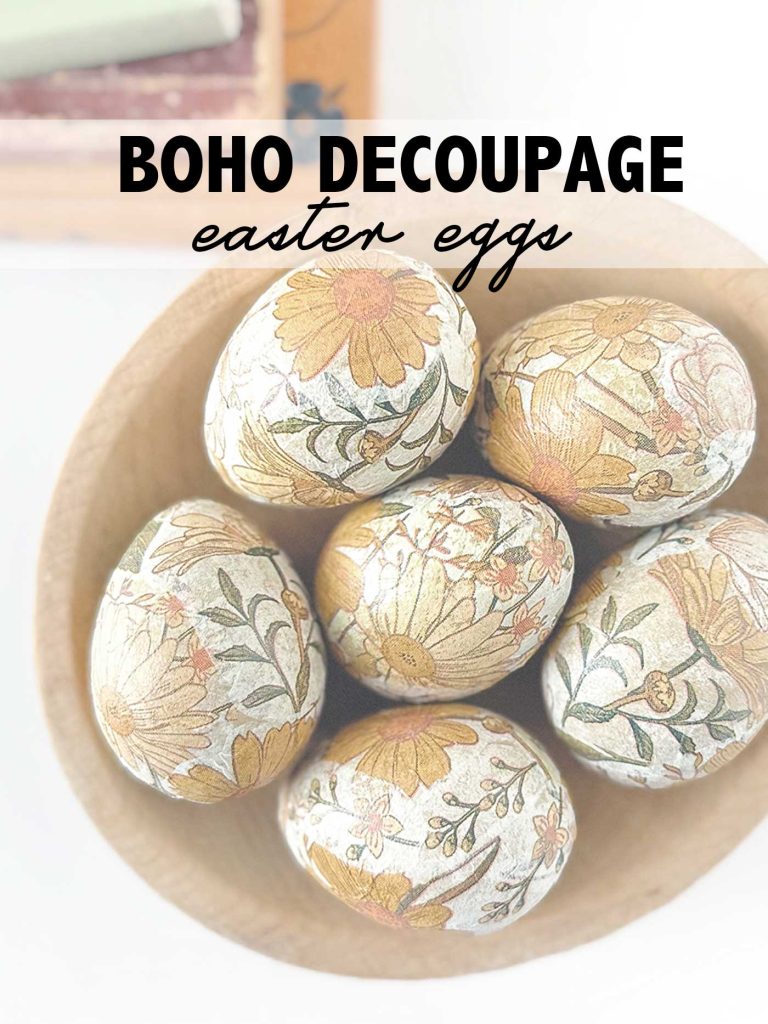
Displaying Your Decoupage Easter Eggs
Now that you’ve created these gorgeous eggs, it’s time to show them off! Here are some creative ways to display them:
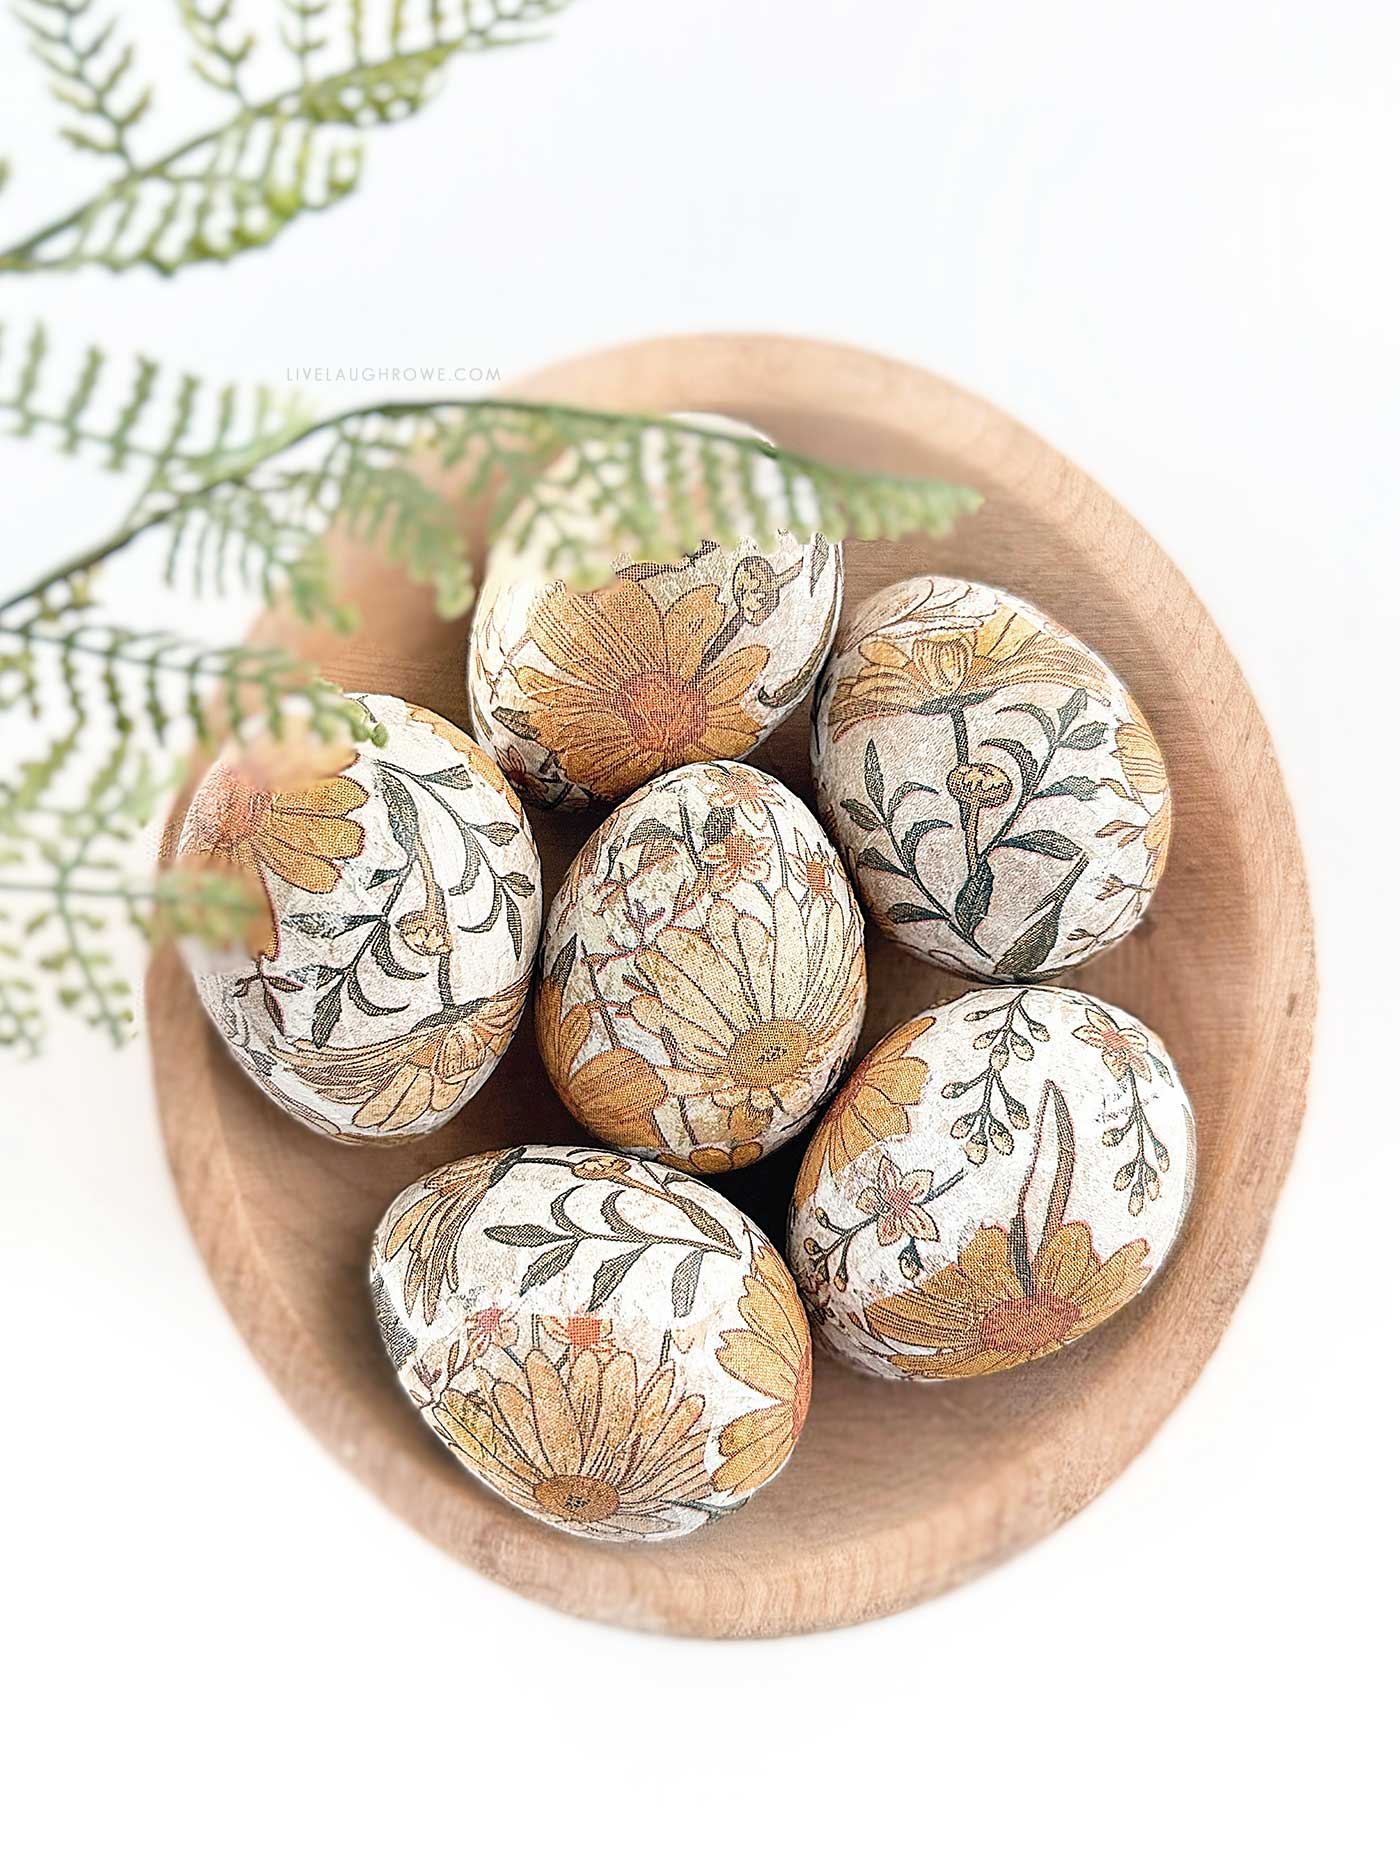
- Arrange them in a rustic wooden bowl for a farmhouse-chic look.
- Place them in a glass cloche for a sophisticated centerpiece.
- Nestle them in a bed of moss inside a decorative basket.
- Tie them onto an Easter tree with ribbon.
Why You’ll Love This Craft
- Budget-friendly – Most materials are inexpensive and can be found at craft stores.
- Beginner-friendly – No advanced skills are required!
- Customizable – Choose colors and patterns that match your style.
- Perfect for group crafting – Great for an Easter craft night with friends or family.
Other Easter Crafts you might enjoy:
Adorable Pom Pom Chicks
Simple Easter Wreath
Muslin Easter Treat Bags
DIY Stuffed Bunnies
Decoupage Easter Eggs: A Beautiful DIY Spring Craft
Decoupage Easter eggs are a stunning way to celebrate the season. They bring elegance, creativity, and a touch of vintage charm to any Easter setup. Whether you create a few as keepsakes or craft an entire batch for gifting, these handmade eggs will be cherished for years to come. So grab some Mod Podge, pick out your favorite floral or festive napkins, and let’s get crafting!


Jane says
Kelly this are adorable! I would not have the patience to do these….mine would have bubbles, bumps and lumps all over them LOLOLOL
Kelly Rowe says
Hi Jane! Thanks so much for your kind words. I’m 99% sure that yours would be LOVELY. I find imperfections add a little extra charm.