Well, hello there Live Laugh Rowe friends! I am so happy to be back over here sharing with you all today. I don’t know about the rest of you, but Summer has been zipping along a little too fast over here at Camp Claire! Today I wanted to share an easy, budget friendly little craft to help add some fun to your outdoor Summer festivities, Stained Glass Candle Holders.
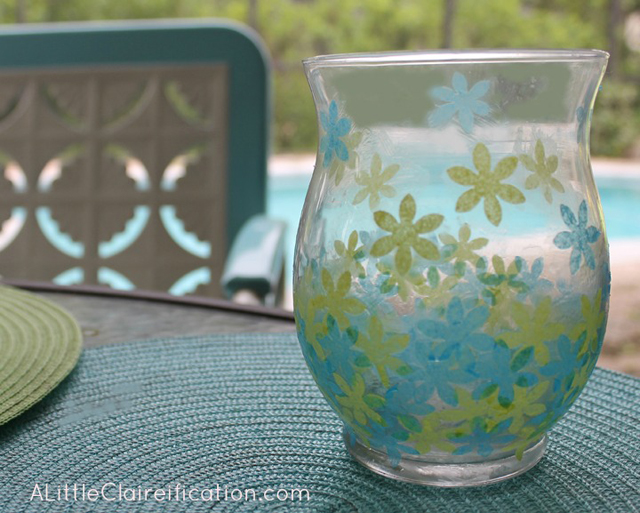
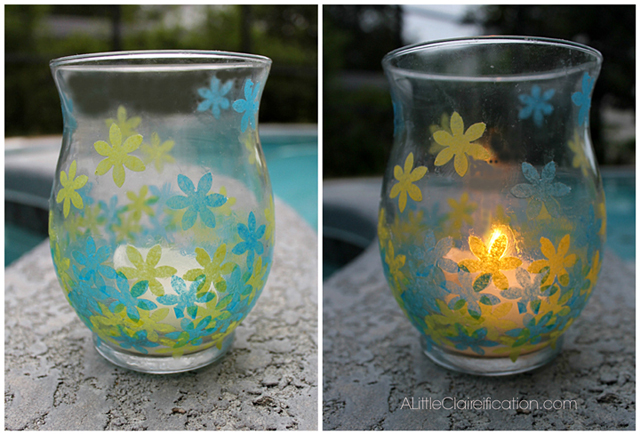
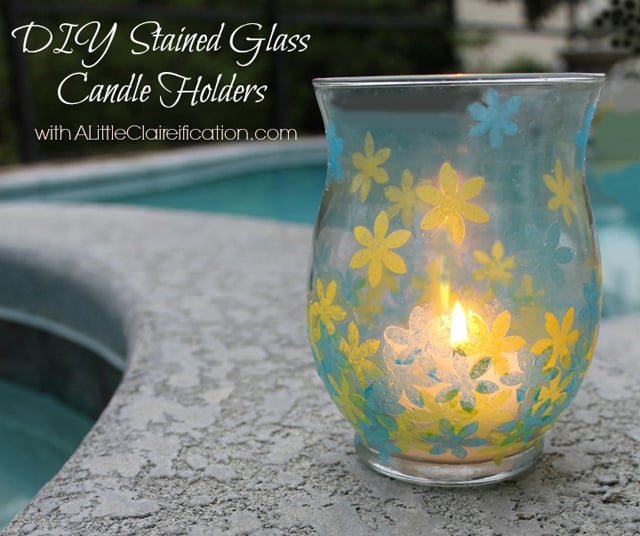 It’s easy to create your own “Stained Glass” Candle Holders and they add the perfect little pop of charm, especially when the sun starts to set! Let’s grab a few supplies.
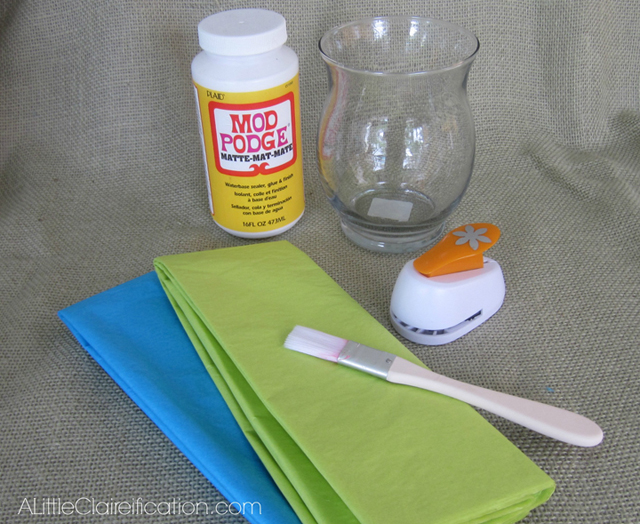 As you can see, the supply list is minimal:
- A glass vase or candle holder – you probably have something already!
- Mod Podge & paint brush
- Tissue paper in your choice of colors or patterns
- Decorative craft punch
- Small candle or tealight
I bought the craft punch at JoAnn – they have tons of design choices and I recommend using a 50% off coupon. With coupons, my punch was just over $4.00. Alternately, you could just cut your own tissue paper shapes and skip the punch but it made my life easier. It’s Summer. I like easy.
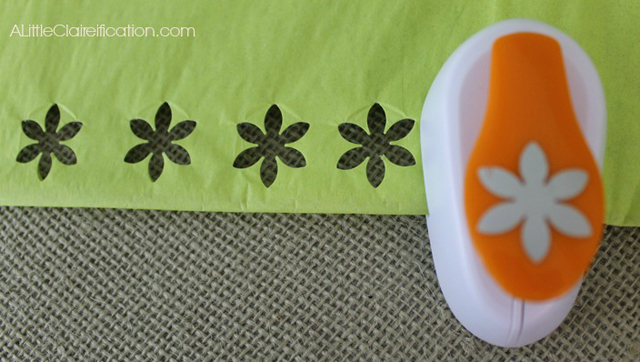
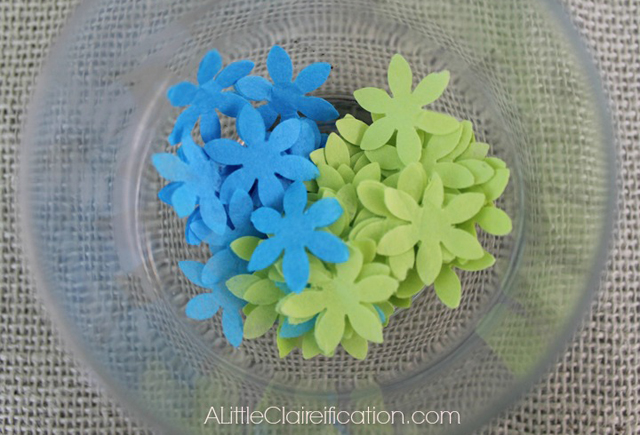
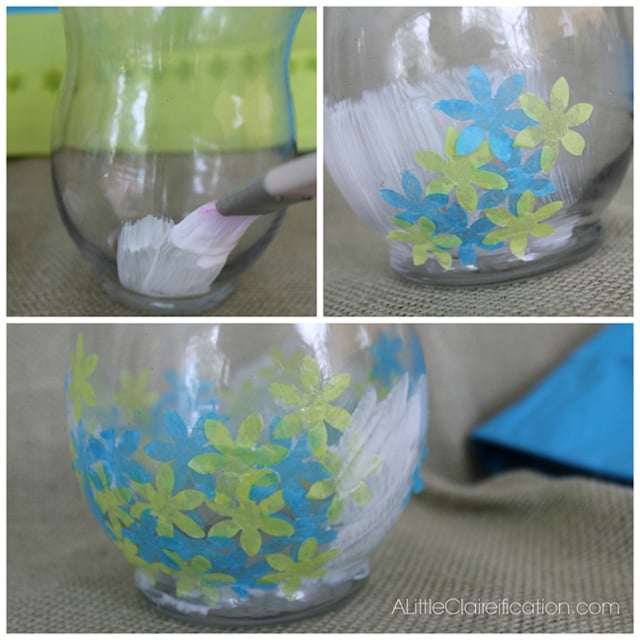
Have you ever started a craft or project and then completely changed your mind about the direction?? Yeah, me neither. But just this once I changed my mind. I was going to cover the entire glass with flowers but I liked the staggered look with more on the bottom and less on the top.
Hope you all will pop over and say “hello” when you have a chance. Thanks so much Kelly for having me over! xoxo
Thanks for being with us today!! Such a cute idea.
Claire can also be found in these locations around the WWW:
Twitter | Facebook | Instagram | Google+ | Pinterest
Subscribe to Updates | Like on Facebook | Follow on Pinterest



cynthia @ A Button Tufted Life... says
So Cute! Great guest post Claire you crafty gal you…I love how the light plays when it is lit! Hope you have a wonderful weekend filled with candlelit moments!!
lisa@cookingwithcurls says
That is so cool Claire, and it’s my colors! Thanks Kelly 🙂
Julie says
So easy, so cute!!! I swear I bought those exact tissue colors yesterday @ K-mart. EXACTLY. Great job Claire! That back porch needs all of us in it having some cheese and crackers 🙂
Inspire Me Heather says
Oh so cute – love your sweet Summer candle holders!
Cindy Eikenberg says
Hi Kelly and Claire! These looks just lovely and the color combination is fabulous! I’m glad that you decided to stagger the flowers, because I think it looks perfect! Better get out the Reynolds Wrap and sharpen up my flower punches – I might do this in a black/orange theme for Halloween! Thanks to you both – pinning and buffering! Have a great weekend!
Sharon says
This vase is so stinkin’ cute! I love it!
Sharon @ Life After Empty Nest says
I LOVE this project Claire!! So cute! I’ve been doing some mod-podge myself lately! I have some left over so I’ll have to try this project!!
xoxo