How to Make Chocolate Flowers!
Chocolate lovers rejoice! Today I’m going to show you how to make chocolate flowers — an easy gift idea that will be a HIT! Simple, cute and chocolate for the win.
Be sure to sign up for my email to get new
recipes and creative ideas sent right to your inbox!
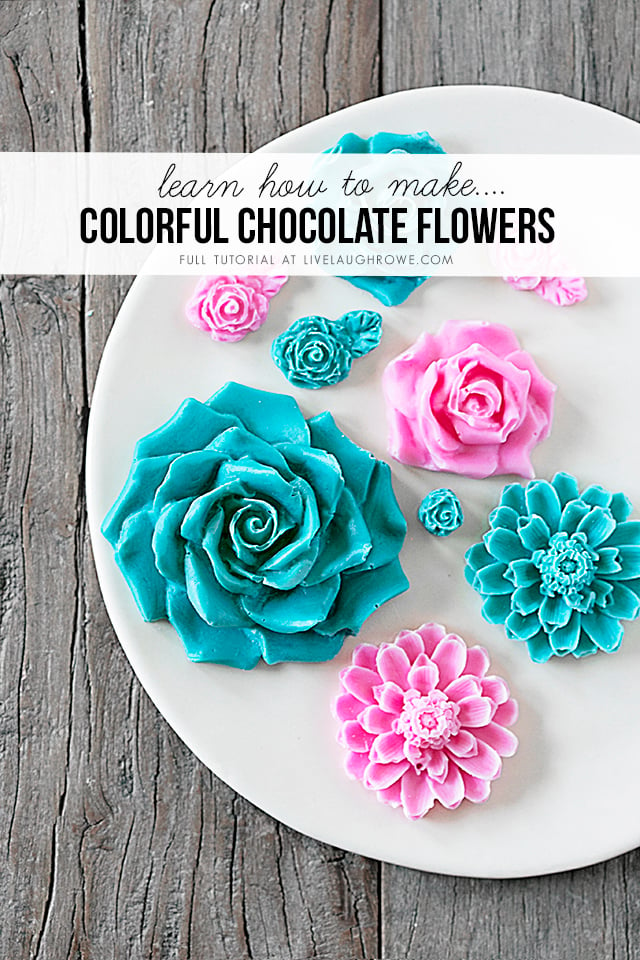 Learn How to Make Chocolate Flowers

Have you ever visited the store or site called Terrain? I stumbled upon it a few months ago and loved it. So, of course, I get their e-mails. They sent one out with Mother’s Day gift ideas and it caught my attention. It featured a small variety of White Chocolate Flowers. And then (as a DIYer), I thought it might be something I should try myself. I mean, why not?
I started by perusing Amazon for silicone flower molds. Many said they were good for resin or fondant. So, I read all of the descriptions very carefully to be sure they would work for chocolate and that the sizes weren’t too big or too small.
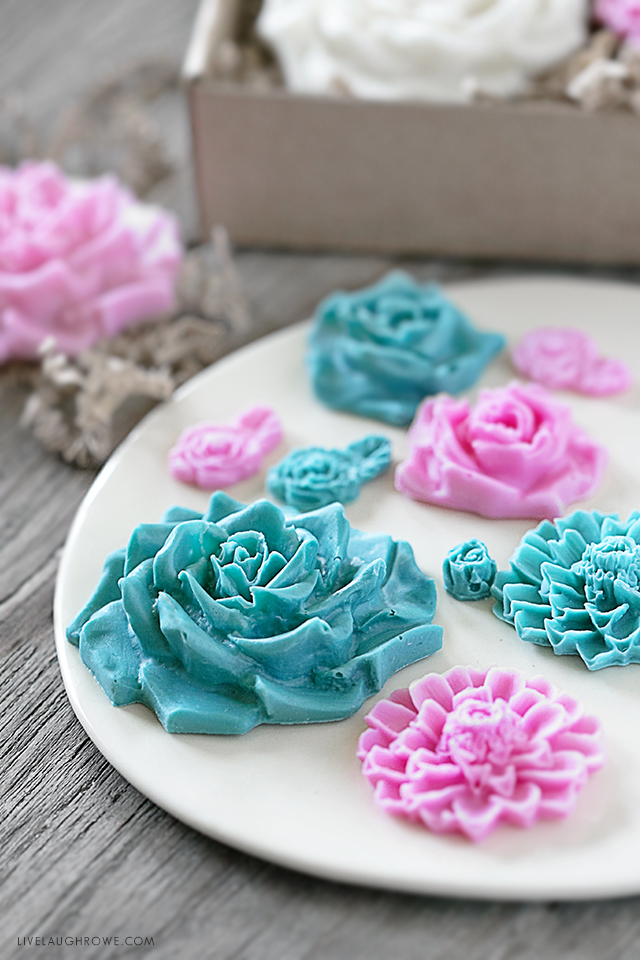
 Adorable Chocolate Flowers!

I finally decided on a couple of molds, bought some chocolate and went to work. Success!!! Woo-hoo.
It worked perfectly — so today I’m sharing what I used and how to make chocolate flowers in about 20-30 minutes.
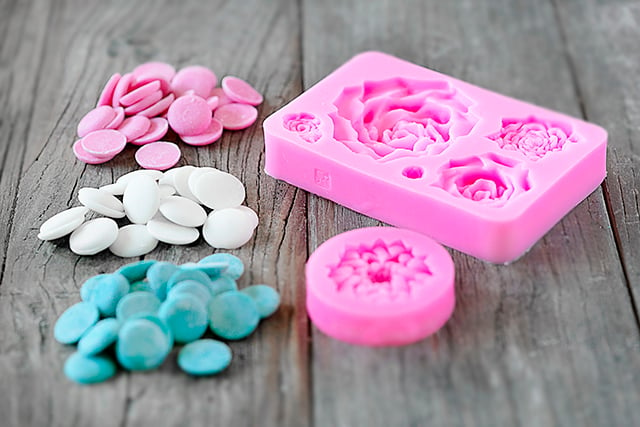
Supplies for Chocolate Flowers:
Silicone Flower Molds (I used this one and this one)
Candy Melts Chocolates (Teal, Pink, and White)
Sandwich Bags
Small flat plate or tray, optional
Step One:
Melt chocolate according to instructions on the packaging. I warmed up smaller batches of the chocolate in sandwich bags. The chocolate tends to harden quickly, so this made it more manageable.
Step Two:
Cut a corner of the sandwich bag off and squeeze chocolate into the mold.
Step Three:
Tap the mold onto your counter or table, to smooth the chocolate out and eliminate air bubbles. Note: Air bubbles will be present nonetheless, so don’t stress about it. As the chocolate settles, you might have to add some more chocolate, so proceed as necessary.
Step Four:
Allow the chocolate to cool and solidify. You could let them sit at room temperature overnight; however, I chose to place mine in the freezer for 15-20 minutes. This works very well for those of us who are impatient (haha). Have a small plate or tray available to place the molds on if you are placing them in the freezer.
Carefully remove the chocolates from the mold — and that’s it! Easy peasy, right?
Supplies for Packaging:
Box (preferably with a lid)
Kraft Paper Shred Filler
Ribbon, optional
Gift Tag, optional
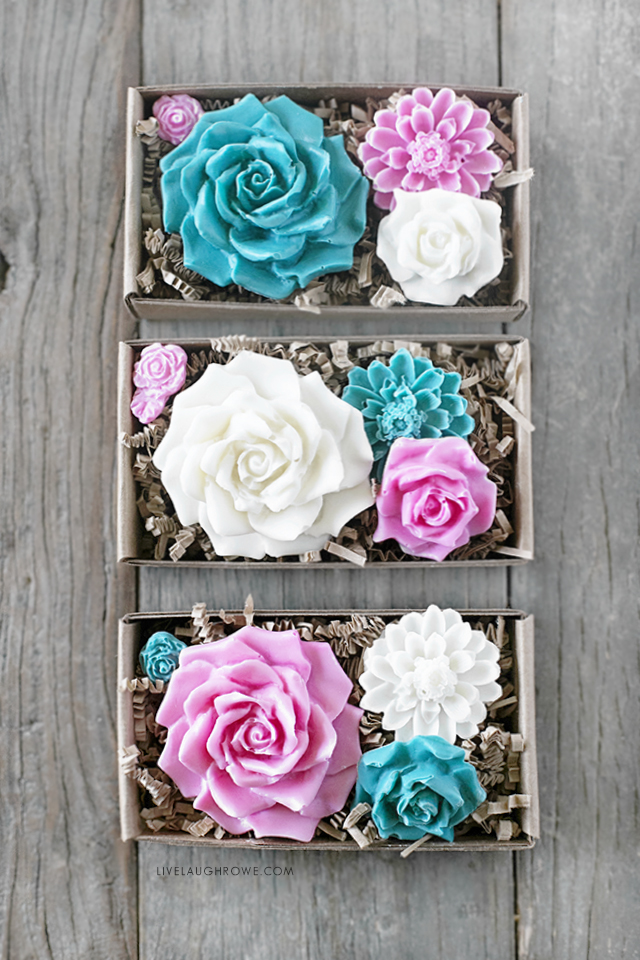
Place three, four or as many of the chocolate flowers you’d like to give in a box. I LOVE these boxes and had them on-hand, so I put them to good use. However, these square boxes are similar to the ones I saw on the Terrain website.
Place some kraft paper shred filler into the box. Add chocolate flowers and place lid on. Another option for a gift box would be to use a square jewelry box (without the lid) and slide it into a clear treat bag and tie it closed with ribbon. This will work best if you’re in a time crunch. I’m 99% sure you can purchase a kraft jewelry box at Michael’s or Hobby Lobby too!
The finishing touch? How about wrapping up your package with ribbon and maybe adding a gift tag!
 Chocolate Flowers wrapped for gift giving!

And you’re done! Now it’s time for gifting this adorable-ness. I think the giver and the receiver of these chocolate flowers are both going to be pretty excited. What do you think?
This sweet treat is perfect for Mother’s Day, Birthdays, Just Because and more!! Enjoy.
Connect with Live Laugh Rowe!
Facebook | Instagram | Pinterest | Twitter
Hugs and Blessings!
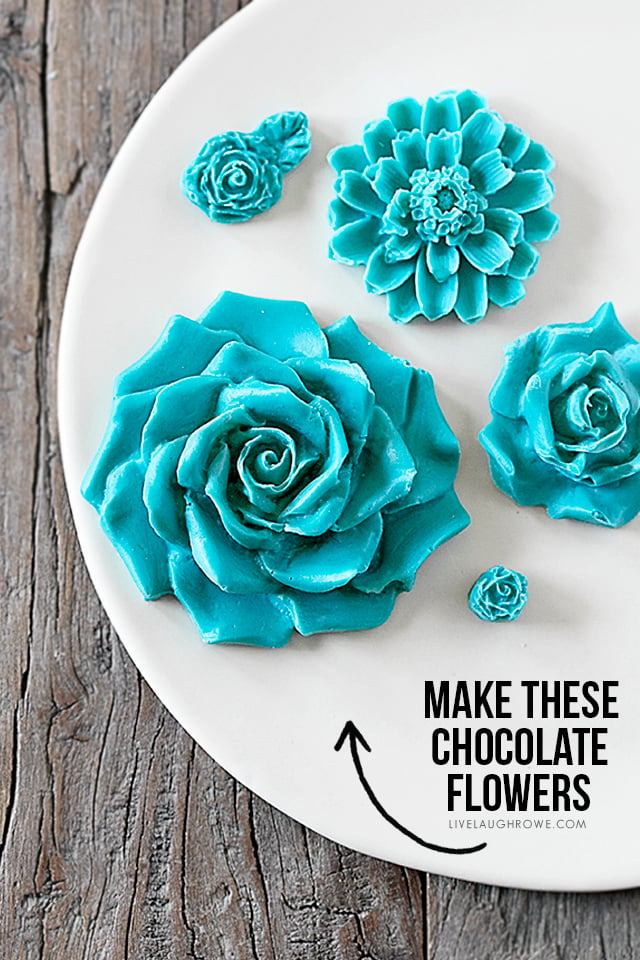 Adorable Chocolate Flowers!
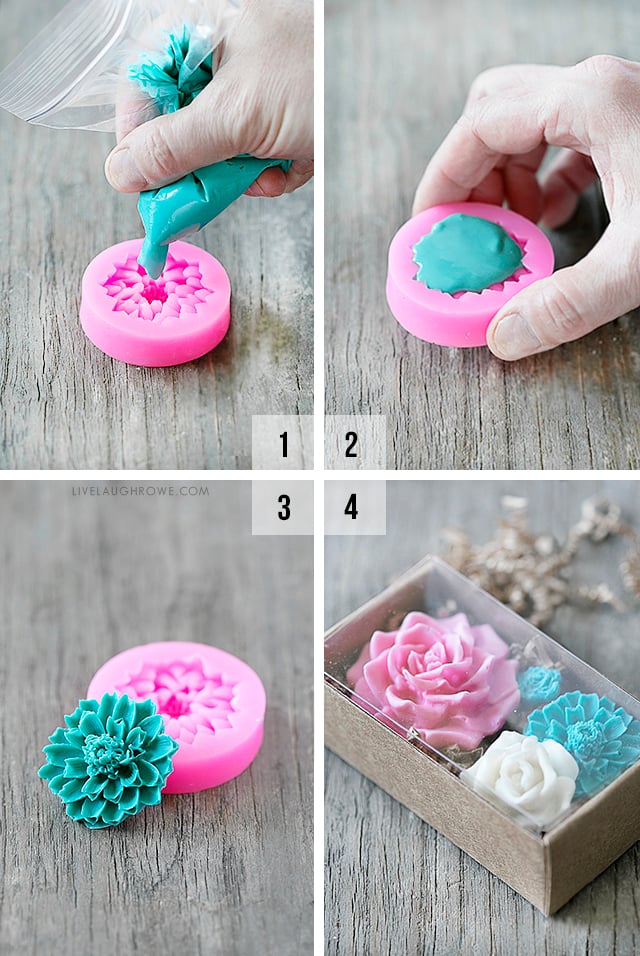
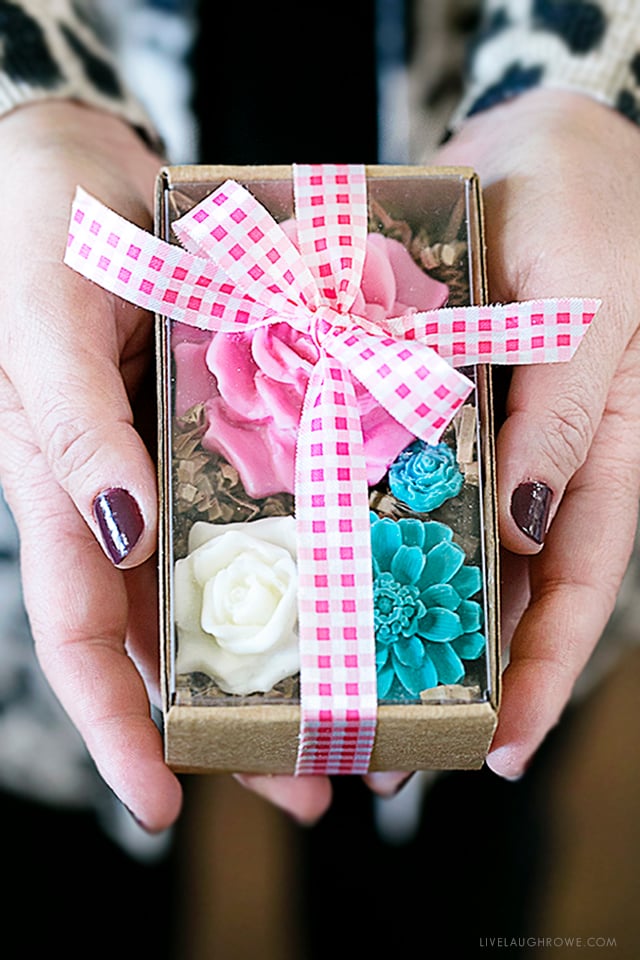 Chocolate Flowers wrapped for gift giving!



Karen says
They turned out beautiful! Great gift idea. I love the pretty colors but think I’d have to make my recipients some dark chocolate ones.
Shanna Watson says
This is fabulous idea especially for teachers and staff as well as Mother’s Day! Thank you!
Kelly Rowe says
Yay! I’m so happy to hear you love these as much as I do. Thanks so much for stopping by. Have a great week! Hugs.