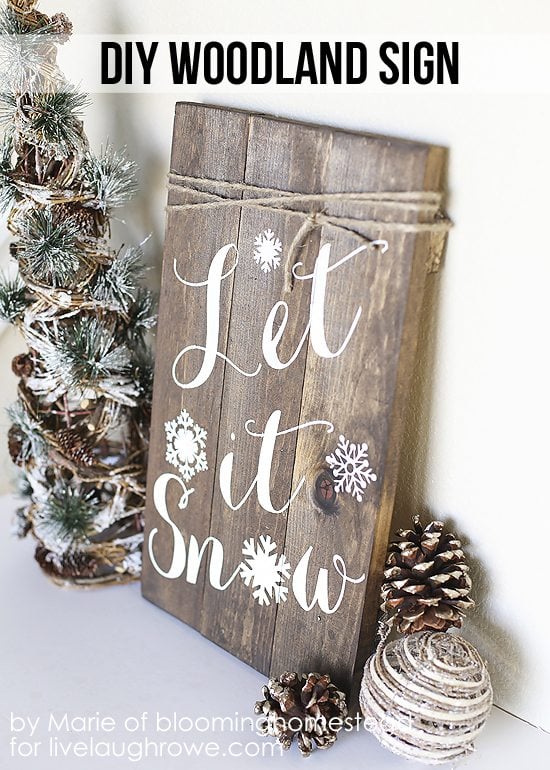
Hello friends! It’s Marie from Blooming Homestead and I am excited to be here at Live Laugh Rowe to share this pretty DIY Woodland Sign. I adore cozy winter decor and I love decorating for the holidays. Sometimes it feels as though I am rushing to decorate from one holiday to another so I love when I can find fun pieces that work for a whole season.
 This sign is super easy and I’m going to show you how to make one of your own! First off, here are the supplies you’ll need:
- 1 piece 1 x 3 x 6 ft common wood cut into 3 pieces of 17.5″ lengths each
- 2 pieces 1 x 1.5 x 10 common wood (for back bracing pieces)
- hammer and nails or nailgun
- sandpaper or sander
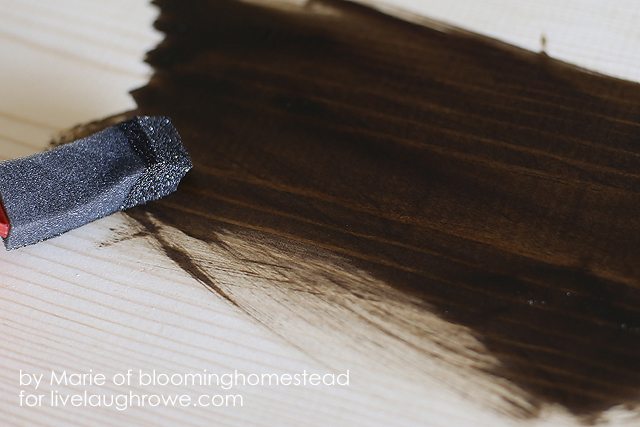
- dark walnut stain
- white acrylic craft paint
- paint brush
- stencil
- poly or sealer
- 2 yards jute
To start you’ll want to create your board. I wanted a pieced together look so I chose to nail some boards together. You could also just use a solid piece of wood 30″ wide 17.5″ in length. For the piecing, you’ll take a 1 x 3 x 6ft common board cut into 3 lengths of 17.5″. You’ll also want to have 2 pieces of 1 x 1.5 x 10 to brace as backing.
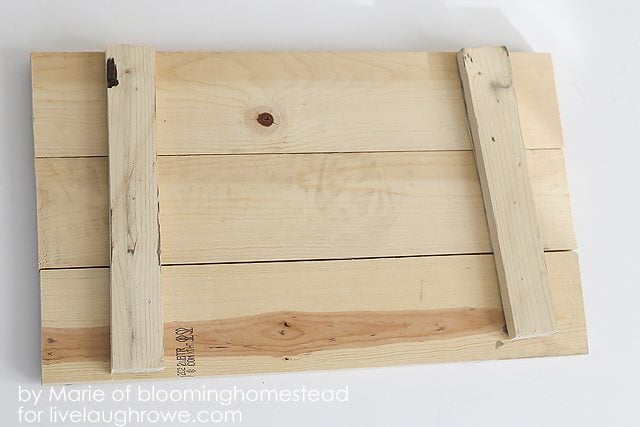 Now you’ll nail it together. I used simple flat nails and a hammer to attach it together. After you get it nailed together you’ll want to sand it down and then stain it.
 After the stain is cured, you’re ready to paint. I am not talented with freehand so I created a (messy) stencil with my craft cutter and self adhesive vinyl. If you don’t have a cutting machine you can try the freezer method for stenciling.
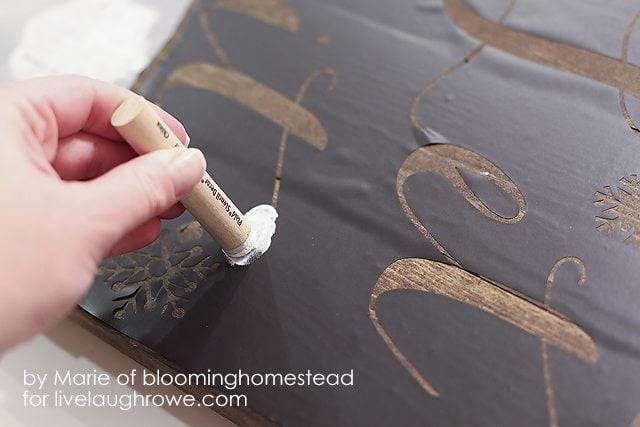
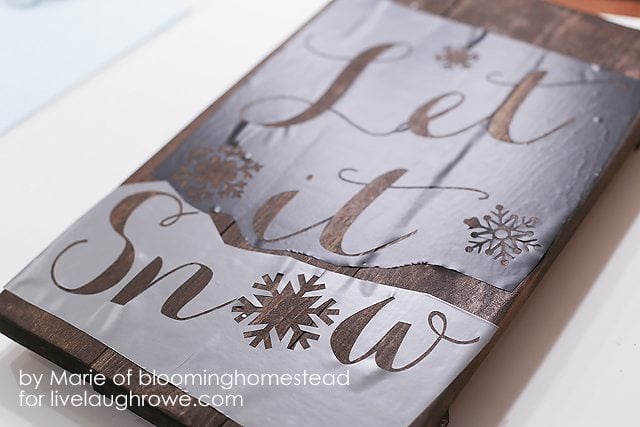 When you have your stencil placed you can start painting. To avoid a lot of paint bleeding it helps to use a paint dauber with a blotting method using a minimum of paint. You can layer it if you need it more opaque.
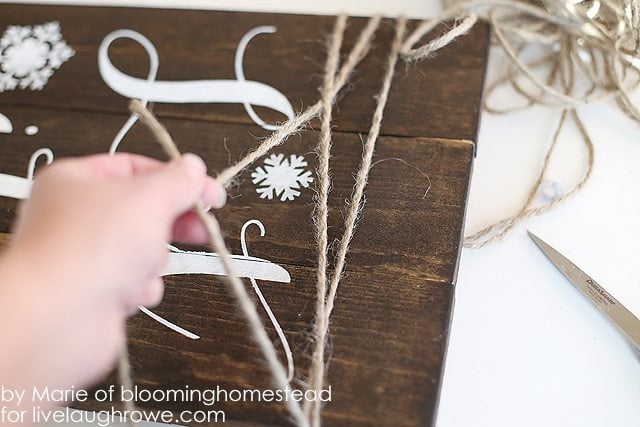
 When the paint is dry you can remove the stencil and seal your board. Now tie on some jute for a fun rustic touch.
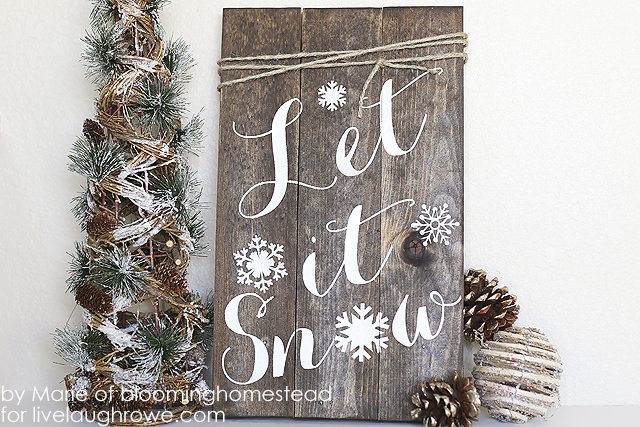
 And there you have it, a beautiful rustic woodland winter sign.
 Thanks so much for having me Kelly! I would love to have you visit me over at Blooming Homestead for more fun tutorials.
UPDATE 11/22/15: A sign similar to this can be purchased on Etsy: https://rstyle.me/n/berx3sp8s6
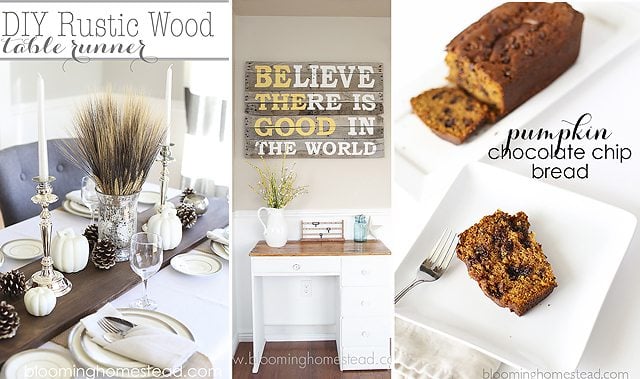 Table Runner | Pallet Wood Sign | Pumpkin Chocolate Chip Bread

Be sure to visit with Marie on her Blog | Pinterest | Facebook | Twitter | Instagram
*PLEASE NOTE: Due to this being a guest post, I’m unable to answer many of your questions. I apologize. Marie graciously shared this tutorial with us, but did not keep the cut file, so providing specifics about the stencil isn’t possible. Please read the directions carefully as many of your questions are within the post. Thanks for your understanding.


Amber says
This is beautiful! I would love to try this with my silhouette, may I ask where you got the font (graphic) ?
Thank you!
Marie says
Hi Amber,
I created the text with the font Carolyna Pro Black, and the snowflakes came from the silhouette online store. Hope that helps. 🙂
Martine says
I don’t understand the math in this, it says it’s 30″ wide and yet calls for 3″ wide wood nailed together and there’s only 3 which to me indicates it’s 9″ wide ???
Jennifer says
I don’t understand it either
Kristine says
Same question here!
Peter Harper says
Did we get the answer to this? I hope we figured it out, since I’d love to make it.
Susan says
This is really cute! What kind of craft cutter do you have? I really think I need to get one as my handwriting is awful. Would it work for chalkboards too?
Marie says
I use a silhouette cameo and love it. I’ve had it a few years and have been really happy with it. For chalkboards, do you mean stencil on chalkboard? You could cut the stencil with vinyl and apply to the chalkboard and trace it on without a problem!
Drena Putz says
Hi Marie,
Do you use the temporary vinyl for your stencil with your cameo or the permanent? I would like to know which is better for no bleeding from the paint, yet can still be removed after the paint is dry.
Thanks!
Drena
Kelly Rowe says
Hi Drena. It’s Kelly, Marie used a self adhesive vinyl; however, a lot of us use contact paper for stenciling because it works just as well is less expensive. Hope that helps. Hugs!
Drena Putz says
Hi Kelly,
Thanks for your quick response! I was wondering if Marie was using the permanent or temporary adhesive vinyl on this let it snow project? I don’t want any bleeding from the paint, but I also want to be able to remove the vinyl with ease and without ruining the stained finish on the wood. Would you happen to know? Also, does the contact paper work just as well with paint?
Thanks again!
Hugs,
Drena
Tracie Thom says
I’m trying to imagine how to do this. I have a silhouette too. So I would create my phrase, weed out the letters so that I can lay my vinyl on the stained wood? It actually weeding just the opposite way as if you were actually using the letters?
Kelly Rowe says
You would remove the letters and use the full sheet of vinyl (less the letters) as your stencil, so you can paint the letters onto your sign.
Joanne says
Hi Kelly,
What a beautiful sign, would love to make one for my mom. How did you nail the
boards together side by side
sofia says
¡Me encanta!
Stacy says
I love your “let it snow” sign and would like to make some myself. Could you tell me what you used for the vinyl lettering like that? Is there a certain machine that does this? And what kind of paper is used then for it?? Please help 😉
Kelly Rowe says
Hi Stacy! Maria used her Silhouette (http://amzn.to/1LQGDRq) and the self-adhesive vinyl (http://amzn.to/1PnHATZ). I like to use contact paper for cutting stencils — it’s a lot cheaper. Happy creating.
Kourtney says
Did you have to use a seal the stain before painting the lettering? Thanks!
Kelly Rowe says
Hi Kourtney. All the instructions are included within the post. There was no sealing done before painting. Happy creating!
Tom Bradly says
My daughter got married and rented a lot of these wooden signs as a centerpiece – it was so expensive! I actually told her she could’ve approached me so I can make these.
darlene says
Hi There–
I’m new at this so where do I get the stencil for the sign??
Thanks for your help!
Courtney Shelton says
Can a craft cutter be used a lot for stencils? I’m new at this and would like to be able to make good stencils.
Thanks,
Courtney
Kelly Rowe says
Hi Courtney. Yes, craft cutters are used a lot for making stencils. Cheers!
Shirley says
The sign is lovely, great job! What kind of paint was used, it looks like some sort of “paint in chalk” form. I am not familiar with it. Please let me know about it and where you can purchase it. Thx
Shirley
Kelly Rowe says
It was just a simple white acrylic paint. There is a link posted under the supplies 🙂
sara says
How many inches tall are your letters?
Sara says
Nevermind… i see details about the stencil are not available
Angela says
Anyway this can ge done with freezer paper?
Angie says
You said if you didn’t have a cutting machine to make stencil, you could do the freezer method….what’s that?
Ashley says
Could a circuit cutter be used for the stencil?
Kelly Rowe says
Hi Ashley. Any cutter can be used to create a stencil similar to this. All of the machines offer different cut files, etc. Hope that helps. Cheers!
ady says
how did you get paper to stick to wood while painting letters white
Kelly Rowe says
It’s vinyl, which has a sticky backing 🙂
Kristy Haugen Oliver says
Is there a printable you could make for this? I love the font and everything. Too lazy to figure it out myself.
Jamie says
I love this project so much that I featured it in my post “15 Rustic Farmhouse Christmas Decorations”. http://www.diyhsh.com/2017/10/15-rustic-farmhouse-christmas.html Hope you’ll stop by and check it out.
Cory says
I’m trying to make these signs and I’m having trouble figuring out the measurements could you please help