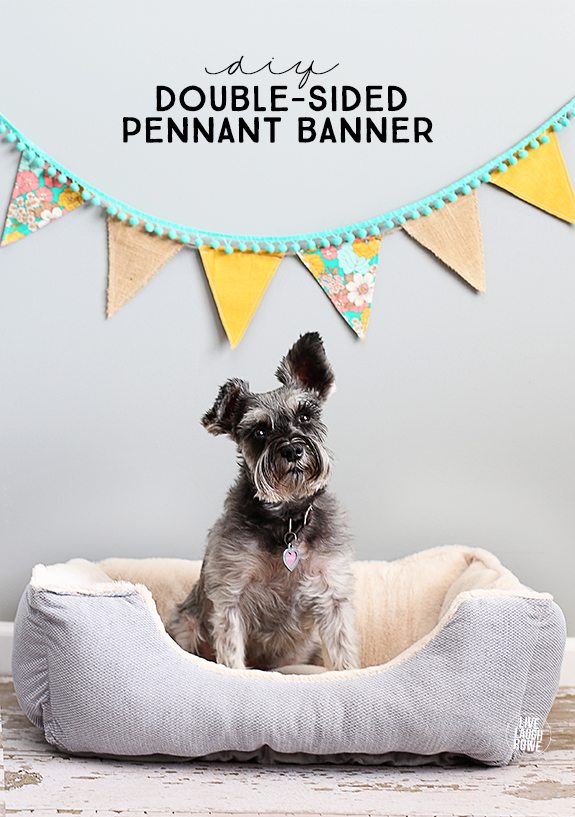
I have a fabric addiction, and when you buy a lot of fabric, you kind need to put it to good use {wink}. A few years ago I tried my hand at making a couple of pennant banners for my sisters photography business, so she could use them as props. Then I tried it a couple of other different ways until I decided on this DIY Pennant Banner. It’s double sided and, well, now it’s my favorite way of making them. I’ve sold several banners in my Etsy store photographers and/or for party props… I thought there was no better time than the present to share the tutorial with all of you!
Supplies:
Fabric
Scissors
Sewing Machine
Twine
Yarn Needle

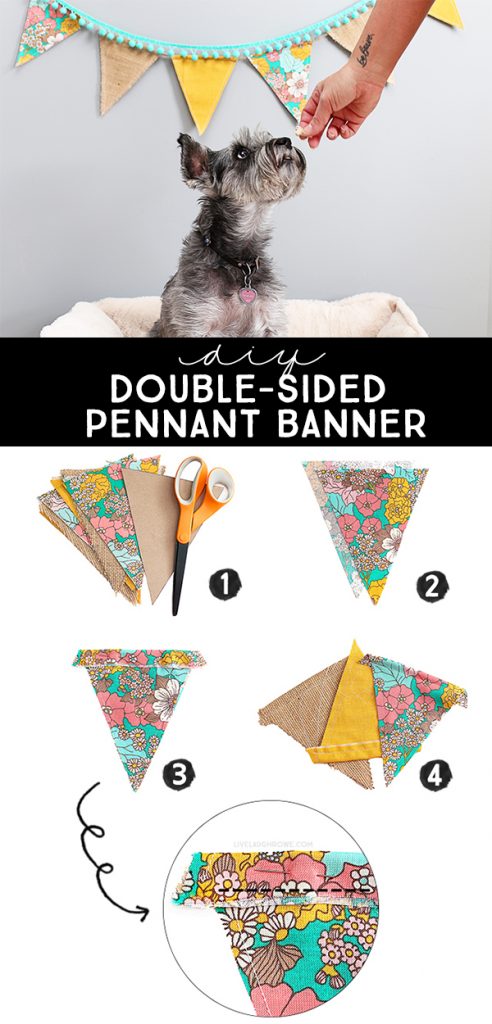
Step One: Choose and Cut Fabric
Pick your fabrics and don’t be afraid to mix colors and textures. I love incorporating burlap in most of my banners.
Next, decide on the size of your pennants and how many you’ll want on your banner. I like to make templates, so I would recommend making a template out of cardboard or cardstock to trace the pennant shape onto your fabric using a pen or fine marker.
I typically use 6-8 pennants on each banner, meaning you’ll need to cut 12-16 individual pennants.
Step Two: Double Sided Pennants.
You’ll place one pennant with the fabrics pattern face down and then place another pennant on top with the fabric pattern facing up (towards you). See #2 in image above.
Step Three: Sewing.
It’s time to start sewing. You’ll want to sew each side of your pennant first.
 Then, as you can see in step #3 in the image above, you’ll want to fold the top of your pennant (your longest length sided to side) over and sew again. For your first couple of pennants, I would recommend pinning it in place; however, that is completely optional. You’re going to stitch along the bottom of the fold, as you’re creating a loop of the fabric that will allow you to string your pennants onto the twine.
Do you see the step-out picture above? That visual should help {smile}.
Step Four: Cut and Trim.
You’ll now want to trim your pennants as necessary. If you see any ink marks, be sure to cut them off and all of the loos threads.
Step Five: Iron and String.
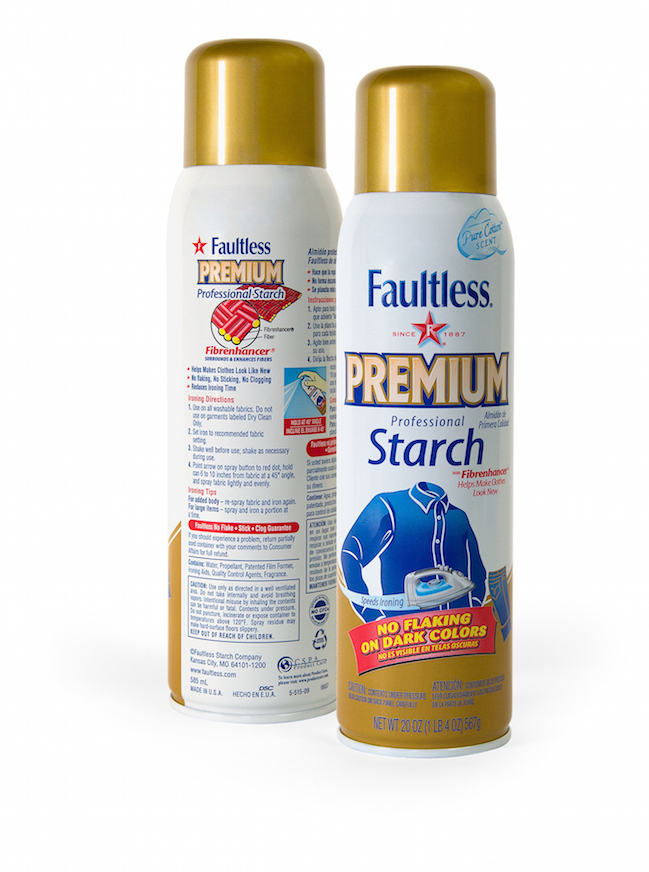
An extra step that I take is ironing the pennants. I mean, who wants a wrinkled pennant banner? Not me! I love spray starch anyways, it gives the pennant a crisp finishing touch. I use Faultless Premium! Unlike other starch, the Faultless Premium bottle won’t clog, flake or stick and the fresh cotton scent is to die for!
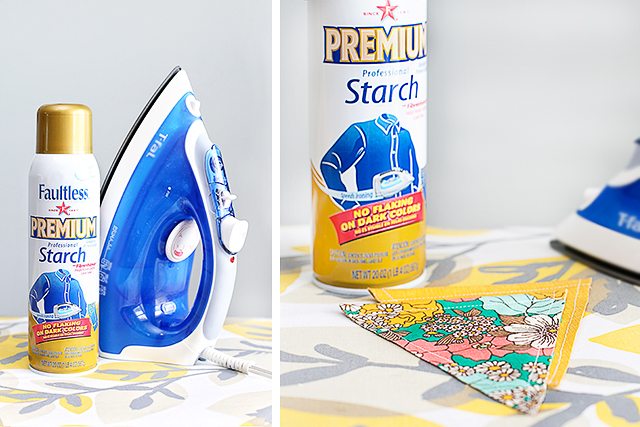 Even if you don’t iron your pennants, you’ll want to keep a bottle of this on hand for your day to day needs. Faultless Premium will keep your clothes looking new – it’s the starch that performs. By looking your best, you will perform your best. Don’t your agree.
Once you’re pennants are looking “crisp,” we’re ready to string the banners together using twine.
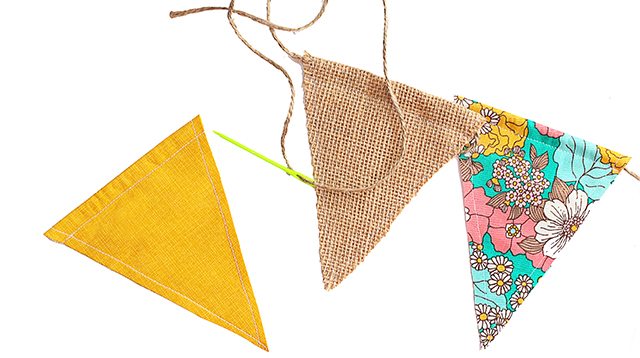 You’ll thread your twine through the yarn needle and slide it through the looped fabric we sewed together in step 3. Make sense? What I love about this option is that the pennant can be adjusted and/or removed. And you’re done! Boom.
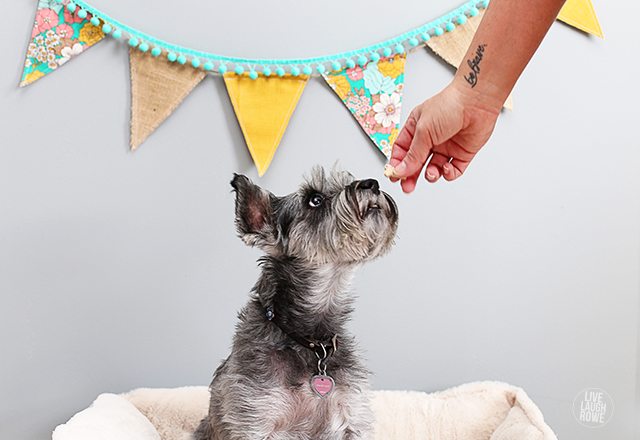
Add some pom pom garland for a little extra pizzaz. Perfection!
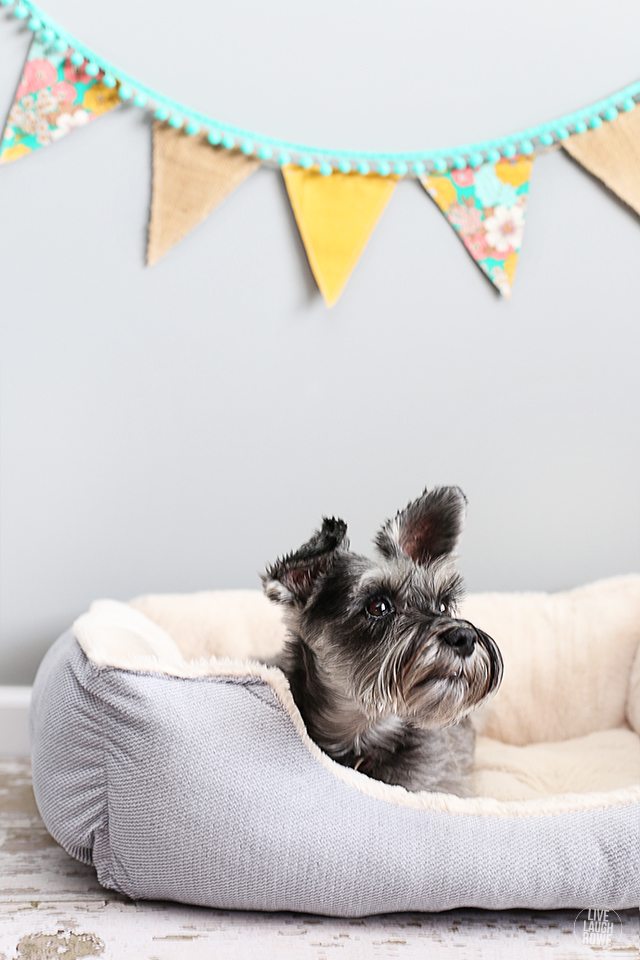 Sydney (my sisters schnauzer) was a perfect model.
She did great! Treats work every. single. time.
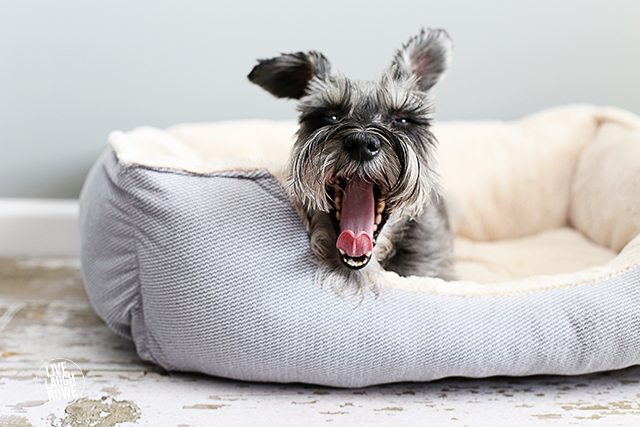
 Aaaaaand, that’s a wrap!
Photo shoots are sooo exhausting.
 Be sure to visit with me here too:
Facebook | Instagram | Pinterest | Twitter |Google+


Ashley @ Simply Designing says
I LOVE how your banner turned out! It is so cute!
Kelly Rowe says
Thanks so much Ashley! Appreciate you stopping by. xo.
Liz says
Your pup is ADORABLE! And I love your banner, too!
Kelly Rowe says
Thanks so much Liz! Have a great Monday! HUGS.
kara says
Super cute!
Kelly Rowe says
Thanks so much Kara! Appreciate it. 🙂 HUGS.
Leanne says
That banner is adorable! I love how crisp the starch makes it!
Kelly Rowe says
Thanks so much Leanne! Faultless Starch is a great product. You should give it a try. 🙂 Have a great weekend. xo.
Amy Anderson says
GREAT fabric choice for the banner! And the pup is cute too 😀
Kelly Rowe says
Thanks so much Amy! I appreciate it. I {heart} fabrics in general…it’s a bit of an addiction. 🙂 Have a great day! HUGS.