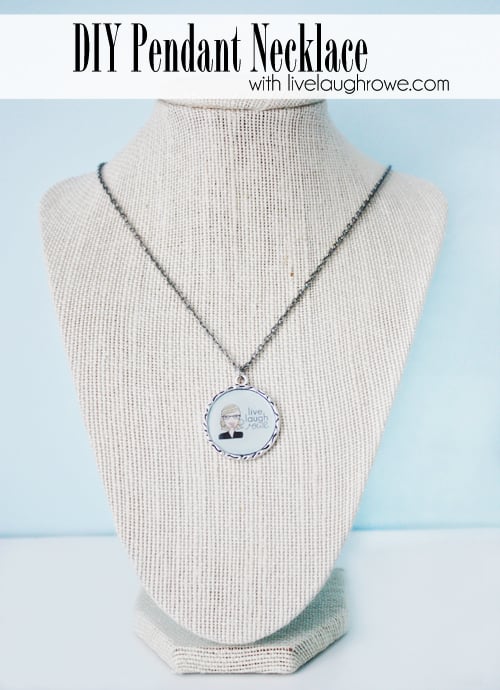
Back in October, I posted a WIWW that included a diy necklace I made with my logo/brand — Live Laugh Rowe. I made it and wore it to BlogHer last year. It got a lot of loving. A couple of you had asked for a tutorial, soooo I’m going to attempt to do one for you. I use Adobe Photoshop, so that might be where it gets tricky. The steps might be somewhat similar in other editing programs, but I can’t say for sure. Let’s hope for the best, just know this is a basic overview tutorial on how to create the artwork for your pendant necklace.
Anywho, I thought now would be a good time to share this tutorial as some of you might be preparing for a blogging conference and would like to wear your logo! YAY! For the non-bloggers, the options are unlimited! You could make this necklace with a pic of your kids, words from the dictionary, etc. The sky is the limit! I did include one with a shot from the dictionary below.
Supplies: Frame Pendant/Charm, Epoxy Sticker, a jump ring and chain of choice. You don’t need any fancy jewelry tools. A pair of round nose pliers will do the trick {smile}. My frame pendants are by Darice and can be purchased on-line at Consumer Crafts. I purchased mine at my local JoAnn Fabrics.
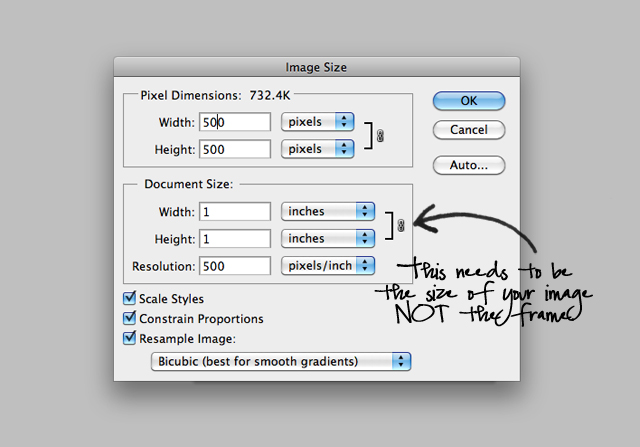
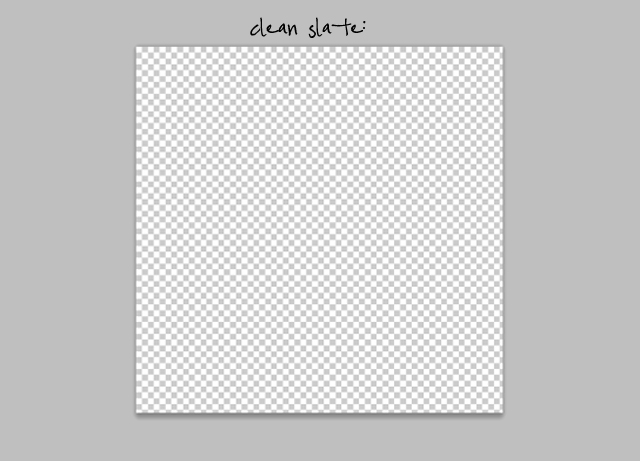
First things first. We need to create a new slate to work with. In photoshop, I created a new image and sized it appropriately. I sized mine by inches (not pixels). The frame pendant is sized at 1.18″ total; however, the inside of the frame measures 1″, so that’s the dimension you need to use for your artwork/logo. Keep in mind your resolution needs to be higher due to the size of the image being so small, so I set that at 500 (that took me forever to figure out. hee-hee).
Now your ready to design!
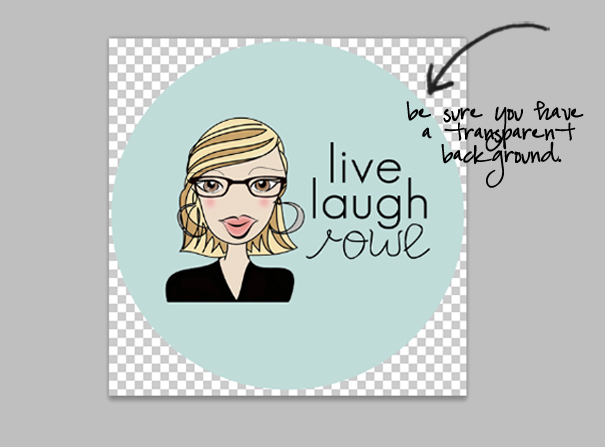
The frame pendant I chose was round (there are a variety of shapes and sizes out there), so I created a circle to fit the transparent space and filled it with the color of my blog. The transparent space allows me to know where my cut line needs to be. Brought in my avatar/logo and was done!
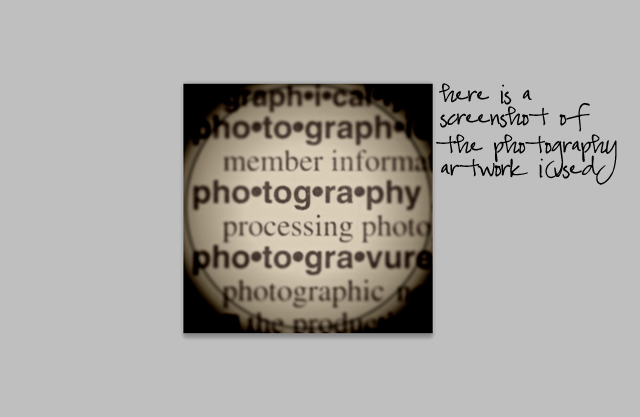
I also did one with the word photography, so you can see the versatility. I took a picture from the dictionary using a macro lens. I started by creating a new image again. My first layer was a transparent circle shape and then I used the dictionary image as the background behind the circle (which would be a separate layer). All I would need to do is cut our the circle shape. I also ‘vintaged’ it up a bit using my adobe photoshop plug-in called RadLab. That is a lifesaver for me and my non-professsional photography ways. More to come on that later this month — I’m actually giving one of them away {eeeeks!}.
Once you’ve created your image in photoshop or editing software of choice, all thats left to do is print and cut! You’ll glue the artwork/logo into the frame, then place the epoxy sticker on top of your artwork/logo. Add a jump ring and your chain of choice! You’re ready to sport your new necklace. Easy peasy!
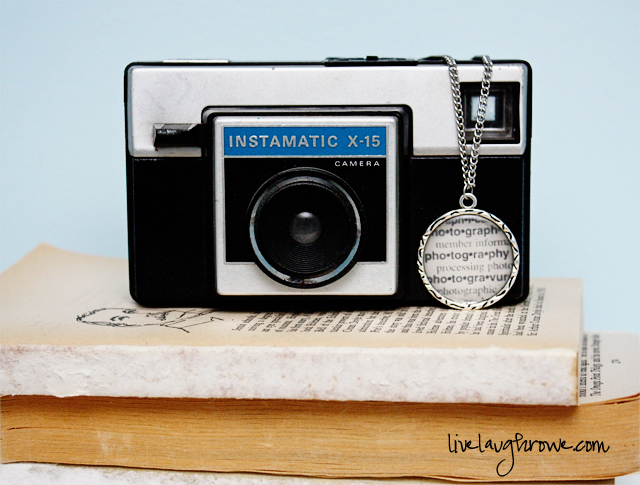
I {love} wearing my brand/logo out and about… it’s quite a conversational piece.
I also appreciate all the versatility too — think of the personalized gifts you could make!
HAPPY CRAFTING! xo
Subscribe to Updates | Like on Facebook | Follow on Pinterest



mandy @ this girl's life says
Love this Kelly!
Amanda says
So cool!! I want a personalized necklace now! 🙂
Angelina says
SUPER Cute!!! To bad I STINK at photoshop 🙂
xo
Angelina
Claire @ A Little Claireification says
Shut. Up. That is too awesome!!! I am pretty handy at Photoshop but not so sure about the jewelry part! lol Oh, how I need one of these for Blissdom. haha
Love it!
Claire
Kimberly Montgomery says
Love that you showed us how to do this. 🙂
Melissa B says
Love this! so cute! =)
Kristine says
How fun and creative! 🙂
Brenda @ a farmgirl's dabbles says
Love this, so much fun!
Trish @ Uncommon says
Love this, Kelly! You are just too clever! Have a wonderful weekend!
Take care,
Trish
Rachel (Lines Across) says
I LOVE this idea! So fun and so many possibilities. Thanks for the helpful tutorial.
crystal says
Kelly, this is brilliant! I love making necklaces with epoxy stickers and never thought to make one with my blog logo, which would be great for conferences! 🙂
TidyMom says
I LOVE this Kelly!
Thanks for linking up! I featured your post in my wrap up http://tidymom.net/2013/creative-ideas-to-make/
have a great weekend!
Dan R Morris says
These are great. We’d love to talk to you about making them if we sold them to Bloggers. 🙂