Super excited to have the talented Ashley from Little Glass Jar back with us today, sharing some awesome sauce DIY Farmhouse Frames. I’m thinking she should open a store… Hmmmm.
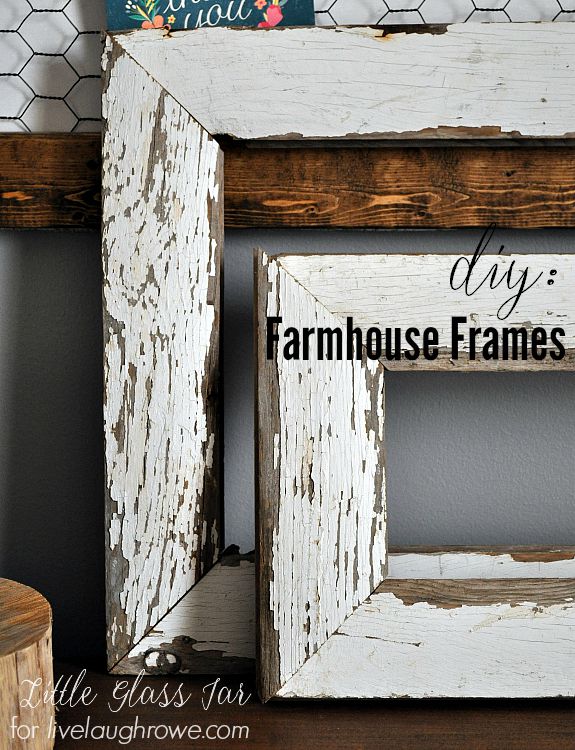
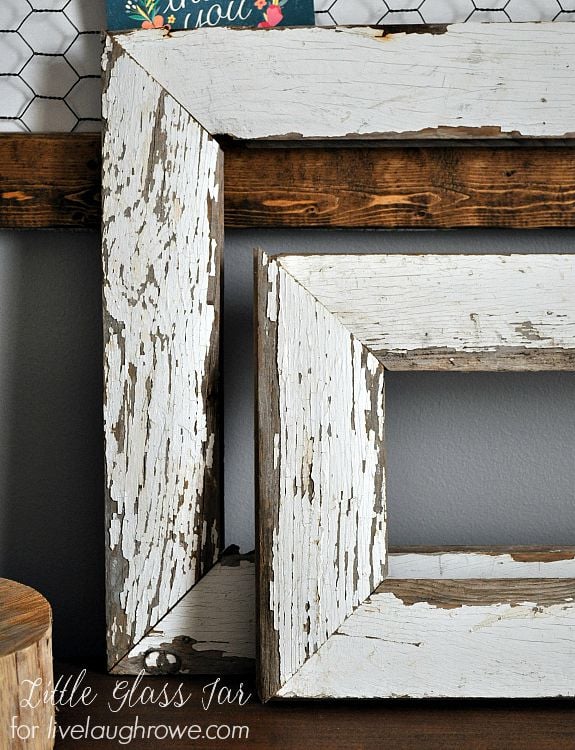 DIY Farmhouse Frames

Since moving into our first house two and half years ago, I have come leaps and bounds when it involves buying things just to buy them. I was never that girl with the crazy shopping addiction, but I was the girl who would make a purchase before I knew what I was going to do with it. Typically that purchase would end up in our basement just waiting for me to find its perfect spot, and typically that day never would come. So I made a new rule that I wouldn’t buy something unless I knew what I was going to do with it in our house. Now, it’s safe to say I also have a list in my head of those rare exceptions to this new rule. That’s only fair right?
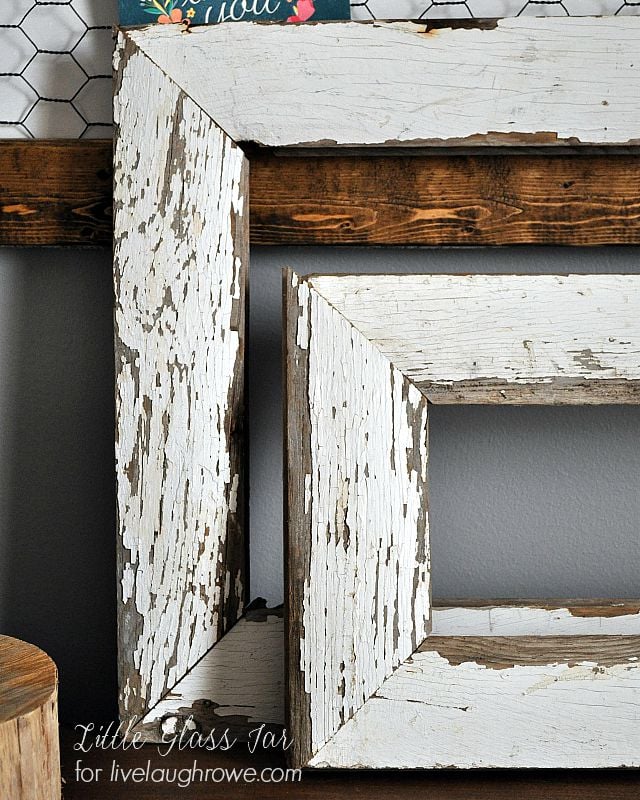
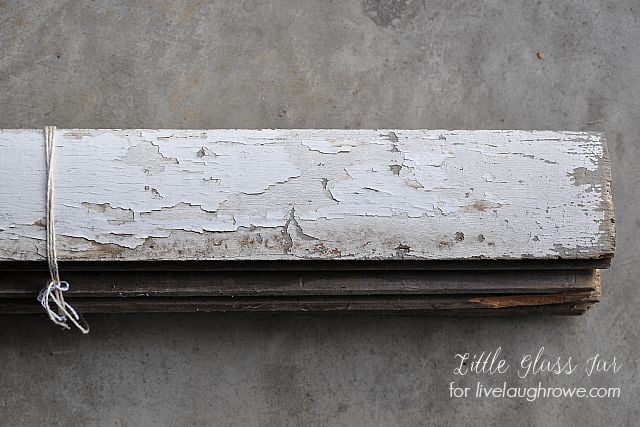 Recently I went with my mom to one of our favorite antique places. While roaming around drooling over all the great pieces, I knew I didn’t have space for them. However, I found a few bundles of really old, chippy white scrap wood.
I have learned that barn wood, or any old wood for that matter is pretty hard to come by near where I’m located. Which is shocking considering I live in the Midwest and there are roosters living across our road. So salvaged wood = exception right? I definitely stood there a while trying to justify buying the bundle…because, of course, I would find something to do with them.
Before anyone else could see their potential, I grabbed them and took them up to the cashier. One thing I absolutely love about vintage finds, is finding out where they originated from. The lady who owned the booth told me the wood I was buying were pieces of porch columns on an old farmhouse. That’s all I needed to hear. No buyers remorse necessary!
I wanted this wood to be displayed somewhere in our home, so I thought that making what I see as art into something I could actually display as art was what I wanted to do.
Supplies for Farmhouse Frames:
Miter Saw
Brackets
Screws
Drill
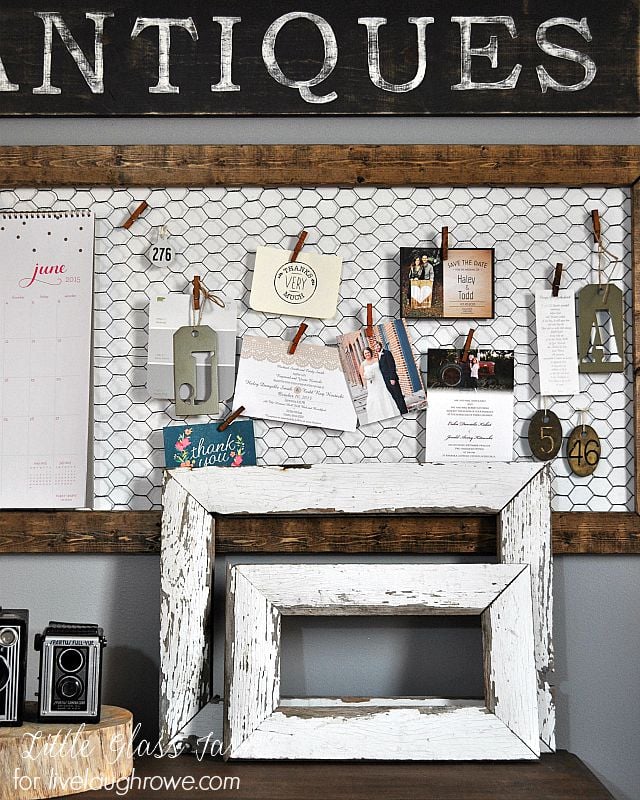
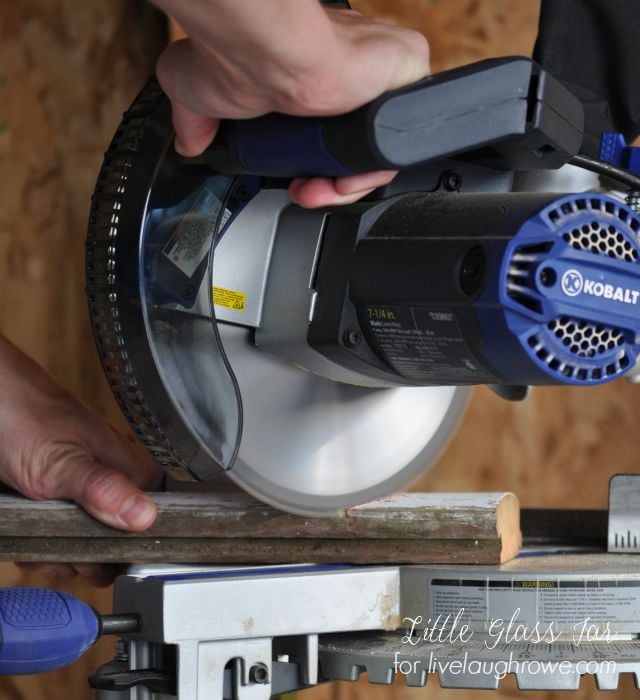 Ready for the easiest piece of farmhouse art you’ve ever made? Using basically whatever kind of salvaged wood you want, set your miter saw at a 45 degree angle and cut each end of the wood to make a frame of your desired size. We screwed brackets on the back side of the frame with a drill to connect the four pieces. Voilà!
No really. That’s it. There are so many ways you can use these simple farmhouse frames. I chose to use them simply as art, because to me, that is what they are. A piece of someone else’s home that now sits in mine. It doesn’t get better than that!
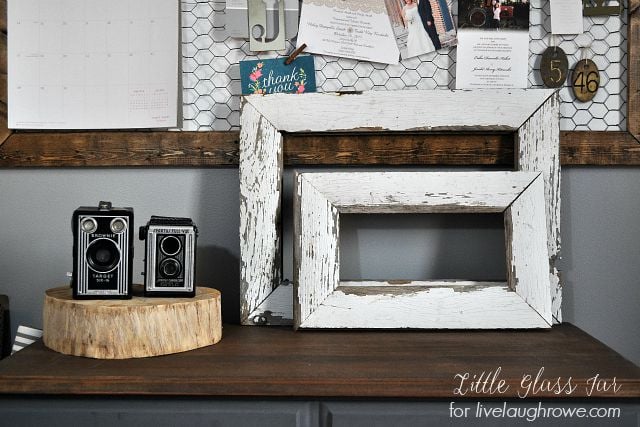
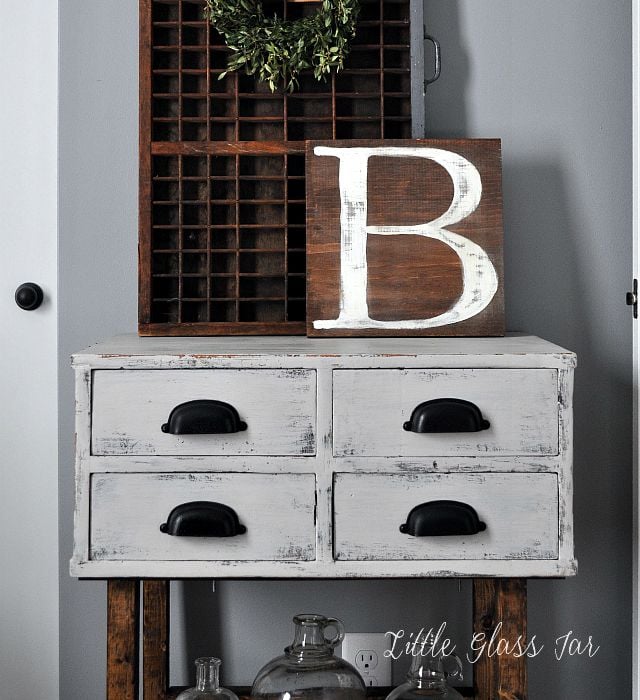
 As always, thanks for stopping by to visit me here! If you want to see more of what I’ve been up to lately, I think you might like my most recent addition to our home office, this Four Drawer Side Table.
You can also find me hanging out here:
Instagram | Facebook | Twitter | Pinterest
https://betweennapsontheporch.net/




Malissa says
Never pass up chippy wood!!! Definitely a great buy! Such an easy project and your frames look lovely and perfect for that space!
Ashley Broviak - Little Glass Jar says
I hear ya on that one! Especially low priced chippy wood! Thanks for the sweet comments!
Gilly @ Colour Saturated Life says
I love these frames Ashley! I love your new attitude with shopping also, I think I need to take a leaf out of your book and only buy with purpose but it is so hard with so many pretty things I must have! Haha
Ashley Broviak - Little Glass Jar says
Thank you so much Gilly!!! Trust me, I know it’s soooo hard!!! I’m trying to at least “shop” my basement now first before looking to stores for what I need…but the struggle is real girl!
Michelle@DandelionPatina says
Yay! Great post Ashley. I love all your projects and love following along on your blogging journey!
Have a great week girl!!
Ashley Broviak - Little Glass Jar says
You have been so kind and supportive along the way Michelle! Thanks so much for always following along! Xoxo!
Lauren says
Can I see the back of them? The brackets you used?
Liberty says
Me too, I want to see the back!
Melinda Smith says
I love the frames! What type of bracket did you use on the back corners of the picture frames?
Kelly Rowe says
Hi Melinda! Flat Corner Braces will do the trick! Hope that helps. Have a blessed day.