
Hey there, Live Laugh Rowe readers! My name is Katie and I blog over at The Casual Craftlete where you will find me sharing easy diy/craft projects, yummy recipes (mostly sweet treats) and my running journey and weight loss.
I am a huge paper fan and I LOVE pretty packages. So much so, that I have a board on Pinterest called Pretty Paper and Packages. Head over and check it out, please?! You will find some of Kelly’s wrapping creations there as well.
Today I am really excited to share my DIY Creative Gift Wrapping with you all! So, let’s get to it!
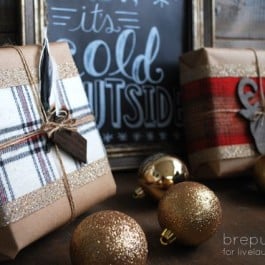
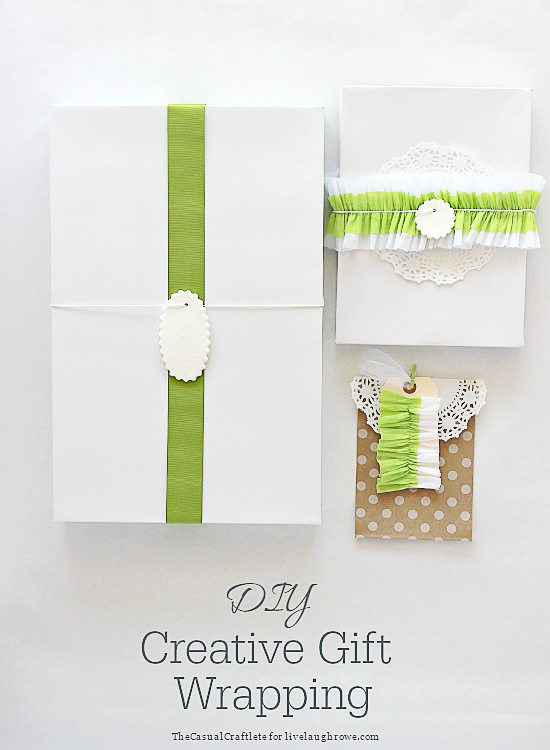 This year for the holidays I have chosen to do really simple and clean looking gift wraps. While all of these packages are slightly different, they are still cohesive and go together. One of my favorite things to do is pair vintage styles with modern touches. The vintage elements are the classic white color, baking soda ornament tags and paper doilies. I am mixing in the lime green and ruffled crepe paper to add just a hint of modern.
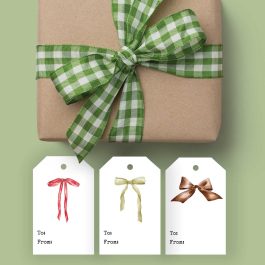
For my largest package, I wanted to go really simple. I added a bright lime green ribbon straight down the middle and tied a piece of white and sliver baker’s twine across the ribbon. To finish this package, I tied an oval baking soda ornament tag through the baker’s twine. You can decorate your tag with paints, stamps or whatever else you like. I left mine plain white since that’s the theme I am going with.
You can find the recipe to make baking soda ornament tags later in this post.
 Just like the large package above, I used a plain white box and placed a white paper doily on the center of the package using adhesive tape. To make the crepe paper ribbon, I used my vintage (1960’s) sewing machine and sewed three pieces of the crepe paper together, I overlapped two pieces of white crepe about half an inch, then placed a piece of lime green paper on top. Using the longest stitch length and the strongest tension, sew the crepe paper together. If you have a newer machine the paper should ruffle on its own. If you are using an antique like me, you will need to pull the bottom thread and ruffle the paper by hand. I added the same white and sliver baker’s twine with a small round scalloped baking soda tag to finish this package.
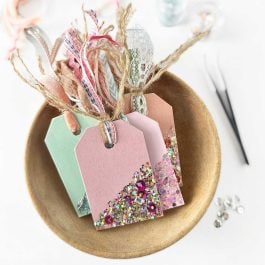
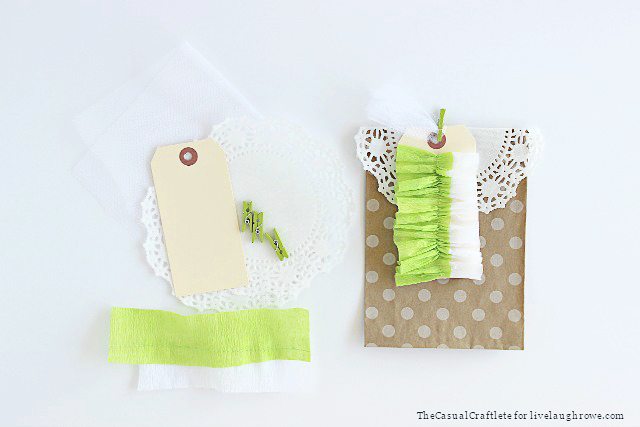 This white polka dot kraft bag has to be my favorite of the three. It’s just so darn cute! I folded a paper doily in half and adhered it to the top opening of the bag. Next, I bought these paper tags from Kelly’s Etsy shop House 129 and sewed a white and lime green crepe paper ruffle to the tag itself. I cut a small piece of white tulle and clipped the tulle and tag to the kraft bag using a lime green clip. So so easy and so so cute! I like using small kraft bags for paper cards and gift cards.
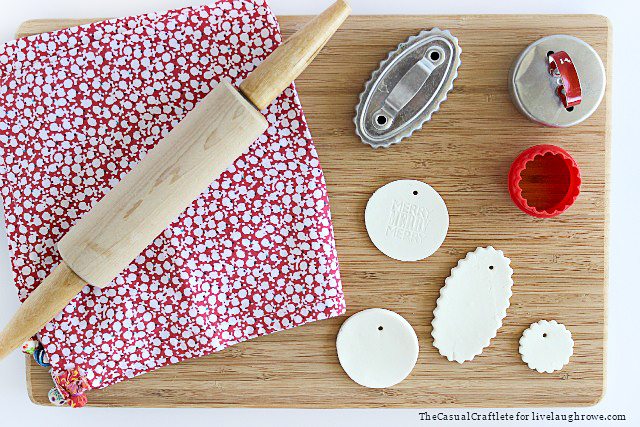

Baking Soda Gift Tags
Ingredients
- 2 cups Baking Soda
- 1 cup Corn Starch
- 1 1/4 cups of water
- Cookie cutters metal works best
- Lollipop stick or a something to poke a tiny hole
Instructions
- Combine all the ingredients in a large pot on the stove and cook at medium heat.
- Stir until the mixture becomes thin and starts to boil.
- Continuously mix until the dough starts to form a ball (about 5 minutes).
- Remove dough from the pot and let cool.
- Once dough is cooled, flatten and roll out.
- Use cookie cutter to make tags and a lollipop stick to make a small hole for threading the tags.
- Let the tags dry on the counter for a couple of days, flipping them after the first day.
Thank you for letting me share my DIY Creative Gift Wrapping with you! I hope I have inspired you to create your own pretty packages this holiday season.
I would love for you to stop by my blog, The Casual Craftlete for more creative and inspiring ideas! You might also like:
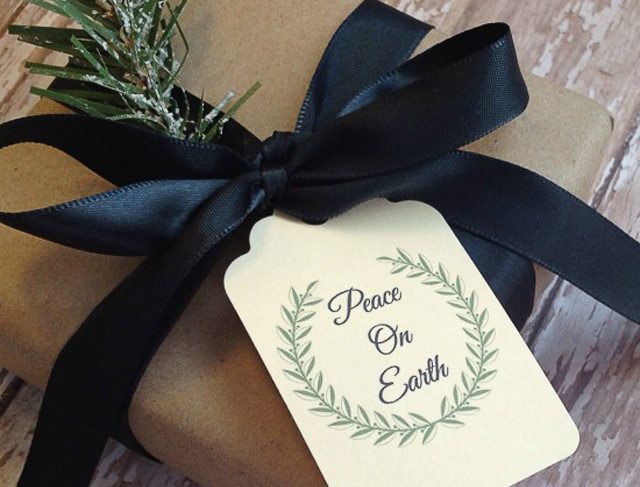
Elegant Wrapping + free printable holiday tags

Visit with Katie on her Blog | Facebook | Pinterest | Twitter


thecasualcraftlete says
Thank you SO much for letting me share, Kelly! I got your post card from Rome today. I am extremely happy you had such a good trip. xoxo