
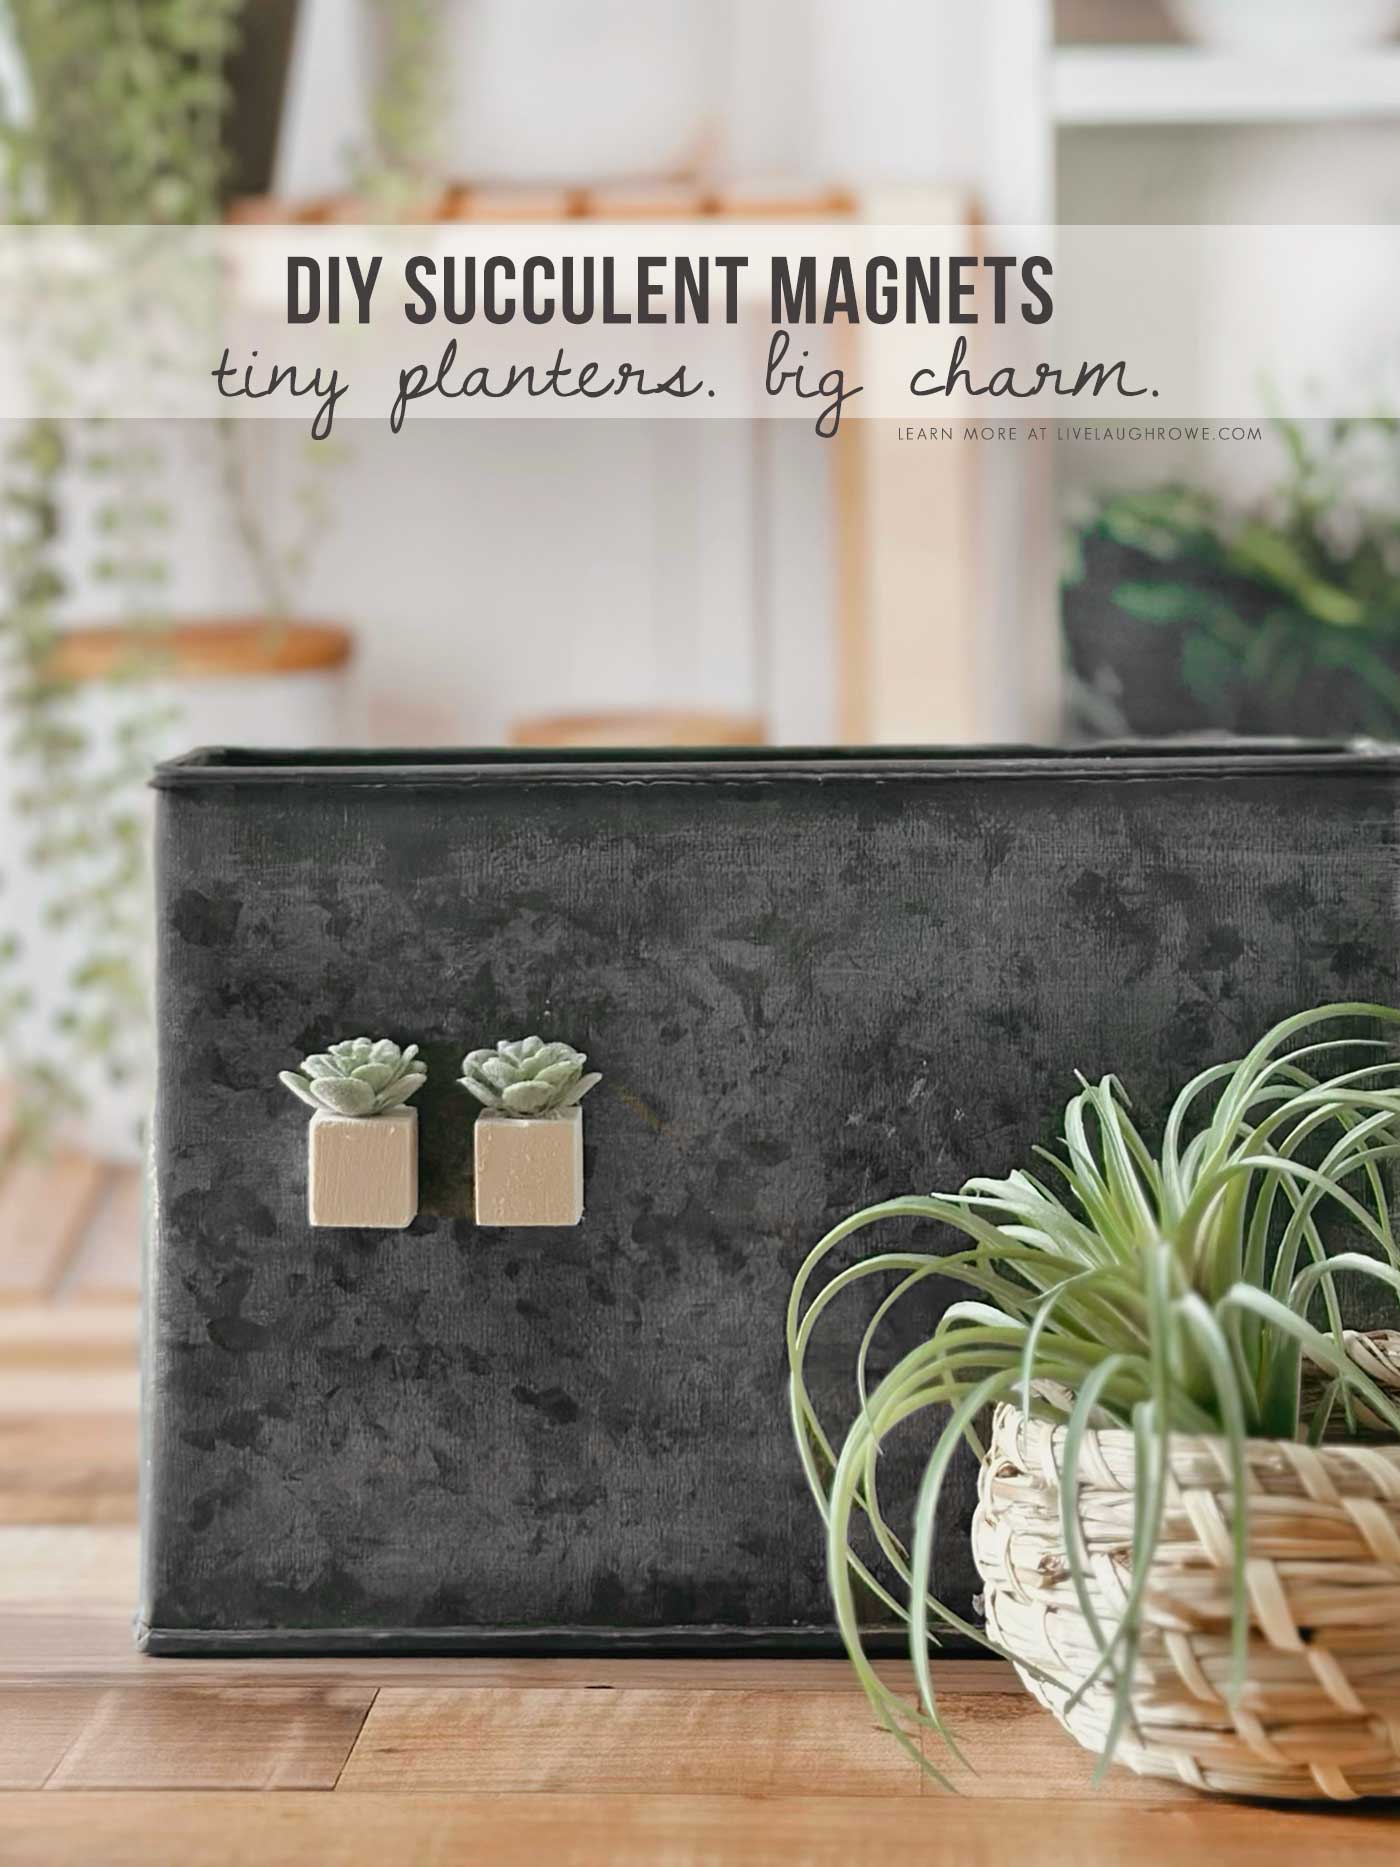
These DIY Succulent Magnets are a sweet way to add a little greenery to your refrigerator without adding another plant to your watering schedule. Wink-wink. Made with mini wood blocks, faux succulents, and magnets, they look like tiny planters—and goodness, they’re cute!
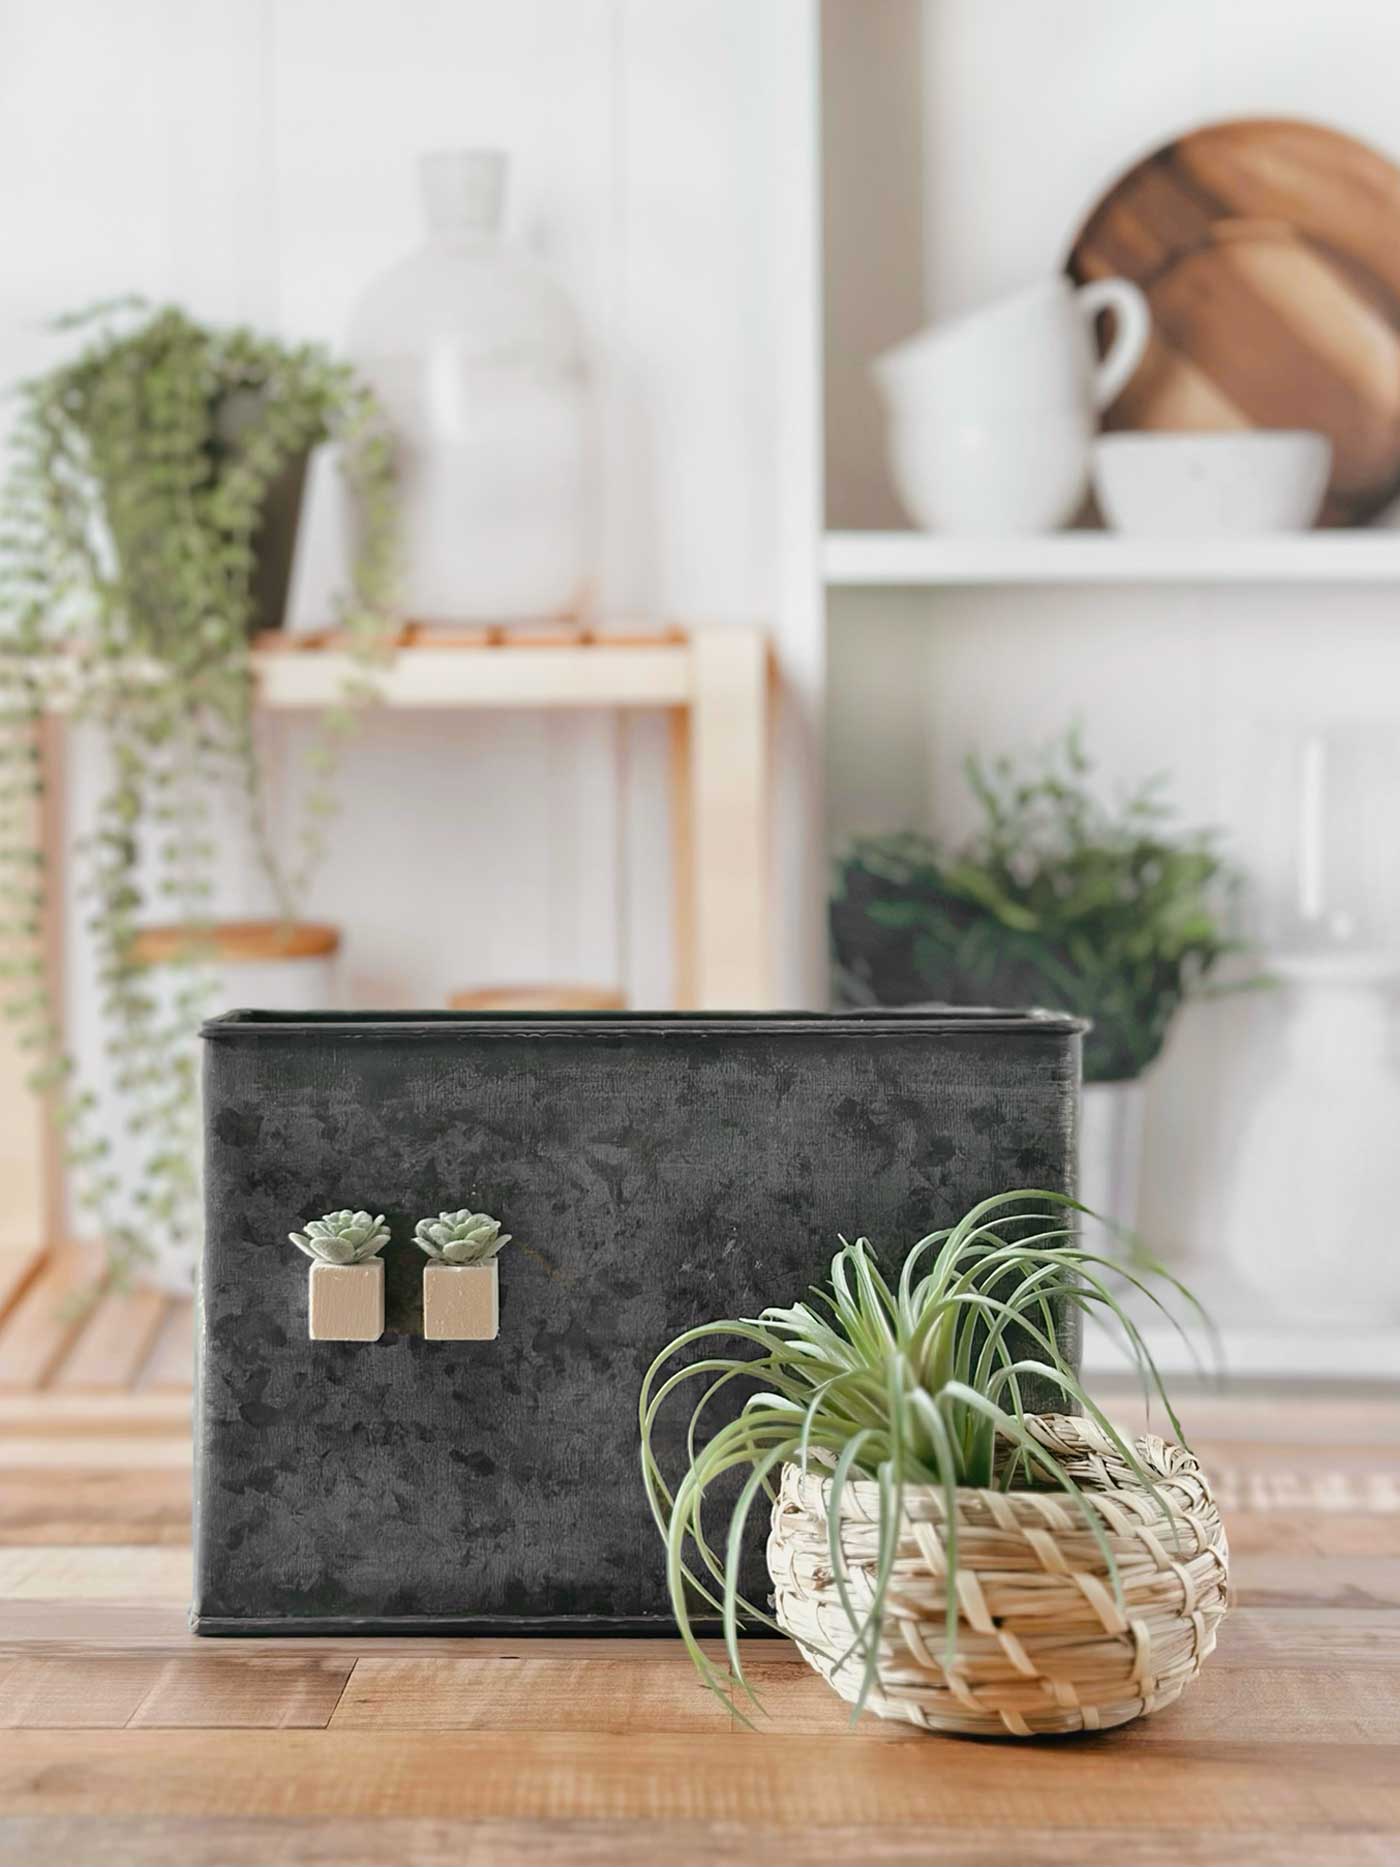
There’s something about miniature things that makes a simple project feel extra charming. These little wood blocks are no exception. Add a small succulent on top, attach a magnet to the back, and you have a practical little decoration with plenty of personality. Easy peasy.
If you enjoy easy crafts with a short supply list, this is a fun one to try. Make a few for your kitchen, tuck a set into a small gift bag, or share them with a friend who loves plants.
DIY Succulent Magnets for a Little Everyday Greenery
Faux succulents are such a handy craft supply. They bring the shape and texture of a real plant to a project, but you don’t have to think about sunlight, soil, or watering.
For these magnets, the mini wood blocks become pretend planters. The natural wood keeps the look simple and lets the green succulent stand out. You can also paint or stain the blocks to coordinate with your kitchen or give them a different finish. Honestly, the skies the limit.
Because the pieces are small, this is a manageable project to make in batches. Set out your supplies, assemble a handful of little planters, and give the adhesive time to cure before putting them to use.
The assembly is straightforward, although drying time will depend on the glue and any paint or stain you choose.
Supplies for DIY Succulent Magnets
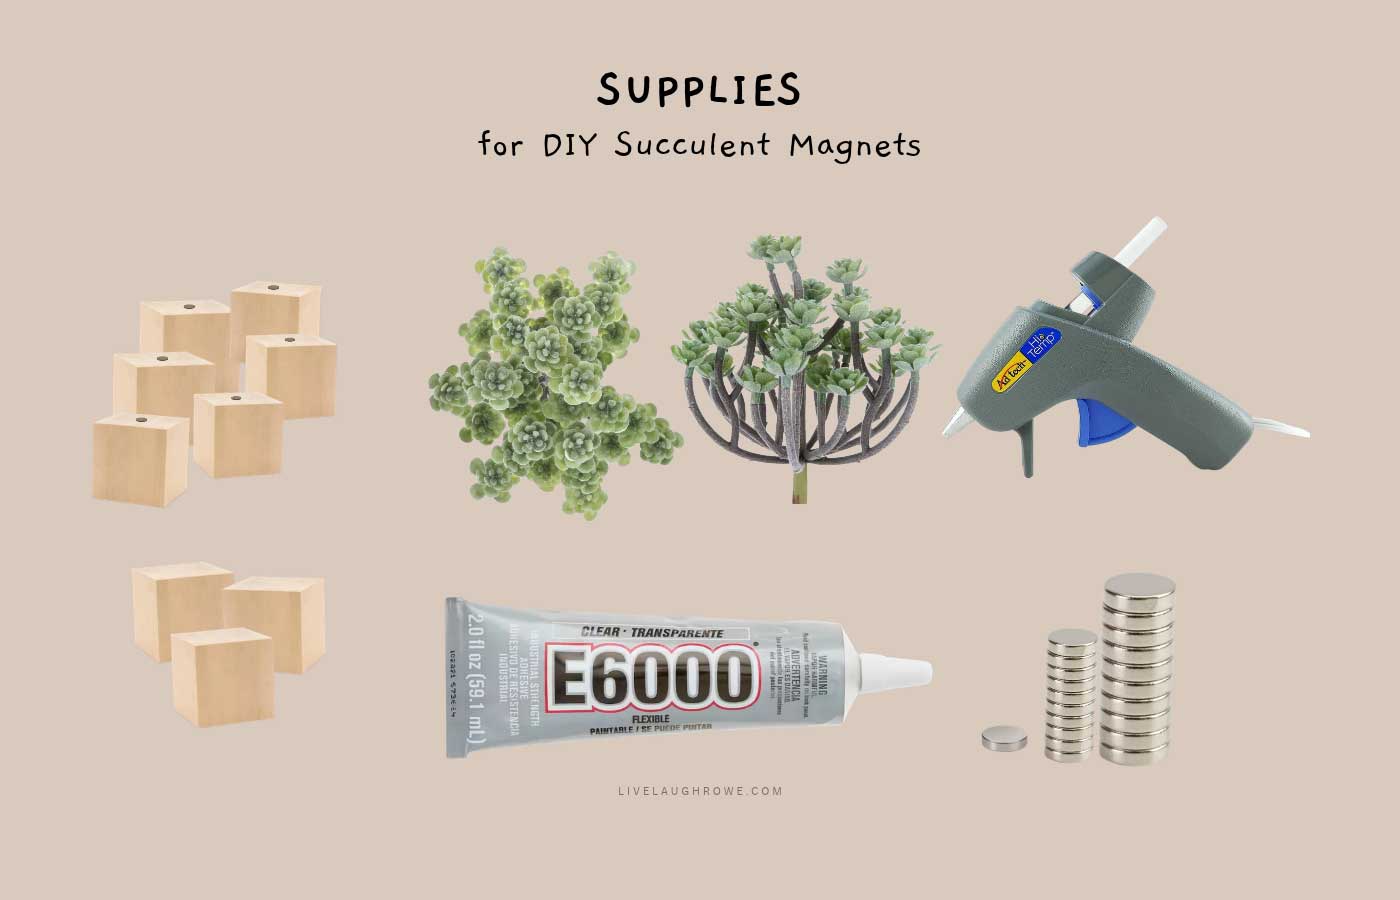
Gather the following supplies before you begin:
- Natural Wood Blocks & Sticks from Hobby Lobby (or these solid wood blocks)
- Green Tree Succulent Pick from Hobby Lobby
- Clear E6000 Adhesive (or another strong craft adhesive suitable for wood and metal)
- Hot glue gun and hot glue sticks
- Magnets
- Optional: drill, paint or wood stain, a small brush, and fine-grit sandpaper
I used the Natural Wood Blocks & Sticks from Hobby Lobby. These tiny unfinished blocks already have holes, making them handy little bases for the faux succulents. You’ll only need the blocks for this project, so save the sticks for another craft! If you purchase blocks without holes, be sure to have a drill on-hand.
The small succulent pieces pop off the pick, which makes preparing them easy. There’s no need for wire cutters or trimming stems. Woo-hoo.
Choose magnets that fit comfortably on the back of the blocks. They should be strong enough to support the finished craft and, if you plan to use them for notes, a piece of paper too.
How to Make Succulent Magnets with Mini Wood Blocks
Before gluing anything, arrange the pieces and check how they fit together. This gives you a chance to choose which side of each block will face forward and position the succulent just how you like it.
First and foremost, prepare the mini wood blocks. Position each block with a pre-drilled hole facing up. Check for rough edges and lightly sand if needed, then wipe away any dust.
I used natural blocks and stained a couple, too, but you could also paint yours to match your style. I used a Minwax stain marker in Dark Walnut. However, soft paint colors add a playful touch, while wood stain gives the tiny planters a warmer finish.
Allow the paint or stain to dry completely according to the product directions before attaching the succulents and magnets.
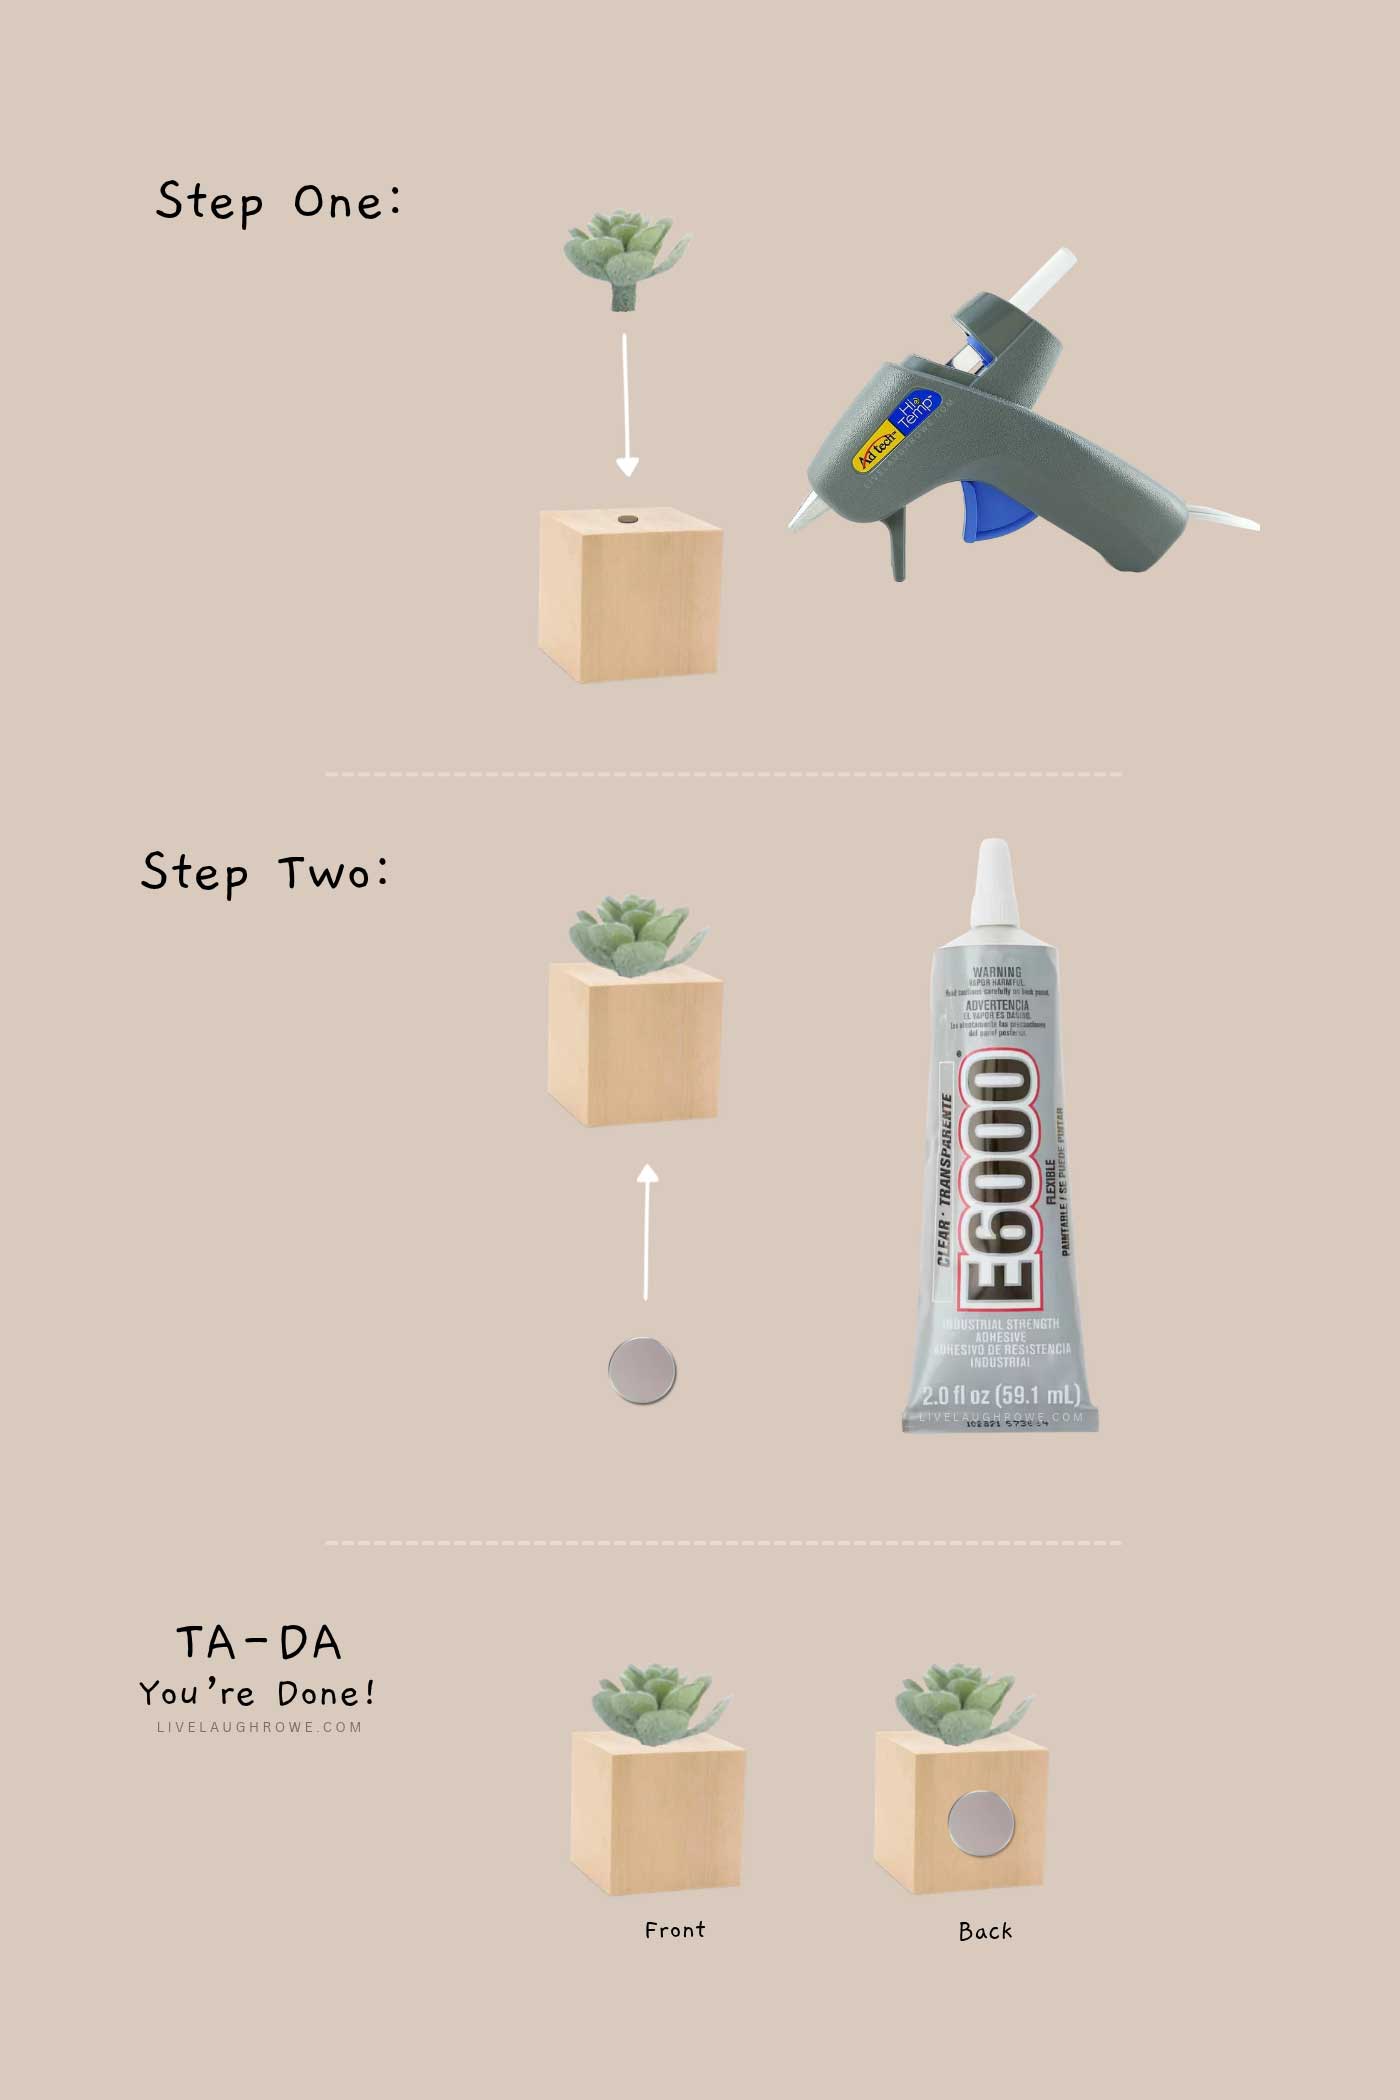
1. Attaching faux succulents
After gently popping the small succulent pieces off the pick, test-fit a succulent in the hole on top of each wood block. Turn it until you’re happy with how it looks from the front.
Keep the back reasonably clear so the leaves don’t prevent the finished magnet from sitting flat against the refrigerator.
Glue the succulents in place by apply a small amount of hot glue around the opening or contact point, then position the succulent.
Hold it steady while the glue cools. You want enough glue to secure the plant without leaving a noticeable mound around the base.
Once the glue has set, gently check that the succulent stays in place. Repeat with the remaining blocks.
2. Attach the magnets
Apply your strong craft adhesive to the magnet according to the product directions.
Position the magnet on the back of the block, keeping it within the edges. Press it into place and set the craft down so the magnet won’t slide as the adhesive cures.
Follow the recommended curing time before testing it on a magnetic surface. Glue that feels dry may still need more time to reach its full strength. I try to wait 24 hours due to some mishaps I’ve had with previous breakable magnets. Oopsy.
3. You’re done. Yes, it’s that easy!
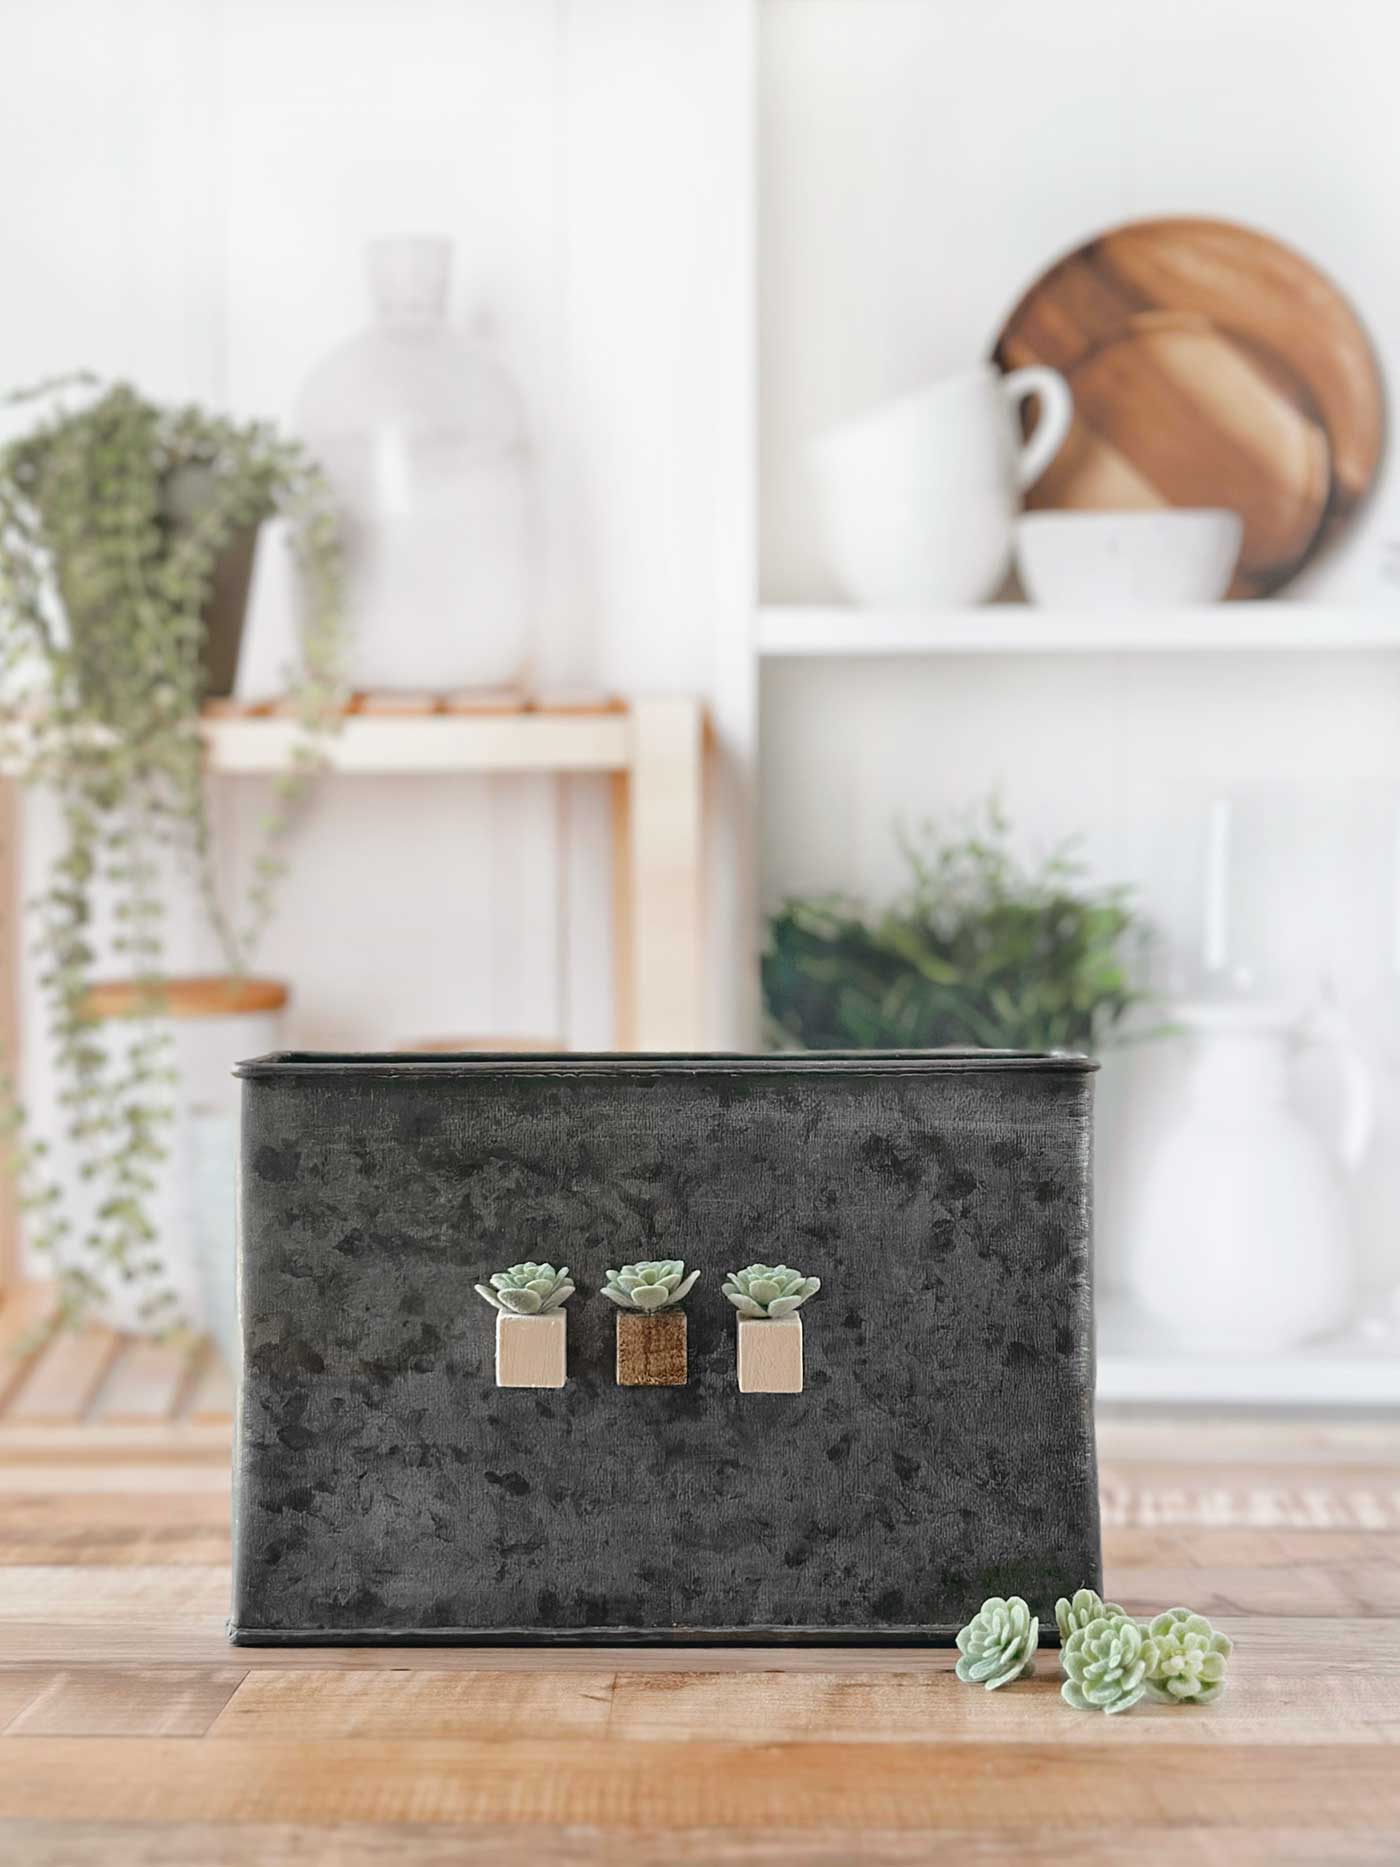
Tips for Making Mini Succulent Magnets
A little planning can make these tiny crafts easier to assemble.
Test one before making a whole batch. Finish a single magnet and check that it supports the block and succulent. If you want it to hold a photo or note, test that too.
Keep the back flat. Position the succulent so the leaves don’t push the wood block away from the refrigerator. I didn’t have any problems here, but if you use a different succulent, just be sure.
Use glue sparingly. With such small pieces, a little adhesive goes a long way. A neat application helps preserve that tiny-planter look.
Give everything time to cure. It’s tempting to put them on display immediately, but allowing the adhesive to cure helps keep the magnet attached when you remove the craft from the fridge.
CAUTION: Please be sure to keep loose magnets and the finished pieces away from young children and pets.
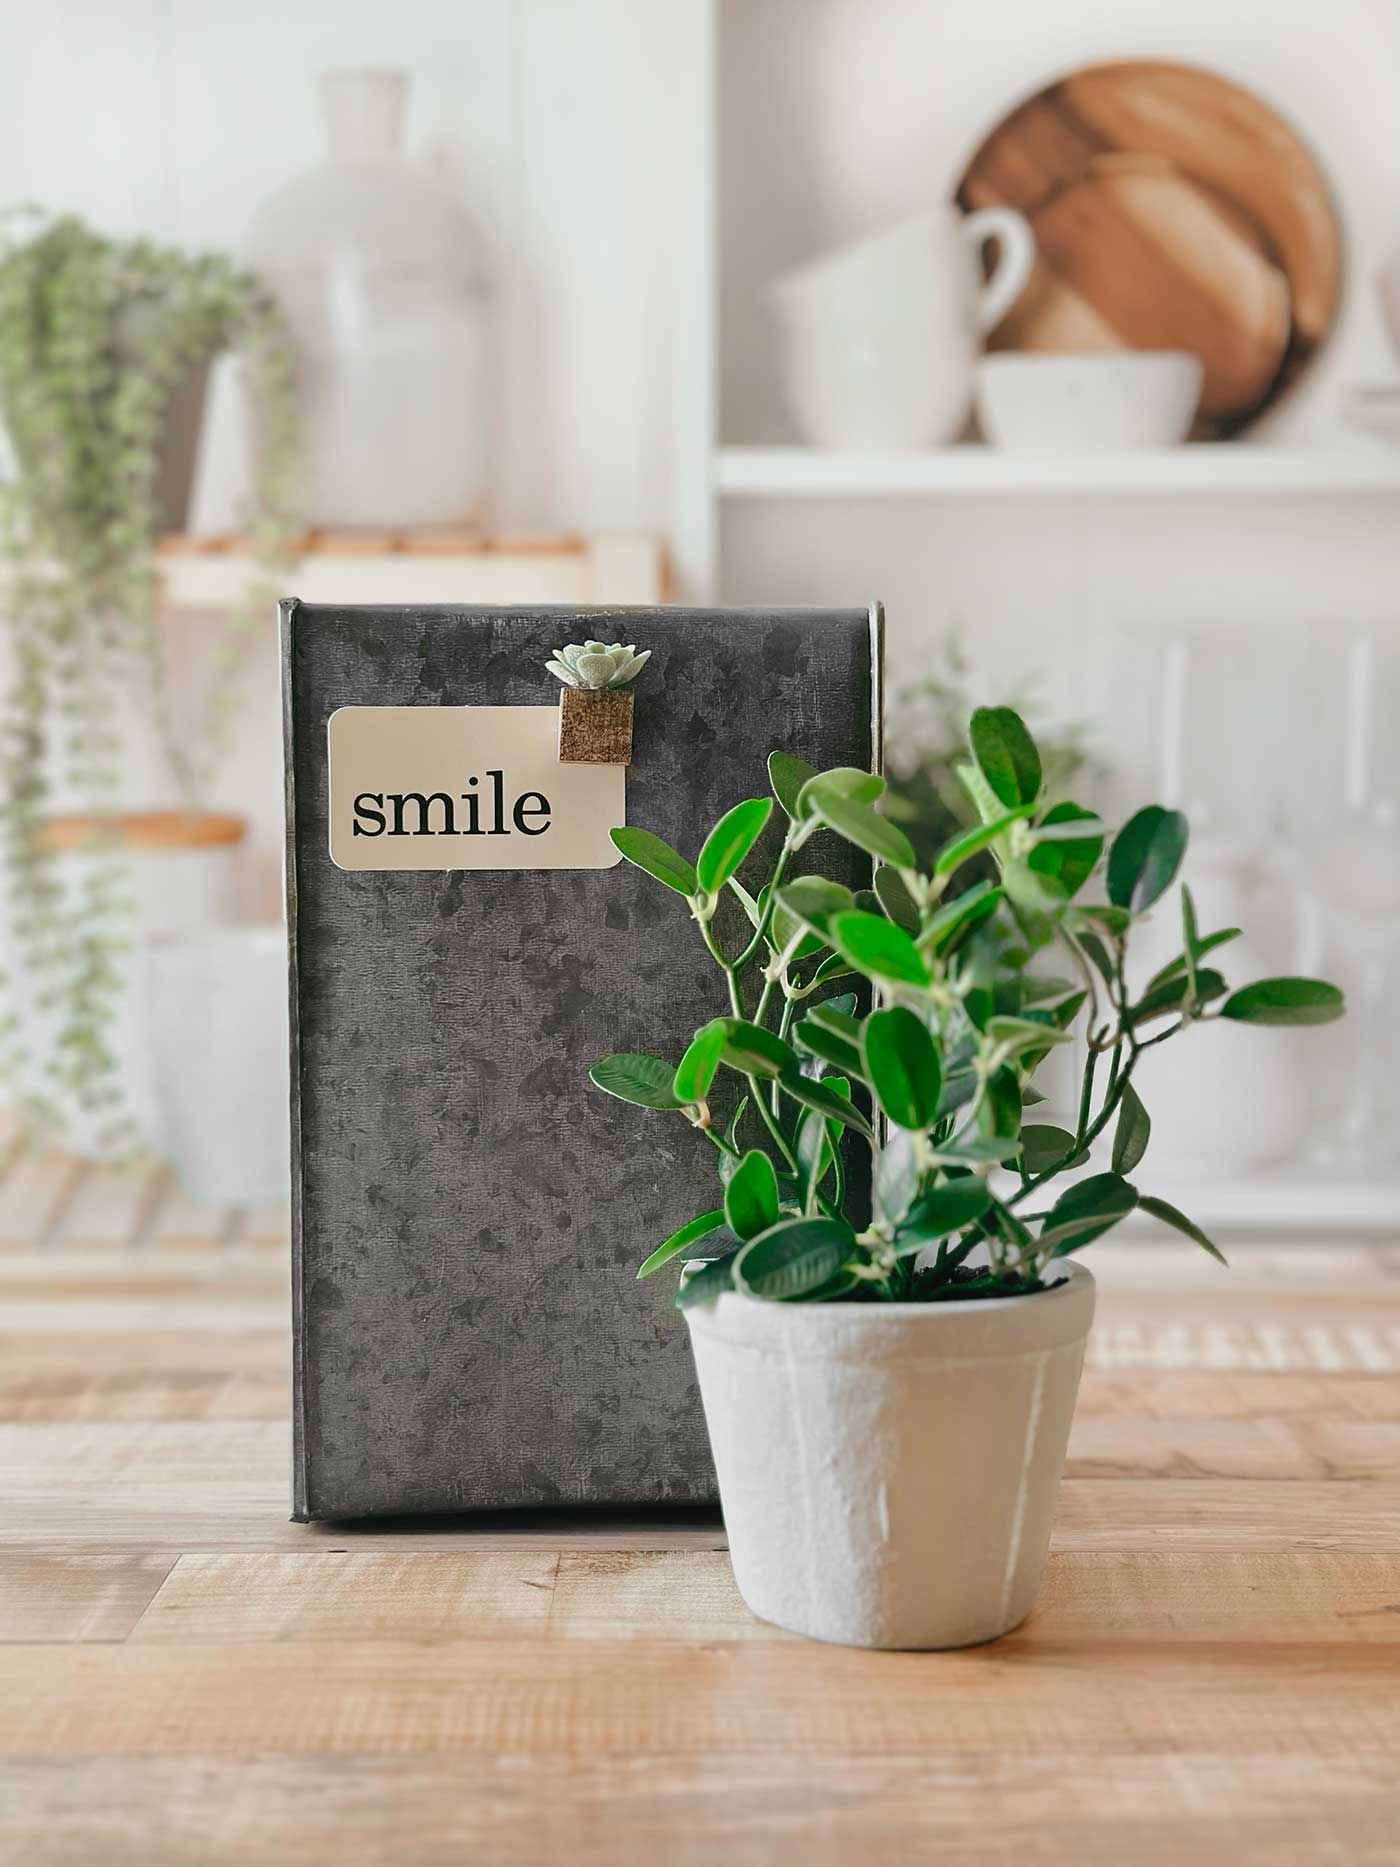
Ways to Personalize Your DIY Succulent Magnets
The unfinished wood is lovely on its own, but you can easily change the look with paint or stain. Painting just the bottom half of each block creates a cute dipped effect.
For a small handmade gift, package two or three magnets together with a handwritten tag. They’d make a sweet addition to a housewarming gift or a little surprise for a plant-loving friend.
Whether you leave them natural or add a touch of color, these DIY succulent magnets turn a few simple supplies into something darling. A tiny planter, a little greenery, and a useful magnet—all wrapped up in one easy craft!
Other crafts you might enjoy:
DIY Hand Stamped Ribbon
Sweet + Simple Fabric Flowers
Crochet Heart Gift Tags
Wooden Gift Tags that Sparkle






Leave a Reply