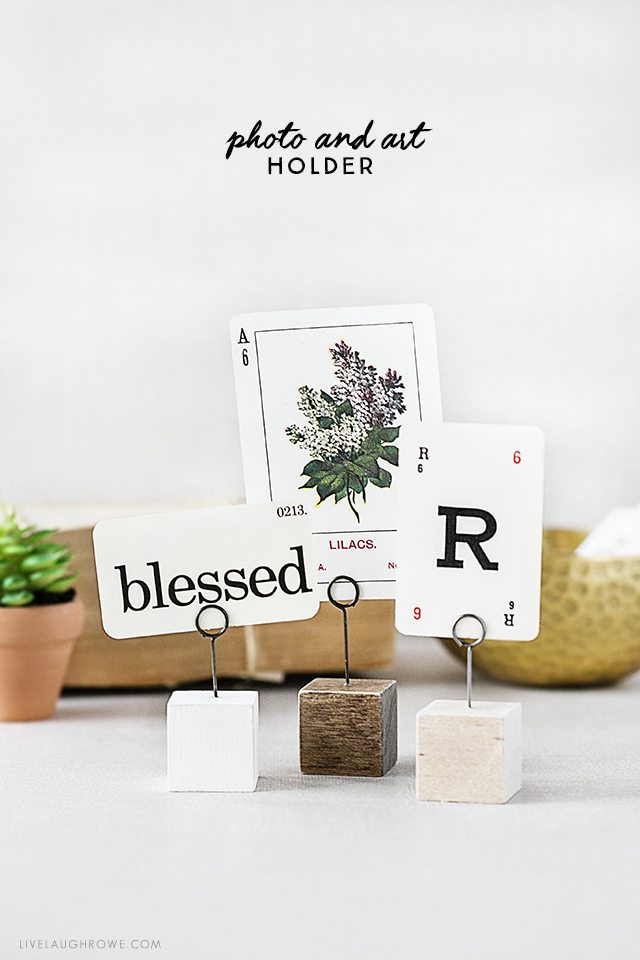
It feels likes it’s been quite sometime since I’ve shared a simple craft or DIY. Well, guess what? Today I have a Simple Wood Photo Holder tutorial that can be used anywhere to display a picture, art, memos, notes and more.
![]() I don’t know about you, but I love to have little quotes, photos or other vintage ephemera placed on my desk or even on my counter. Most of the time it’s floral frogs serving as the holder. However, I thought it was time to make some.
I don’t know about you, but I love to have little quotes, photos or other vintage ephemera placed on my desk or even on my counter. Most of the time it’s floral frogs serving as the holder. However, I thought it was time to make some.
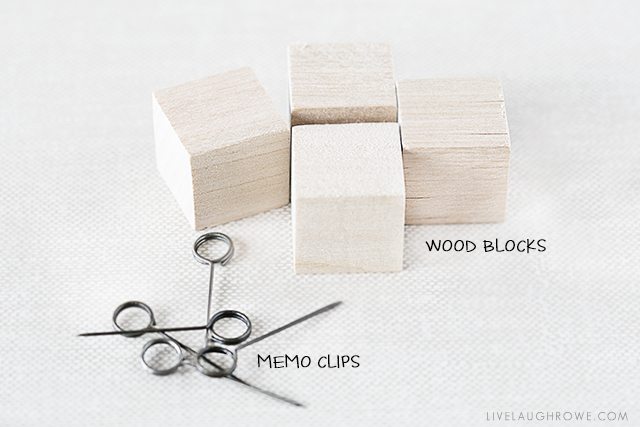
Supplies for Art and Photo Holder:
1″ Wood Blocks (I bought mine at Hobby Lobby)
Tim Holtz Memo Pins
Drill (with 1/16″ drill bit)
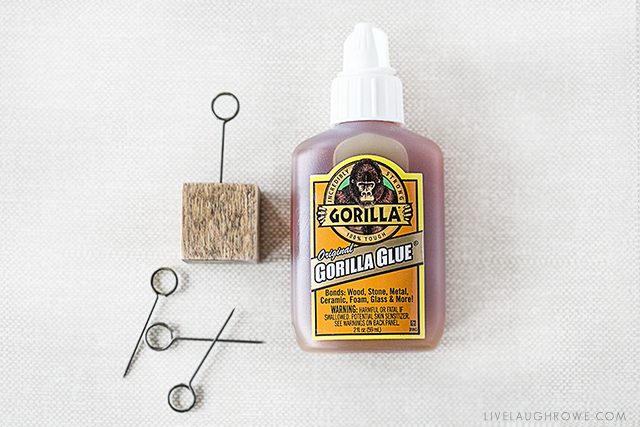
Gorilla Glue
Acrylic Paint and/or Stain
Sponge Brushes and/or Rags for staining
Sandpaper, optional
 Step One: Drill Holes into wood blocks using XXX drill bit.
Step Two: Stain or Paint the wood blocks. I used Minwax Stain in Provincial and in Classic Gray (see gray block in photo below). I also used white acrylic paint.
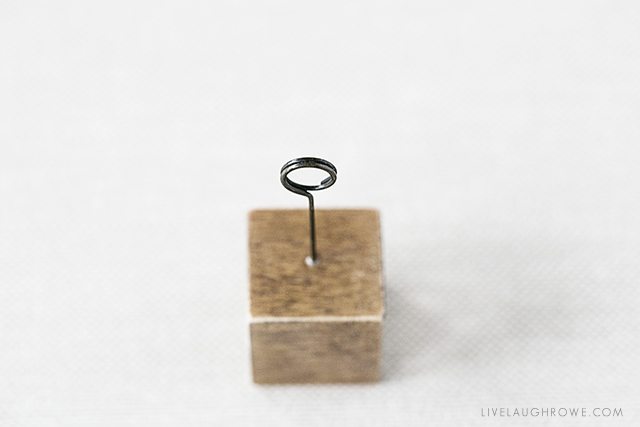
Step Three: Use a small dot of gorilla glue to insert the memo clips into the drilled holes in each block. Allow to dry.
 Step Four: Sand or distress, optional.
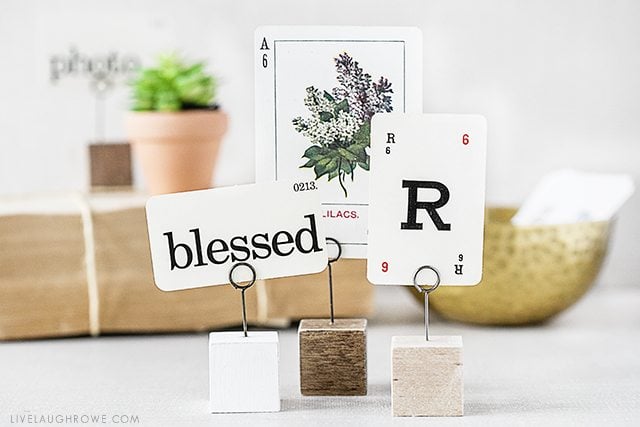
Here is a closer look at the memo clip. It looks like a small key ring — so you’ll place your photo or art between the two rings.
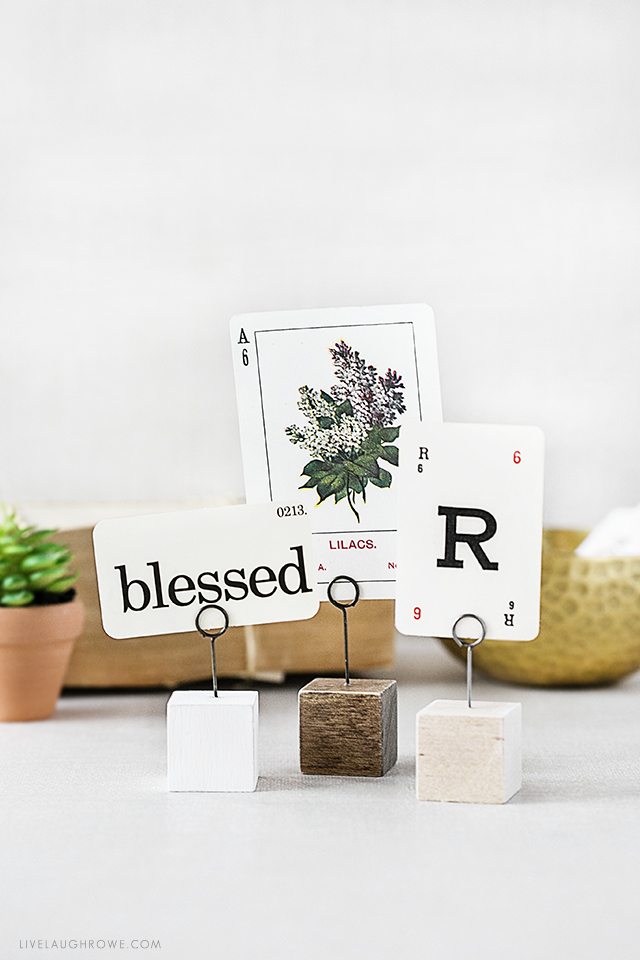
 These are smaller photo holders, which is what I love about them. They are great for some of my smaller Tim Holtz flash cards, Tim Holtz Alpha Cards, vintage playing cards, etc..
What’s not to like about these? They are virtually compact enough to fit in any space and they would make perfect place card holders too!
 Simple, useful and fabulous! Just the way I like it, and I hope you can say the same.

 Be sure to visit with me here too:
Facebook | Instagram | Pinterest | Twitter | Google+


Kim says
This is fantastic! So easy and quick, which is always a favorite at my house! 🙂
Jamie | says
Tim Holtz has the best products for just about any DIY idea, doesn’t he? I have a whole stash of stuff that I’ve bought just because one day I will know what to do with it all! This is a fabulous idea, Kelly!
Bird says
This is so pretty!
Leah says
So cute, and easy to make!
Maria says
Wow, what a creative idea! I love how they turned out.