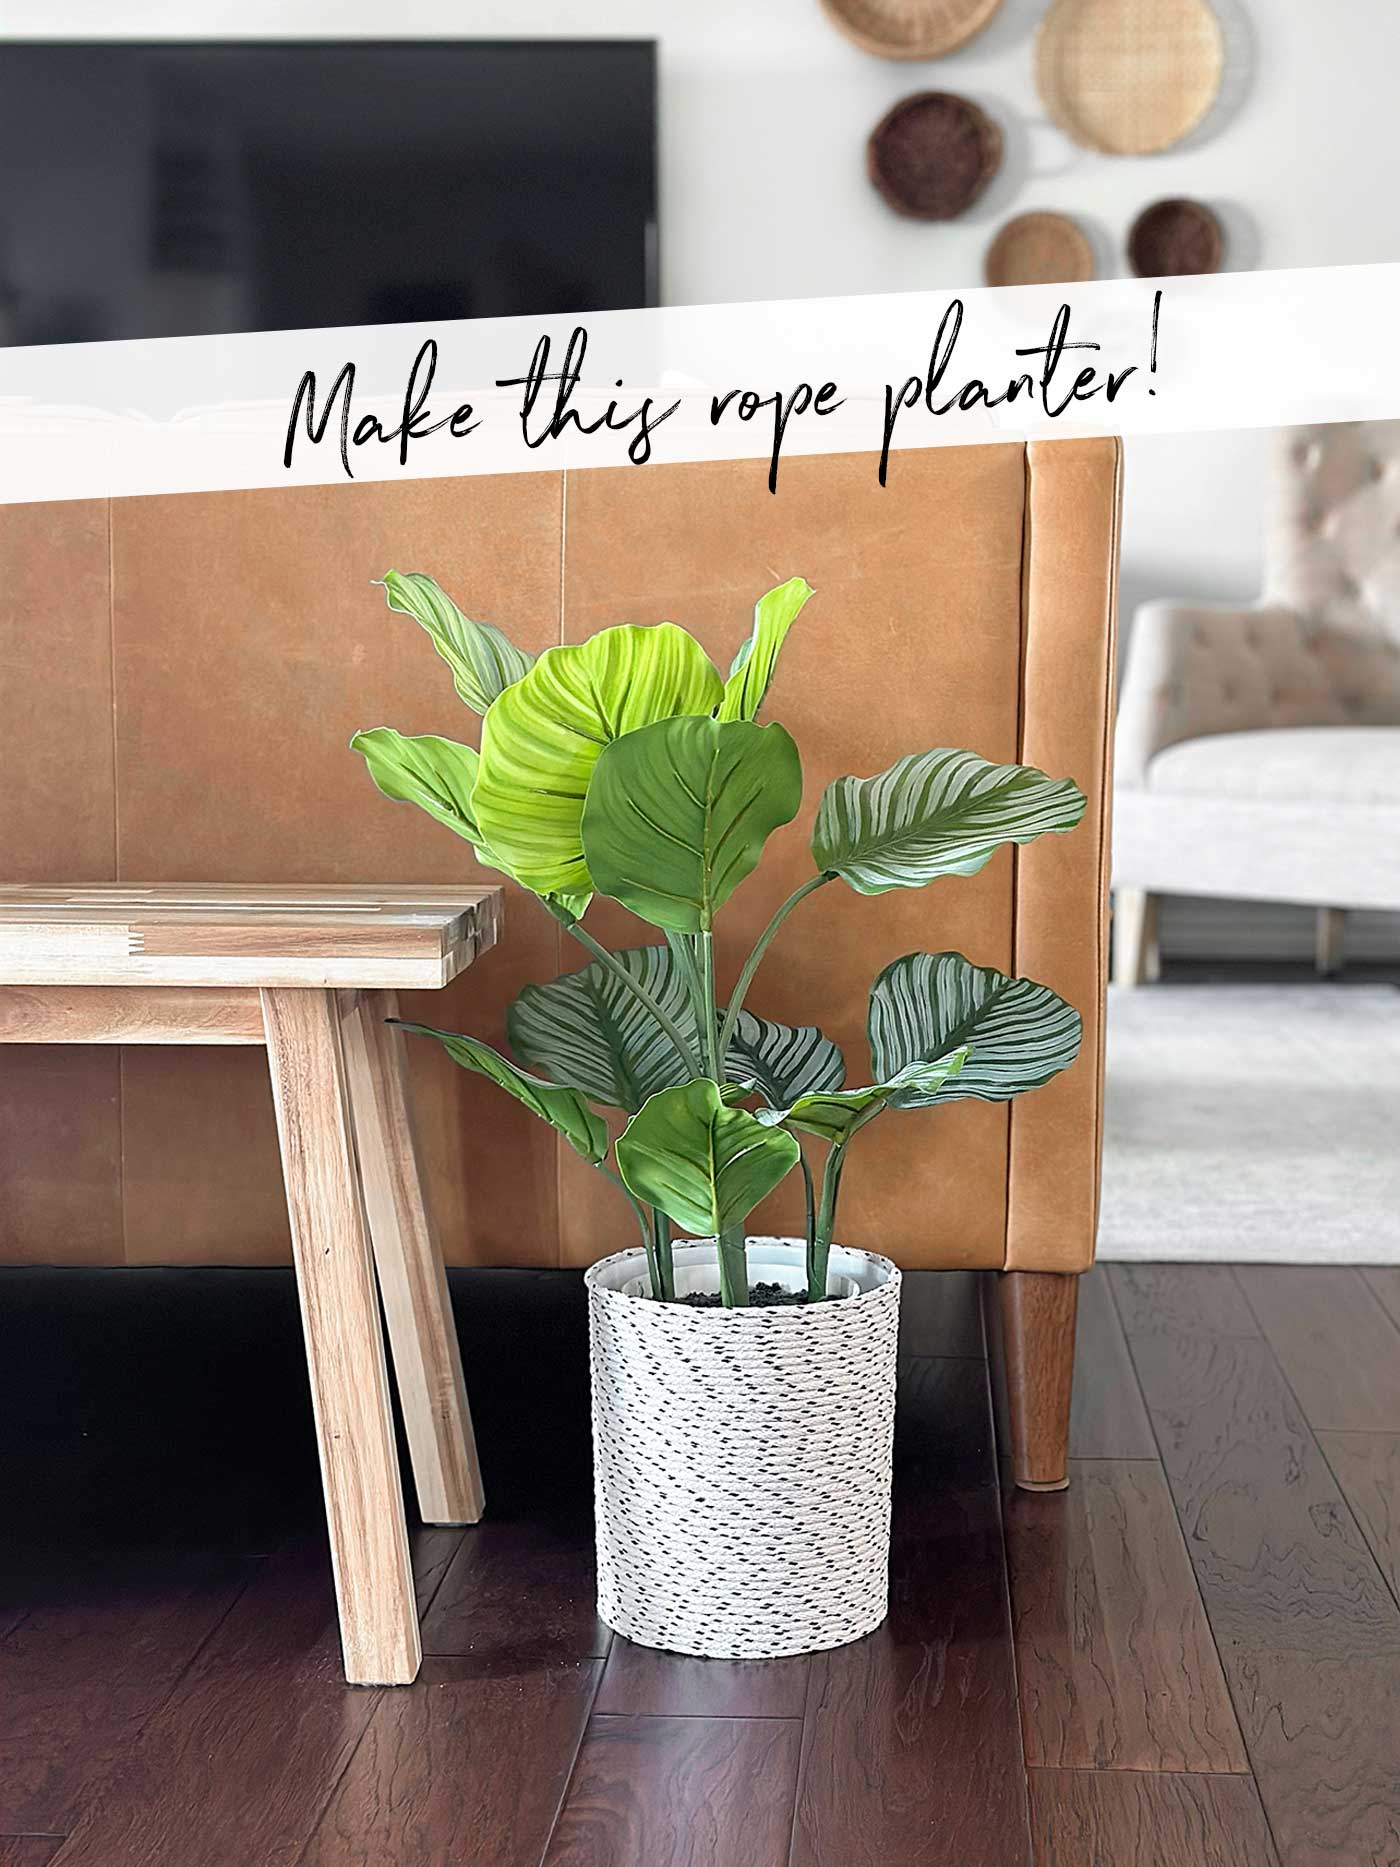
Are you itching for a fun and easy DIY project that will bring a little eclectic vibe to your space? Look no further! Today, we’re taking an ordinary small plastic trash can and showing you how to make a rope planter.
It’s a project that’s as satisfying as it is simple, requiring just a few materials: a small plastic trash can, cotton rope, and a trusty glue gun. So, let’s roll up our sleeves, grab our glue guns, and get ready to create something wonderful!
Guess what? It’s time for another round of the Hand Crafted Society, a group of talented bloggers who meet monthly to create works using a shared medium or theme. This month, we are using rope or twine. When you reach the end of the post, click on the image or blog name to view the full post.
Making a Rope Planter
What’s great about making a rope planter is its versatility. You can customize it to fit your style and space perfectly. Whether you prefer a natural, earthy look or want to add a pop of color with some paint, this project is a blank canvas just waiting for your personal touch. Let’s transform a small plastic trash can into a masterpiece.
Materials Needed:
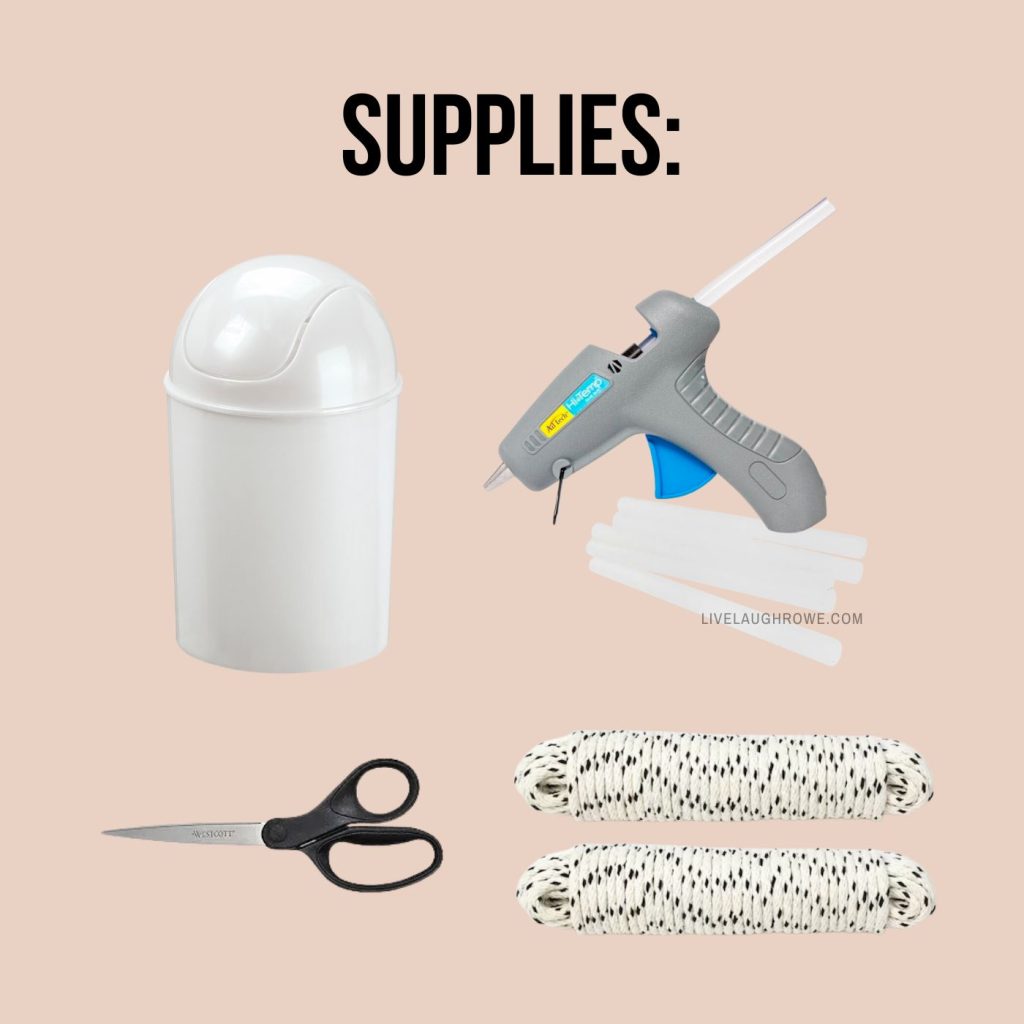
- Small Plastic Trash Can: This will be the base of your planter. You can use any shape or size, but for this tutorial, we’re focusing on a small one, perfect for indoor plants. I purchased mine at the Dollar Tree. It did have a lid that I disposed of. The trash can (without the lid) measures 8-1/2″ inches high and 7-1/2″ in diameter.
- Cotton Rope: This is the star of the show! Cotton rope will give your planter that lovely rustic look. Make sure you have enough to wrap around the entire can multiple times. I purchased two 50′ packages of rope for the trash can I was using and used one full package and probably 3/4’s of the other. I purchased my cotton rope at Lowe’s.
- Hot Glue Gun and Glue Sticks: Your glue gun is the magic wand that will hold everything together. Be sure you have plenty of glue sticks on hand—you’ll need them!
- Scissors: The scissors will allow you to cut the rope when you’re finished wrapping the trash can.
Now that we have everything we need, let’s get started on this crafty adventure!
Step 1: Prepare Your Workspace
First things first, let’s make sure we’re all set up and ready to go. You’ll want to work on a flat surface with plenty of space to spread out your materials. Depending on your work surface, you might want to lay down old newspapers or a drop cloth to catch any glue drips or stray bits of rope. Plug in your glue gun and let it heat up while you prepare the trash can.
Step 2: Clean and Prep the Trash Can
Give your small plastic trash can a good wipe-down to ensure it’s free from dust and grime. This will help the glue stick better, ensuring your rope stays in place.
If the can came with a lid, now is the time to decide if you want to keep it. If not, set it aside for another project or toss it in the recycling bin.
Step 3: Start Wrapping the Rope
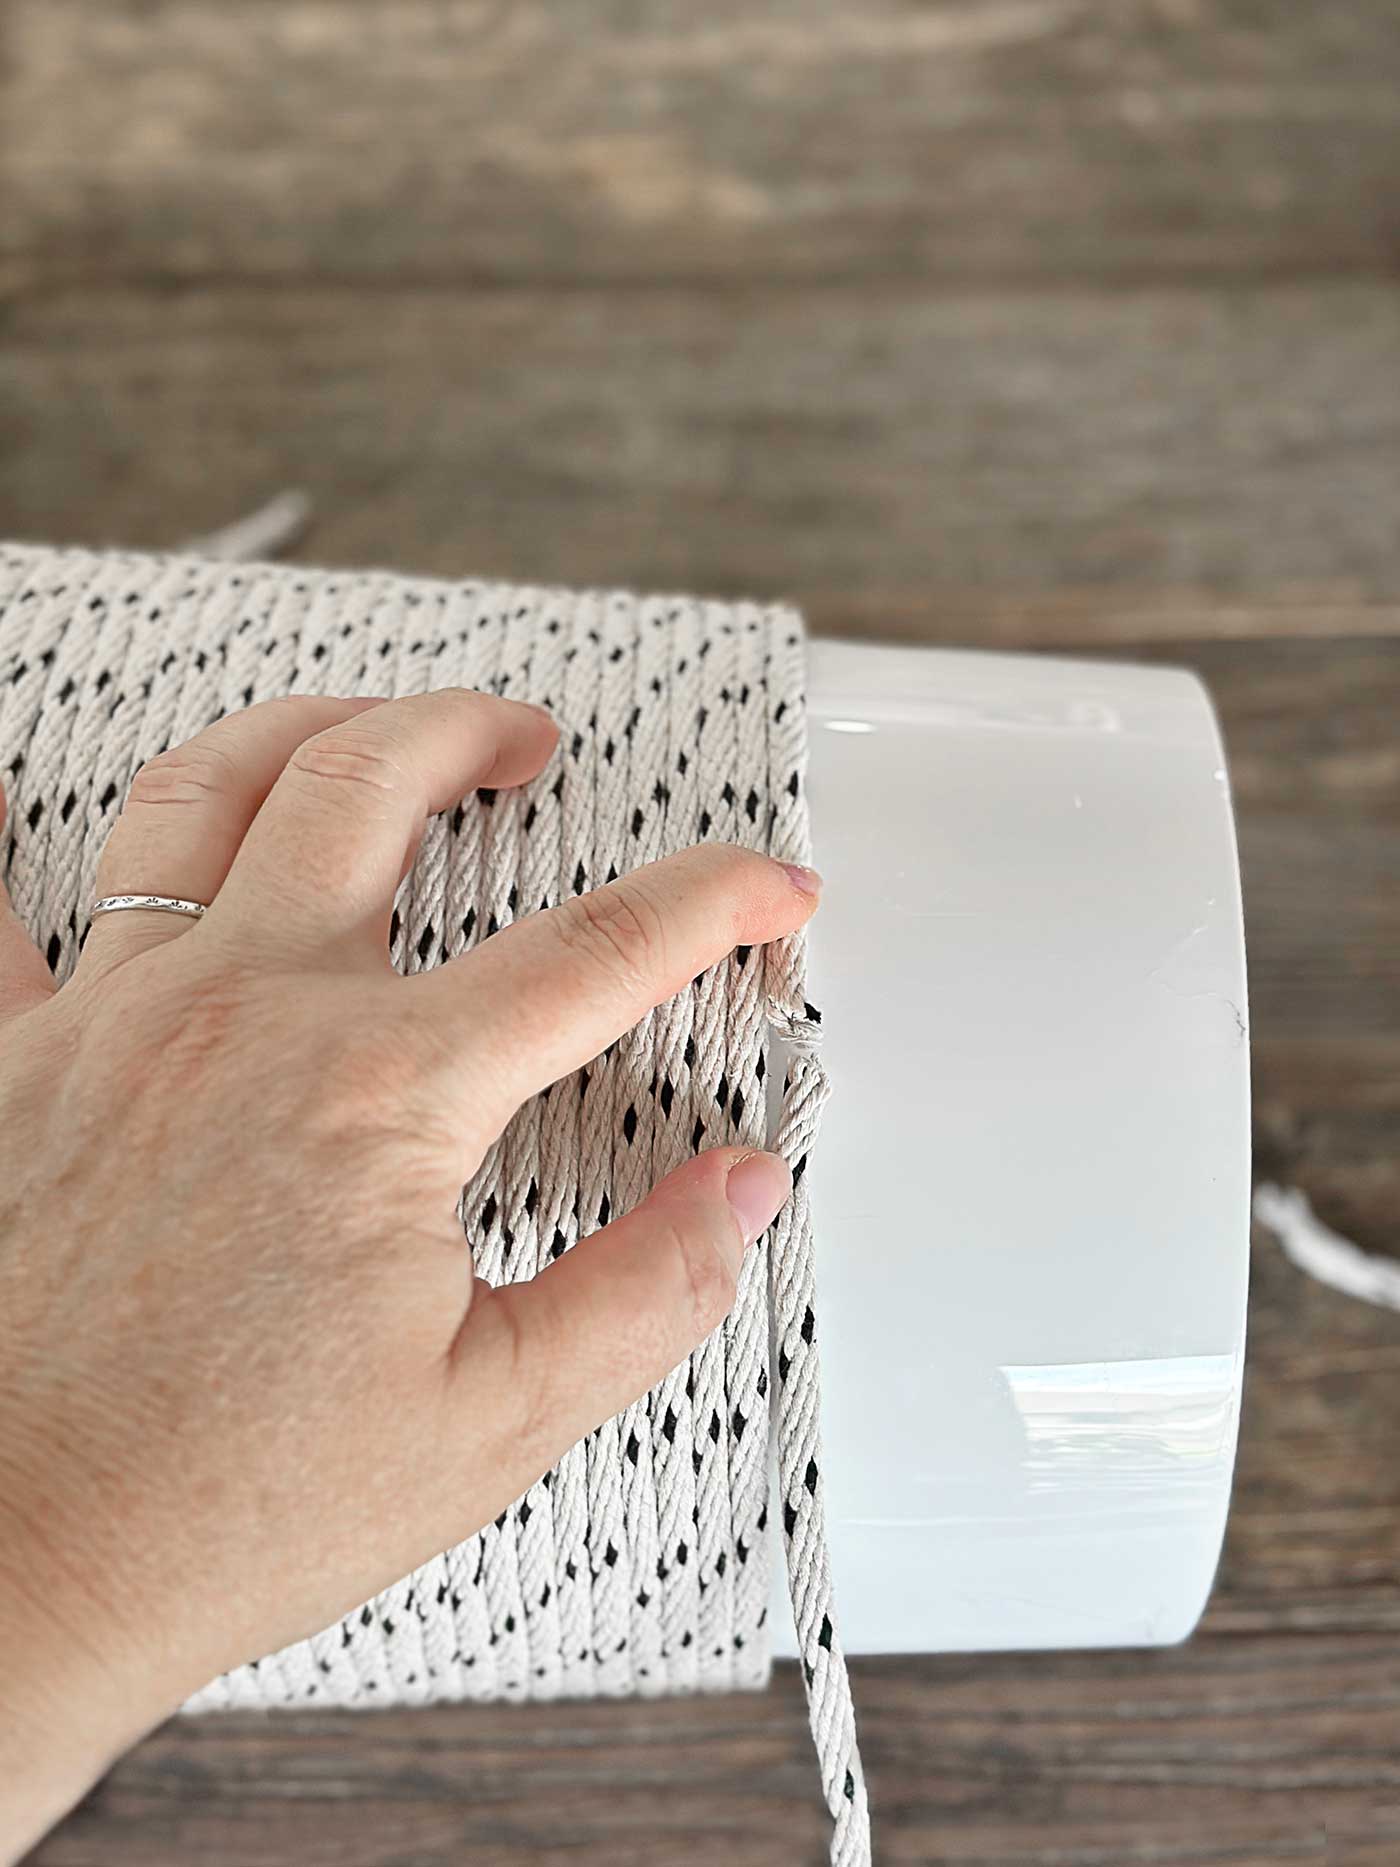
Now comes the fun part: wrapping the rope around the can! Feel free to start at the top or the bottom of the can and work your way down or up. I chose to start mine at the top of the trash can.
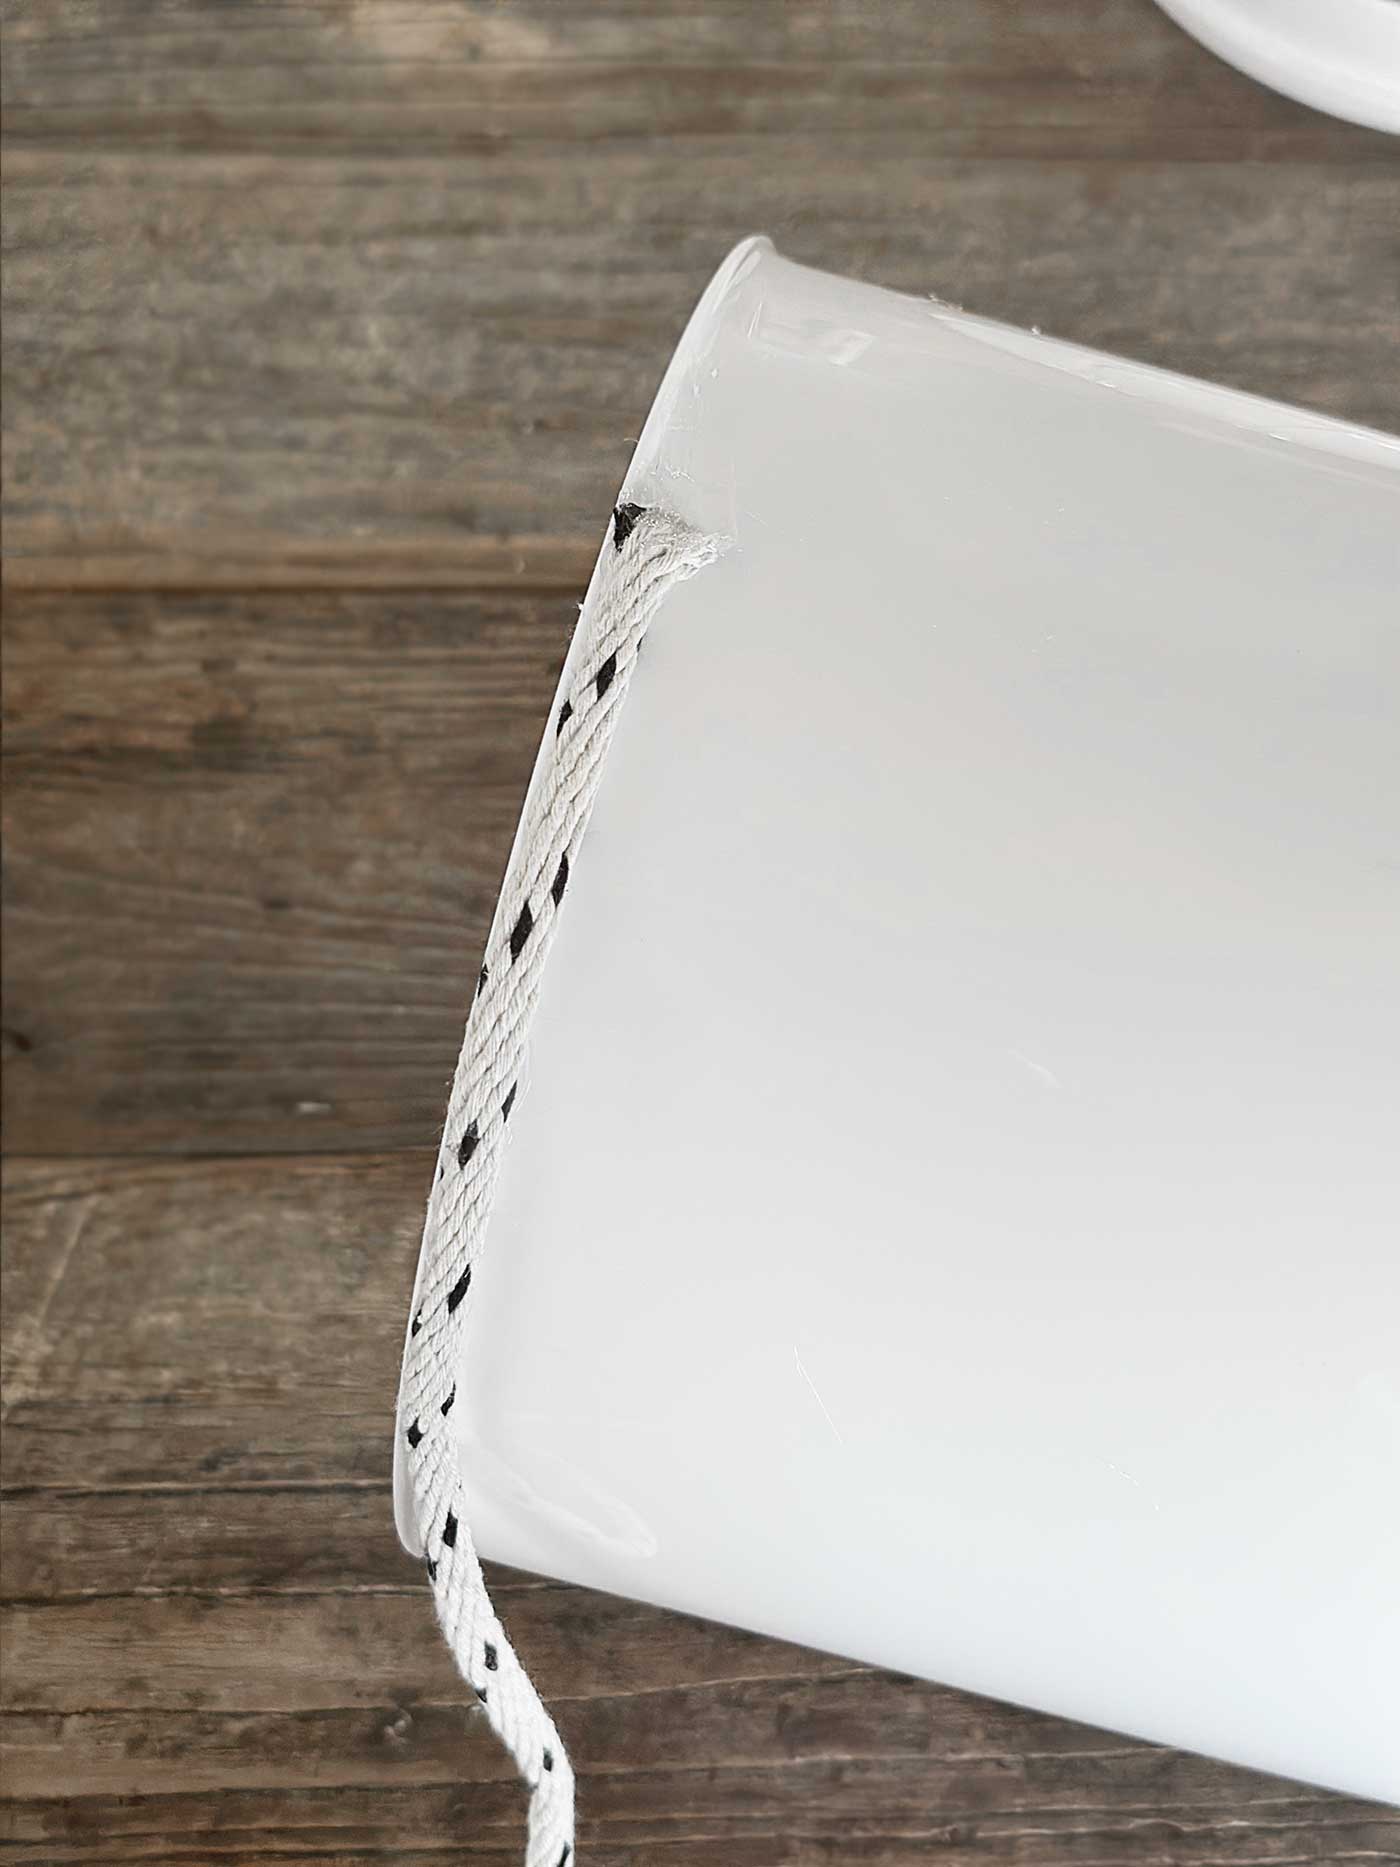
Apply a Line of Glue: Squeeze a line of hot glue along the bottom edge of the trash can. Be generous but careful—hot glue can be tricky to work with, so take your time.
Attach the Rope: Press the end of the cotton rope into the glue, holding it there for a few seconds until it sticks. Once the end is secure, start wrapping the rope around the can.
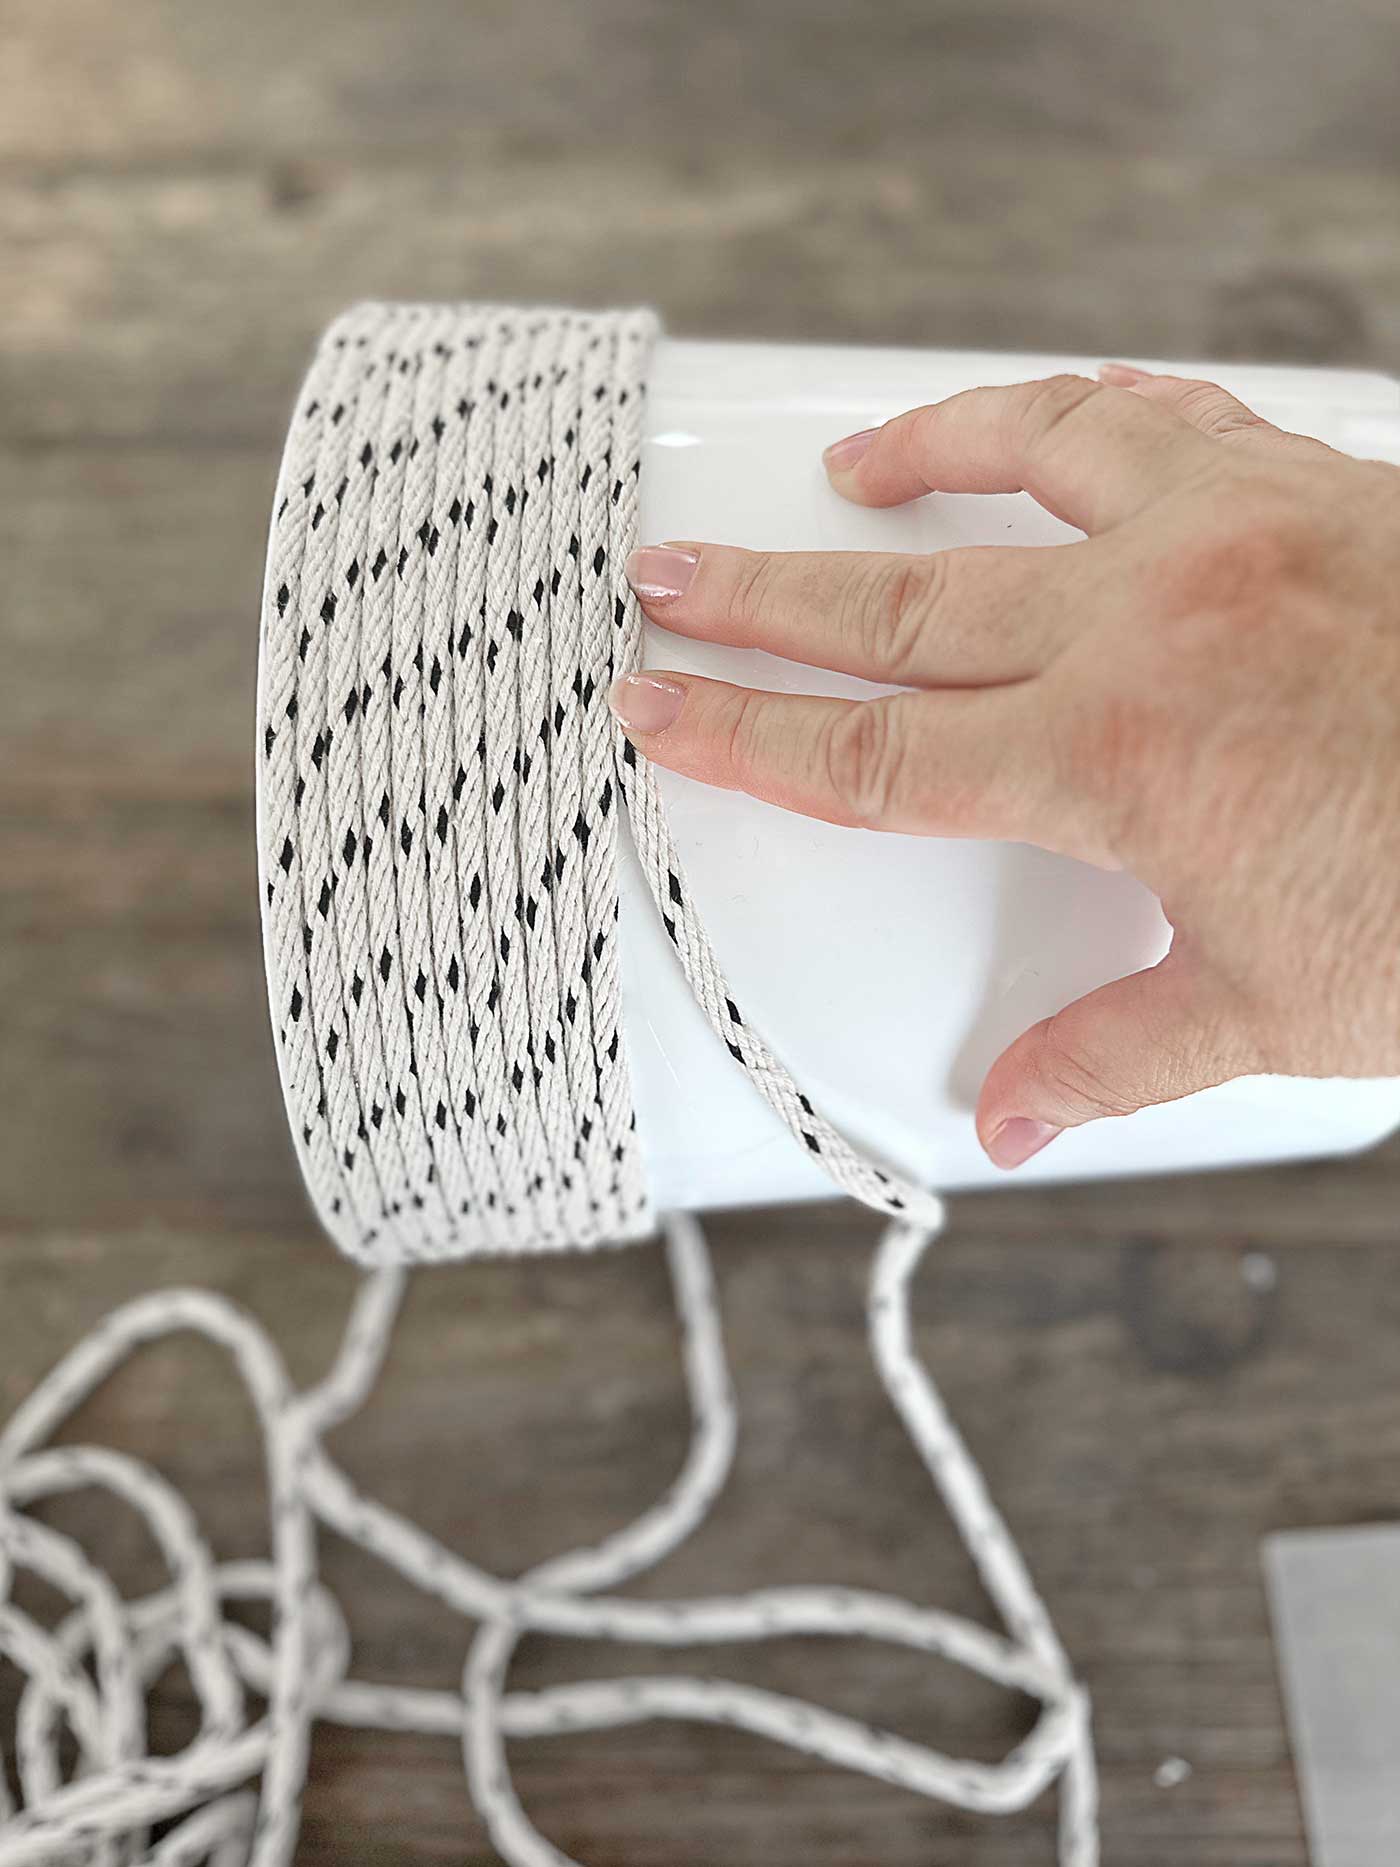
Continue Wrapping and Gluing: As you wrap, apply a line of glue every couple of inches. This will ensure the rope stays snug against the can. Keep wrapping and gluing, taking care to press the rope firmly into place as you go.
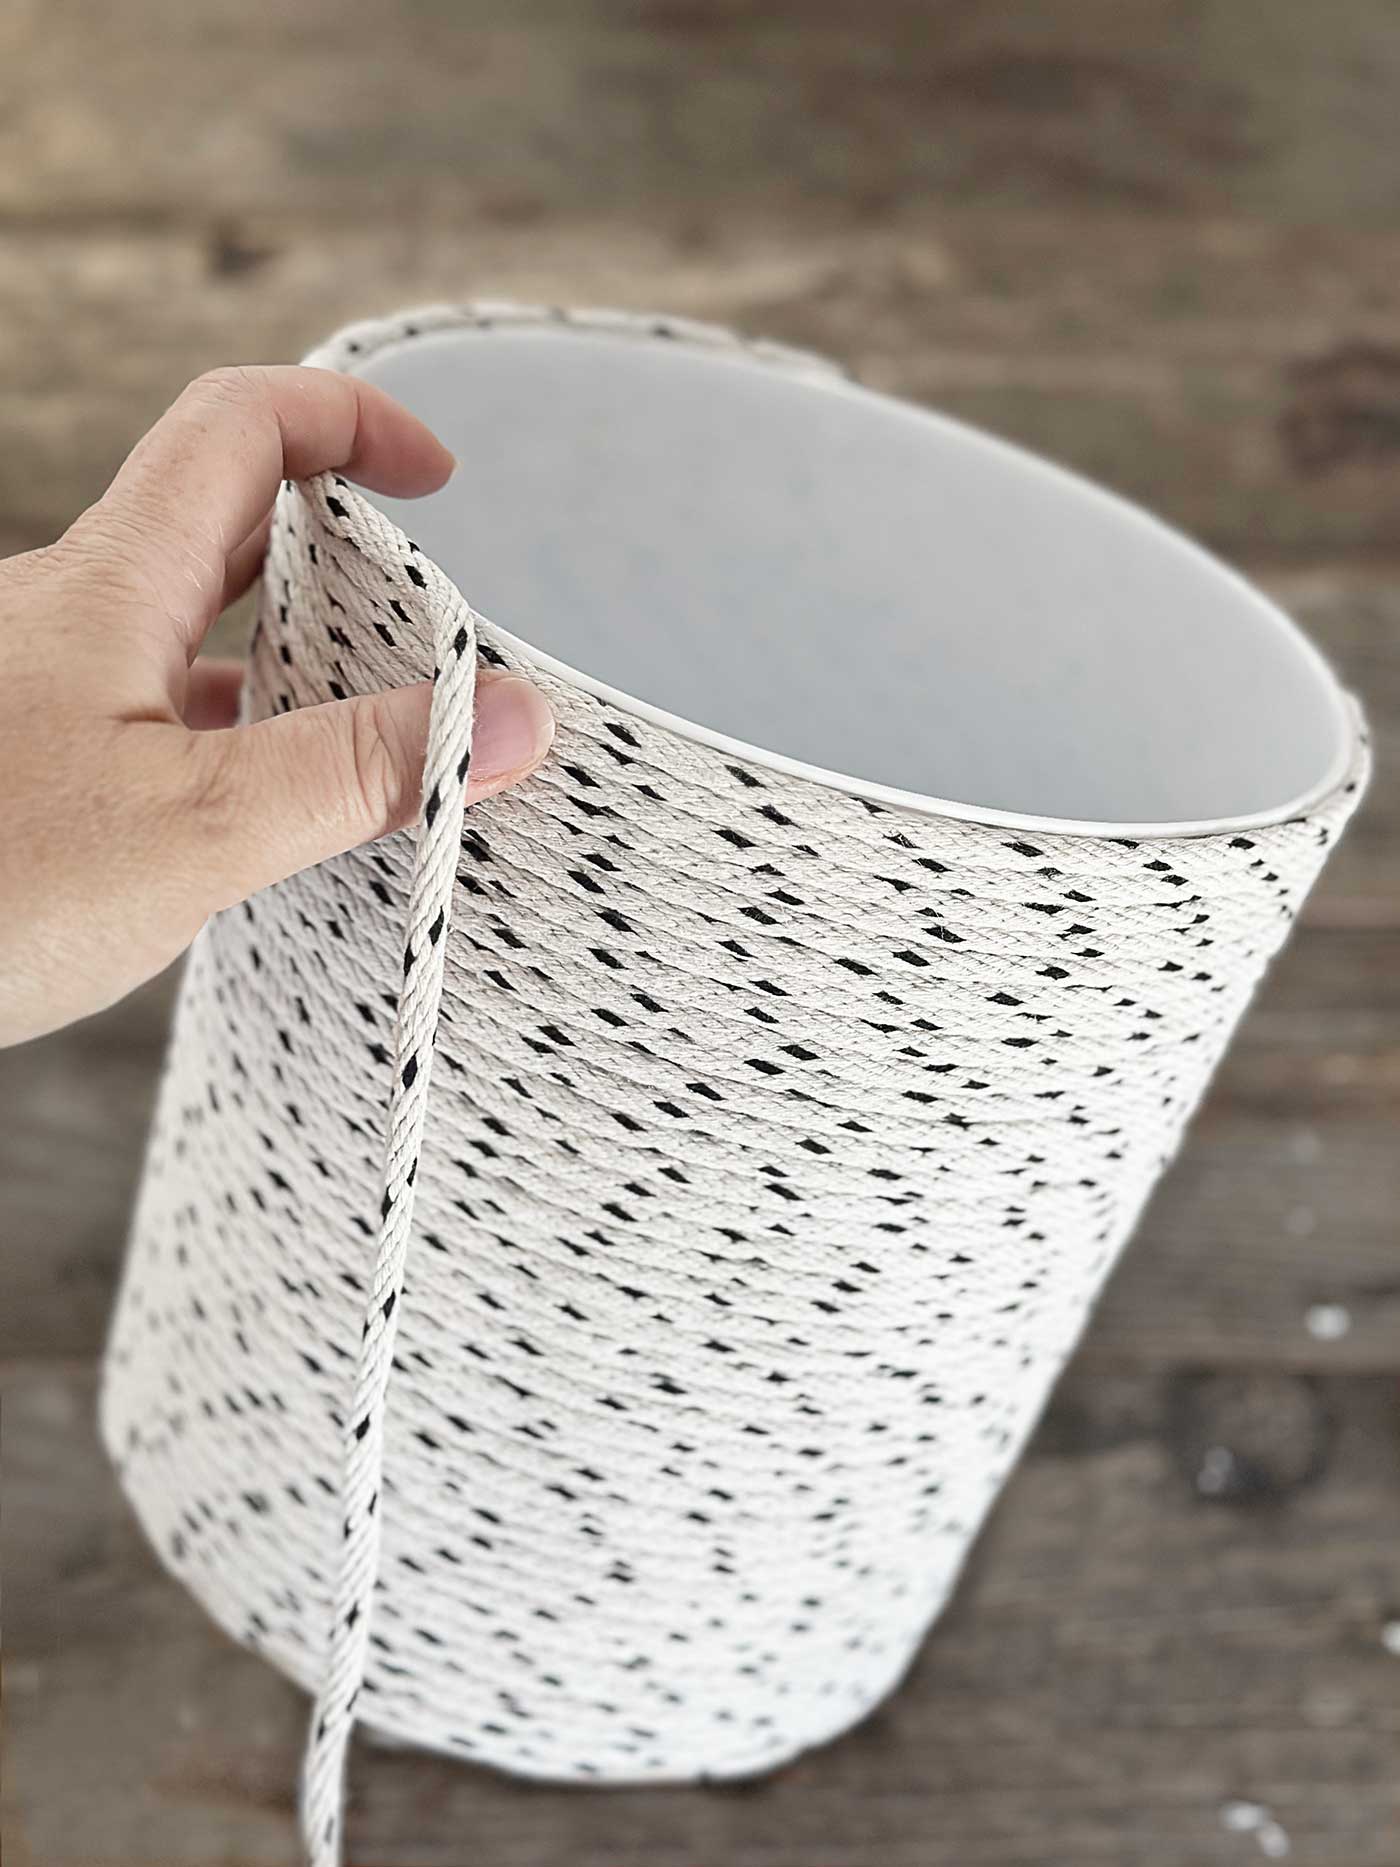
Mind the Gaps: Make sure the coils of rope are tight against each other and have no gaps between them. This will give your planter a smooth, professional look.
Step 4: Work Your Way to the Bottom or Top
As you approach the bottom or top of the can, you might need to adjust your technique slightly. Depending on the shape of your trash can, you may need to angle the rope slightly upward to maintain a consistent look.
When you run out of rope, be sure to line up the two pieces as close as possible. I tried to keep all of my starter rope, new rope, and ending rope on one side of the trash can so that it could be the back side of the planter and less noticeable.
When you reach the bottom or top edge, cut the rope and glue the end securely in place. If there’s any excess rope sticking out, trim it neatly with scissors.
Step 5: Finish the Edge
Since I worked from the top down, I decided to finish the top edge with an additional piece of rope to create a clean edge and to cover up the white lip of the trash can. You can glue an additional piece of rope along the rim to cover any imperfections. This will give it a nice, clean finish.
Step 6: Finishing Touches
Now that your planter is all wrapped up, it’s time to add the final touches.
- Check for Loose Ends: Inspect your planter for any loose ends or spots where the rope might need a little extra glue. Apply more glue if necessary to ensure everything is secure.
- Paint or Stain (optional): To add a pop of color or enhance the look, you can lightly paint or stain the rope. Depending on the rope you choose, a whitewash gives a coastal vibe, while a dark stain creates a more earthy, bohemian look. Be sure to do this in a well-ventilated area and let it dry completely before using.
- Insert a Liner (optional): If you plan to use this planter for live plants, consider inserting a plastic liner or pot inside to keep messes at bay. Obviously, our goal is to keep the planter looking fabulous for longer.
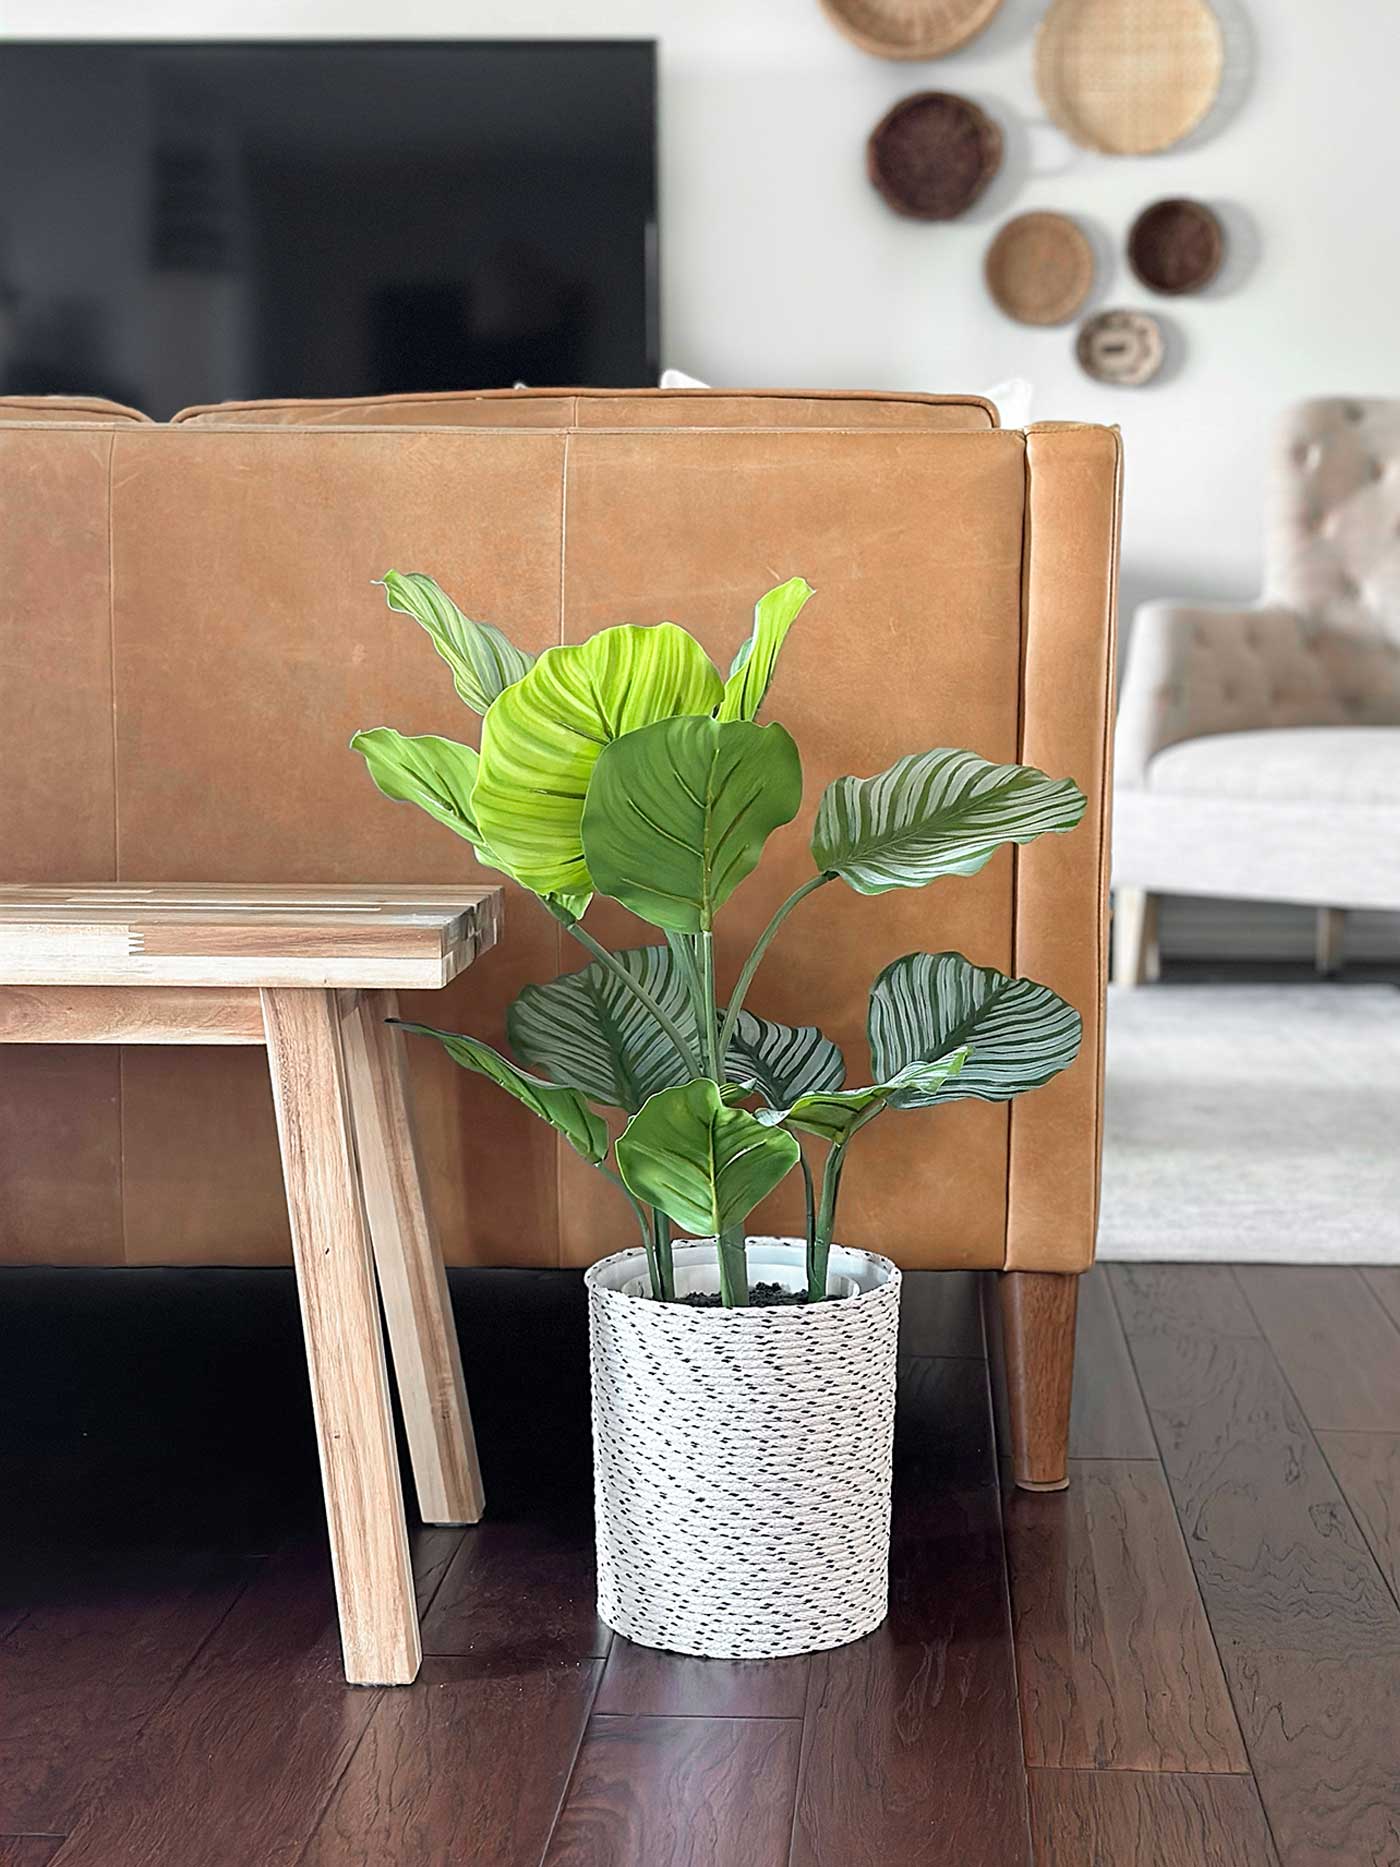
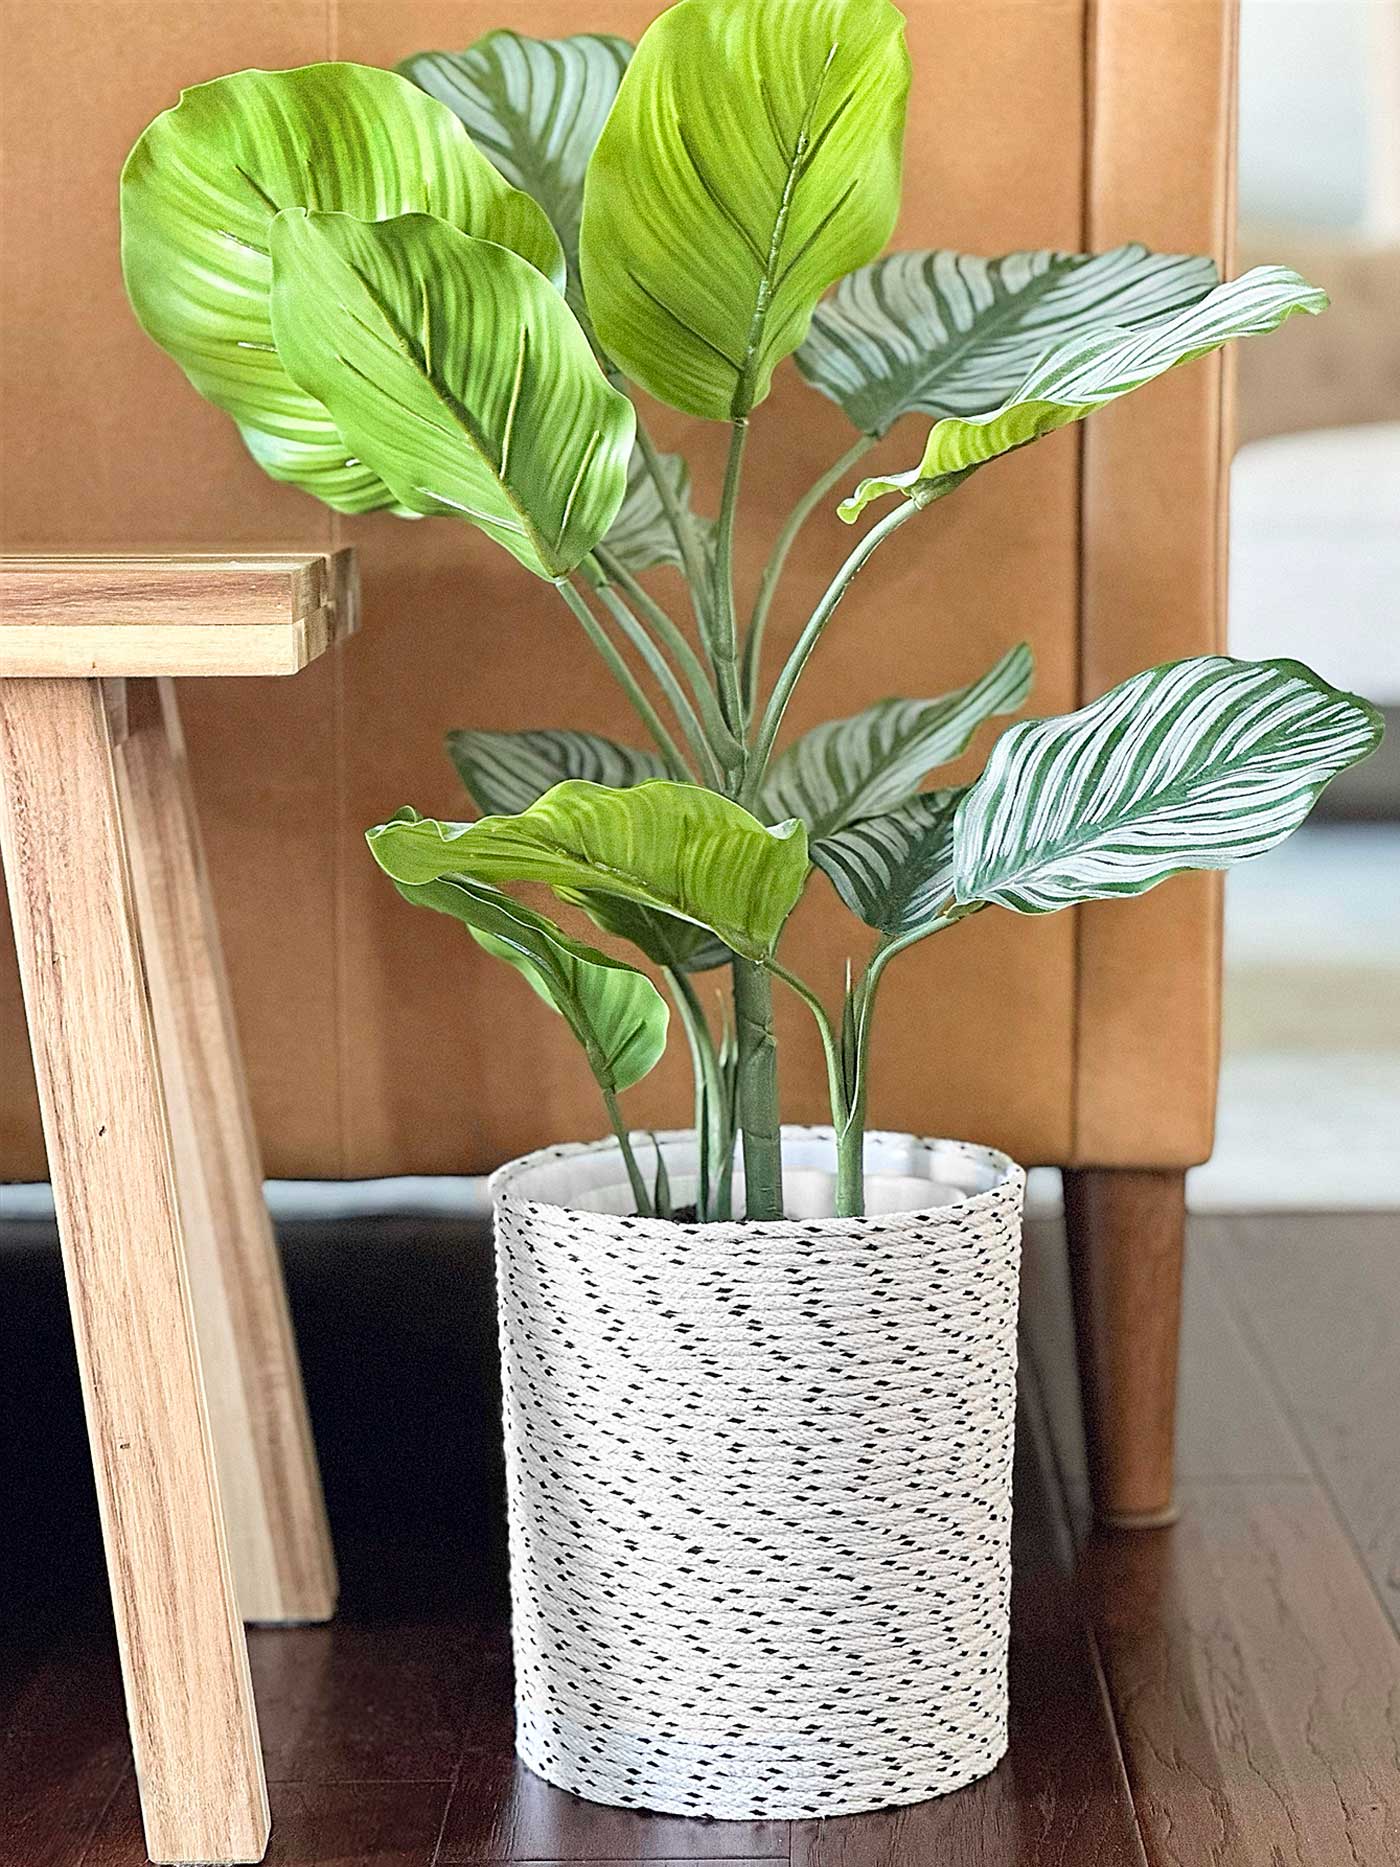
Step 8: Place the Plant and Enjoy!
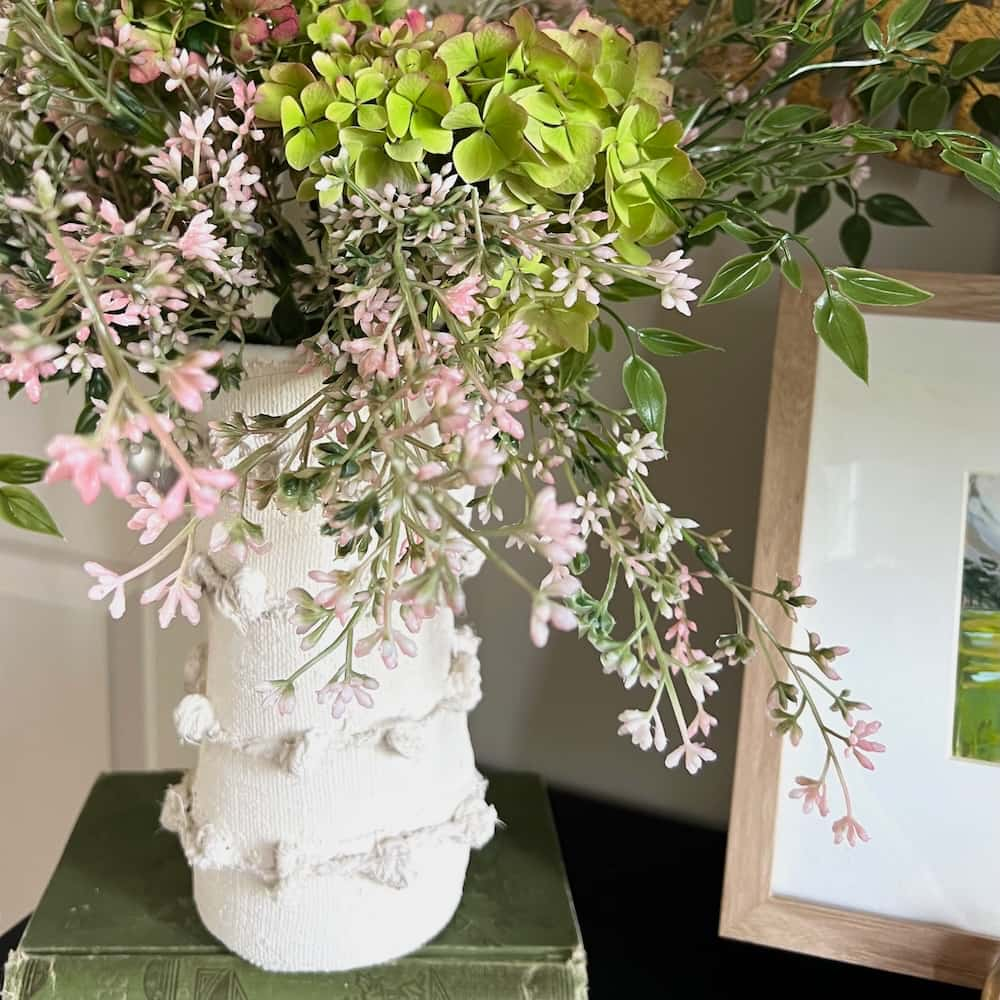
Your DIY rope planter is now ready to go! Place your favorite real or faux plant inside –whatever you think would look stunning in this rustic masterpiece. Place it in a sunny spot where it can be admired by all who enter your space.
If you use it indoors, it makes a lovely statement piece for your living room, bedroom, or even your home office. However, I would only use it on a covered porch for outdoor use. Too much moisture will most likely cause the top to mold. However, wherever you decide to place it, your new planter will turn heads and spark conversations.
Bonus Tips for a Perfect Rope Planter:
- Mix and Match Rope Textures: If you’re feeling adventurous, try mixing different types of rope for a unique, textured look. For example, alternate rows of cotton rope with jute or sisal for a unique finish.
- Experiment with Shapes: Don’t limit yourself to just one type of trash can. Try different shapes and sizes to create a whole collection of planters. Tall and narrow cans make great planters for trailing plants, while wide, shallow cans are perfect for lush, leafy greens.
And there you have it—a charming, homemade rope planter that’s as practical as it is beautiful! This project is perfect for anyone looking to add a bit of rustic elegance to their home, and the best part is it’s entirely customizable. You can tweak the design, add your own flair, and create something truly unique.
So, what are you waiting for? Grab your materials, fire up that glue gun, and get crafting! Whether you’re making one planter or a whole set, this project will surely bring a smile to your face and a touch of handmade charm to your space.
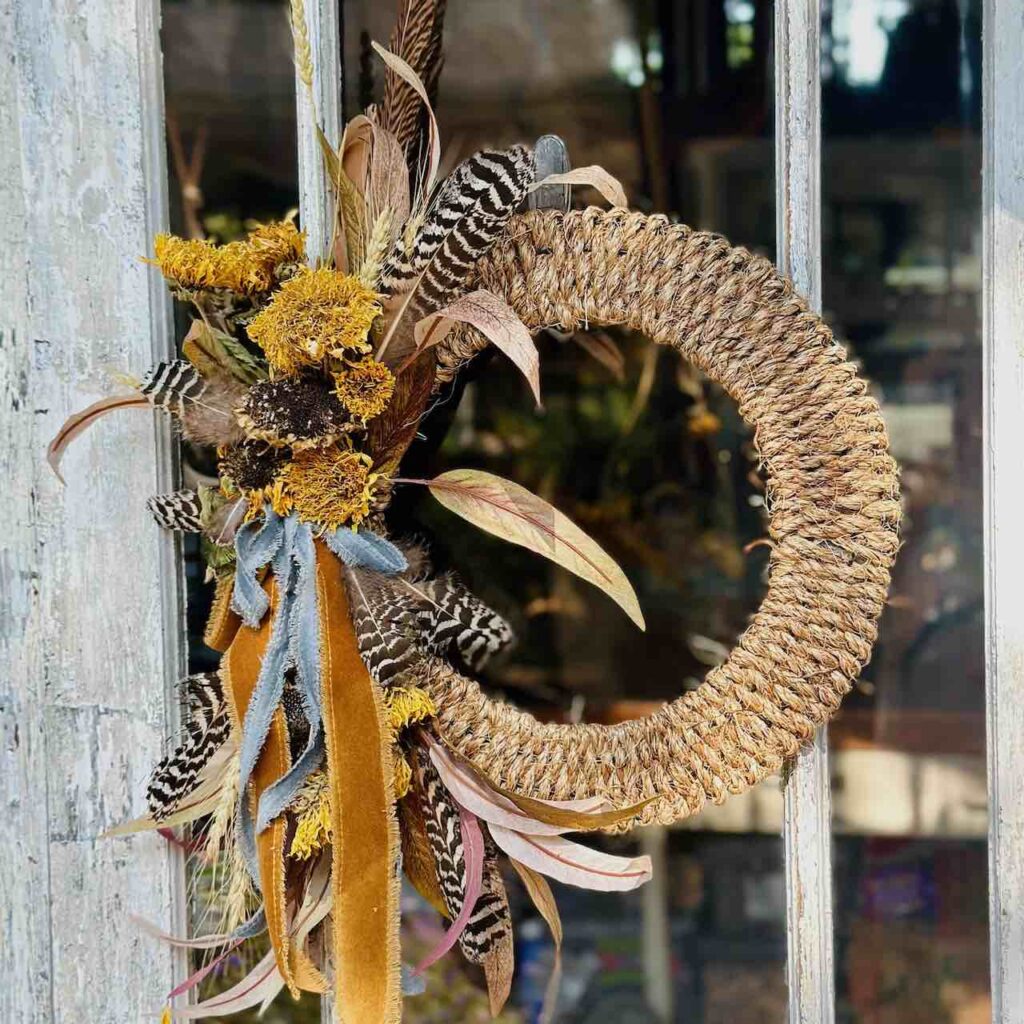
Additional Projects from the Handcrafted Society


Pssst. Are you enjoying the content? Buying me a coffee or two occasionally is a fabulous way to support all my hard work and the content I provide. Thank you!


CoCo says
I can’t believe this started out as a trash can, Kelly! What a cool way to give it a new purpose as a planter. I love the rope you choose and everything. This would make such a fabulous gift idea too! Hugs, CoCo
Michelle | Thistle Key Lane says
I really need to make a rope planter like yours Kelly. It’s so good looking with the rope you picked! I’m thinking this would make my fig tree look so much better!
Kim says
This rope planter looks great, Kelly! What a fun way to give a potted plant a little pizzazz!
Tammy says
Perfect home decor item! I saw a woven trash can for $100. Your project teaches us to make our own at a fraction of the cost. Love it!
Donna says
Hi Kelly! I absolutely love how you transformed a plain trashcan into an amazing planter! Great choice of rope, the pattern it made is so interesting! Pinning now so I can try this sometime!
Missy says
So cool! I am always looking for larger pots for my indoor plants and this is such a great idea! It looks beautiful with your gorgeous plant! Pinned!
Anna says
Hi Kelly – I live on the coast in Maine for seven years. This project would be PERFECT for a coastal home! I can imagine these being super popular in Maine. Thanks for the inspiration and easy to follow directions. Love how this turned out!