
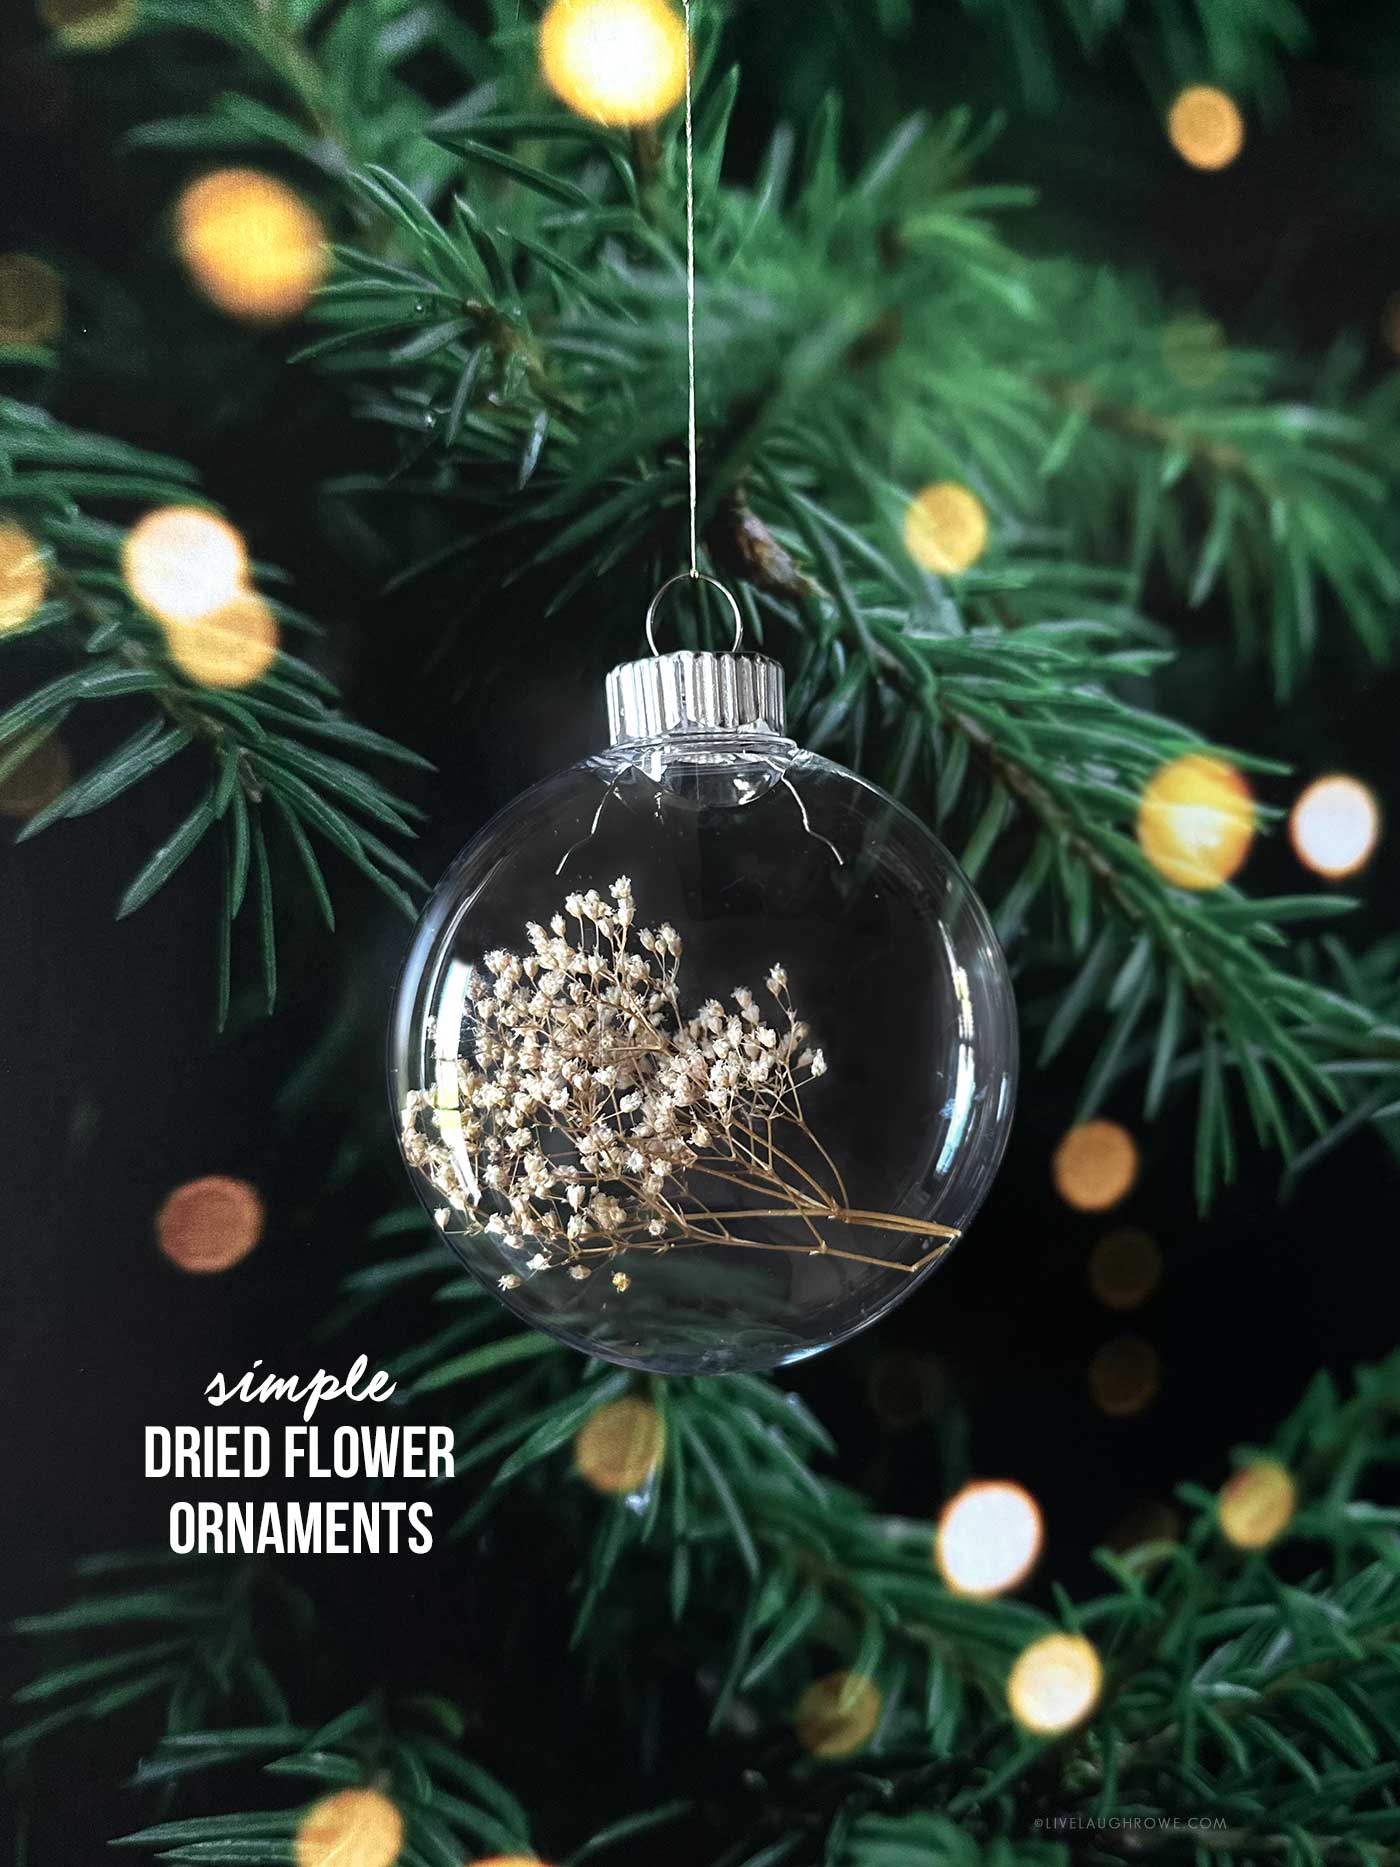
There’s something magical about simple, handmade ornaments — especially ones that let nature shine. These Dried Flower Ornaments are delicate, charming, and unbelievably easy to make. Truly… YAY! This is one of those projects where you finish the first ornament, look at it sparkling on the tree, and suddenly want to make ten more.
It’s nothing new or groundbreaking in the craft world, but I’ve wanted to try these for far too long… and now that I finally have, I’m kicking myself for not making them sooner. They’re elegant, customizable, and make the sweetest gifts for teachers, yoga buddies, neighbors, co-workers — anyone who enjoys a handmade touch during the holidays.
Using jasmine buds, mini star flowers, dried baby’s breath, and tiny rosebuds, these ornaments feel both botanical and timeless. Plus, they’re the kind of project you can do with a cup of tea, a cozy blanket, and your favorite Christmas playlist humming in the background.
Let’s dive in.
Why You’ll Love Making Dried Flower Ornaments
If you’ve been around here long enough, you know I’m all about crafts that are beautiful and doable. These ornaments check both boxes:
1. Incredibly simple.
You’re essentially filling a clear ornament with dried blooms. That’s it. No glue gun, no messy paint, no complicated assembly. Just gentle arranging and a little trial and error.
2. Inexpensive but looks high-end.
A handful of dried flowers goes a long way. And when the light hits them inside a glossy ornament? Chef’s kiss.
3. Thoughtful gifts.
Wrap one with a simple ribbon and a gift tag, and it instantly feels personal and handmade — perfect for hostess gifts, Secret Santa, stocking stuffers, and neighbor gifts.
4. Customizable for any style.
Soft neutrals, bright pink rosebuds, golden jasmine — choose a palette that fits your tree or your recipient’s personality.
5. Quick and easy.
Five minutes per ornament. No exaggeration.
These truly are the easiest ornaments I’ve made in a long time, and the end result is just… dreamy.
Supplies for Making Dried Flower Ornaments
To make your own botanical beauties, you’ll need just a few simple materials:
- Clear fillable ornaments (plastic or glass — both work beautifully)
- Dried jasmine buds
- Dried mini star flowers
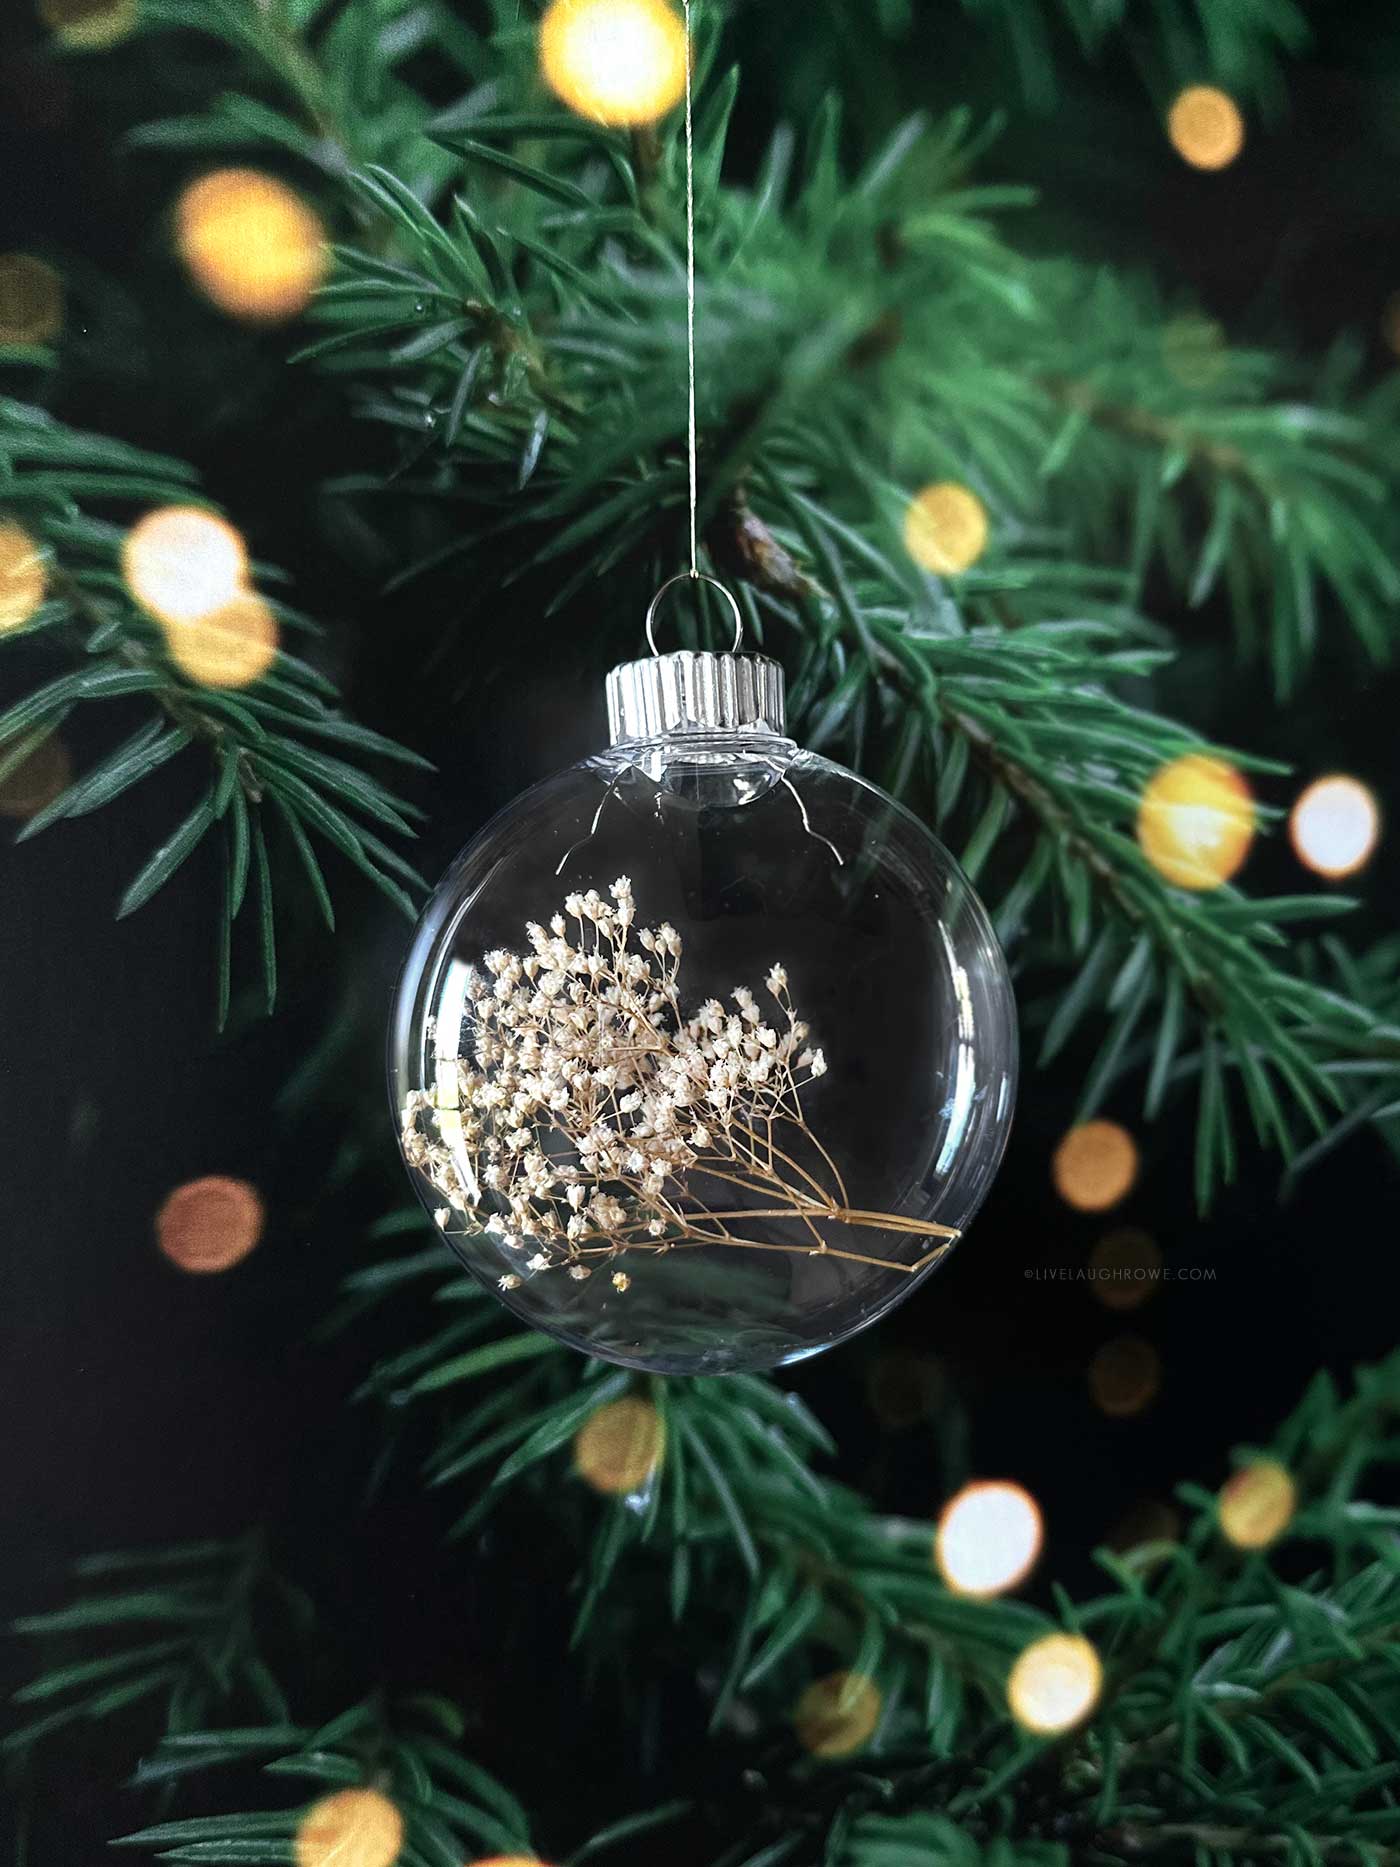
- Dried baby’s breath
- Dried rosebuds
- Any Dried Flowers (that will fit in the ornament)
- Tweezers
- Ribbon or ornament string for hanging
How to Make Dried Flower Ornaments:
This is the easy, breezy holiday craft you’ll want to share with everyone you know. Let’s walk through it together.
Step 1: Preparing the Ornament
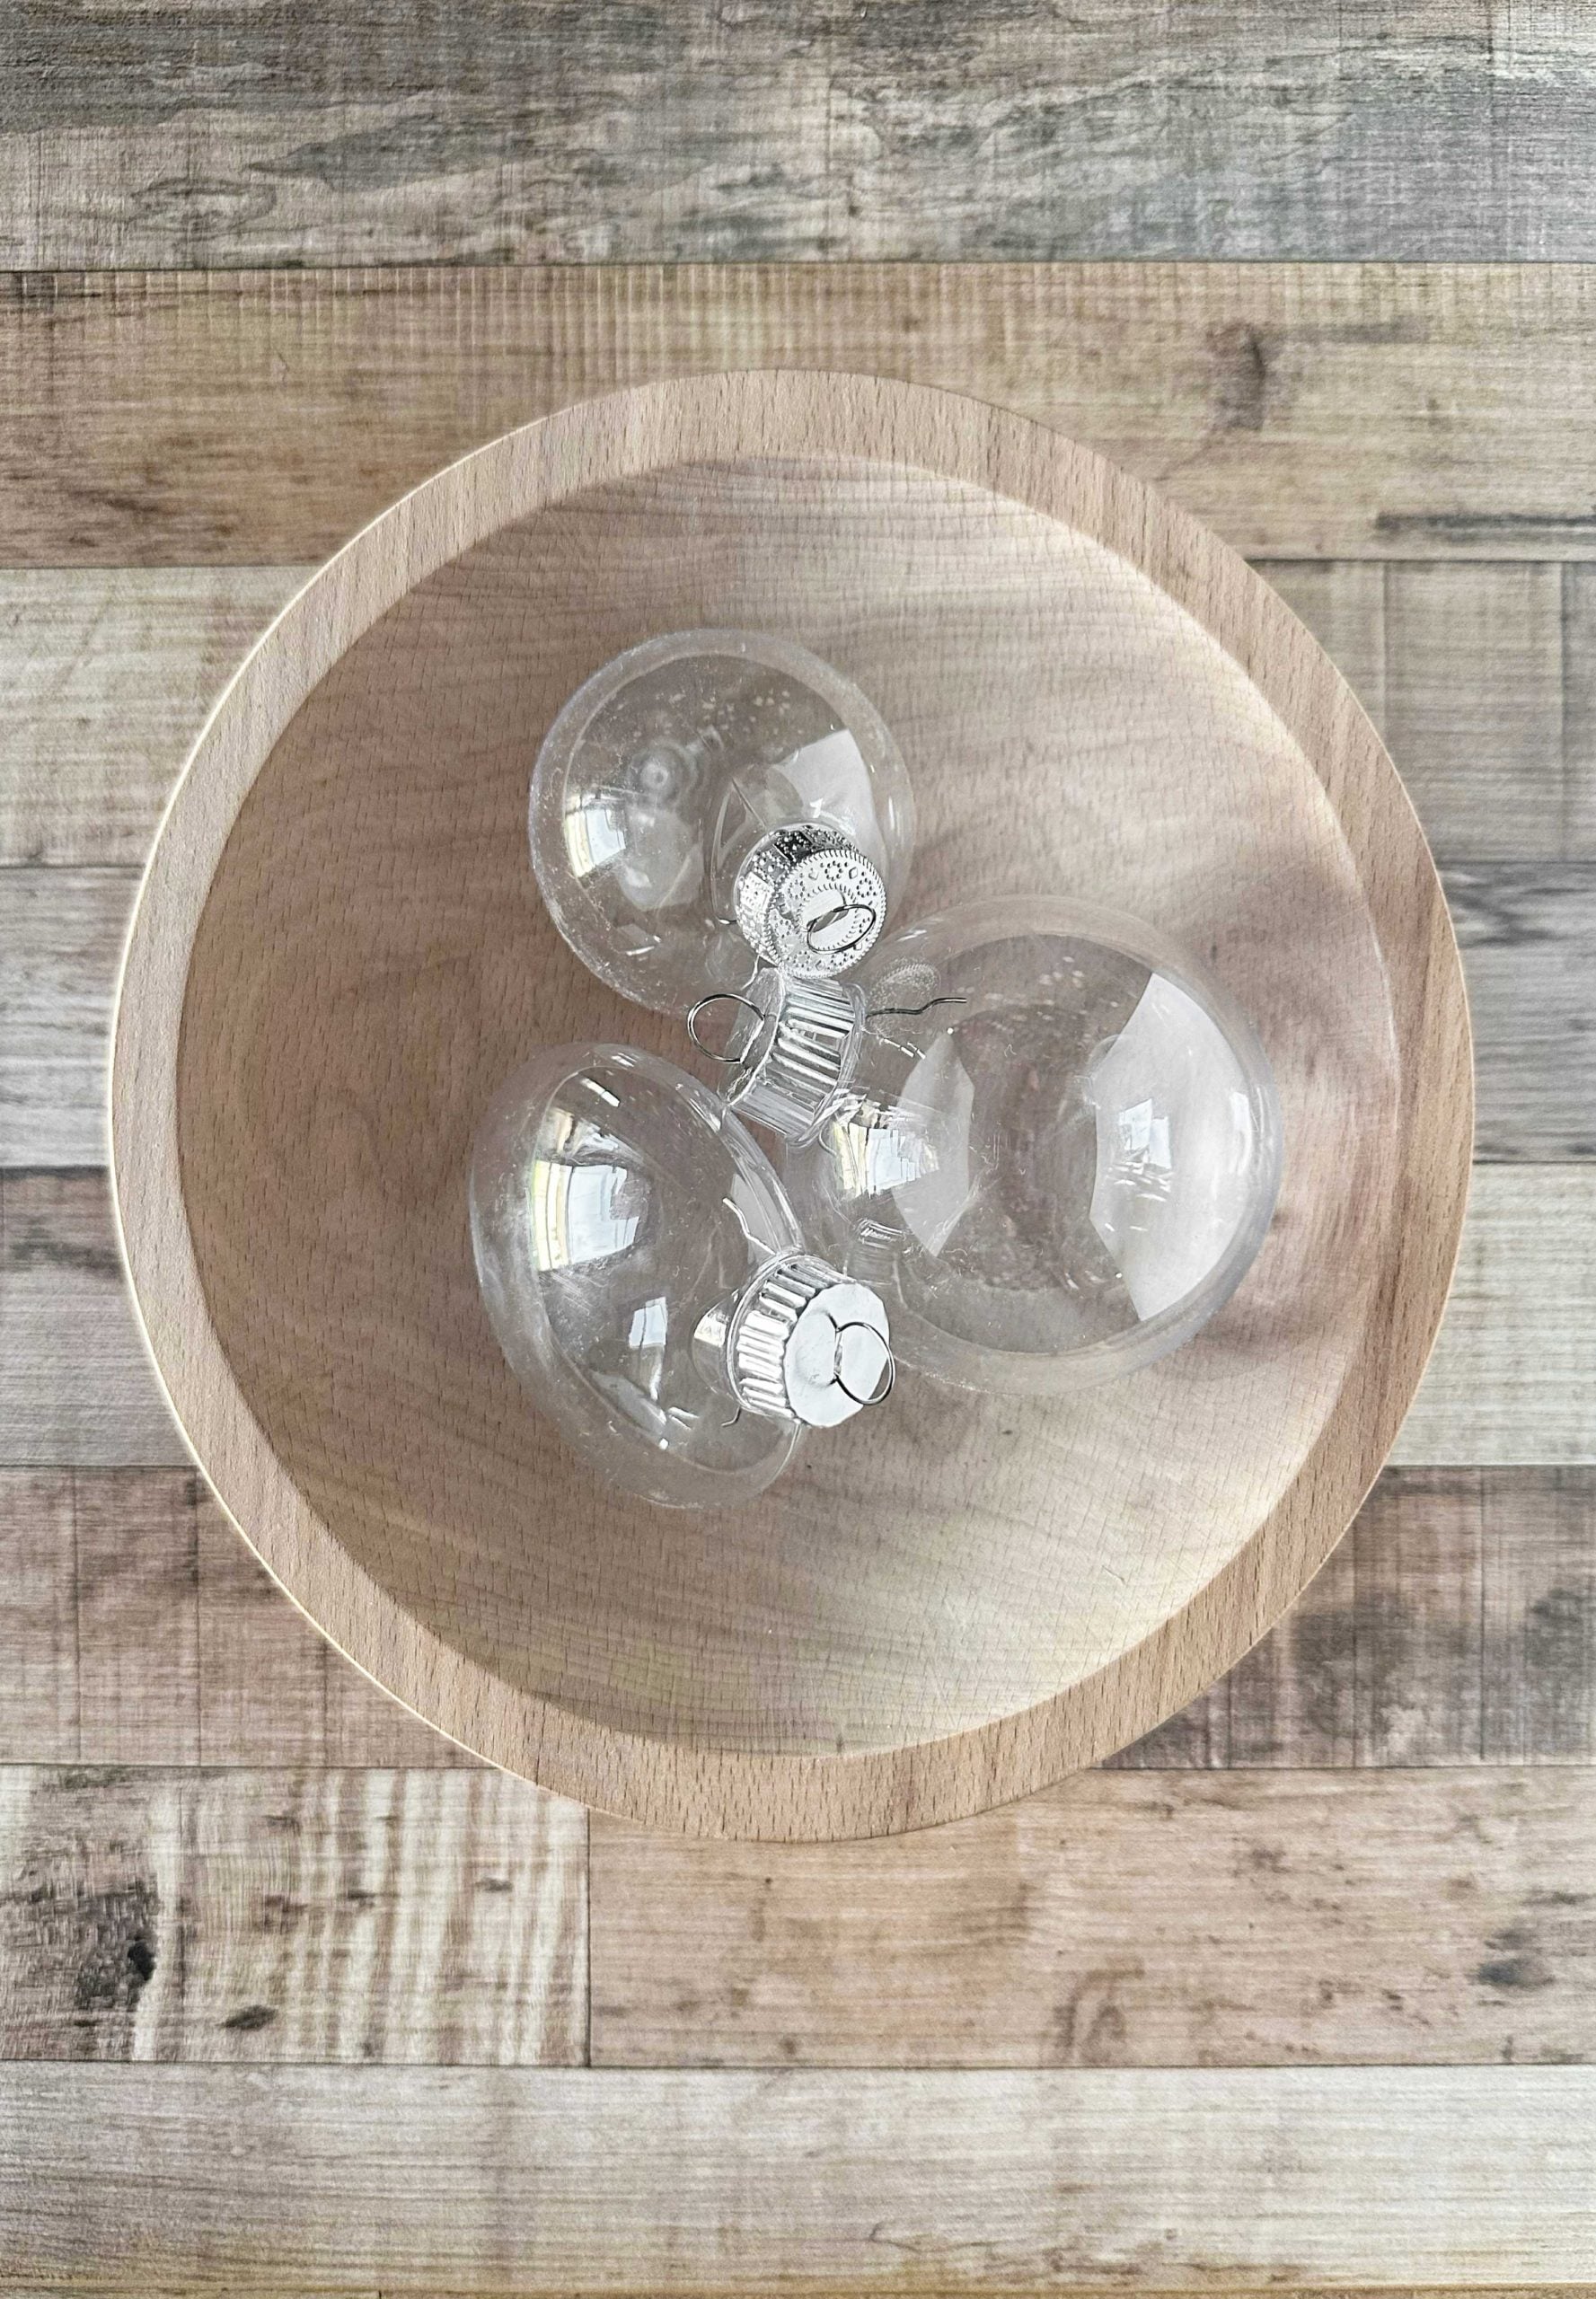
Decide which ornament shape you’ll use (I used round and disc shapes). Gently squeeze the metal prongs to lift the ornament cap off. Set it aside — you’ll pop it back on later.
If you’re using glass ornaments, handle them carefully, but don’t worry — they’re sturdier than they look!
Step 2: Gather and Prep Your Dried Flowers
This is the fun part — seeing all those textures and colors together.
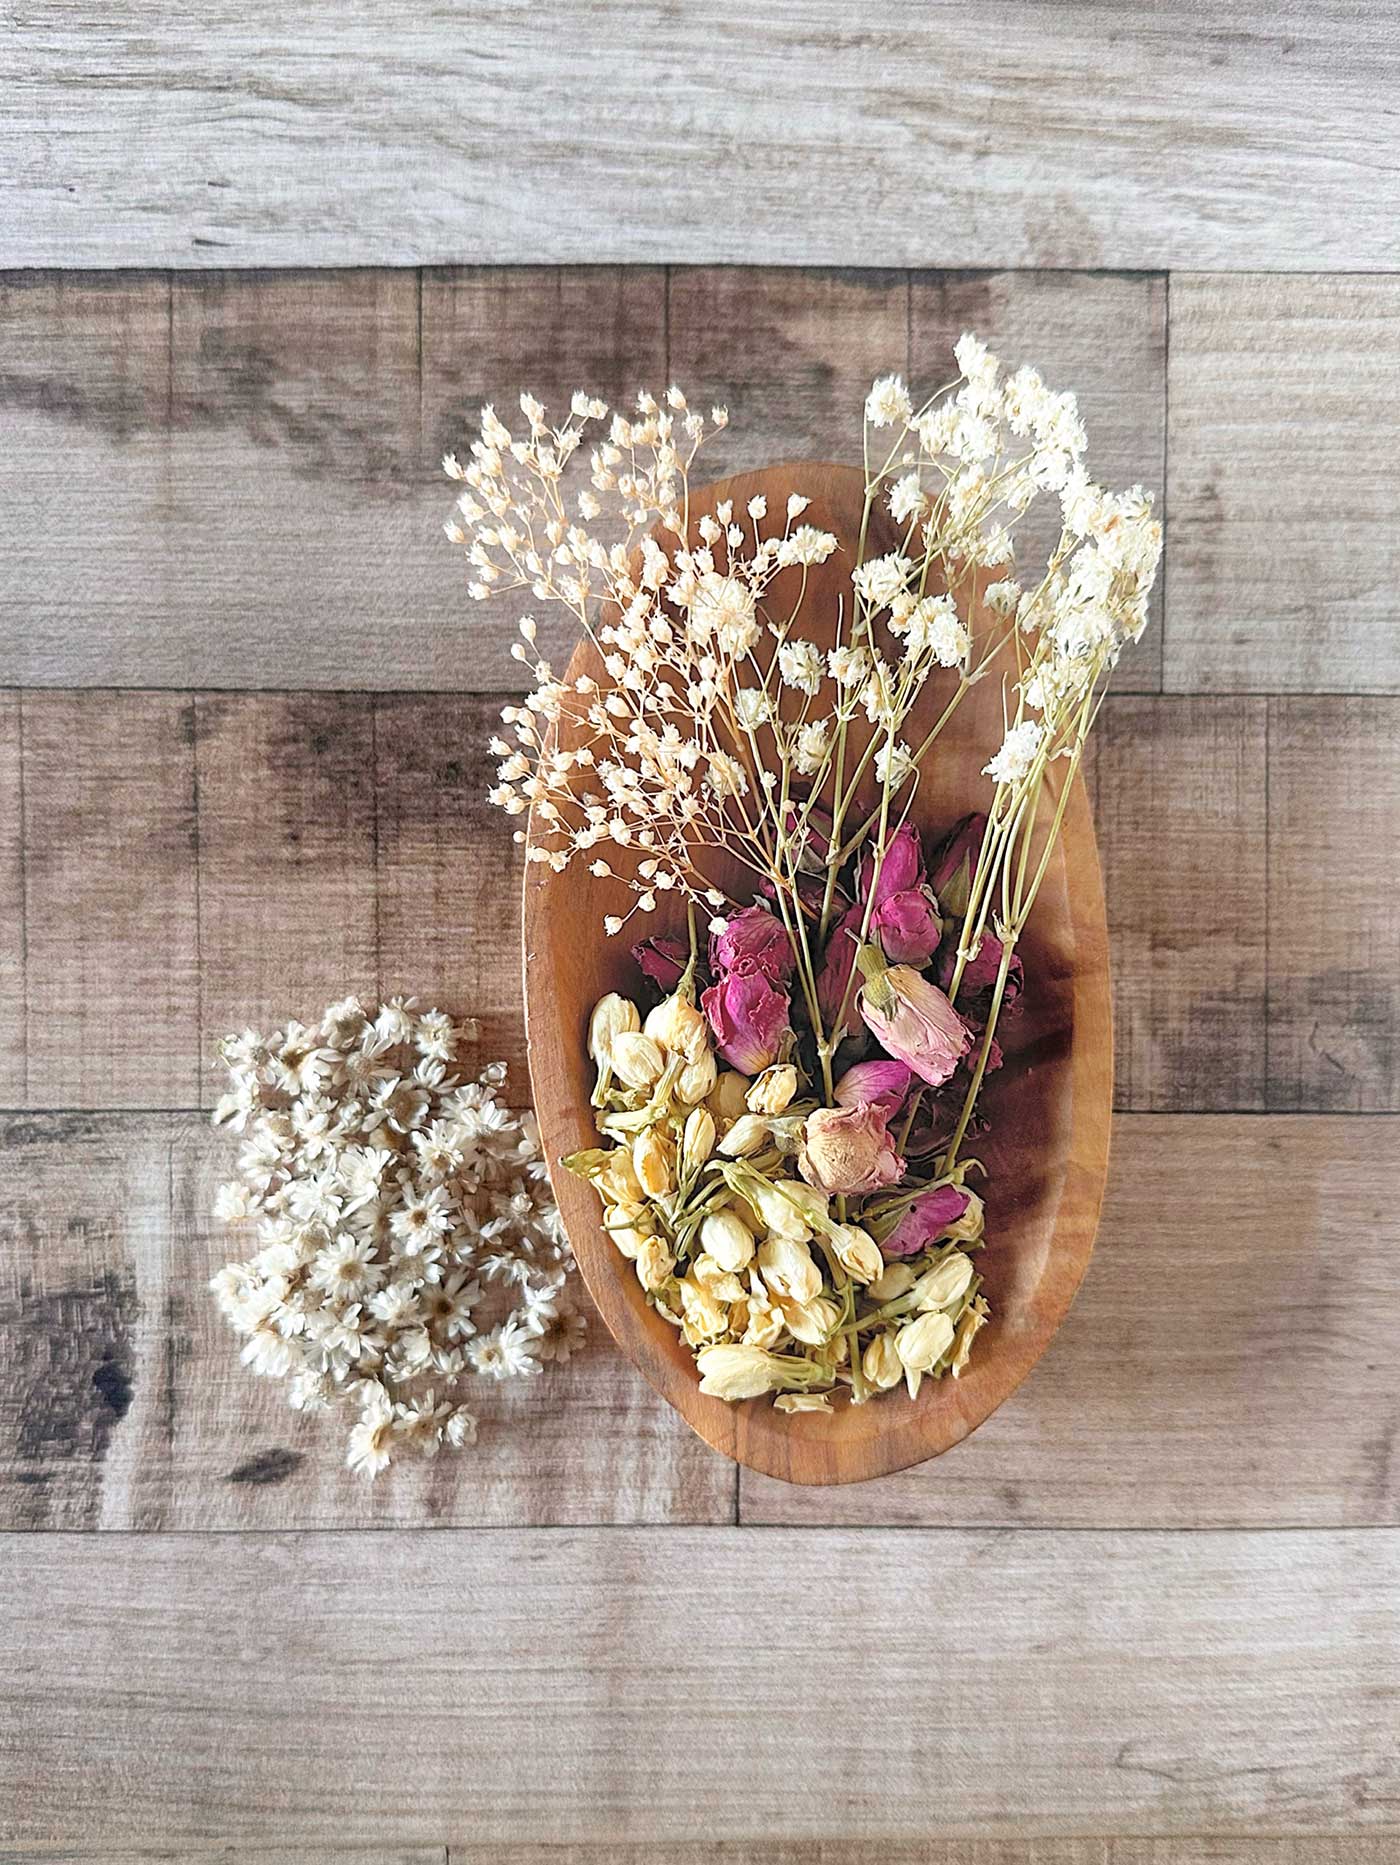
Dried Flowers I used:
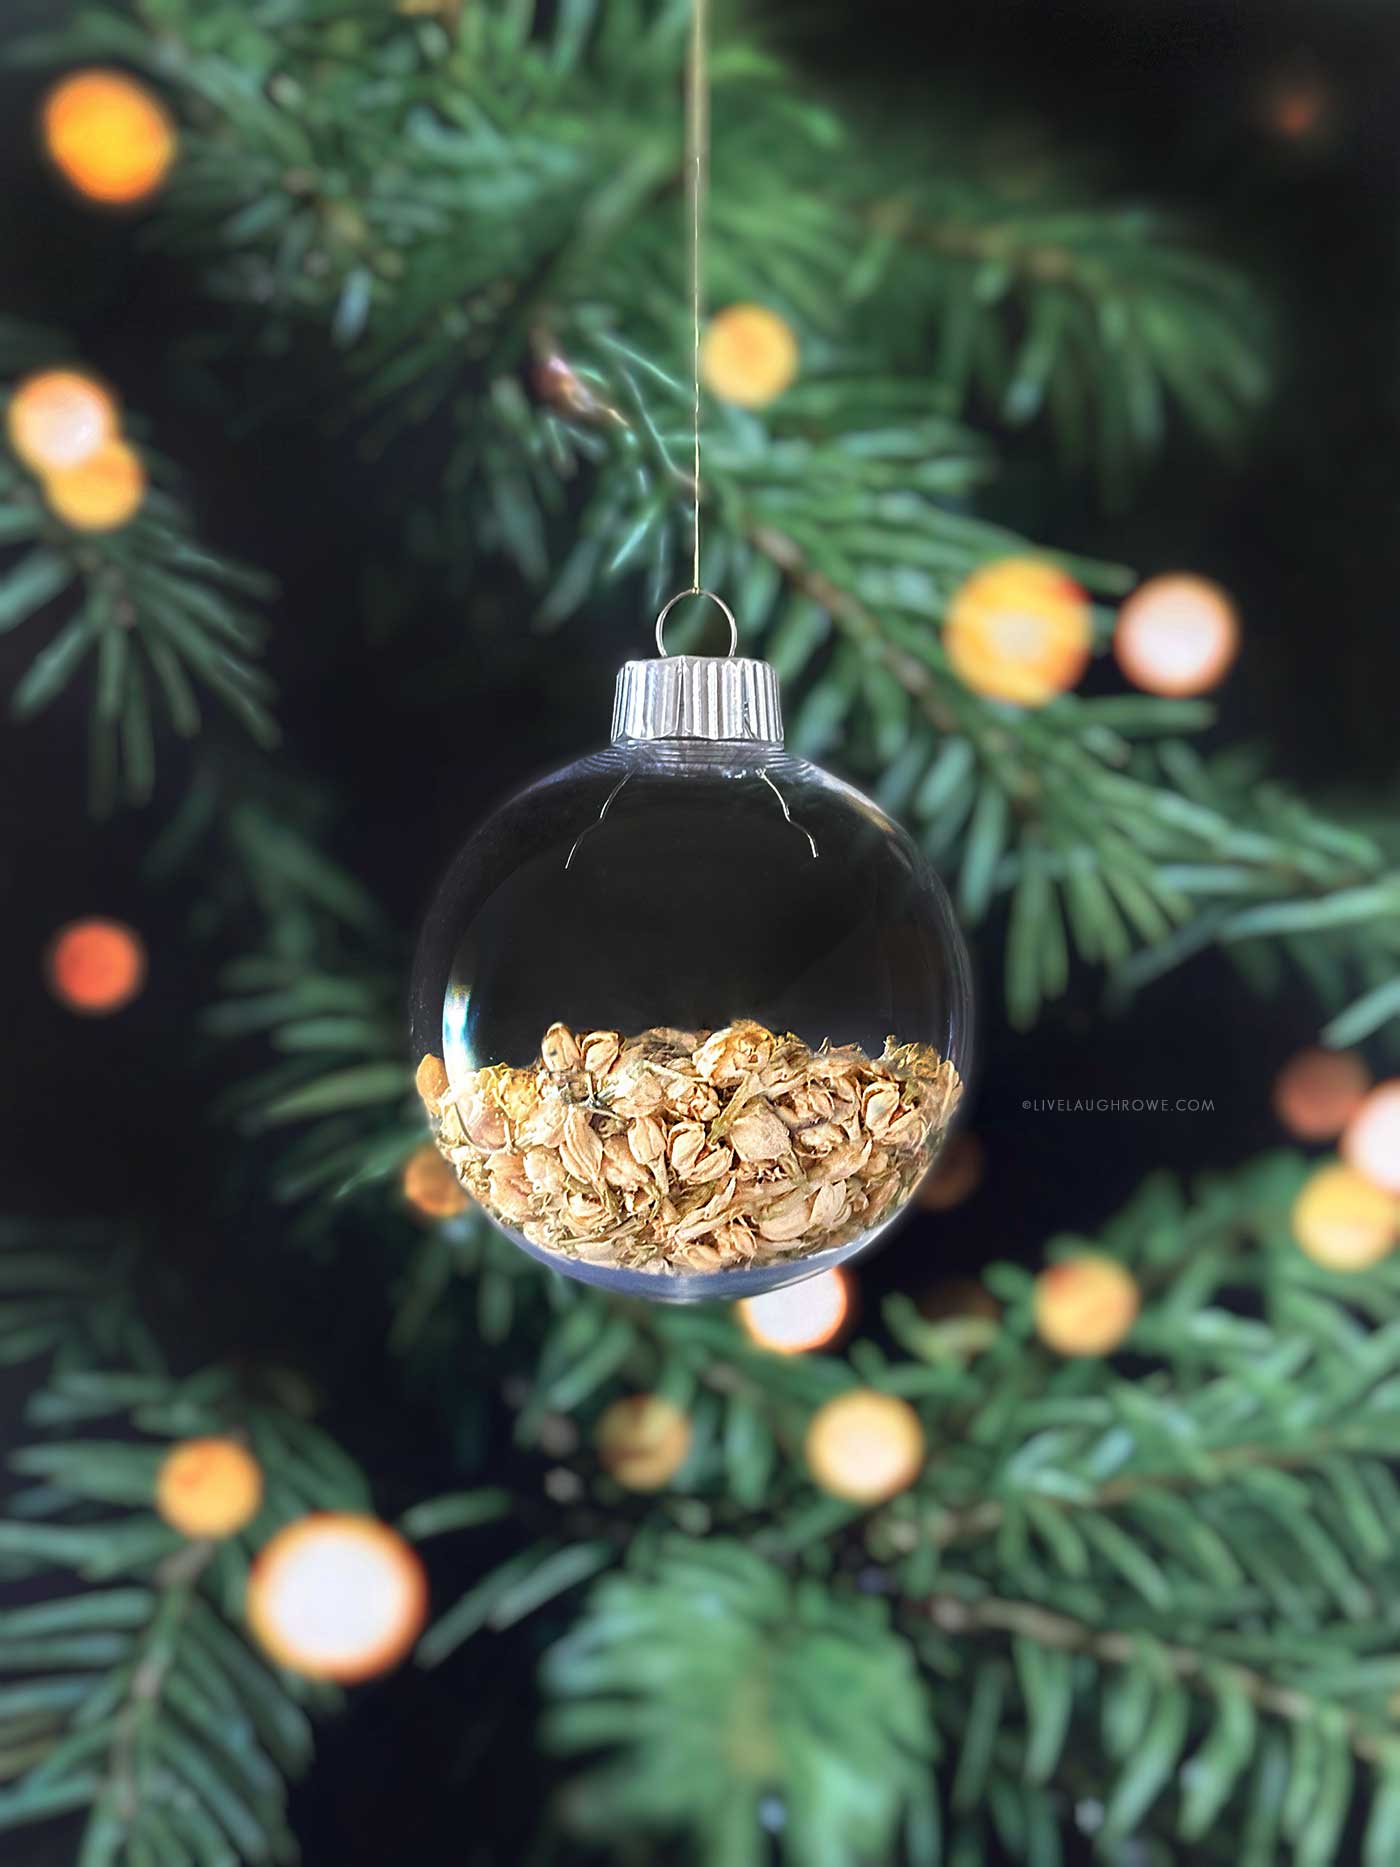
- Jasmine buds (creamy and slightly golden)
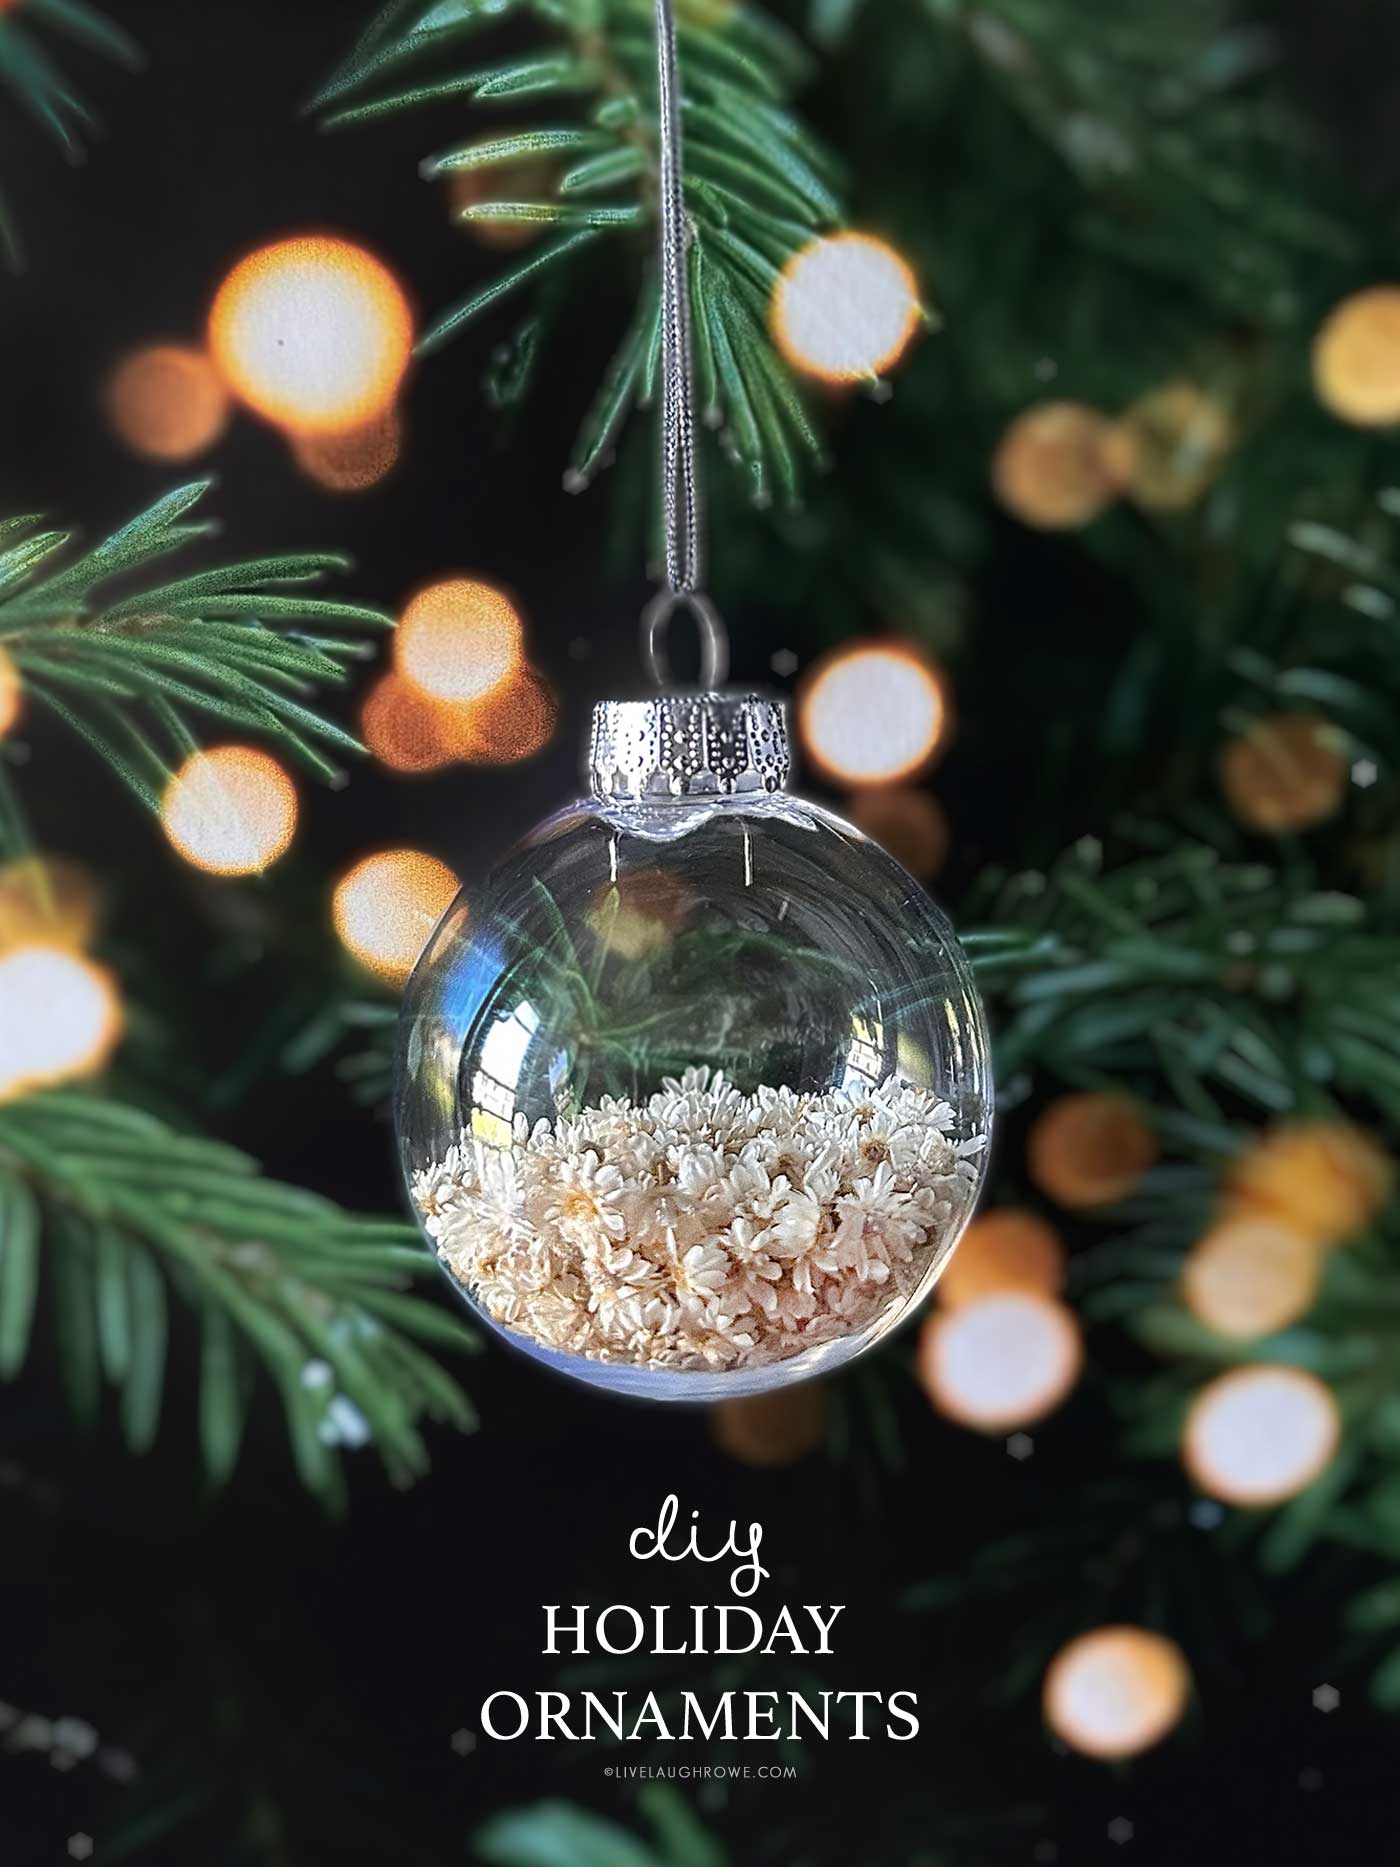
- Mini star flowers (small, fluffy neutrals that fill space beautifully)
- Baby’s breath (airy stems that add height and movement)
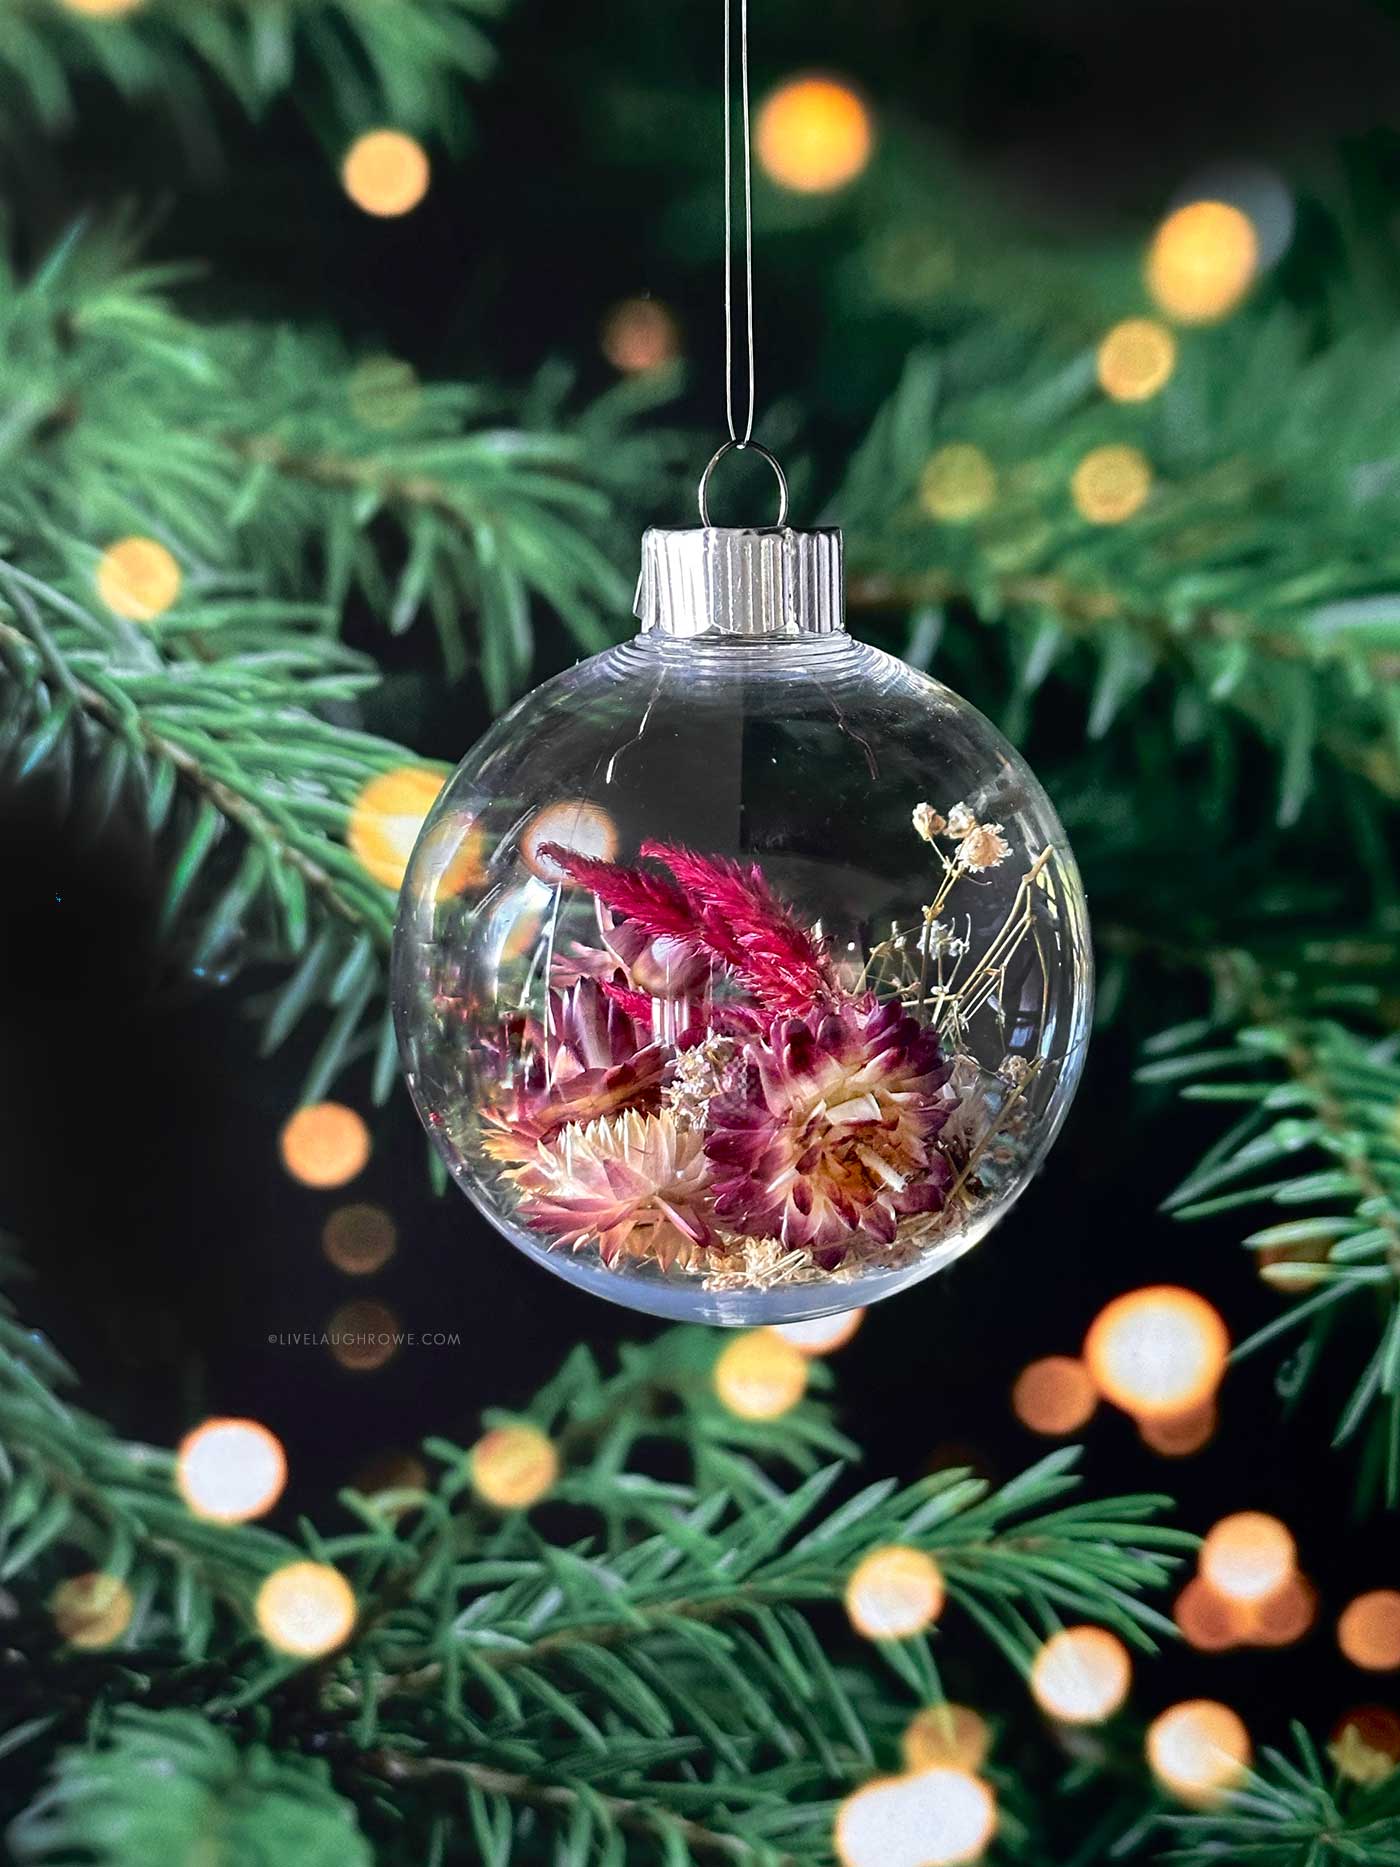
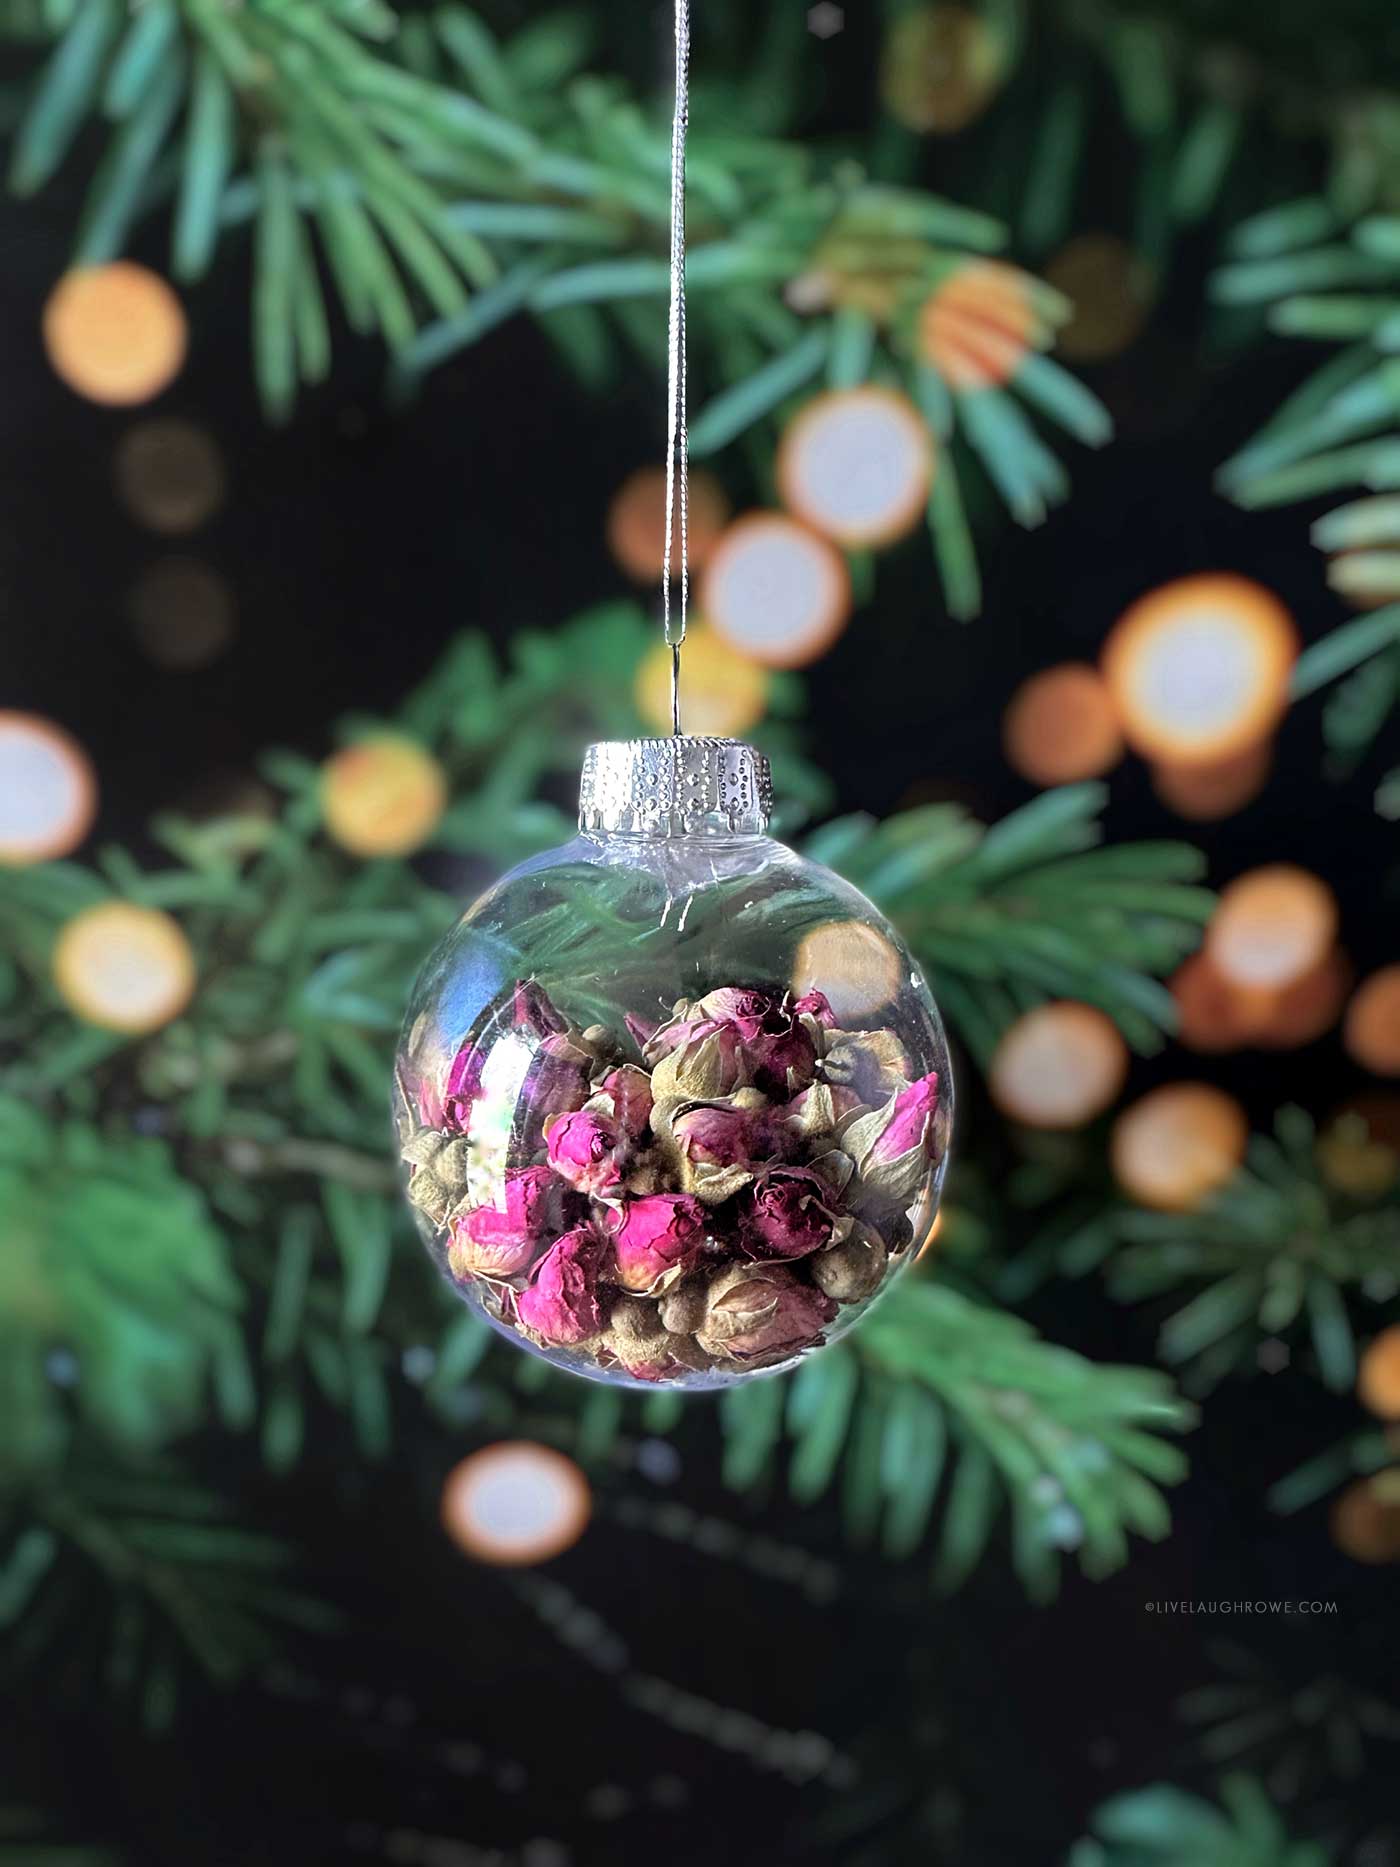
- Rosebuds (a rich pop of pink and the perfect focal bloom)
Lay everything out so you can easily pick and choose your favorites.
Step 3: Start Placing the Flowers Inside the Ornament
Using your fingers or long tweezers, carefully slide a few stems and buds into the ornament.

A few helpful notes:
- Baby’s breath goes in easiest when the stems are trimmed.
- Rosebuds look lovely clustered together, so pour them in for a full look.
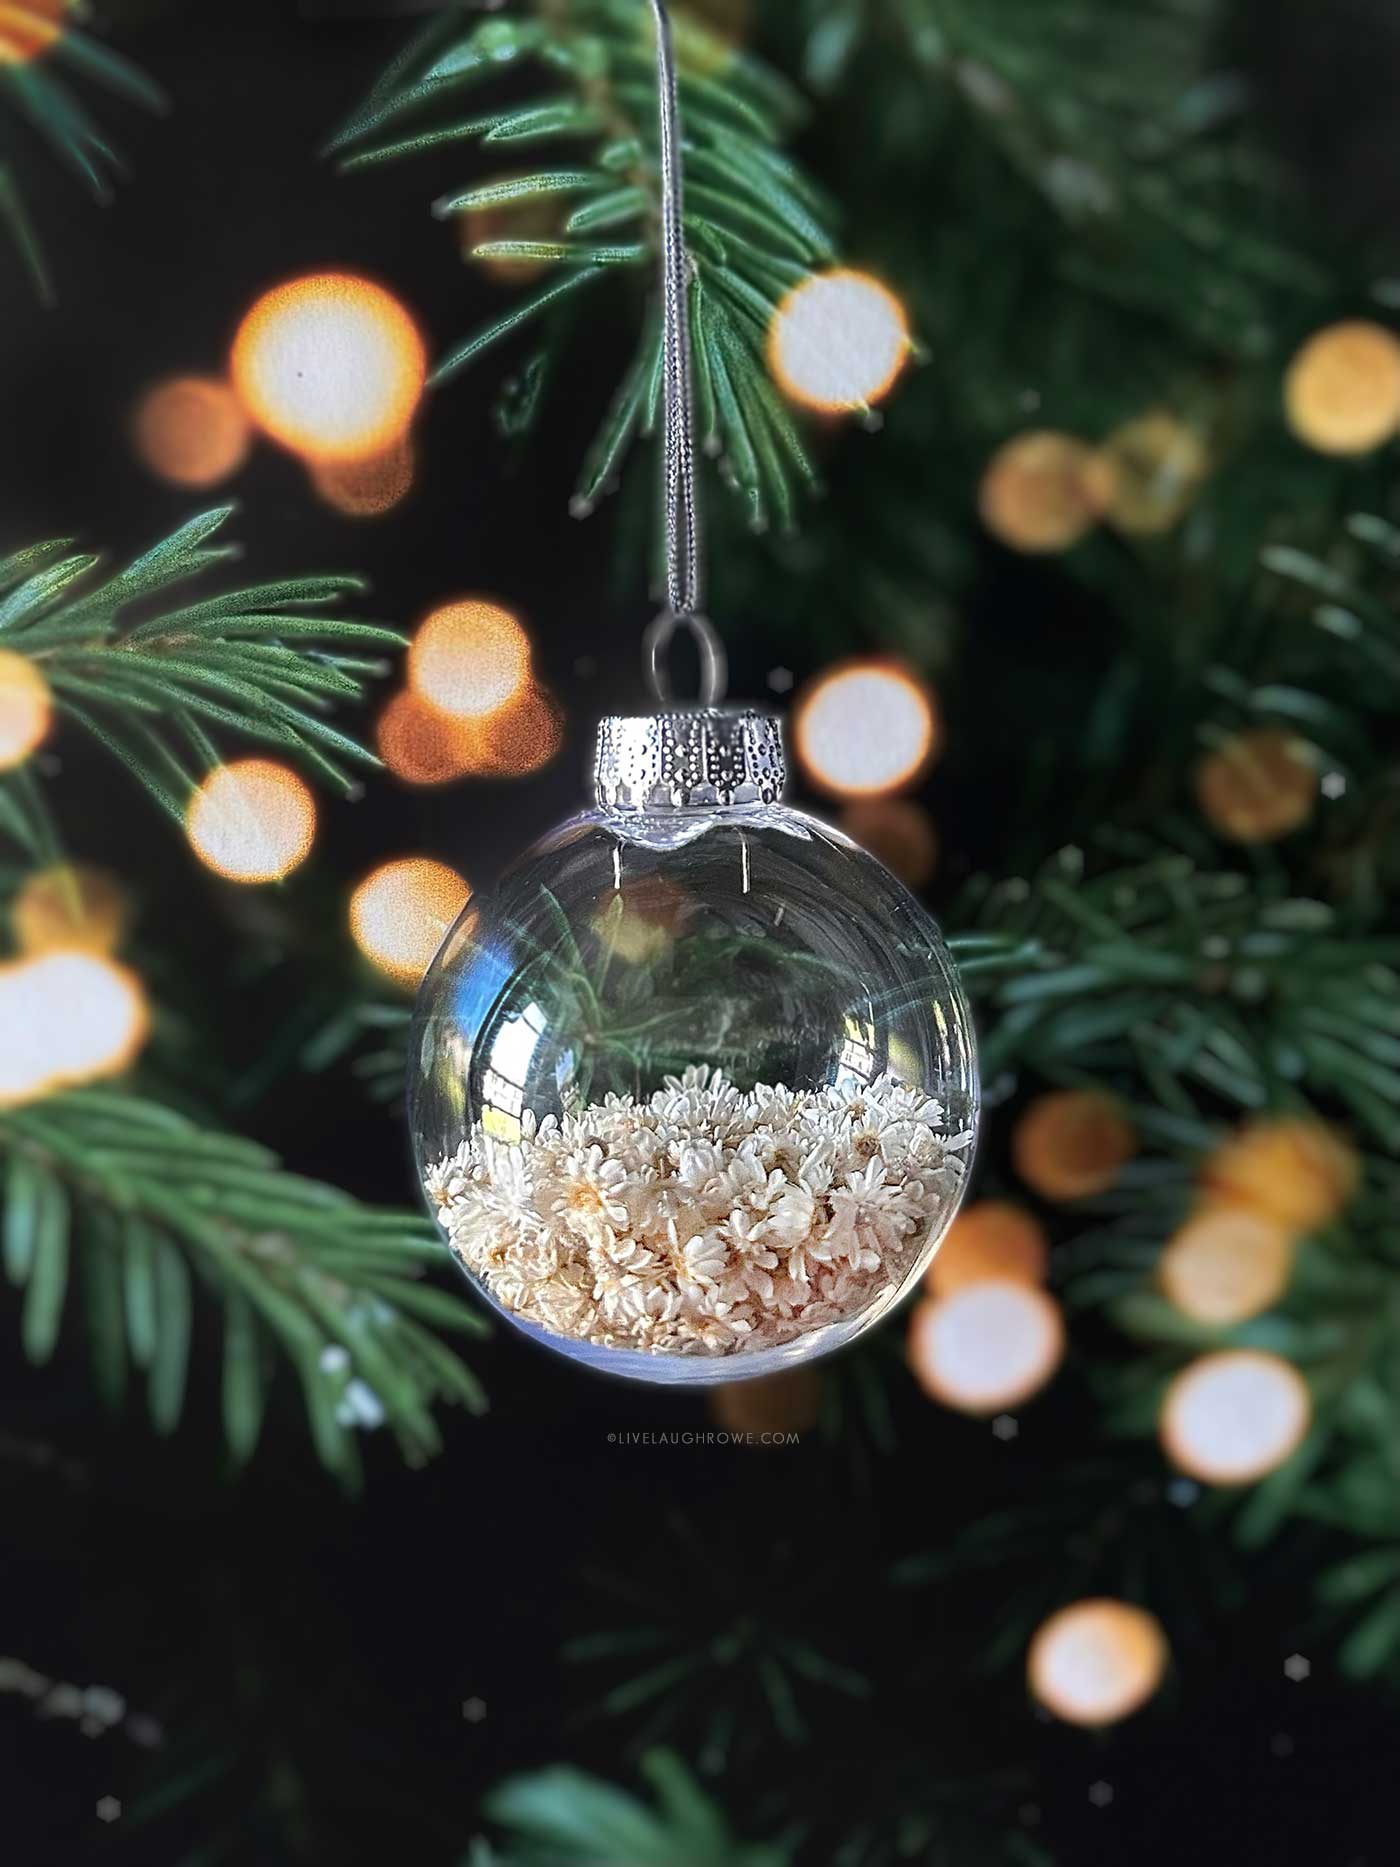
- Jasmine buds create a golden base, especially when used generously. My sister said the jasmine looked like oats. Hee-hee.
- Mini star flowers add that soft, snow-kissed texture — sprinkle them in like confetti.
If you’re mixing different dried florals, don’t worry if the first few flowers land sideways. That’s where tweezers become your BFF. A little nudge here, a small twist there… and they settle beautifully. It’s a bauble full of moving parts, so it’s best to let the “florals” fall where they may.
Step 4: Adjust and Shape as Needed (when mixing blooms)
Think of this as styling a tiny bouquet inside the ornament. Rotate it, look at it from every angle, and gently adjust until you love what you see.
A few things to keep in mind:
- Flowers will shift slightly once hung — embrace the organic look.
- Don’t overstuff. Airiness is part of the charm.
- You can mix flowers or create “themed” ornaments — all jasmine, all baby’s breath, etc.
Each ornament feels like its own little world. That’s part of the magic!
Step 5: Replace the Ornament Cap
Once everything looks perfect, squeeze the prongs and slide the cap back onto the ornament opening.
TIP: If you’re gifting the ornament, you can add a small drop of hot glue inside the cap to prevent it from popping off during wrapping or transport.
Step 6: Add Ribbon or Hanging String
Finish your ornament with thin ribbon, metallic string, jute twine, or whatever suits your tree’s style.
Silver cord looks especially lovely with these botanicals — just saying!
How Simple Are These Dried Flower Ornaments? SO Simple.
On a scale of 1 to 10, the difficulty level is a solid 1. Truly.
Here’s why they’re such a win in the crafting department:
- Minimal mess (bless)
- No drying time
- Kid-friendly if you use plastic ornaments
- Perfect for assembly-line crafting
You can make a full set in under an hour — or turn it into a cozy afternoon project with a friend.
And let’s talk about the vibes. When you hang them on the tree, the lights softly glow behind the dried blooms, highlighting every petal and stem. It feels whimsical, natural, and a little nostalgic. Almost like a keepsake ornament you’d find in a tiny holiday boutique.
Ideas for Variations
Once you make one… you’ll start dreaming up more. Here are a few fun twists:
- Color-themed ornaments: Use white star flowers for a snowy look, pink rosebuds for a romantic one, or golden jasmine for a warm, vintage feel.
- Memory ornaments: Use dried flowers from wedding bouquets, baby showers, memorial arrangements, or special occasions.
- Nature-foraged ornaments: Add tiny pinecones, bits of cedar, or small dried leaves.
The options are endless — and all beautiful.
Displaying and Gifting Your Dried Flower Ornaments
These ornaments shine on a Christmas tree, but they’re also lovely:
- Tied onto a gift as a keepsake tag
- Hung on a winter branch display
- Given as a teacher or hostess gift
- Added to a holiday tablescape
- Grouped in a bowl for decorative filler
Package them in tissue-lined boxes or kraft paper gift bags for an extra charming touch.
Other Ornaments to try:
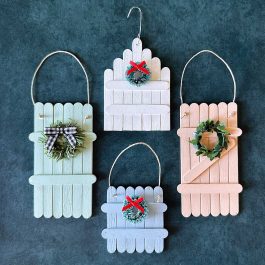
Fence Ornaments
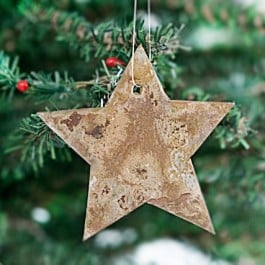
Wood Slice Ornaments
Pipe Cleaner Wreaths
Yarn Wrapped Stars
Final Thoughts on Making Dried Flower Ornaments
If you’re craving a simple, beautiful holiday craft — something peaceful, pretty, and effortless — these Dried Flower Ornaments are a perfect fit. They’re as easy as they are elegant, and they add such a sweet, natural touch to your holiday décor.
Whether you’re crafting just for fun or creating a whole batch for gifting, you’re going to love how these turn out. Promise.


Dorothy Terwilliger says
Love the ornaments😍. And Gatlinburg was a favorite place to visit when we lived in Tennessee for a few years. Of course, the best advice there was to park the car and stroll through the village because driving that one Main Street was a nightmare.
Merry Christmas 🎄