
There’s something about little gingerbread houses that gets me every Christmas. Those tiny windows, pretty rooflines, and white icing details are hard to resist. These DIY gingerbread house gift tags have all that charm, and you can make them with chipboard or cardboard, white pens, and ribbon. No baking required!
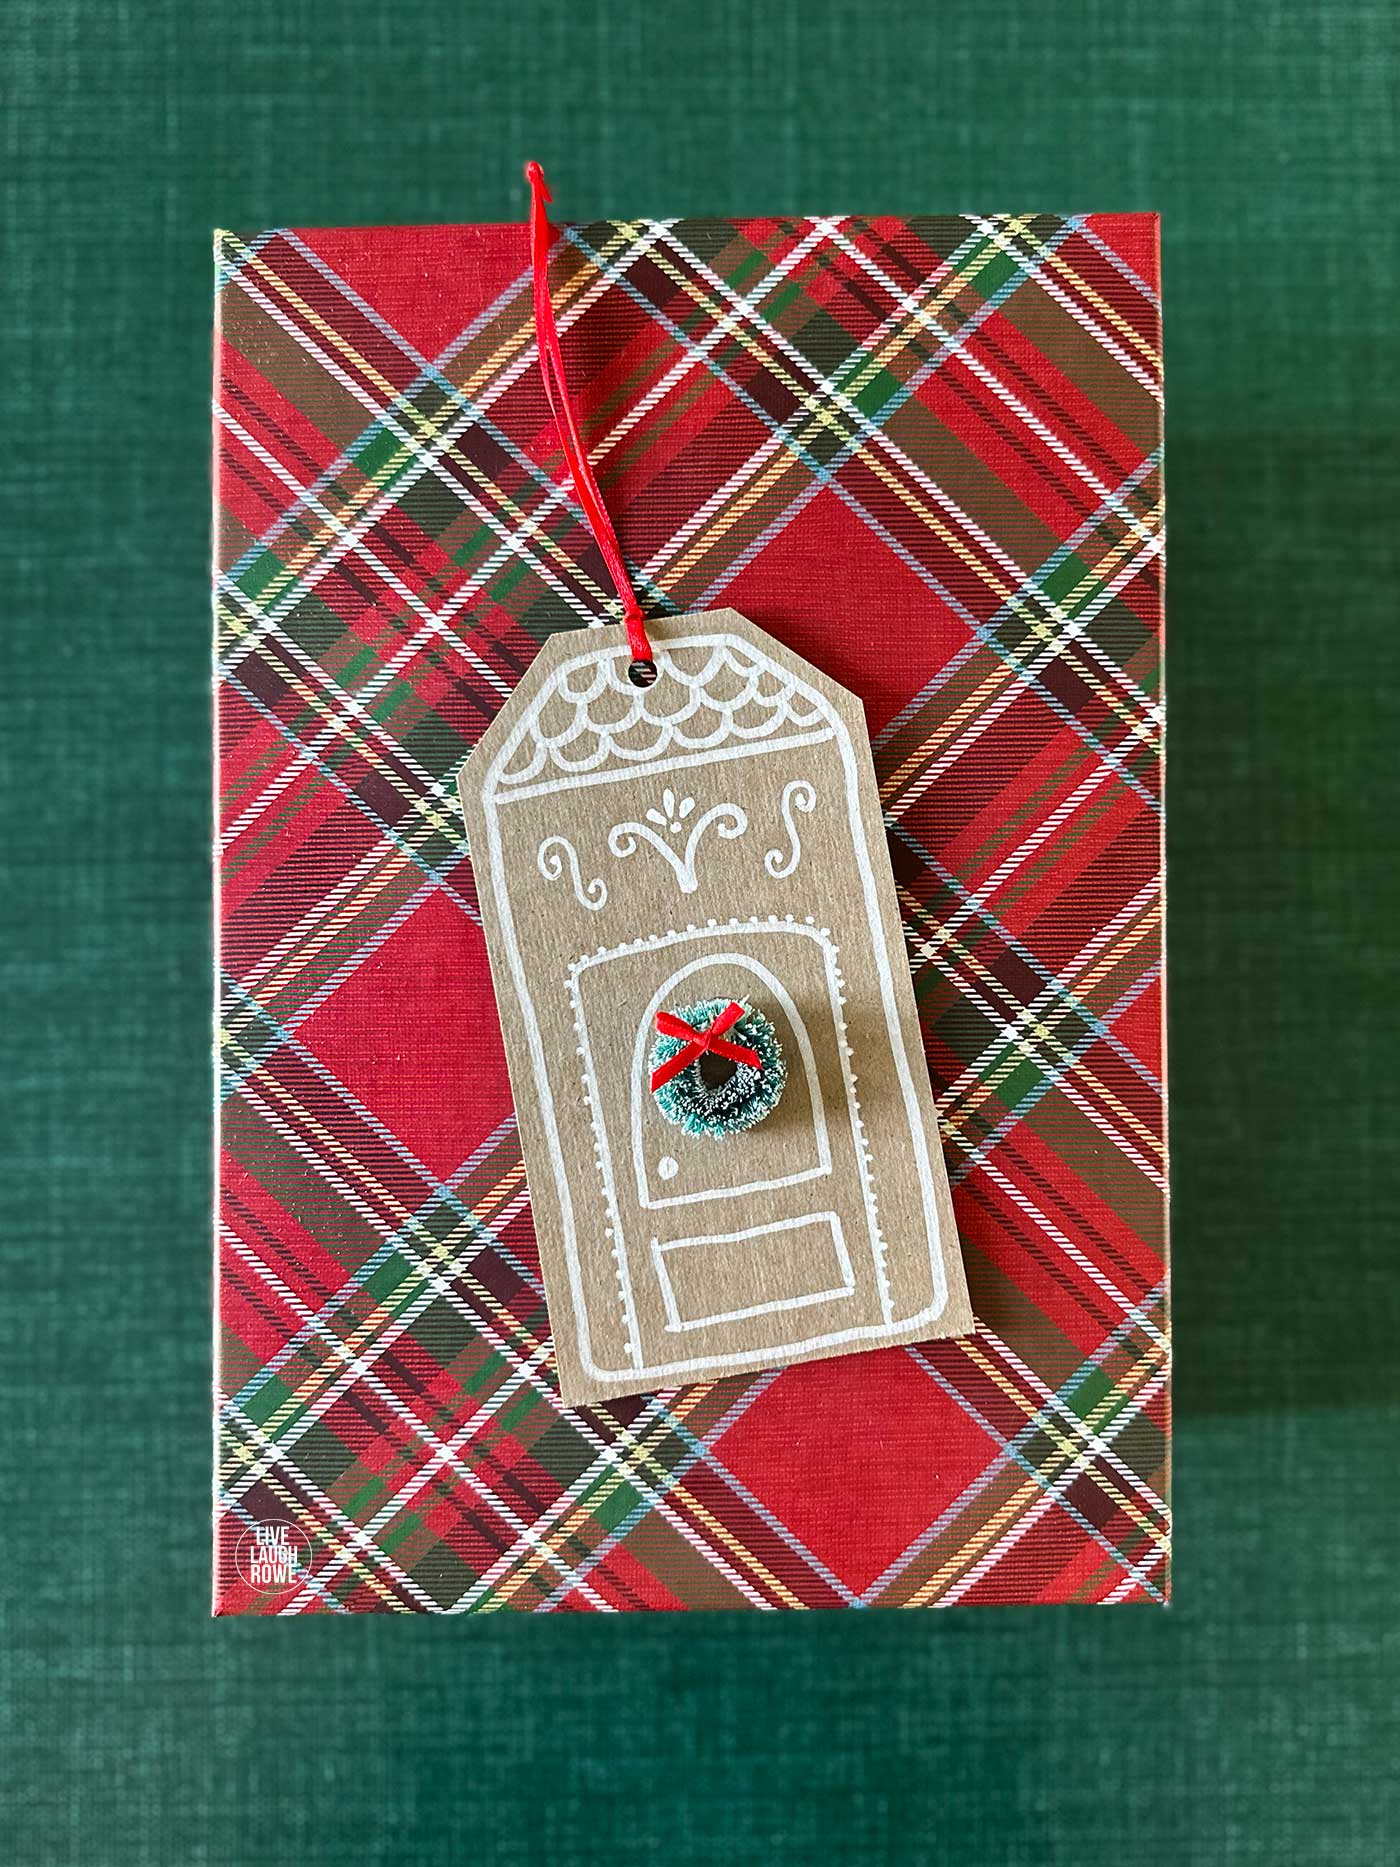
I decorated mine with simple lines, dots, and scallops, giving each house its own personality. Nothing needs to be perfectly straight or symmetrical. A slightly crooked window or wavy roofline fits right in with the handmade feel.
Tie one onto a Christmas present, hang a few on the tree, or string together a little neighborhood for a holiday garland. It’s a simple project with several sweet possibilities.
Why You’ll Love These DIY Gingerbread House Gift Tags
I love a Christmas craft that doesn’t require a shopping cart full of supplies. These little houses start with a plain brown surface, and the white details do most of the decorating.
They’re also a lovely way to add something personal to a gift. Write the recipient’s name on the back, attach the house to a package, and it becomes part of the present. Afterward, they can hang it on their tree.
You can make each house different or repeat the same design for a coordinating set. Keep things simple with a door, windows, and a few roof details, or settle in and add all the tiny flourishes your heart desires.
Supplies for Cardboard Gingerbread House Tags
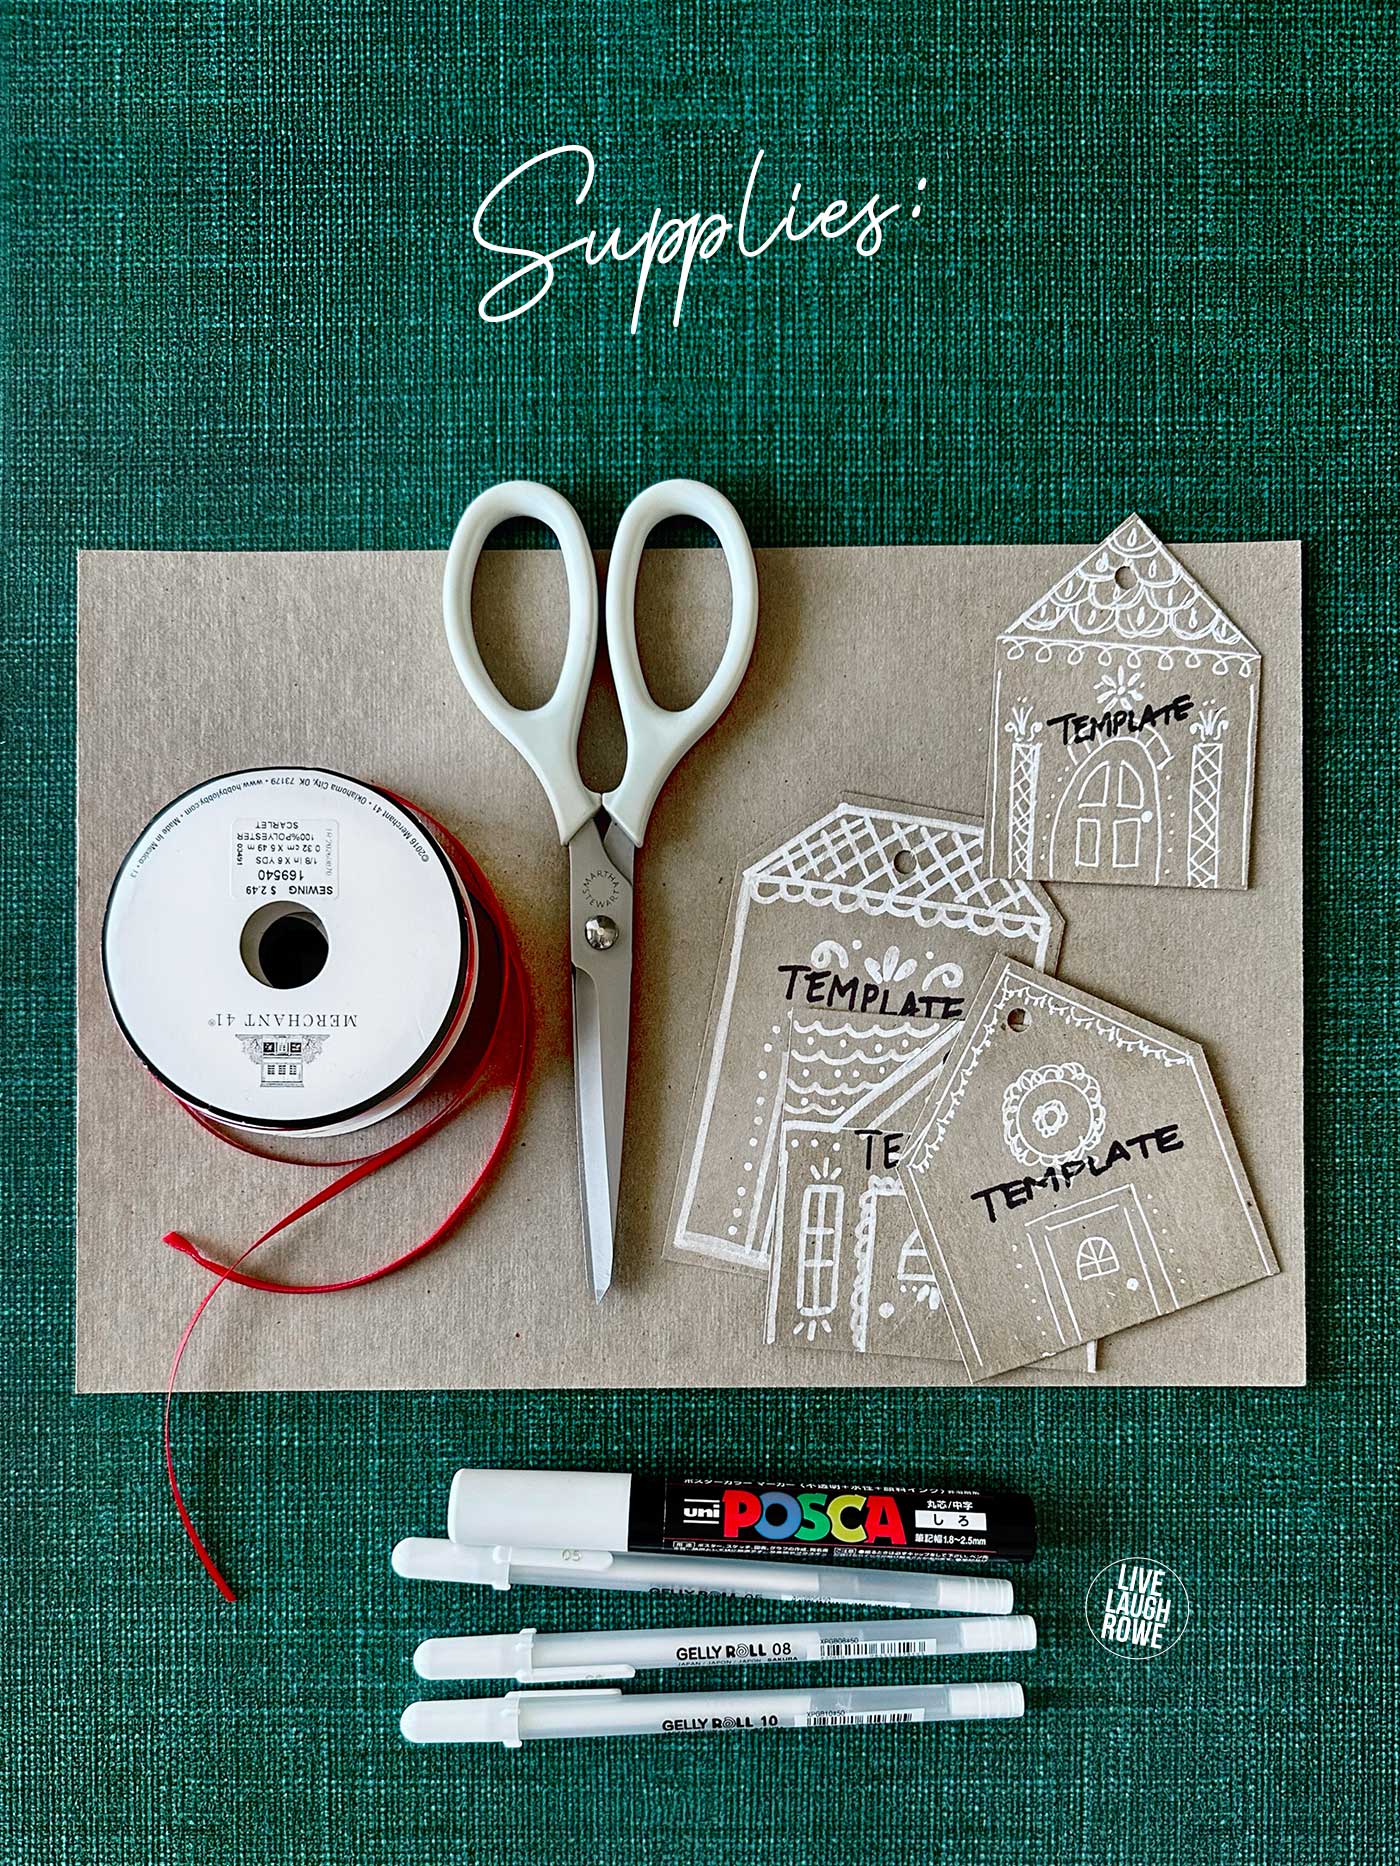
Gather these supplies before getting started:
- Chipboard or cardboard
- White paint markers
- White gel pens
- Scissors
- Hole punch
- Red Ribbon
- Pencil for tracing or sketching
- House templates, optional
- Miniature wreaths, optional
- Glue, optional
Printable Gingerbread House Templates
To make things a little easier, I’ve put together two printable options. Choose the one that works best for you or, of course, you can just wing it (smile).
- House Templates — $1.99: Plain house outlines to print, cut out, and trace onto your chipboard or cardboard.
- House Templates + Decorating Inspiration Bundle — $2.99: The same house outlines, plus a page of decorated houses to inspire your doors, windows, and white icing details.
Both options are digital PDF downloads. No physical item will be shipped.
Upcycle Boxes into Handmade Christmas Gift Tags
Before buying materials, take a peek in your recycling pile. Choose material that’s sturdy enough to hold its shape but thin enough to cut comfortably with scissors. A smooth surface makes drawing the smaller details easier.
Cardboard shipping boxes, cereal boxes, cracker boxes, and other clean cardboard packaging can become the base for this project.
Cereal boxes are especially handy when you want something thin and easy to cut. Open the box along a seam, flatten it, and trace your houses onto the unprinted brown or gray side. Check the color first, since packaging varies.
Shipping boxes offer more thickness, although corrugated cardboard can leave visible ridges along the edges. Choose a thinner section that your scissors and hole punch can handle.
If the printed side will show on the back, you can cover it with paper before adding your gift message. Chipboard is another option when you prefer a plain surface on both sides.
How to Make DIY Gingerbread House Gift Tags
1. Trace and Cut the Cardboard Houses
Draw a few simple house shapes onto your material. Mix tall, narrow houses with shorter cottages, or vary the rooflines to give your collection some character.
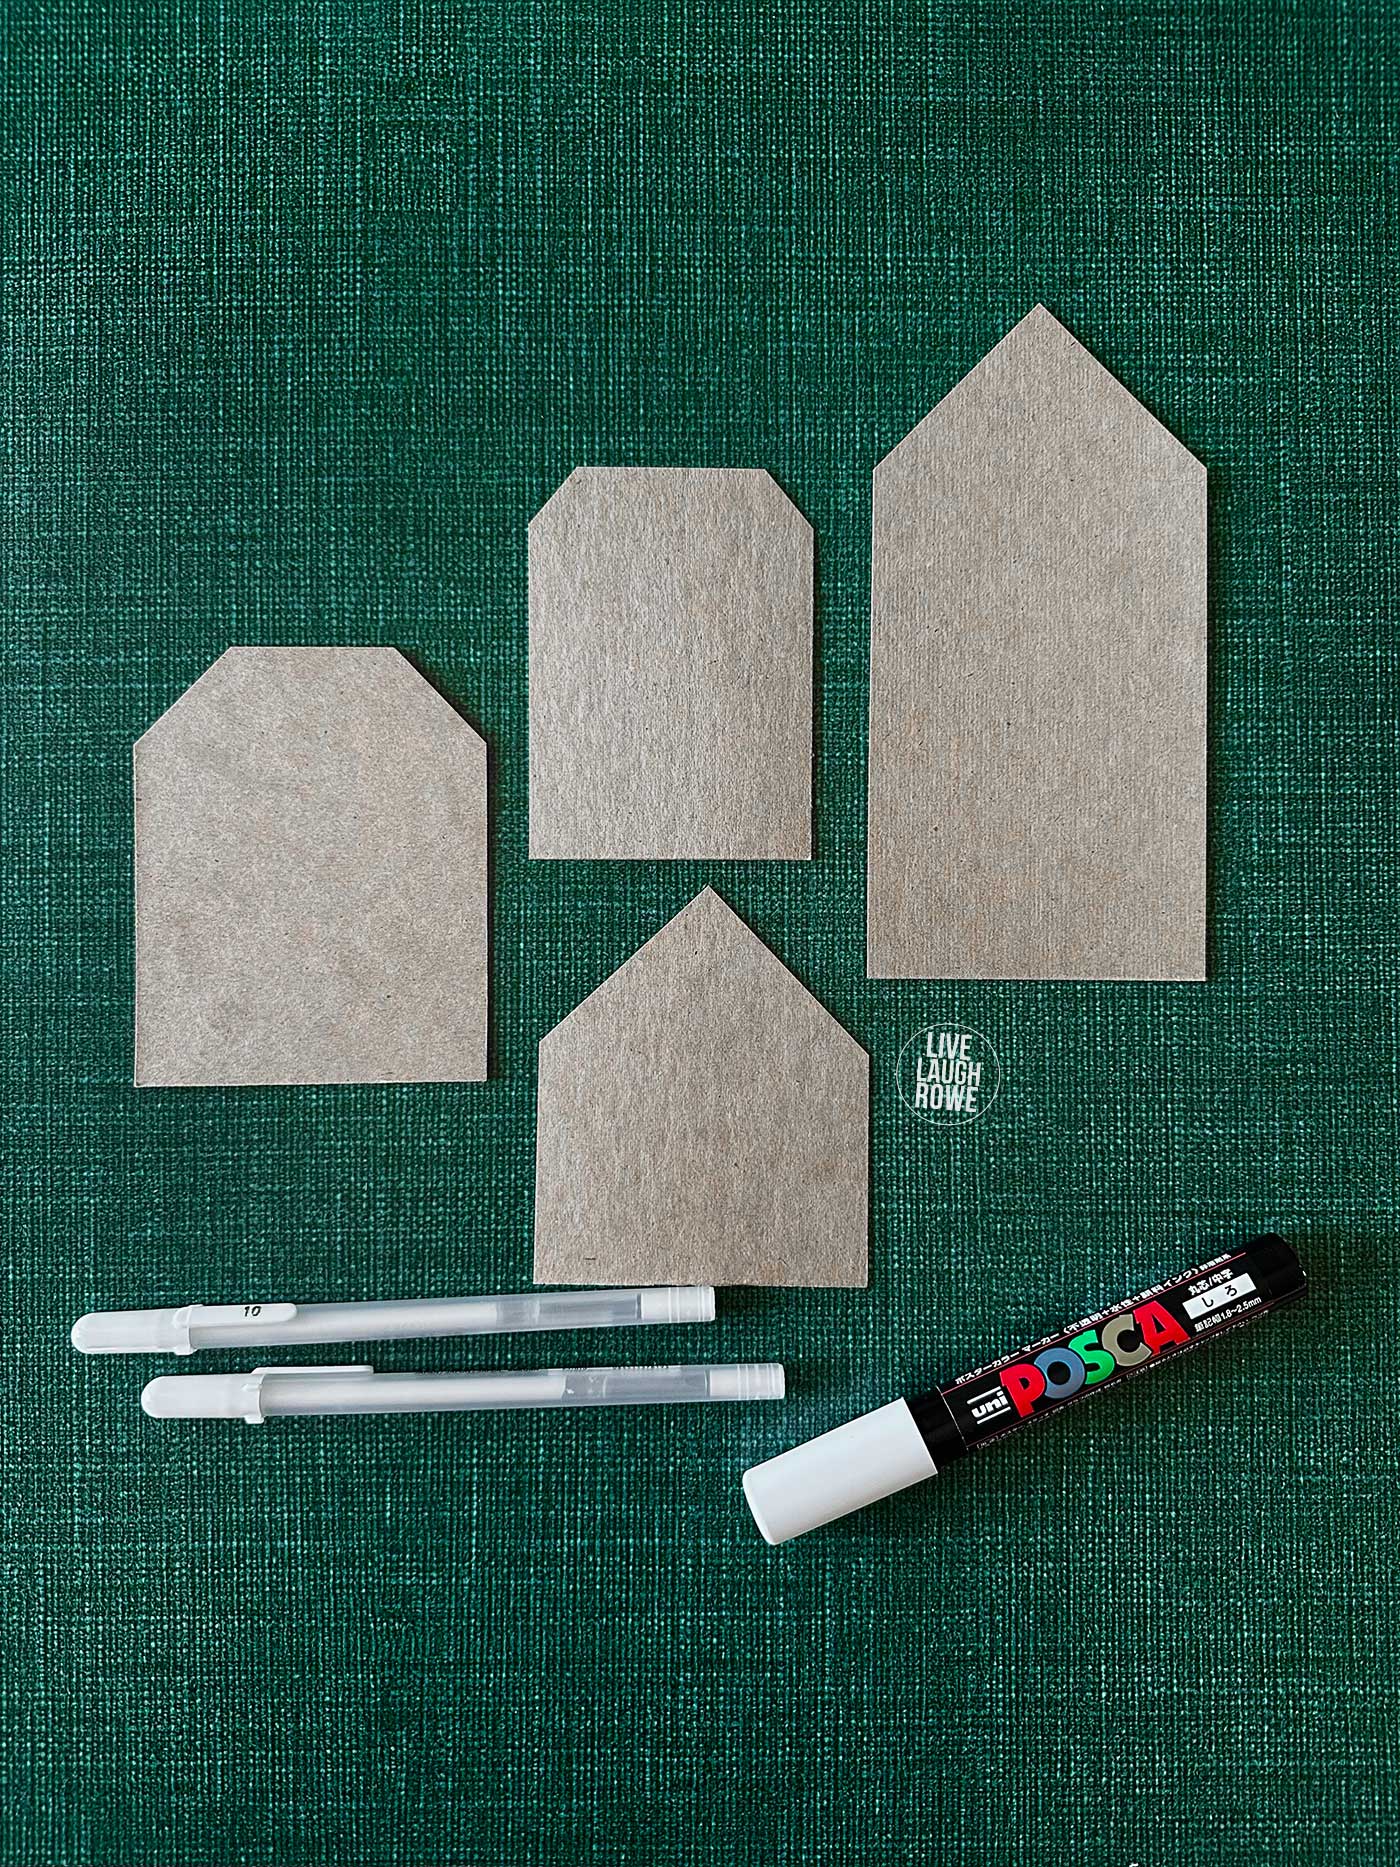
You can draw directly onto the cardboard or create a paper pattern first. A pattern is especially useful if you want to repeat a shape.
Cut out each house, taking your time around the roof and corners. Leave enough room at the top for a hanging hole.
If you’d like ready-to-trace shapes, you can use my optional printable house templates. Drawing your own works, too—these houses don’t need complicated outlines.
2. Decorate Your Gingerbread Gift Tags
Be sure to test your pens on a scrap before decorating your houses.
Begin with a white border around the house, leaving a little space between the line and the cut edge.
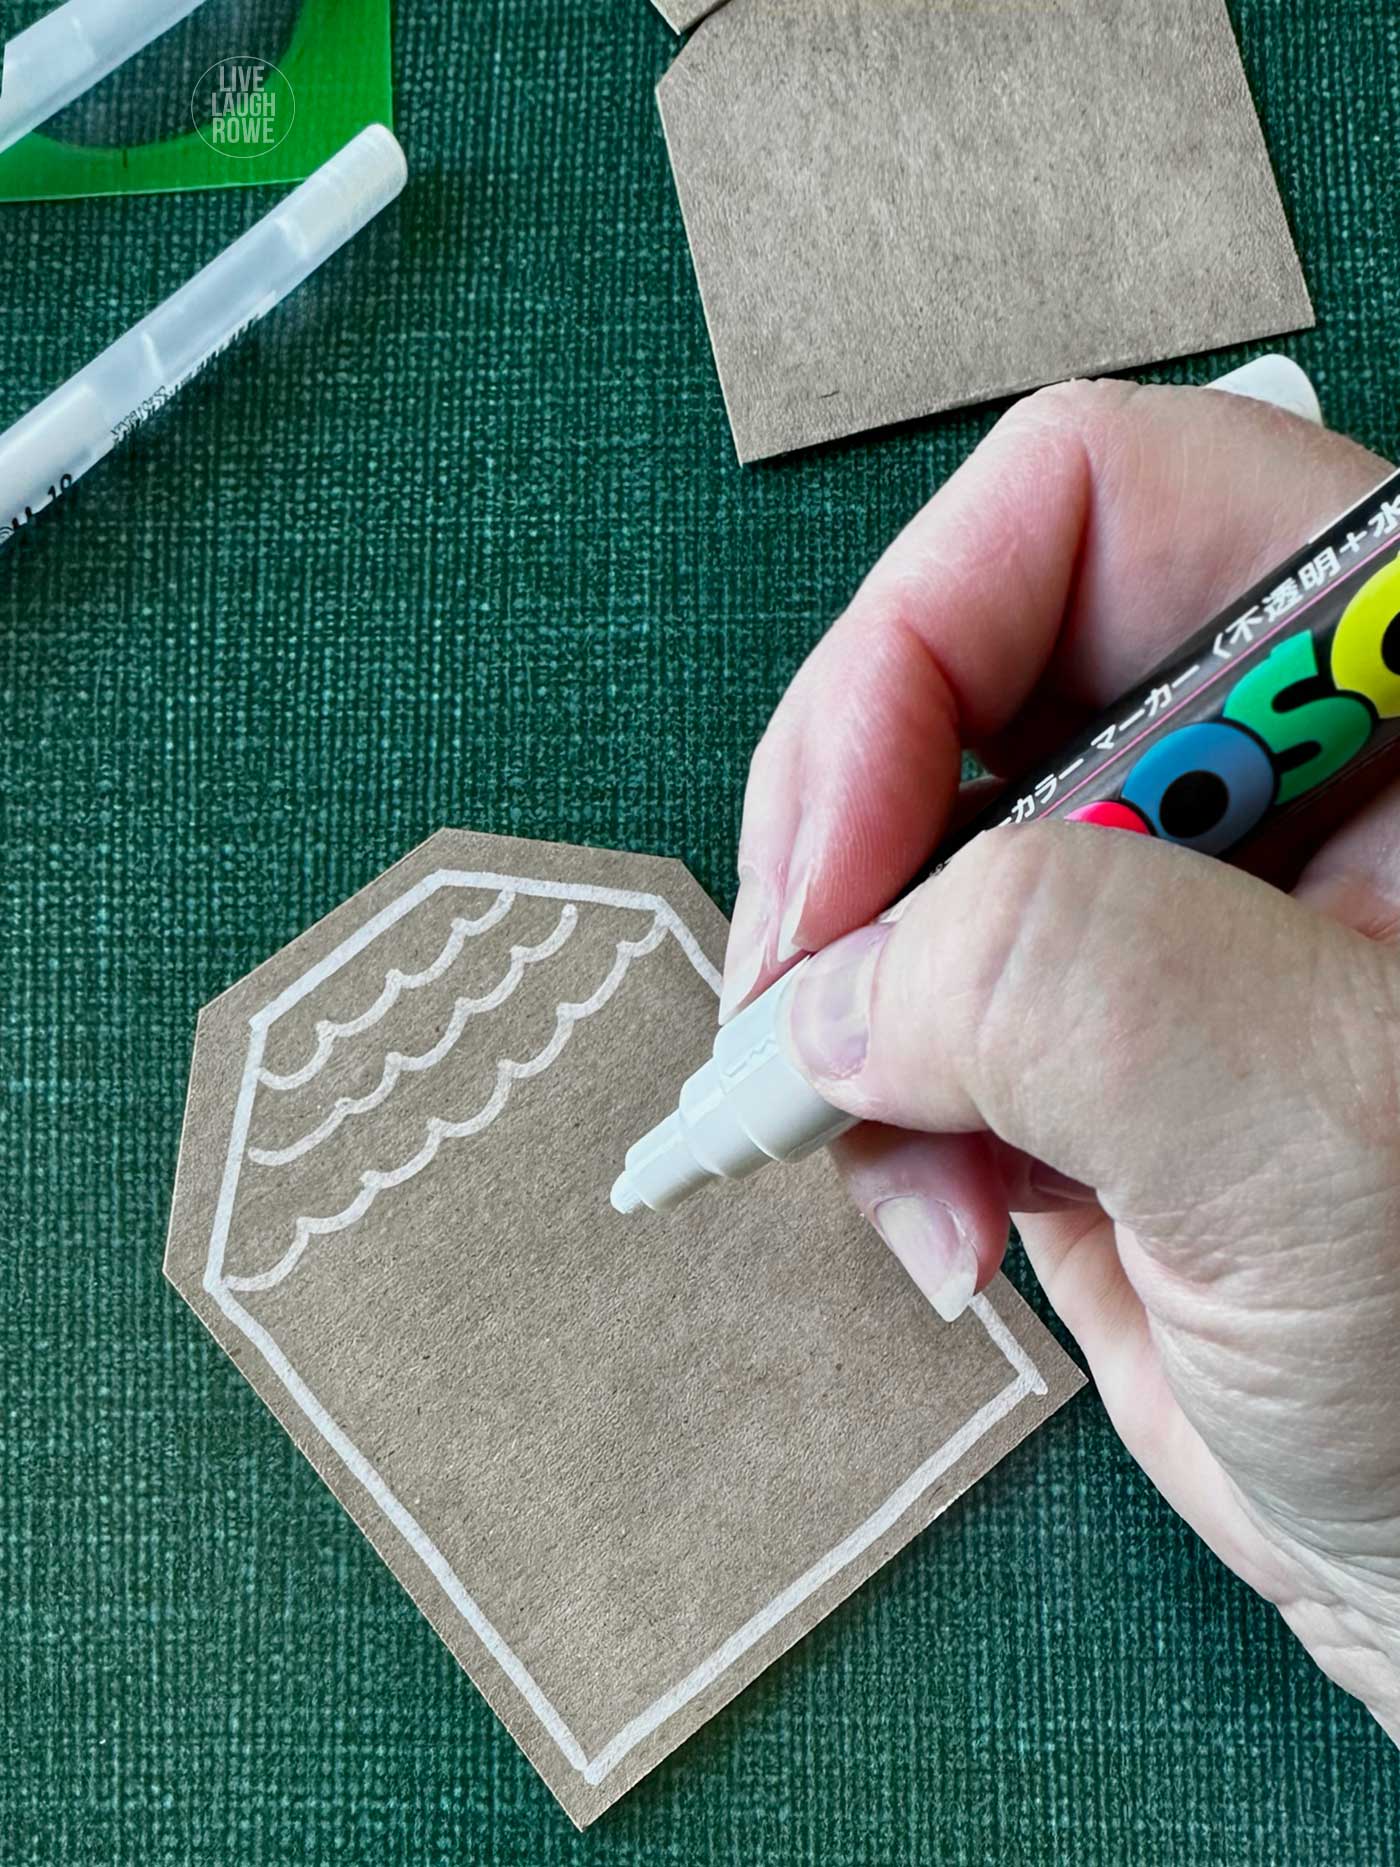
Next, add a door and windows. Rectangles, arches, and circles give you plenty of variety without requiring elaborate drawing skills.
Decorate the roof with scalloped lines, little dashes, or rows of dots. Add a few flourishes around the doorway or beneath a window if you like.
*For your first house, try just a border, a door, two windows, and one roof pattern. You can always add more details once those are in place. I used both white paint markers and white gel pens. The paint markers are helpful for bolder borders, while the gel pens work nicely for finer lines and tiny dots. You can use whichever gives you the look you like.
3. Let the White Details Dry
Allow the designs to dry according to the instructions for your pens before handling them.
Work from the top of the house downward when possible so your hand doesn’t rest on wet paint or ink. If a line needs another layer, let the first application dry before going over it again.
Use a scrap of cardboard to practice dots, curves, or scallops whenever you want to test an idea.
4. Punch a Hole and Add Ribbon
Punch a hole near the top of each house, leaving enough cardboard around it to help prevent tearing. With thicker cardboard, test your hole punch on a scrap first.
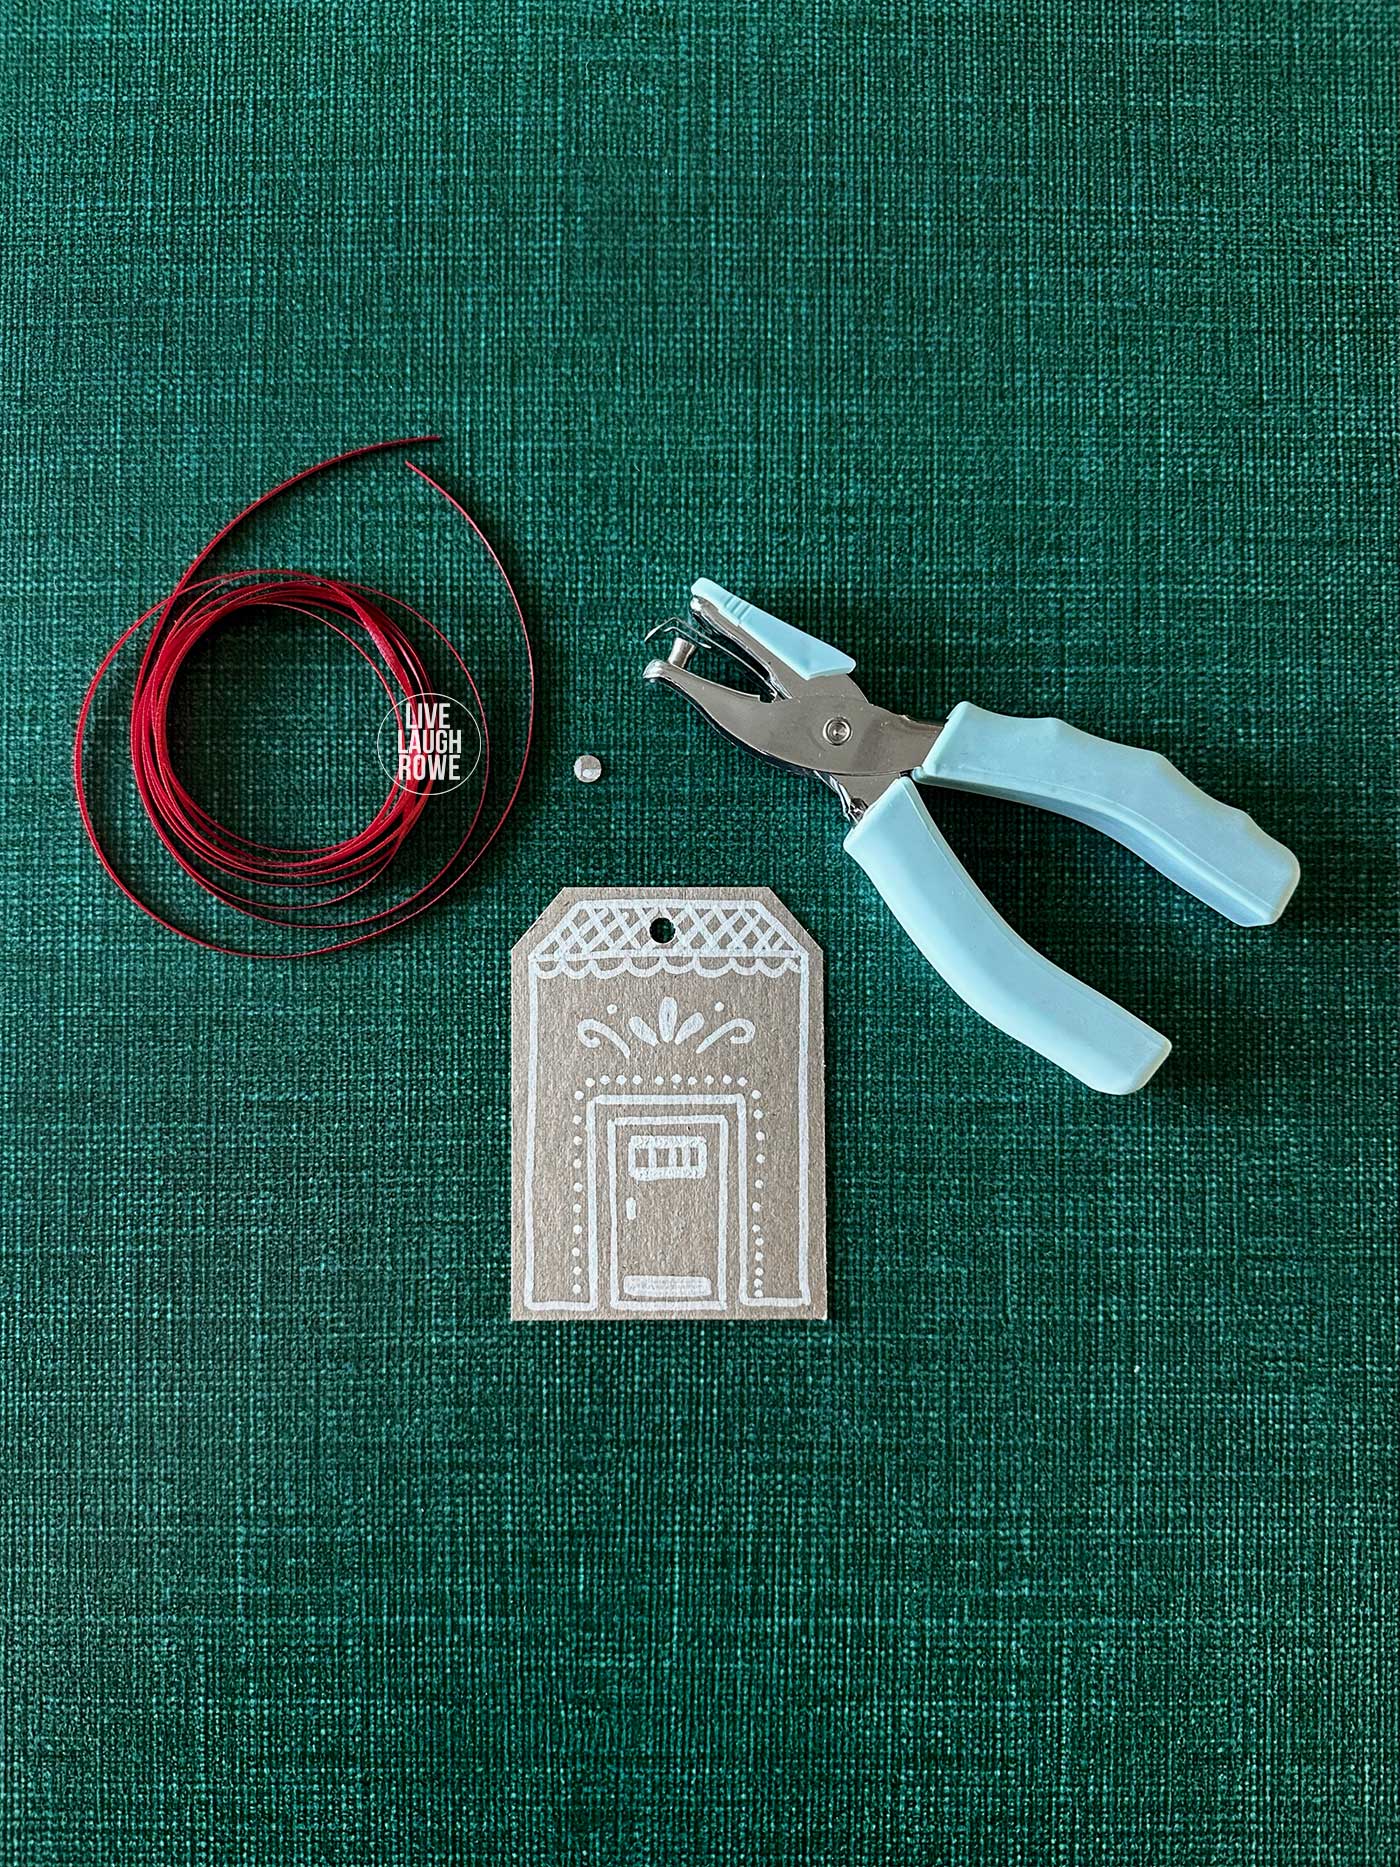
Thread ribbon through the hole and tie it into a loop for hanging, or use the ribbon to fasten the house directly to a gift.
I chose red ribbon for a classic Christmas touch. It looks so pretty against the brown houses and white details.
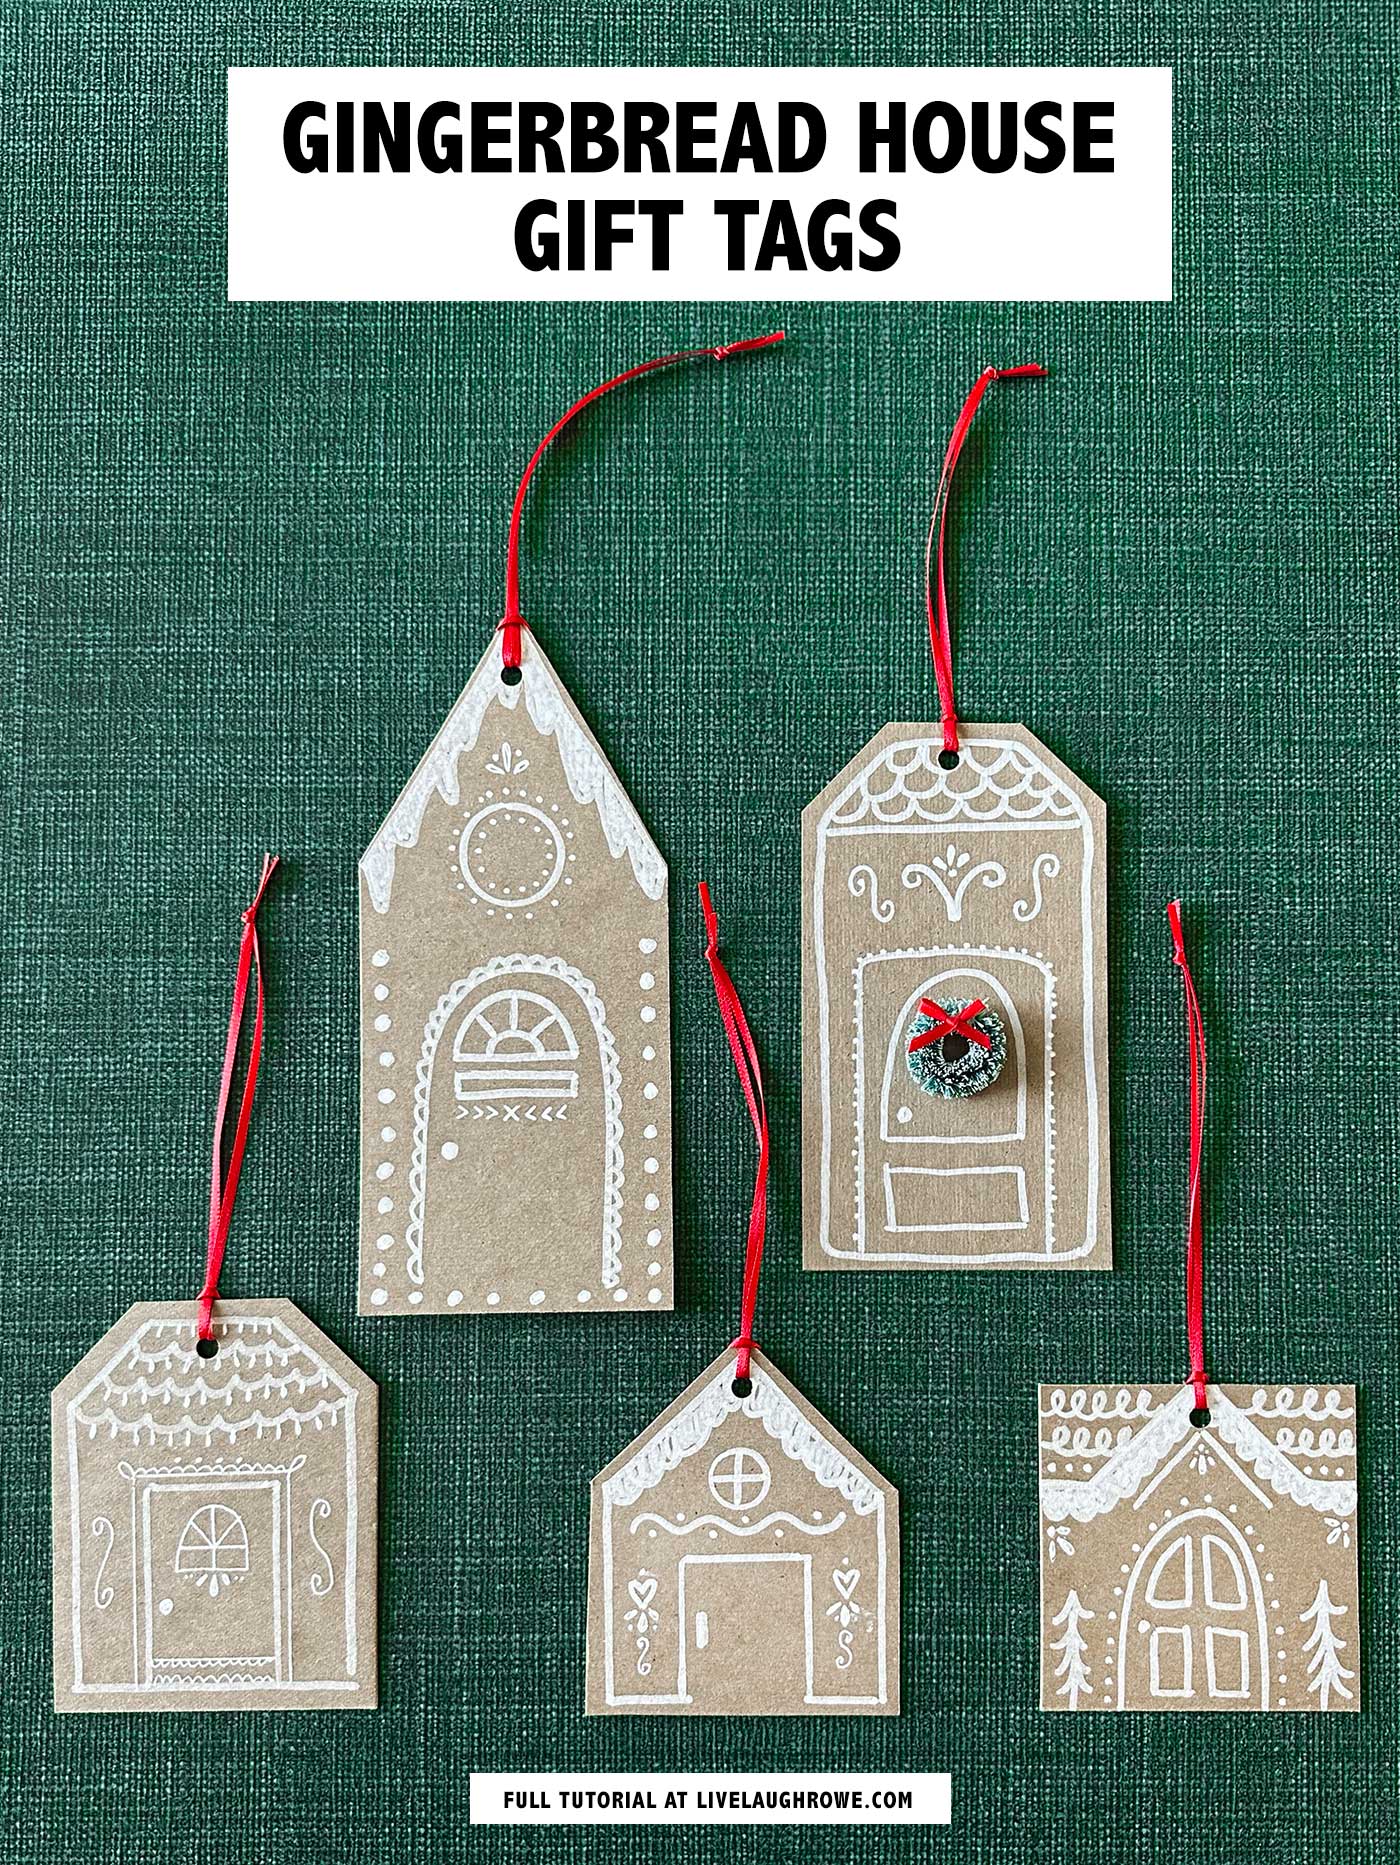
Decorating Ideas for Gingerbread House Ornaments
A few small changes can make the same house shape look completely different.
Try these combinations:
- A scalloped roof with a simple arched doorway
- A round attic window above two square windows
- Dotted borders around the doors and roof
- Tiny hearts beneath the roof peak
- Short dashes mixed with curved icing lines
Repeat a detail across several houses to tie the collection together. For example, use the same dotted border on each one, then change the doors and windows.
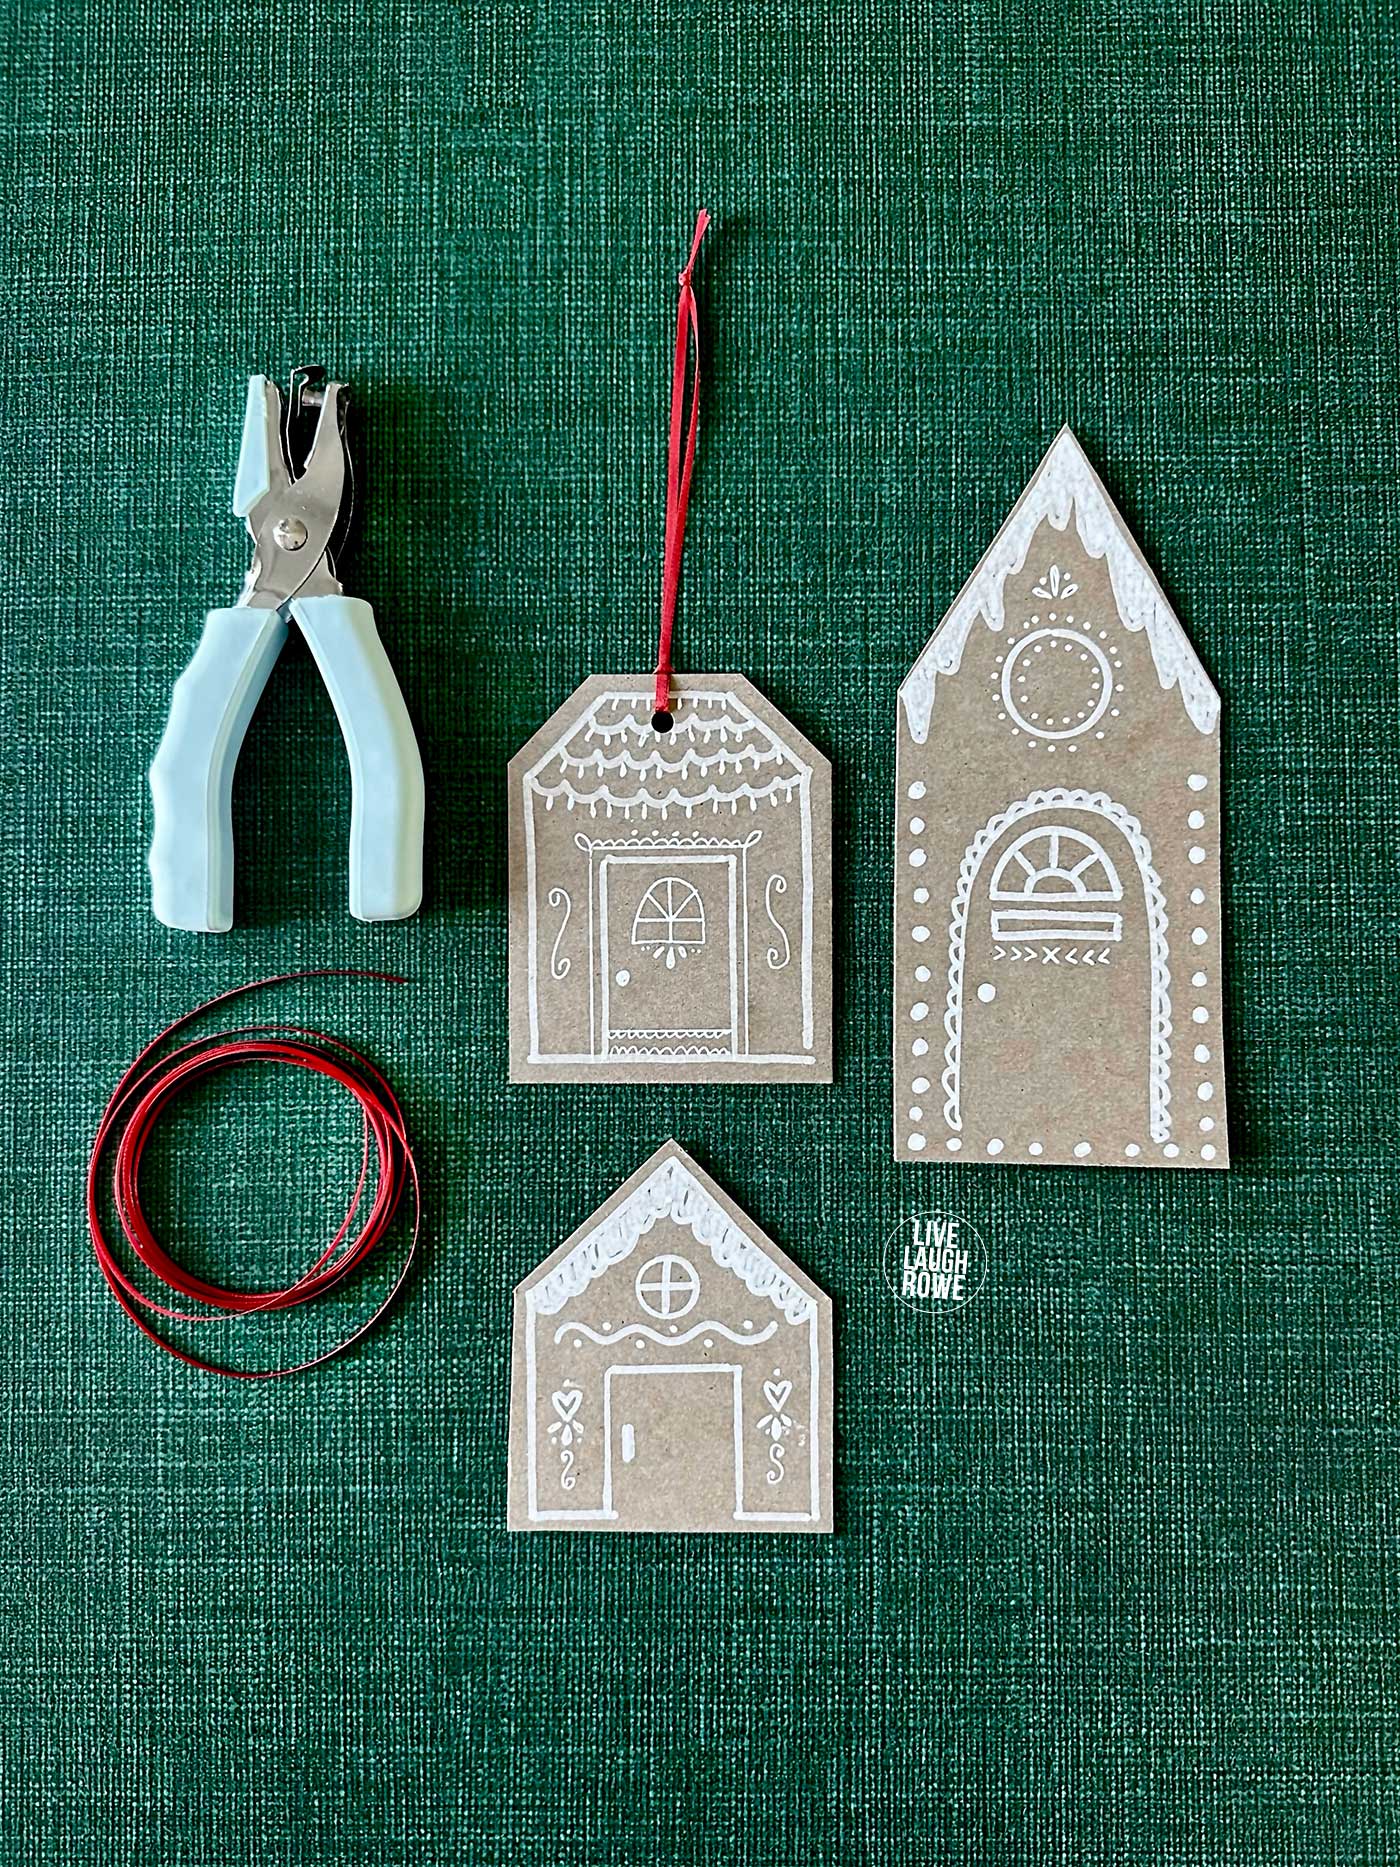
Use my decorating examples as inspiration, and give yourself permission to simplify. A handful of white details can be just as charming as an intricate design — or buy the templates and decorating inspiration!
Turn Your Gingerbread Houses into a Holiday Garland
These little houses would also make a lovely holiday garland. Make several in different heights, decorate them, and arrange them in an order you like before stringing them together.
Thread the houses onto a length of ribbon or twine through their hanging holes. You can also tie each house onto the main strand with a short ribbon loop to help hold its position.
Hang your gingerbread neighborhood across a mantel, along a shelf, or in a window. Alternate the houses with small bows for another festive touch.
Finish Your Christmas Packages with Handmade Houses
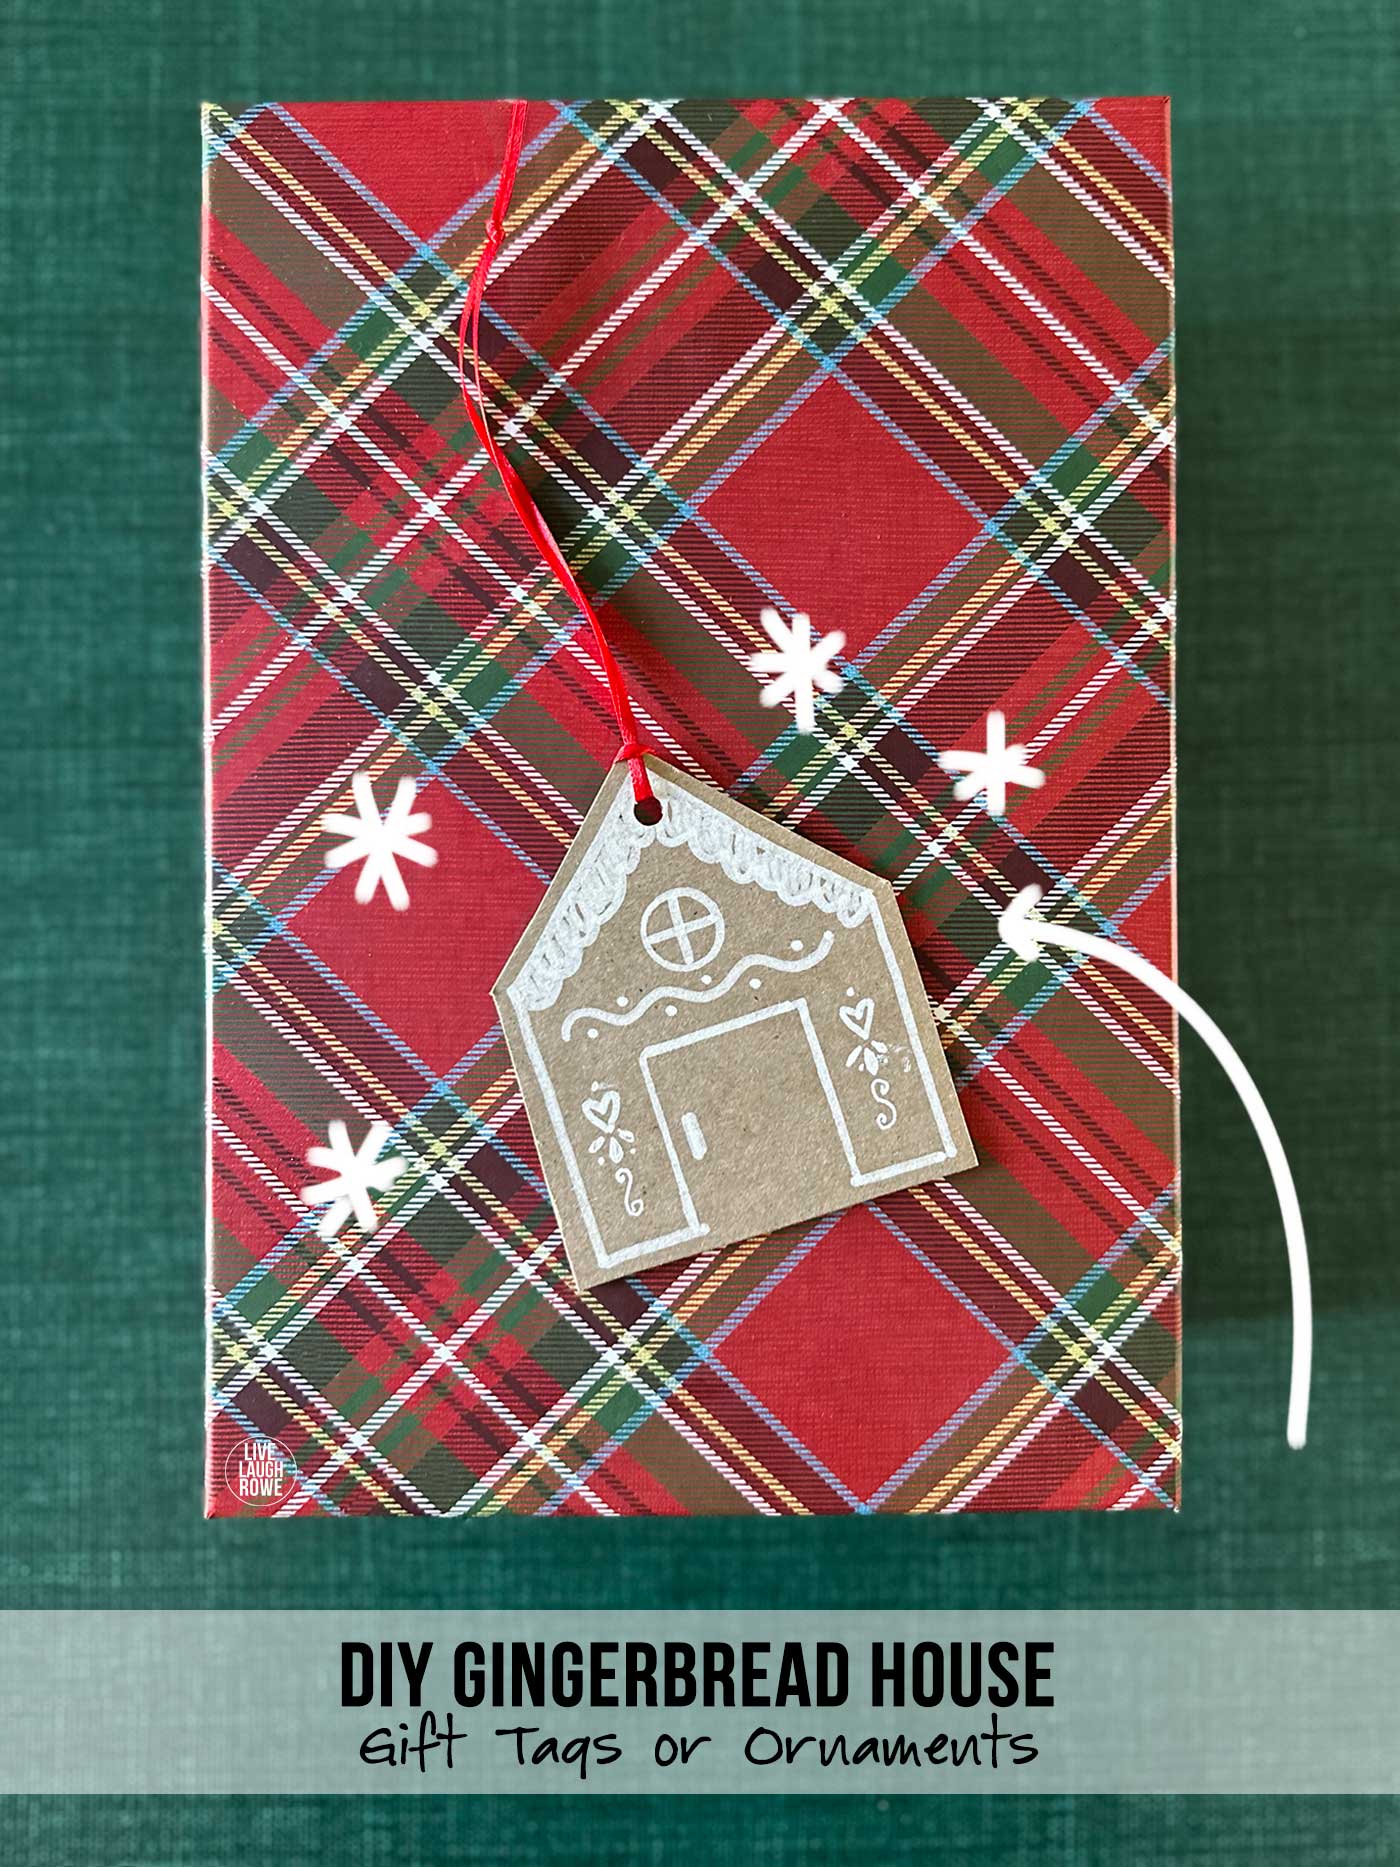
When your DIY gingerbread house gift tags are ready, write names or a short message on the backs and attach them to your presents.
They pair beautifully with kraft paper, solid wrapping paper, and simple gift bags. Add a ribbon bow, and you have a package with a little handmade personality.
Whether yours end up on gifts, tree branches, or a garland, I hope you have fun making them. Gather those cardboard scraps, put on some Christmas music, and see what kind of little neighborhood you create.





Leave a Reply